
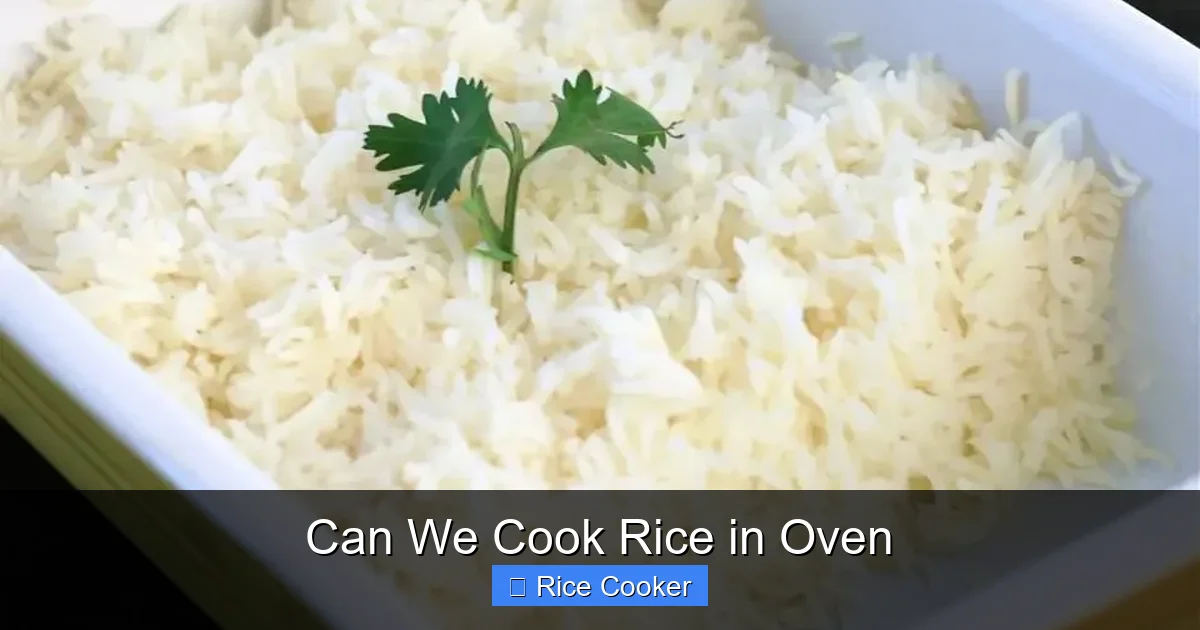
Can we cook rice in the oven? Absolutely! You can achieve perfectly fluffy rice by baking it with just water and a pinch of salt. While not as common as using a rice cooker or stovetop, oven-baked rice is a reliable backup method—especially when your usual tools aren’t available.
Key Takeaways
- Rice can be cooked in the oven: Yes, it’s completely possible and often yields tender, evenly cooked grains.
- It requires precise ratios and timing: A 1:2 ratio of rice to water (or broth) and an oven temperature of 375°F (190°C) typically work best.
- Pre-soaking helps: Soaking long-grain rice for 30 minutes before cooking improves texture and reduces cook time.
- Oven-cooked rice needs a sealed environment: Use a tightly covered dish to trap steam, mimicking a rice cooker’s function.
- Resting is essential: Let the rice sit for 5–10 minutes after baking to allow steam to distribute evenly.
- Not ideal for all rice types: Short-grain sticky rice may not turn out as well as long-grain varieties in the oven.
- Great as a backup method: Perfect when your rice cooker breaks or you’re meal prepping without stovetop access.
📑 Table of Contents
- Can We Cook Rice in Oven?
- Why Would You Want to Cook Rice in the Oven?
- What Kind of Rice Works Best?
- Essential Tools and Ingredients
- Step-by-Step Guide: How to Cook Rice in the Oven
- Troubleshooting Common Issues
- Creative Ways to Use Oven-Cooked Rice
- How Long Does Oven-Rice Take Compared to Other Methods?
- Is Oven-Cooked Rice Healthier?
- Frequently Asked Questions About Cooking Rice in the Oven
Can We Cook Rice in Oven?
Have you ever found yourself staring at an empty pantry, wondering what to serve with your grilled chicken or stir-fry? Or maybe your rice cooker has gone quiet and silent—no blinking lights, no gentle hum—just dead. Before you give up on perfectly fluffy white rice, let me tell you something comforting: yes, you absolutely can cook rice in the oven.
While most people default to the stovetop or rely on a trusty rice cooker, baking rice in the oven is a time-tested technique used in many cultures around the world. Think of it like slow-cooking a stew—except instead of tender meat and veggies, you’re coaxing out soft, separate grains of rice. With the right ingredients, tools, and a little patience, your oven can become your new go-to kitchen companion for one-pot meals.
Why Would You Want to Cook Rice in the Oven?
At first glance, it might seem unnecessary. After all, why complicate things when you have a rice cooker? But there are real benefits to using your oven for rice—especially in specific situations.
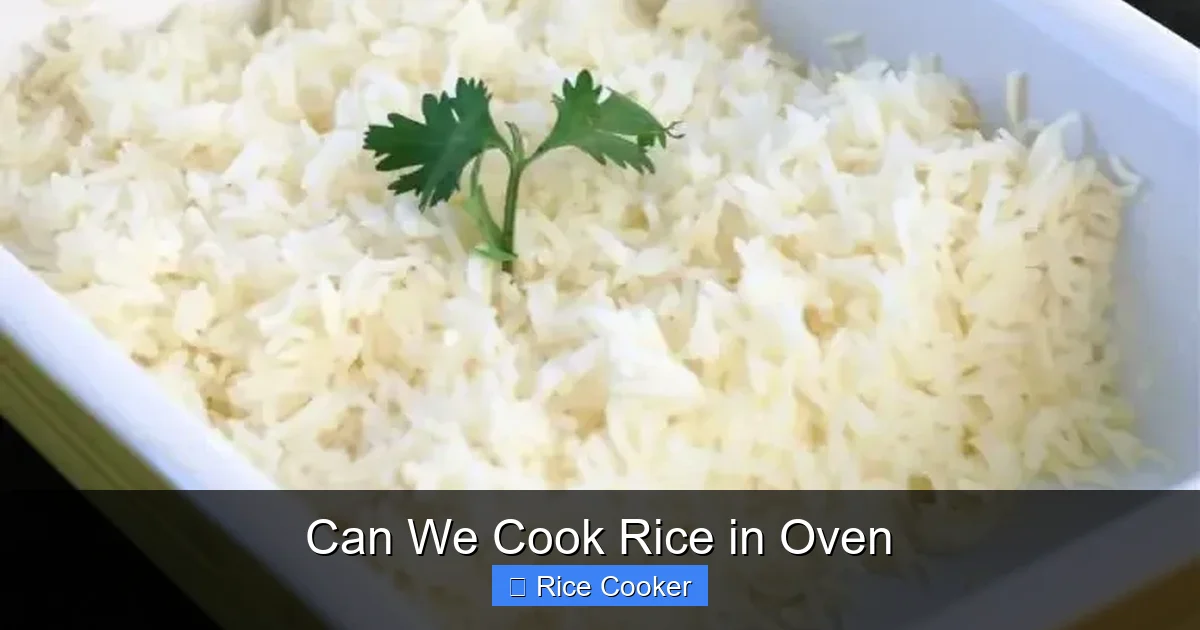
Visual guide about Can We Cook Rice in Oven
Image source: weknowrice.com
When Your Stovetop Is Taken
If you’re hosting a dinner party and your gas stove is already occupied by multiple pots, baking rice frees up your cooktop. This is especially useful during holidays or large gatherings where space is limited.
Energy Efficiency and Hands-Off Cooking
Cooking rice in the oven means you don’t need to stand over a pot, stirring or worrying about burning. Once you set it up, you can prep other dishes while the rice bakes quietly in the background. Plus, ovens retain heat well, making them efficient for consistent, even cooking.
Flavor Infusion Opportunities
Unlike boiling rice on the stove, baking allows you to add aromatics directly into the dish. Imagine cooking jasmine rice with lemongrass, bay leaves, or garlic—then letting those flavors meld slowly as the rice absorbs the steam. The result? Rice that tastes richer and more complex than its boiled counterpart.
A Backup Plan for Power Outages
During a blackout, your electric rice cooker becomes useless. But if you have a gas oven (or even a camping stove), you can still make rice. It’s not ideal, but it beats going hungry.
What Kind of Rice Works Best?
Not all rice is created equal—and not all respond the same way to oven baking. Choosing the right type makes a huge difference in outcome.

Visual guide about Can We Cook Rice in Oven
Image source: cookingtipsblog.com
Long-Grain White Rice
This is your best bet. Varieties like Basmati or Jasmine are light, fluffy, and absorb liquid evenly. They don’t clump together, which is essential when you can’t stir during the cooking process.
Brown Rice
Brown rice takes longer to cook due to its higher fiber content, but it works in the oven too. Just increase the liquid ratio slightly—try 1:2.5 instead of 1:2—and extend bake time by 15–20 minutes.
Avoid Sticky or Glutinous Rice
Rice like sushi rice or glutinous rice (used in desserts or Asian snacks) tends to stick together. Their high starch content doesn’t play nicely with dry heat, leading to gummy clumps. If you must use it, add extra oil or butter to help separate the grains.
Instant or Parboiled Rice
These pre-processed types usually require less cooking time, so they can work in the oven—but they risk becoming mushy if overdone. Use them sparingly and monitor closely.
Essential Tools and Ingredients
You don’t need fancy equipment to cook rice in the oven. Most of what you’ll need is already in your kitchen.
Basic Supplies
- Heavy-bottomed oven-safe dish: Look for something with a tight-fitting lid—like a Dutch oven, casserole dish, or even a cast-iron skillet.
- Measuring cups and spoons: Precision matters here.
- Fine-mesh strainer: For rinsing rice thoroughly.
- Cutting board and knife: To chop onions, garlic, or herbs for flavor.
Ingredients You’ll Need
- Rice: 1 cup uncooked long-grain white rice.
- Liquid: 2 cups water, broth, or a mix for added flavor.
- Salt: A pinch to enhance taste.
- Optional additions: Butter, olive oil, garlic, onion, or spices.
Pro Tip: Rinse Your Rice
Before cooking, rinse the rice under cold running water until the water runs clear. This removes excess starch, preventing gumminess and cloudy water. It also helps achieve that restaurant-quality fluffiness.
Step-by-Step Guide: How to Cook Rice in the Oven
Ready to try it? Follow these simple steps for foolproof results every time.
Step 1: Preheat Your Oven
Set your oven to 375°F (190°C). This moderate temperature ensures steady evaporation without scorching the bottom of the rice.
Step 2: Prepare the Rice
Rinse 1 cup of long-grain rice in a fine-mesh strainer until the water is clear. Drain well.
Step 3: Add Liquid and Seasonings
In your oven-safe dish, combine the rinsed rice, 2 cups of liquid (water is fine, but broth adds depth), and a pinch of salt. Stir gently to combine.
Step 4: Optional Flavor Boost
Add 1 tablespoon of butter or olive oil, along with diced onions, garlic cloves, or herbs like thyme or bay leaf. This step is optional but highly recommended for flavor.
Step 5: Cover Tightly
Place the lid on the dish—make sure it seals well. If using a non-stick pan without a lid, cover with aluminum foil and crimp the edges tightly to prevent steam from escaping.
Step 6: Bake
Put the dish in the preheated oven and bake for 35–40 minutes. Don’t peek! Opening the oven door lets precious steam escape, which can leave your rice undercooked.
Step 7: Rest and Fluff
Once done, remove the dish from the oven and let it sit, covered, for 5–10 minutes. Then take off the lid, fluff the rice with a fork, and serve.
Troubleshooting Common Issues
Even experienced cooks run into hiccups now and then. Here’s how to fix the most common problems when cooking rice in the oven.
Rice Is Too Dry or Crunchy
This usually means not enough liquid or too much heat. Next time, increase the water to 2¼ cups and double-check that your oven isn’t hotter than 375°F. Also, avoid opening the door during baking.
Rice Is Mushy or Sticky
Overcooking causes mushiness. Reduce bake time by 5 minutes next time, and make sure you’re using the correct rice-to-water ratio. Rinsing the rice beforehand also helps prevent clumping.
Bottom Burns or Uneven Texture
Use a heavy-bottomed pan to distribute heat evenly. If your oven runs hot, try lowering the temperature to 350°F and extending cook time by 5 minutes.
Steam Leaks Around the Lid
If steam escapes, the seal isn’t tight. Try using a layer of foil underneath the lid or ensure the rim of the dish is clean and free of debris.
Creative Ways to Use Oven-Cooked Rice
Once you master the basics, the possibilities expand. Oven-cooked rice pairs beautifully with countless dishes and can even stand alone as part of a hearty meal.
Baked Rice Pudding
Swap water for milk, add cinnamon, sugar, and raisins, then bake until creamy. Serve warm for dessert.
Risotto-Inspired Rice
While true risotto requires constant stirring, you can create a creamy version by adding warm broth gradually during the last 10 minutes of baking. Stir occasionally through the holes in the foil.
One-Pan Meals
Cook rice with vegetables and protein in the same dish. For example: brown rice + chopped carrots + diced chicken + soy sauce + ginger. Bake together for a complete meal.
Fried Rice Base
Cook rice ahead and refrigerate. Later, fry it with eggs, peas, and soy sauce for quick weeknight dinners.
How Long Does Oven-Rice Take Compared to Other Methods?
Here’s a quick comparison to help you decide when to use each method:
- Stovetop: 18–20 minutes (with active attention)
- Rice cooker: 15–25 minutes (set it and forget it)
- Oven: 35–40 minutes (hands-off, no monitoring)
While the oven takes longer than other methods, it offers greater flexibility and flavor potential. And remember—many modern ovens have convection settings that can reduce cook time by 10–15%.
Is Oven-Cooked Rice Healthier?
From a nutritional standpoint, oven-cooked rice is comparable to stovetop or rice cooker versions. However, there are subtle differences worth noting.
No Added Fat (Usually)
If you skip the butter or oil, oven rice can be lower in calories than some stovetop recipes that call for fat to prevent sticking.
Better Retention of Nutrients
Since the rice isn’t stirred or exposed to open flames, fewer nutrients may degrade compared to aggressive boiling.
Customizable Add-Ins
You can enrich your rice with healthy ingredients like spinach, tomatoes, or mushrooms during baking, boosting its nutritional profile.
That said, if you’re watching sodium intake, be mindful of using salty broths or seasonings. Opt for low-sodium versions when possible.
Frequently Asked Questions About Cooking Rice in the Oven
Can I cook rice in a regular baking dish?
Yes! Any oven-safe dish with a tight-fitting lid will work. Just make sure the liquid won’t spill over when covered.
Do I need to soak the rice before baking?
Soaking isn’t required, but it helps long-grain rice cook more evenly and reduces total cook time slightly. Soak for 30 minutes if you have time.
Can I use a convection oven?
Absolutely. Convection circulates air, which can speed up cooking. Reduce the temperature by 25°F (so 350°F instead of 375°F) and check for doneness 5 minutes early.
What if I don’t have a lid?
Cover the dish tightly with aluminum foil instead. Press the foil down so it doesn’t touch the rice, then fold the edges to seal.
Can I reheat oven-cooked rice?
Yes, but do it gently. Place the rice in a covered dish with a splash of water and warm it in a 300°F oven for 10–15 minutes until heated through.
Will brown rice take the same amount of time?
No. Brown rice needs more time—usually 45–50 minutes—and more liquid (about 2½ cups per cup of rice).
Frequently Asked Questions
Can I cook rice in a regular baking dish?
Yes! Any oven-safe dish with a tight-fitting lid will work. Just make sure the liquid won’t spill over when covered.
Do I need to soak the rice before baking?
Soaking isn’t required, but it helps long-grain rice cook more evenly and reduces total cook time slightly. Soak for 30 minutes if you have time.
Can I use a convection oven?
Absolutely. Convection circulates air, which can speed up cooking. Reduce the temperature by 25°F (so 350°F instead of 375°F) and check for doneness 5 minutes early.
What if I don’t have a lid?
Cover the dish tightly with aluminum foil instead. Press the foil down so it doesn’t touch the rice, then fold the edges to seal.
Can I reheat oven-cooked rice?
Yes, but do it gently. Place the rice in a covered dish with a splash of water and warm it in a 300°F oven for 10–15 minutes until heated through.
Will brown rice take the same amount of time?
No. Brown rice needs more time—usually 45–50 minutes—and more liquid (about 2½ cups per cup of rice).