
Can you cook canned beans in a rice cooker? Absolutely! Using a rice cooker to cook beans from their can is not only possible but also convenient and energy-efficient. This method saves time, reduces cleanup, and ensures consistent results.
Key Takeaways
- Yes, it’s safe: Canned beans are already cooked, so using a rice cooker simply reheats them—no risk of undercooking or overcooking.
- Time-saving: Skip the stovetop boiling process; the rice cooker does all the work in minutes.
- Energy efficient: Rice cookers use less power than stovetops, making this a greener option.
- Versatile: Perfect for chili, bean salads, dips, and more—ideal for quick meals.
- Texture control: Use the “warm” setting to preserve texture or “cook” mode for softer beans.
- No extra soaking needed: Unlike dried beans, canned beans require no prep—just drain, add liquid, and go.
- Clean-up is simple: One pot means fewer dishes and faster post-cook care.
📑 Table of Contents
- Can You Cook Canned Beans in a Rice Cooker?
- Understanding the Basics: Are Canned Beans Already Cooked?
- Step-by-Step Guide: How to Cook Canned Beans in a Rice Cooker
- Creative Recipes Using Canned Beans in a Rice Cooker
- Common Concerns and Myths Debunked
- Expert Tips for Perfect Results Every Time
- Comparing Methods: Rice Cooker vs. Stovetop vs. Pressure Cooker
- Environmental and Health Benefits
- Final Thoughts: Embrace the Versatility of Your Rice Cooker
Can You Cook Canned Beans in a Rice Cooker?
Have you ever opened a can of beans, stared at your stovetop burner, and thought, “There has to be an easier way”? You’re not alone. Cooking beans doesn’t always have to mean hours on the stove or constant stirring. With a little kitchen ingenuity, you can turn your trusty rice cooker into a bean-ready machine—even when starting with canned beans. So yes, can you cook canned beans in a rice cooker? The answer is a resounding yes! In fact, this method might just become your new favorite kitchen shortcut.
Rice cookers are often seen as appliances dedicated to rice, but their gentle, consistent heat makes them surprisingly versatile. Whether you’re making a hearty chili, a protein-packed salad, or a creamy bean dip, the rice cooker can handle it. And since canned beans are pre-cooked, they don’t need long boiling times like dried beans. Instead, they just need warmth and a splash of flavor. That’s where your rice cooker shines.
In this article, we’ll walk through everything you need to know about cooking canned beans in a rice cooker—from safety and technique to creative recipe ideas and expert tips. By the end, you’ll feel confident using your appliance beyond just grains.
Understanding the Basics: Are Canned Beans Already Cooked?
The Science Behind Canned Beans
Canned beans are not raw ingredients—they’ve been cooked under high pressure and then sealed in airtight containers. This process, called retorting, kills bacteria and softens the beans so they’re ready to eat right out of the can. Most commercially canned beans (like black beans, kidney beans, chickpeas, and pinto beans) are fully cooked during production.
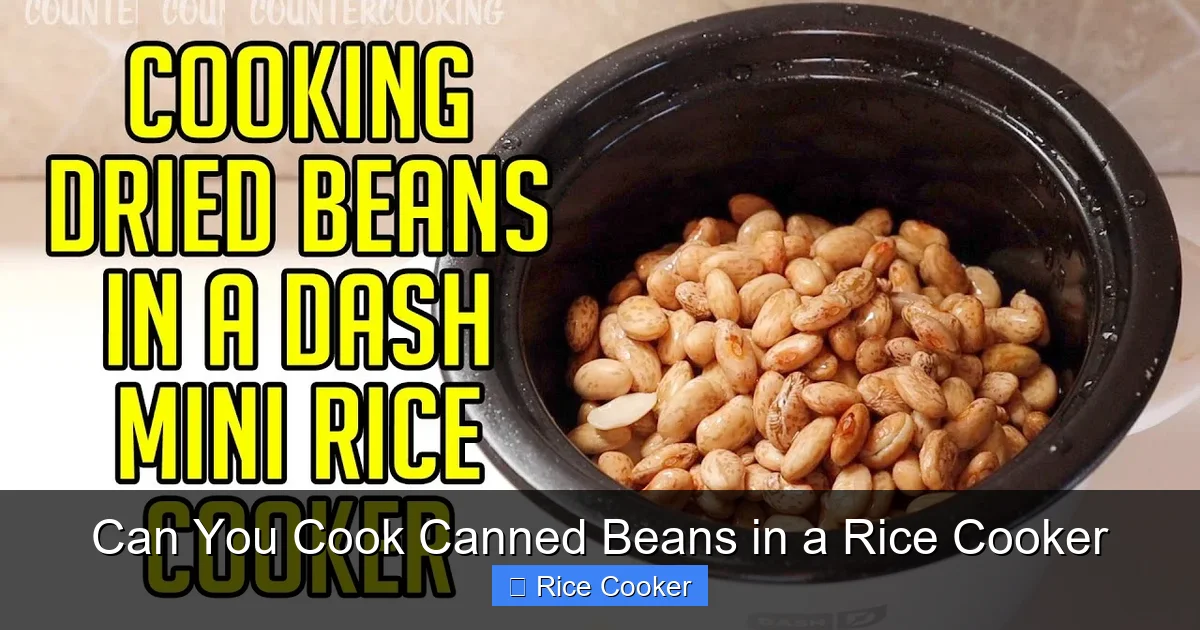
Visual guide about Can You Cook Canned Beans in a Rice Cooker
Image source: i.ytimg.com
Because of this, you don’t need to simmer them for hours like dried beans. However, they may lack flavor if left unseasoned or cold. That’s why many people choose to sauté them briefly with onions, garlic, and spices before adding them to dishes. But what if you want to avoid the stovetop altogether?
Why Use a Rice Cooker for Canned Beans?
A rice cooker offers several advantages when working with canned beans:
- Consistent Heat: No hot spots or scorching—just even warmth that prevents sticking.
- Hands-Off Cooking: Set it and forget it. No need to stir or watch closely.
- Flavor Infusion: Adding broth, herbs, or spices while heating allows flavors to meld beautifully.
- Ease of Cleaning: One-pot cooking = fewer dishes.
Best of all, because canned beans are already soft, they won’t break apart in the rice cooker—unless you overdo it. We’ll cover how to avoid mushiness shortly.
Step-by-Step Guide: How to Cook Canned Beans in a Rice Cooker
What You’ll Need
- 1–2 cans of your favorite beans (black, pinto, chickpeas, etc.)
- ½ cup water or vegetable/bean broth
- Optional: 1 tbsp olive oil, onion, garlic, salt, pepper, cumin, or other seasonings
- Your rice cooker and inner pot
Step 1: Drain and Rinse the Beans
Start by draining the beans and rinsing them under cool water. This removes excess sodium and any loose debris from canning. While optional for some recipes, rinsing helps reduce sodium intake and improves texture slightly.
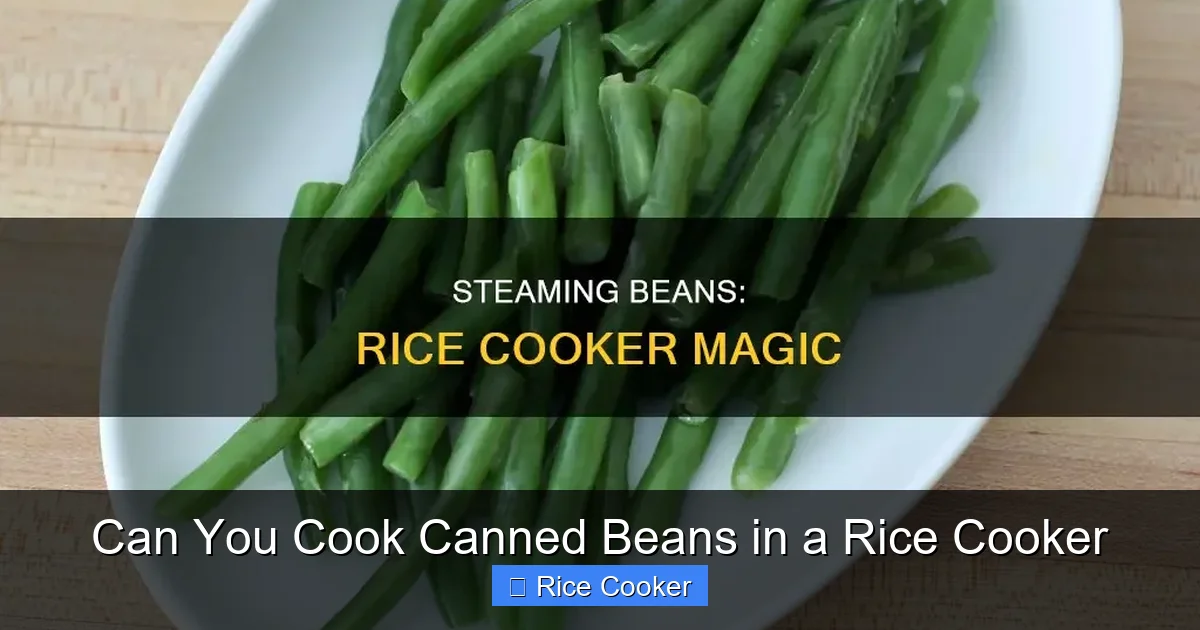
Visual guide about Can You Cook Canned Beans in a Rice Cooker
Image source: cycookery.com
Step 2: Add Liquid and Seasonings
Place the rinsed beans into the inner pot of your rice cooker. Pour in about ½ cup of liquid—water, broth, or even leftover marinade works well. If desired, toss in aromatics like diced onion, minced garlic, or a pinch of cumin. A drizzle of olive oil adds richness and helps bind flavors.
Step 3: Choose Your Setting
Most modern rice cookers have multiple settings. For canned beans, you generally don’t need the full “cook” cycle—since the beans are already cooked, you just need to warm them through and let flavors develop. Use the following guidelines:
- Warm Setting: Ideal for preserving firm texture. Keeps beans at 140–160°F (60–71°C) for up to 12 hours.
- Cook Setting (with caution): If you prefer softer beans or want to simmer a sauce, use this for 15–30 minutes. Monitor to avoid overcooking.
Step 4: Cook and Stir (If Needed)
If using the “cook” setting, open the lid after 15 minutes and give the beans a gentle stir. This prevents sticking and helps distribute heat evenly. After another 10–15 minutes, check consistency. Most canned beans will be ready quickly—usually within 20–25 minutes total.
Step 5: Serve or Store
Once heated through, transfer your beans to a bowl or serving dish. They’re perfect for tacos, salads, soups, or as a side. Leftovers keep well in the fridge for up to 5 days or can be frozen for longer storage.
Creative Recipes Using Canned Beans in a Rice Cooker
Spicy Southwest Bean Dip
Combine drained black beans, salsa, lime juice, cumin, and a splash of water in the rice cooker. Warm on the “cook” setting for 20 minutes, stirring halfway. Serve with tortilla chips.
Garlic Herb White Bean Medley
Use cannellini or great northern beans. Add minced garlic, rosemary, thyme, olive oil, and chicken broth. Heat on “warm” for 1 hour to mellow flavors. Great over pasta or as a tapenade.
Chili-Infused Kidney Beans
Sauté diced onion and bell pepper in the rice cooker pot first (if your model has a sauté function). Then add kidney beans, diced tomatoes, chili powder, and broth. Simmer on “cook” for 30 minutes until thickened.
Sweet Potato & Black Bean Bowl
Add cubed sweet potato and black beans to the rice cooker with broth and a pinch of smoked paprika. Cook on “rice” or “multigrain” setting for 25–30 minutes. Top with avocado and cilantro.
These recipes show how versatile the method is—whether you’re going savory, sweet, or somewhere in between.
Common Concerns and Myths Debunked
Myth #1: Canned Beans Can’t Be Reheated in a Rice Cooker
False! Since canned beans are shelf-stable and already cooked, reheating them in a rice cooker is completely safe. Just make sure the liquid isn’t too hot when added—never exceed 185°F (85°C) to avoid damaging the cooker’s internal components.
Myth #2: Rice Cookers Aren’t Designed for Beans
While rice cookers were originally made for grains, their closed-lid design and temperature regulation make them ideal for gentle reheating and simmering. Many models even have a “porridge” or “soup” setting that works perfectly for bean-based dishes.
Myth #3: It Takes Longer Than Stovetop Cooking
Actually, it’s usually faster. On the stovetop, you’d typically sauté aromatics first, then add beans and simmer—which takes 20–30 minutes. In a rice cooker, you skip the sauté step and get direct, even heating in half the time.
Concern: Overcooking Leads to Mushy Beans
This can happen if you run the “cook” cycle too long. To prevent it, stick to shorter durations (under 30 minutes) and monitor texture. Using the “warm” setting avoids this issue entirely.
Expert Tips for Perfect Results Every Time
- Don’t Overfill: Leave at least ⅓ empty space in the pot to allow steam circulation.
- Use Broth Instead of Water: Adds depth and keeps beans moist without extra fat.
- Layer Flavors Gradually: Add delicate herbs later to preserve their aroma.
- Check Before Serving: Taste and adjust seasoning—canned beans can vary in salt content.
- Clean Immediately: Starchy residues from beans can harden; rinse the pot while still warm.
Comparing Methods: Rice Cooker vs. Stovetop vs. Pressure Cooker
| Method | Time | Energy Use | Best For |
|---|---|---|---|
| Stovetop | 20–30 min | High | Controlled simmering, large batches |
| Rice Cooker | 15–30 min | Low | Quick reheating, hands-off prep |
| Pressure Cooker | 5–10 min | Medium | Dried beans (not canned) |
For canned beans, the rice cooker strikes the best balance between speed, efficiency, and ease. It’s especially helpful for small kitchens or single-serving meals.
Environmental and Health Benefits
Choosing to cook canned beans in a rice cooker isn’t just convenient—it’s eco-friendly. Rice cookers consume significantly less electricity than gas stoves or ovens. Plus, using canned beans reduces food waste: they’re pre-portioned, shelf-stable, and require no soaking or prepping.
From a nutrition standpoint, canned beans retain most of their protein, fiber, and minerals—especially when rinsed to cut down on sodium. Pair them with whole grains and veggies for a complete, balanced meal.
Final Thoughts: Embrace the Versatility of Your Rice Cooker
So, can you cook canned beans in a rice cooker? Yes—and now you know exactly how to do it safely, efficiently, and deliciously. This simple technique opens up a world of possibilities for quick weeknight dinners, meal prep, and flavorful sides. Whether you’re making a spicy dip, a comforting soup base, or just warming beans for a salad, your rice cooker is ready to help.
Next time you open a can, skip the stovetop drama. Grab your rice cooker, toss in your favorite seasonings, and let it work its magic. You might just discover your new go-to method for one-pot convenience.
Frequently Asked Questions
Can I cook any type of canned beans in a rice cooker?
Yes, almost all types—black beans, kidney beans, chickpeas, cannellini beans, and more—work well. Just drain, rinse, add liquid, and heat. Texture may vary slightly depending on bean variety.
Do I need to soak canned beans before using a rice cooker?
No soaking is required. Canned beans are already cooked and ready to use. Skipping soaking saves time and effort while ensuring consistent results.
How long does it take to cook canned beans in a rice cooker?
Usually 15–30 minutes on the “cook” setting, or you can use the “warm” setting for gentle reheating without changing texture. Most beans are ready in under 20 minutes.
Can I add spices directly to the rice cooker with canned beans?
Absolutely. Add your favorite seasonings—cumin, oregano, garlic powder, or chili flakes—along with the beans and liquid. Let them cook together to infuse flavor.
Is it safe to leave beans in the rice cooker on “warm” all day?
Yes, but only if the beans reach a safe internal temperature (above 140°F/60°C). Avoid leaving perishable additions like dairy or fresh vegetables unattended for extended periods.
Can I freeze beans cooked in a rice cooker?
Yes! Cool completely, store in airtight containers, and freeze for up to 3 months. Thaw overnight in the fridge before reheating gently.