
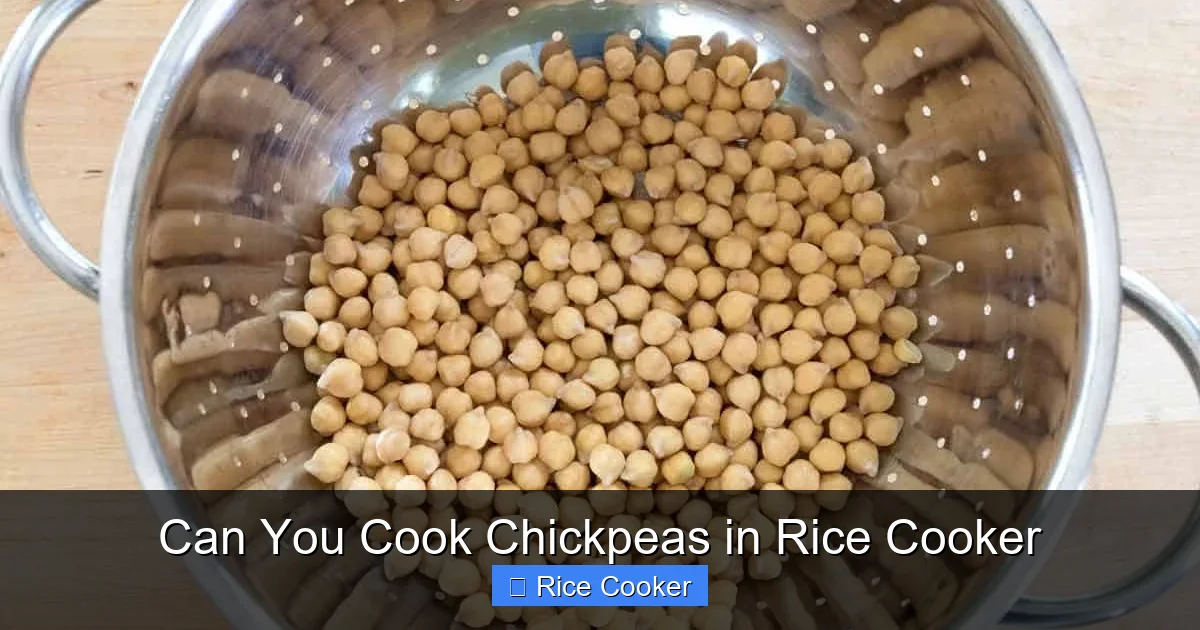
You absolutely can cook chickpeas in a rice cooker—it’s simple, efficient, and yields delicious results. Whether you’re meal prepping or making hummus, this method saves time and requires minimal effort. With the right water-to-rice ratio and soaking tips, your chickpeas will turn out soft, flavorful, and ready to use in salads, stews, or dips.
Key Takeaways
- Yes, chickpeas cook well in a rice cooker with proper preparation and timing.
- Soaking dried chickpeas overnight significantly reduces cooking time and improves texture.
- A 1:3 chickpea-to-water ratio typically works best for most rice cooker models.
- Seasoning during cooking (like salt, garlic, or herbs) enhances flavor without risk of over-seasoning later.
- Pressure cooker or instant pot settings offer even faster options if your rice cooker lacks high-pressure functions.
- Canned chickpeas need no cooking—just rinse and drain before using.
- Storing cooked chickpeas in an airtight container keeps them fresh for up to a week.
📑 Table of Contents
- Can You Cook Chickpeas in Rice Cooker? Absolutely—Here’s How!
- Why Use a Rice Cooker for Chickpeas?
- How to Cook Chickpeas in a Rice Cooker: Step-by-Step
- Tips for Perfect Chickpeas in a Rice Cooker
- Common Mistakes and How to Fix Them
- Alternative Methods: Rice Cooker vs. Other Techniques
- Creative Ways to Use Cooked Chickpeas
- Troubleshooting: What If My Chickpeas Aren’t Done?
- Storing and Freezing Cooked Chickpeas
- Final Thoughts: Is Cooking Chickpeas in a Rice Cooker Worth It?
- Conclusion
Can You Cook Chickpeas in Rice Cooker? Absolutely—Here’s How!
If you love hummus, roasted chickpeas, or hearty bean salads, you probably keep dried chickpeas on hand. But boiling a pot of water just for beans? That feels like overkill. Enter the humble rice cooker—your new kitchen ally for more than just white rice. Yes, you can cook chickpeas in a rice cooker, and it’s easier than you think. In fact, many home cooks swear by this method for its convenience, consistency, and hands-off approach. No more babysitting a pot on the stove or worrying about burning your beans. Just add chickpeas, water, maybe some seasonings, press a button, and walk away. When you return, you’ll have perfectly cooked, creamy-textured chickpeas ready to transform into your favorite dishes.
This guide walks you through everything you need to know: from soaking and ratios to troubleshooting common issues. Whether you’re a beginner or a seasoned cook looking to simplify meal prep, this article has you covered. Let’s dive in!
Why Use a Rice Cooker for Chickpeas?
The Convenience Factor
Rice cookers are designed to automate the cooking process. Once you add ingredients and set the timer, the machine handles temperature control, so you don’t have to. This is especially helpful when cooking chickpeas, which require long, slow cooking to break down their complex starches and make them digestible. Instead of monitoring a simmering pot, you can focus on chopping vegetables or preparing side dishes. After all, life’s too short to stand over a bubbling pot.
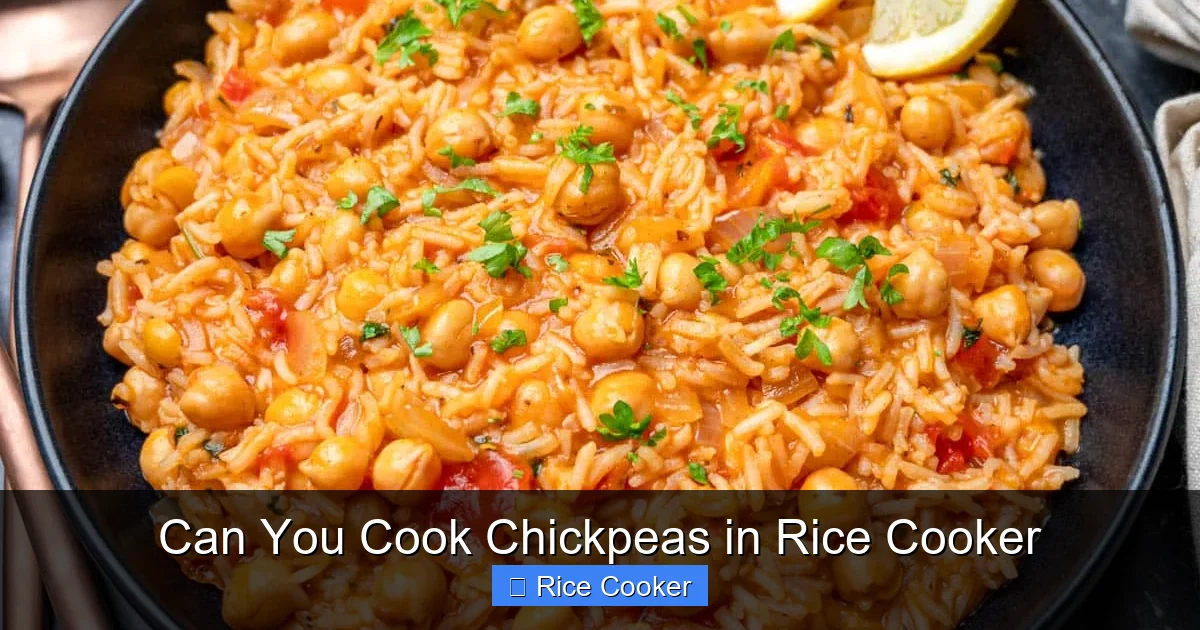
Visual guide about Can You Cook Chickpeas in Rice Cooker
Image source: vegancocotte.com
Consistent Results Every Time
Unlike stovetop cooking, where heat fluctuations can lead to mushy or undercooked beans, rice cookers maintain steady temperatures. Most modern models switch to “warm” mode automatically once cooking is complete, preventing overcooking. This means your chickpeas stay firm enough for salads but tender enough for purees. Plus, since there’s no direct flame, you eliminate the risk of scorching or burning.
Saves Energy and Time
Cooking chickpeas on the stove can take over an hour, depending on whether they’re soaked. A rice cooker cuts that time almost in half—especially if you use the soak-and-cook method. And because rice cookers use less energy than stovetops, you’re also doing your part for the environment. Win-win!
How to Cook Chickpeas in a Rice Cooker: Step-by-Step
Ingredients You’ll Need
- Dried chickpeas (about 1 cup)
- Water (for soaking and cooking)
- Optional seasonings: salt, bay leaf, garlic clove, onion, or cumin
Step 1: Soak Your Chickpeas
While not mandatory, soaking dried chickpeas overnight (or at least 8 hours) dramatically improves their texture and reduces cooking time. It also helps remove phytic acid, which can interfere with nutrient absorption. Simply place chickpeas in a bowl, cover with cold water (about 3 cups per 1 cup of chickpeas), and let them sit. If you’re short on time, use the quick-soak method: boil chickpeas for 2 minutes, then let them sit undisturbed for 1 hour.
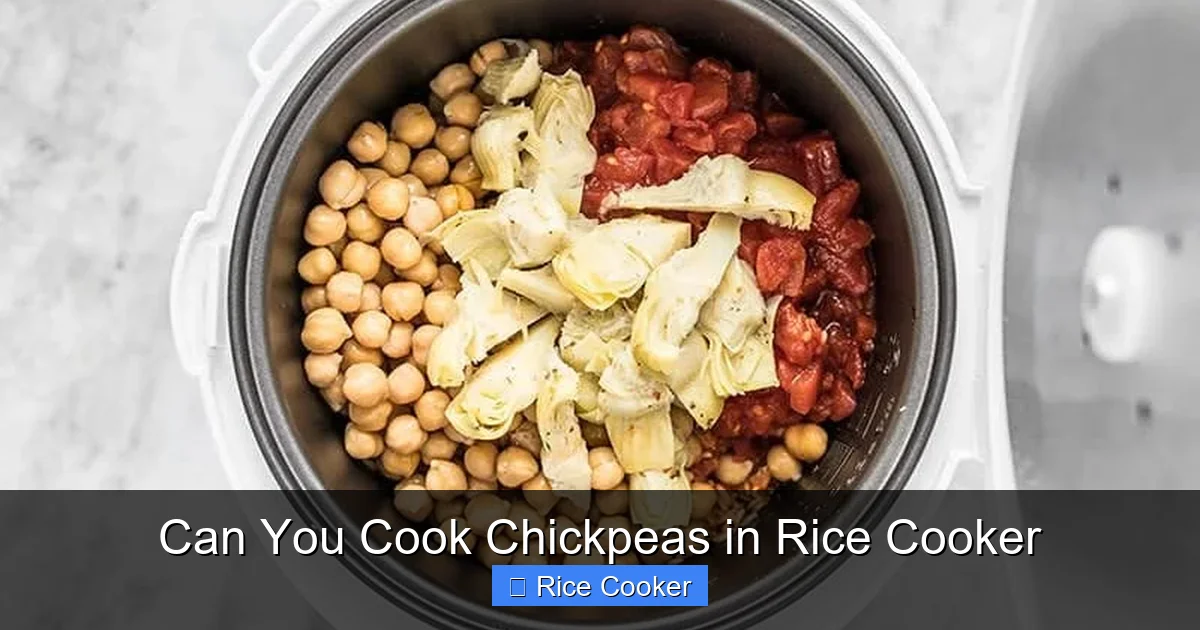
Visual guide about Can You Cook Chickpeas in Rice Cooker
Image source: budgetbytes.com
Step 2: Rinse and Drain
After soaking, drain and rinse the chickpeas thoroughly under cool running water. This removes any residue and excess starch. Skipping this step can lead to cloudy cooking water and slightly gritty beans.
Step 3: Add to Rice Cooker
Transfer the rinsed chickpeas to the inner pot of your rice cooker. For every 1 cup of dried chickpeas, use about 3 cups of water. If you like, toss in a pinch of salt, a bay leaf, or a smashed garlic clove for extra flavor. Avoid adding acidic ingredients (like tomatoes or vinegar) until after cooking, as they can toughen the skins.
Step 4: Start Cooking
Close the lid and select the “Cook” or “Normal” setting. Most rice cookers will automatically cycle between heating and warming. Total cooking time is usually around 45–60 minutes, depending on your model and whether the chickpeas were soaked. The beans are done when they’re soft to the bite but not falling apart.
Step 5: Test for Doneness
Open the lid carefully (steam may escape) and test a few chickpeas. They should yield easily when squeezed but still hold their shape. If they’re still hard, close the lid and cook for another 10–15 minutes.
Step 6: Cool and Store
Once done, turn off the rice cooker and let the chickpeas sit for 10 minutes. Then transfer them to an airtight container. They’ll keep in the fridge for up to a week or freeze for up to 3 months.
Tips for Perfect Chickpeas in a Rice Cooker
Use the Right Water Ratio
The golden rule is 1 part chickpeas to 3 parts water. Too little water leads to dry, crumbly beans; too much makes the dish soggy. Adjust slightly based on your rice cooker’s size—larger batches may need a bit more liquid.
Don’t Overcrowd the Pot
Leave room for the chickpeas to expand as they absorb water. Overfilling can cause uneven cooking or block airflow. Stick to no more than 2–3 cups of dried chickpeas at once.
Add Salt at the Beginning
Adding salt early helps break down cell walls and ensures even seasoning throughout. Just avoid high-heat oils or acidic ingredients during cooking.
Try Flavor Infusions
For spiced chickpeas, add cumin, coriander, smoked paprika, or a strip of orange zest during cooking. These infuse beautifully without needing long marination.
Repurpose Leftovers Creatively
Use cooked chickpeas in soups, grain bowls, falafel, or simply roast them with olive oil and spices for a crunchy snack.
Common Mistakes and How to Fix Them
Mistake: Not Soaking Dried Beans
Result: Long cooking times and tough texture.
Solution: Always soak unless using canned beans.
Mistake: Using Too Much Water
Result: Weak, soupy beans.
Solution: Stick to the 1:3 ratio and drain excess liquid after cooking.
Mistake: Adding Acidic Ingredients Early
Result: Tough, leathery skins.
Solution: Add lemon juice or vinegar only after cooking.
Mistake: Rushing the Process
Result: Undercooked, chalky centers.
Solution: Allow 45–60 minutes total, including soaking time.
Mistake: Skipping the Rinse
Result: Gritty texture and cloudy water.
Solution: Always rinse before cooking.
Alternative Methods: Rice Cooker vs. Other Techniques
Rice Cooker vs. Stovetop
Stovetop cooking gives you more control over texture (you can stir occasionally), but it demands attention. The rice cooker wins for busy days or batch cooking.
Rice Cooker vs. Pressure Cooker
If your rice cooker has a pressure function (like some newer models), it’s even faster—around 20–30 minutes total. But standard rice cookers still work great with patience.
Rice Cooker vs. Instant Pot
An Instant Pot uses high pressure to cut cooking time drastically. While faster, it may result in softer beans compared to the gentle heat of a rice cooker.
When to Use Canned Chickpeas
Skip cooking altogether! Canned chickpeas are pre-cooked and just need rinsing. Use them in salads, smoothies, or sautéed dishes for speed.
Creative Ways to Use Cooked Chickpeas
Classic Hummus
Blend cooked chickpeas with tahini, lemon juice, garlic, and olive oil until smooth. Serve with pita or veggie sticks.
Roasted Chickpeas
Toss drained chickpeas with olive oil, salt, and spices. Spread on a baking sheet and roast at 400°F (200°C) for 25–30 minutes until crispy.
Chickpea Salad
Mix with diced cucumber, tomato, parsley, feta, and a light vinaigrette. Perfect for lunches or picnics.
Falafel Balls
Pulse chickpeas with herbs, onion, garlic, and spices. Form into patties and pan-fry or bake until golden.
Chickpea Curry
Sauté onions, garlic, and spices. Add chickpeas and coconut milk. Simmer for 15 minutes and serve over rice.
Chickpea Soup
Combine chickpeas with vegetable broth, carrots, celery, and thyme. Blend partially for a creamy texture.
Troubleshooting: What If My Chickpeas Aren’t Done?
If your chickpeas are still hard after the recommended time, don’t panic. Turn the rice cooker back on and let them cook for another 10–15 minutes. Keep an eye on them—overcooking can make them mushy. If you notice the water evaporating completely, add a splash more hot water before continuing.
Another tip: check the age of your chickpeas. Older beans take longer to soften. Look for fresh, plump beans with intact skins. Avoid those with cracks or discoloration.
Storing and Freezing Cooked Chickpeas
Store cooled chickpeas in an airtight container in the refrigerator for up to 7 days. For longer storage, freeze in portions for up to 3 months. Thaw overnight in the fridge before reheating.
Note: Frozen chickpeas may become slightly softer upon thawing, so they’re ideal for recipes where texture isn’t critical—like soups or dips.
Final Thoughts: Is Cooking Chickpeas in a Rice Cooker Worth It?
Absolutely. This method combines simplicity, efficiency, and reliability. Whether you’re feeding a family, meal prepping for the week, or just craving homemade hummus, the rice cooker delivers consistent results with minimal effort. Plus, it opens up creative possibilities beyond basic legumes. From spiced snacks to wholesome meals, cooked chickpeas are incredibly versatile.
And honestly? There’s something satisfying about knowing exactly what went into your food—no preservatives, no added sugars, just clean, plant-based goodness. So next time you open a bag of dried chickpeas, skip the stovetop and reach for your rice cooker instead. Your future self (and taste buds) will thank you.
Conclusion
Cooking chickpeas in a rice cooker is not only possible—it’s practical, tasty, and beginner-friendly. With the right steps and a little patience, you’ll never look back. Embrace the ease, experiment with flavors, and enjoy the benefits of homegrown nutrition. Whether you’re new to legumes or a seasoned cook, this technique belongs in every kitchen.
Frequently Asked Questions
Can I cook canned chickpeas in a rice cooker?
No, canned chickpeas are already cooked. Adding them to a rice cooker would make them mushy. Instead, rinse and drain them before using in recipes.
How long does it take to cook chickpeas in a rice cooker?
Approximately 45–60 minutes, depending on whether the chickpeas were soaked. Soaked beans cook faster than dry ones.
Do I need to soak chickpeas before cooking in a rice cooker?
Soaking is recommended for better texture and shorter cooking time, but not required. Dry chickpeas can still cook fully—just take longer.
Can I add salt or spices while cooking chickpeas in a rice cooker?
Yes, add salt and mild spices during cooking. Avoid acidic ingredients like lemon juice or tomatoes until after cooking to prevent toughness.
What should I do if my chickpeas are still hard after cooking?
Turn the rice cooker back on and cook for another 10–15 minutes. If water runs low, add a little more before continuing.
Can I freeze cooked chickpeas from the rice cooker?
Yes, store them in an airtight container and freeze for up to 3 months. Thaw in the fridge before use.