
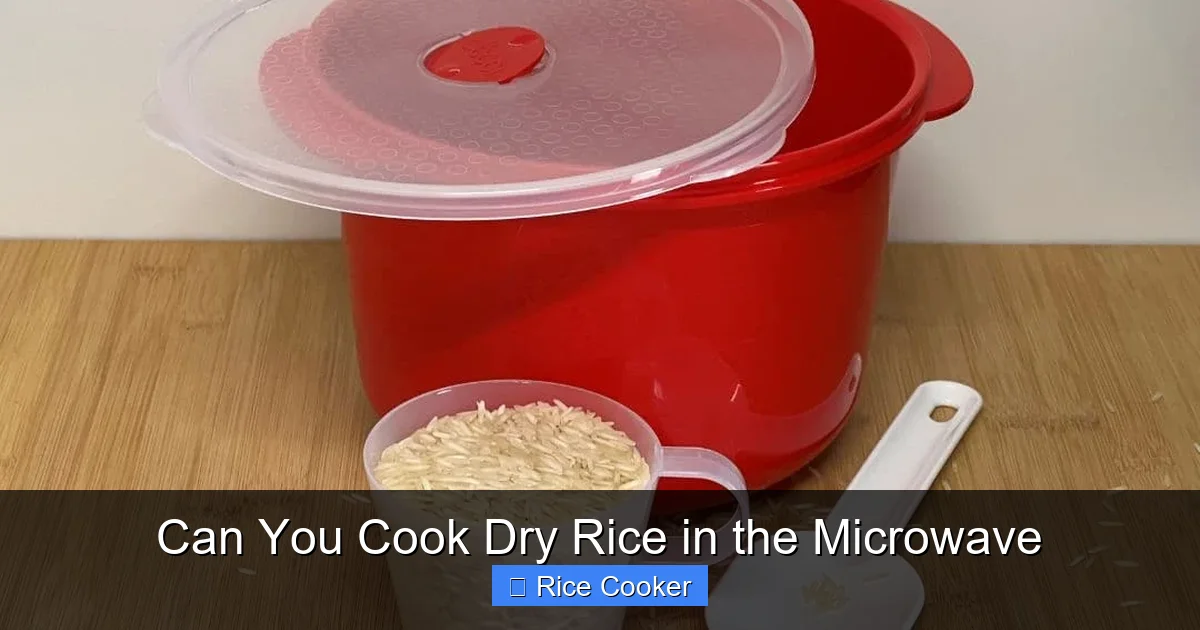
Can you cook dry rice in the microwave? Absolutely! It’s a fast, convenient way to prepare fluffy rice without any special equipment. With the right technique—like using a vented lid and proper water ratio—you’ll get delicious results in under 10 minutes.
Key Takeaways
- Yes, it’s possible: Dry rice can be cooked entirely in the microwave using the right method and timing.
- Proper water ratio is key: Most types of rice require about 2:1 water-to-rice ratio for best texture.
- Vented container prevents explosion: Always cover the dish with something breathable like wax paper or a microwave-safe lid.
- Cooking time varies by type: White rice usually takes 8–10 minutes; brown rice may need 15–20 minutes.
- Let it rest after cooking: Standing for 3–5 minutes helps steam finish the process and fluff the grains.
- No rice cooker? No problem: Microwaving is a great alternative when your electric rice cooker isn’t available.
- Experiment safely: Adjust times slightly based on your microwave wattage and desired consistency.
📑 Table of Contents
- Can You Cook Dry Rice in the Microwave? A Complete Guide
- Why Choose the Microwave Method?
- How to Cook Dry Rice in the Microwave: Step-by-Step
- Common Mistakes to Avoid
- Tips for Perfect Microwave Rice Every Time
- Troubleshooting: What If My Rice Is Too Wet or Too Dry?
- Can You Use This Method for Other Grains?
- Is Microwave Rice as Good as Stovetop or Rice Cooker?
- Final Thoughts: Convenience Meets Flavor
Can You Cook Dry Rice in the Microwave? A Complete Guide
Have you ever found yourself craving a bowl of warm, fluffy rice but realized your rice cooker is broken or you’re out of power? Or maybe you just want something quick and hands-off while prepping dinner. The answer to your dilemma? Yes—you absolutely can cook dry rice in the microwave. In fact, microwaving is one of the fastest ways to turn raw grains into a tasty side dish or base for stir-fries, curries, or salads.
Unlike traditional stovetop methods that take 20–30 minutes, microwaving dry rice typically finishes in under 15 minutes. And here’s the best part: you don’t need fancy gadgets. Just a microwave-safe bowl, some water, and a little patience. Whether you’re cooking white, brown, jasmine, basmati, or even instant rice, this method works surprisingly well—if you follow a few simple steps. Let’s walk through everything you need to know to make perfect microwave rice every single time.
Why Choose the Microwave Method?
The Speed Advantage
If you’re short on time—say, rushing between work and dinner prep—the microwave wins hands down. While boiling rice on the stove requires constant attention (stirring occasionally, watching for boil-overs), microwaving is fully automated once you set the timer. Just mix, cover, zap, wait, and fluff. For busy households, college students, or anyone who values convenience, this method is a game-changer.
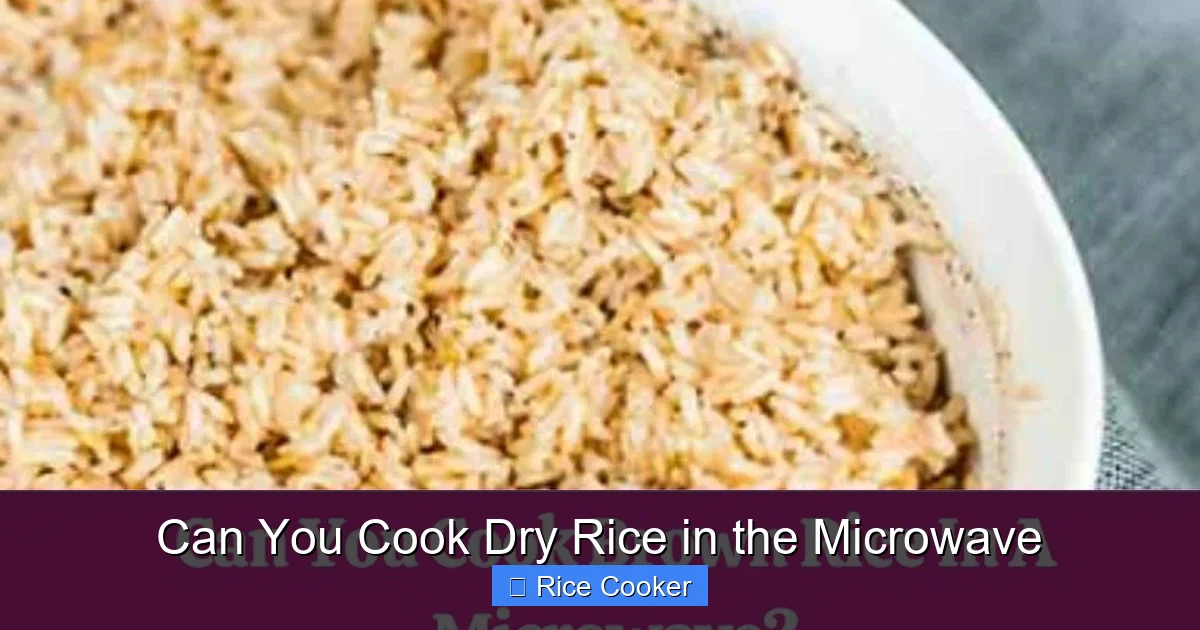
Visual guide about Can You Cook Dry Rice in the Microwave
Image source: mymicrowaveguide.com
Energy Efficiency
Microwaves use less energy than gas burners or electric stoves. That means lower electricity bills and less heat generated in your kitchen during hot months. Plus, because the process happens quickly, there’s minimal energy loss compared to leaving a pot simmering for half an hour.
Minimal Cleanup
With microwaving, you only have one bowl to wash—no large pots, no splatters on your stovetop. This is especially helpful if you’re cooking for one or two people and don’t want to deal with leftover cleanup.
Consistent Results (When Done Right)
Once you master the basics—water ratio, covering technique, resting period—you’ll get reliably fluffy, non-sticky rice. Unlike some recipes where overcooking leads to mushiness, the microwave’s controlled heating helps prevent scorching when used properly.
How to Cook Dry Rice in the Microwave: Step-by-Step
Choose the Right Container
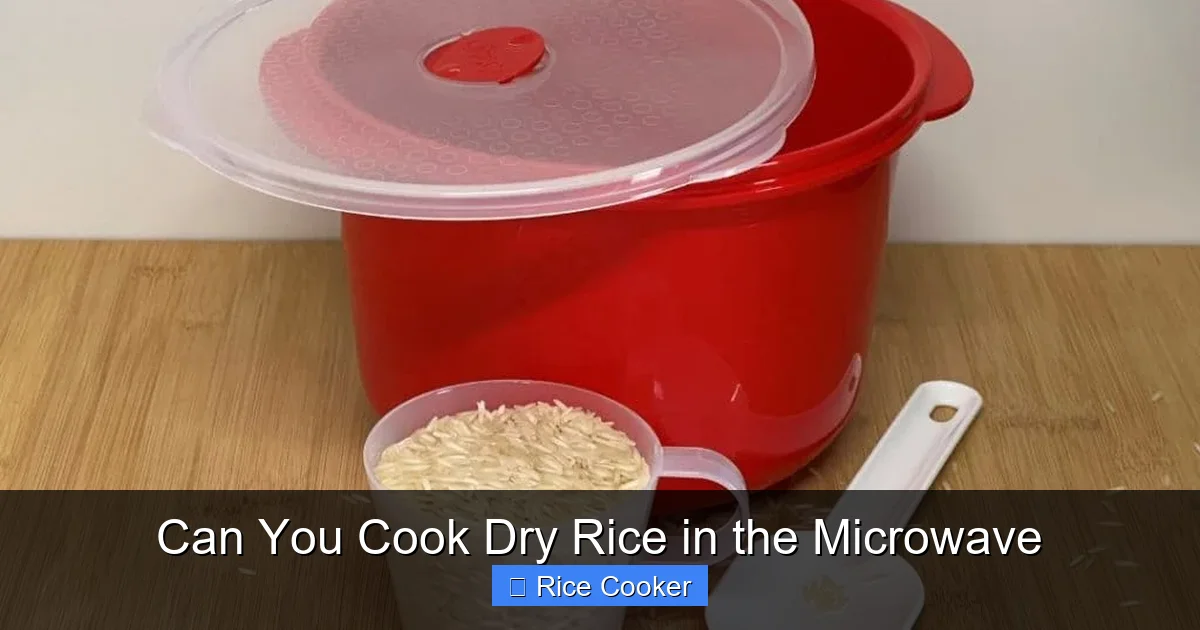
Not all containers are created equal. You’ll need a microwave-safe dish—glass, ceramic, or microwave-safe plastic—that’s large enough to allow the rice to expand as it cooks. Avoid metal, aluminum foil, or non-microwave-safe plastics, which can melt or release harmful chemicals.
Visual guide about Can You Cook Dry Rice in the Microwave
Image source: ovenspot.com
A good rule of thumb: use a deep bowl rather than a shallow plate, since steam needs space to circulate. Also, make sure the container has a lid—or something you can loosely cover it with—to trap moisture and speed up cooking.
Measure Water Accurately
The secret to great microwave rice lies in the water-to-rice ratio. Too much water = soggy rice. Too little = undercooked clumps. Here’s a general guide:
- White long-grain rice: 1 cup rice + 2 cups water
- Brown rice: 1 cup rice + 2.5 cups water (brown rice takes longer and absorbs more liquid)
- Jasmine or basmati rice: 1 cup rice + 1.75–2 cups water
- Instant rice: Follow package instructions (usually 1 cup rice + 1.5 cups water)
Use measuring cups for accuracy—don’t eyeball it!
Combine Rice and Water
Rinse your rice first if you’re not using instant rice. Rinsing removes excess starch and helps prevent gummy results. Place rinsed rice and measured water into your microwave-safe bowl.
For extra flavor, you can add a pinch of salt, a teaspoon of oil, or even a bay leaf before microwaving. But keep in mind that these won’t infuse as deeply as when simmering on the stove—still, they add subtle taste!
Cover the Bowl Properly
This step is crucial. Covering traps steam, which softens the grains evenly. However, a tight seal can cause pressure buildup and messy explosions. Instead, use one of these safe options:
- Microwave-safe lid with vents
- Plate slightly larger than the bowl (placed upside down over the top)
- Wax paper secured with a rubber band
- Paper towel draped loosely over the bowl
Remember: whatever you use must allow steam to escape. Otherwise, your rice might end up waterlogged or worse—steam could push food out of the container.
Microwave in Intervals
Don’t just set the timer and walk away! Start with high power (100%) for initial cooking, then reduce to medium (50–70%) to prevent bubbling over. Here’s a basic timeline:
- White rice: High for 6 minutes, then medium for 2–4 minutes
- Brown rice: High for 8 minutes, then medium for 7–10 minutes
- Jasmine/basmati: High for 5 minutes, then medium for 3–5 minutes
After each interval, carefully remove the cover (watch out for hot steam!), give the rice a gentle stir with a fork, and check doneness. The ideal texture is tender but separate—not mushy, not hard at the center.
Rest and Fluff
Just like freshly made pasta, rice benefits from a short rest after cooking. Let it sit covered for 3–5 minutes. This allows residual steam to finish hydrating the grains and makes them easier to fluff with a fork.
Fluff gently—don’t mash! Overworking the rice will turn it into paste.
Common Mistakes to Avoid
Using the Wrong Container
As mentioned earlier, never use metal or unapproved plastics. Even some “microwave-safe” labels can be misleading—when in doubt, stick to glass or ceramic.
Skipping the Rest Period
Rushing past the resting phase often leads to unevenly cooked rice. Some parts stay firm while others become too soft. Patience pays off here!
Overfilling the Bowl
Cooking too much rice at once reduces airflow and increases the risk of burning or uneven heating. Stick to small batches (1–2 cups) unless your container is very large.
Ignoring Stirring Midway
Stirring redistributes heat and prevents clumping. Skipping this step can result in pockets of uncooked rice surrounded by mush.
Wrong Water Ratio
Brown rice, in particular, needs more water than white rice due to its bran layer. Using the same ratio for both will leave brown rice tough.
Tips for Perfect Microwave Rice Every Time
Adjust for Your Microwave Wattage
Most microwaves range from 600 to 1200 watts. If yours is on the lower end (<600W), increase cooking time by 1–2 minutes per interval. High-wattage models may need slightly less time. When testing, start conservatively and adjust next time.
Try Different Rice Types
While white rice works best for beginners, other varieties can also shine in the microwave:
- Sushi rice: Cook with 1:1.2 water ratio; rest longer for sticky texture
- Wild rice blend: May require extra water and extended time
- Arborio rice: Best for risotto-style textures—add broth instead of water for creaminess
Add Flavor Without Compromising Texture
Instead of relying solely on added liquids for flavor, try soaking rice in seasoned broth overnight, or mixing in herbs/spices before microwaving. Garlic powder, turmeric, or even a splash of soy sauce can elevate plain rice dramatically.
Store Leftovers Correctly
Cool cooked rice completely before refrigerating. Store in an airtight container for up to 5 days. Reheat in the microwave with a damp paper towel to retain moisture—or add a splash of water when warming.
Troubleshooting: What If My Rice Is Too Wet or Too Dry?
Too Soggy?
If your rice is mushy and watery, it likely absorbed too much liquid or wasn’t rested long enough. Next time, reduce water by ¼ cup and skip the final resting phase if you’re in a hurry. Alternatively, spread the rice on a baking sheet after cooking and let it cool briefly—this evaporates excess moisture.
Still Hard or Undercooked?
Undercooked centers usually mean insufficient time or too little water. Add another tablespoon of water, re-cover tightly, and microwave for 1–2 more minutes on high. Be careful not to overdo it—you can always cook more, but you can’t uncook rice!
Bitter or Burnt Taste?
This often happens when rice sticks to the bottom of the bowl. To prevent it, ensure the bowl is wide and shallow enough for even heating. Also, avoid overcrowding and consider adding a bit of fat (oil or butter) to the water to coat the grains and reduce sticking.
Can You Use This Method for Other Grains?
Absolutely! The principles remain similar:
- Quinoa: 1 cup quinoa + 2 cups water; cook 12–15 minutes
- Millet: 1 cup millet + 2.5 cups water; cook 15–18 minutes
- Couscous: Not recommended—it’s designed to absorb steam passively, not actively cook
- Oats: Can be made into oatmeal; use 1 cup oats + 2.5 cups water/milk
Always research specific ratios and times for each grain, though.
Is Microwave Rice as Good as Stovetop or Rice Cooker?
That depends on your standards and ingredients. Stovetop rice offers richer flavor development through prolonged simmering, while electric rice cookers automate the entire process with precise temperature control. However, microwave rice delivers satisfying results quickly—especially for simple sides or last-minute meals. For occasional use, it’s more than adequate. For daily cooking or gourmet dishes, dedicated appliances may still win out—but don’t underestimate the microwave’s utility!
Final Thoughts: Convenience Meets Flavor
Cooking dry rice in the microwave isn’t just a backup plan—it’s a legitimate, efficient technique worth mastering. With practice, you’ll develop a feel for timing, water levels, and texture. And the best part? You’re not limited to plain white rice anymore. Experiment with spices, vegetables, or even proteins (like diced chicken or beans) mixed in for a complete meal.
So next time your rice cooker breaks, your stove is full, or you’re just craving something fast, remember: yes, you can cook dry rice in the microwave. And when done right, it tastes fantastic.
Frequently Asked Questions
Can I cook different types of rice in the microwave?
Yes, most common rice varieties—including white, brown, jasmine, basmati, and even instant—can be cooked in the microwave. Each type may require slightly different water ratios and cooking times, so adjust accordingly for best results.
Do I need to rinse the rice before microwaving?
It’s recommended to rinse non-instant rice to remove excess starch, which helps prevent clumping and gumminess. Rinse until the water runs clear, then proceed with cooking.
What kind of cover should I use for microwave rice?
Use a microwave-safe lid with vents, wax paper secured with a rubber band, or a plate placed upside down over the bowl. Whatever you choose, it must allow steam to escape to prevent overflow.
How do I reheat leftover microwave rice?
Place the cooled rice in a microwave-safe dish, add a splash of water, cover loosely, and heat in 30-second intervals until warmed through. Stir between intervals to distribute heat evenly.
Why does my microwave rice come out sticky or mushy?
This usually happens when there’s too much water, not enough resting time, or insufficient stirring during cooking. Try reducing the water by ¼ cup next time and always let the rice rest before fluffing.
Is it safe to cook rice directly in the microwave without a container?
No—never attempt to cook rice directly on a microwave tray or plate without a proper container. Food can splatter, damage your appliance, or create fire hazards. Always use a designated microwave-safe bowl.