
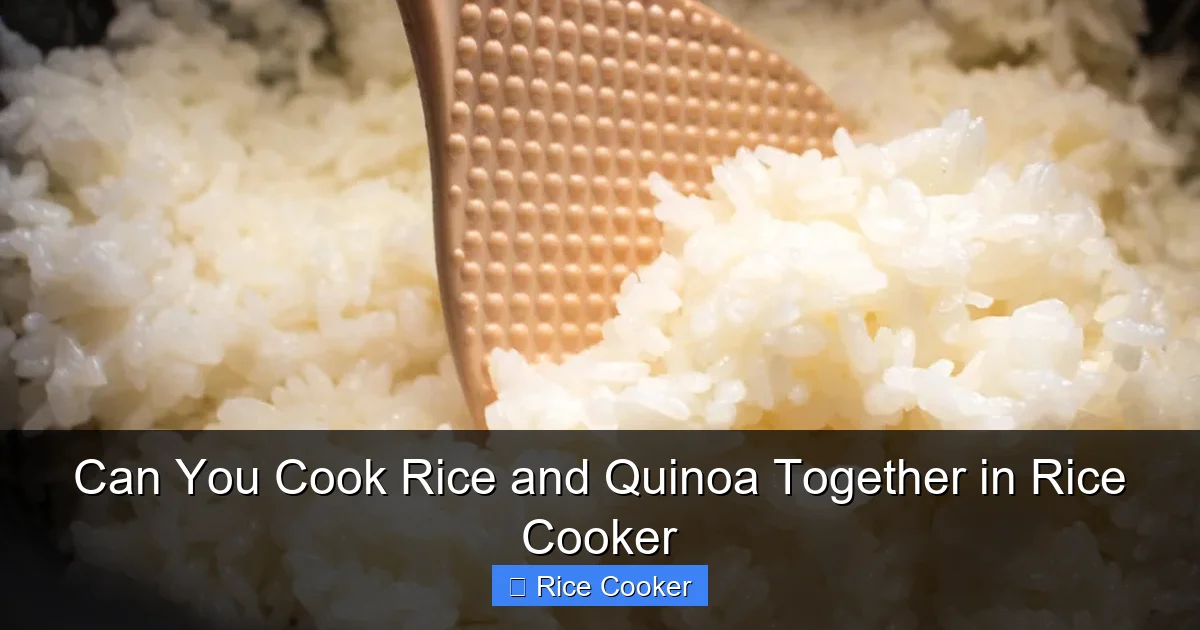
You absolutely can cook rice and quinoa together in your rice cooker, and it’s a fantastic way to boost your meals with protein, fiber, and variety. While the cooking times differ slightly, using the right water-to-grain ratio and preparation method ensures both grains cook evenly and stay fluffy. With a few simple adjustments, you’ll enjoy a delicious, nutritious blend every time.
Key Takeaways
- Yes, they can be cooked together: Rice and quinoa are compatible in a rice cooker when prepared properly.
- Use the right water ratio: Quinoa absorbs more water than white rice, so adjust liquid accordingly.
- Rinse quinoa thoroughly: Removing saponins prevents bitterness and improves texture.
- Cook quinoa first if needed: Since quinoa takes longer, consider starting it before adding rice.
- Experiment with flavors: Add herbs, spices, or broth for extra taste without changing cooking time.
- Texture matters: White rice cooks faster; brown rice or wild rice may require longer soaking or adjustment.
- Clean-up is easy: Most rice cookers have non-stick inner pots—just rinse after use.
📑 Table of Contents
- Can You Cook Rice and Quinoa Together in a Rice Cooker?
- The Science Behind Cooking Grains in a Rice Cooker
- Can You Actually Cook Them Together?
- Step-by-Step Guide: Cooking Rice and Quinoa Together
- Common Mistakes and How to Fix Them
- Troubleshooting Tips for Perfect Results
- Flavor Enhancements Without Complicating Cooking
- Nutritional Benefits of Combining Rice and Quinoa
- Best Practices for Different Rice Cooker Models
- Storage and Reheating Tips
- Creative Recipe Ideas Using Rice and Quinoa Blend
- Final Thoughts: Is It Worth It?
Can You Cook Rice and Quinoa Together in a Rice Cooker?
Imagine waking up on a busy weekday morning, prepping just one pot, and having a complete, balanced meal ready in under 30 minutes. That’s the magic of combining rice and quinoa in your rice cooker. These two superfoods are staples in kitchens around the world—rice for its mild flavor and fluffy texture, quinoa for its protein punch and earthy taste. But when you try to mix them in the same pot, things can go wrong: mushy quinoa, undercooked rice, or worse—bitter-tasting grains. So, can you actually cook rice and quinoa together in a rice cooker? The short answer is yes, but only if you follow some key steps.
This article will walk you through everything you need to know: how much water to use, whether you should soak either grain, how long to cook them, and even how to fix common mistakes. Whether you’re feeding a family, meal prepping for the week, or simply craving something more nutritious than plain white rice, blending rice and quinoa in your rice cooker is not only possible—it’s delicious and surprisingly simple.
The Science Behind Cooking Grains in a Rice Cooker
How Rice Cookers Work
Rice cookers use heat and steam to transform raw grains into perfectly cooked meals. They rely on a thermostat to detect when the water has evaporated—signaling that the grains are done. Most models then switch to a “keep warm” mode. This automation makes them ideal for consistent results, but it also means they don’t always account for differences between grain types.
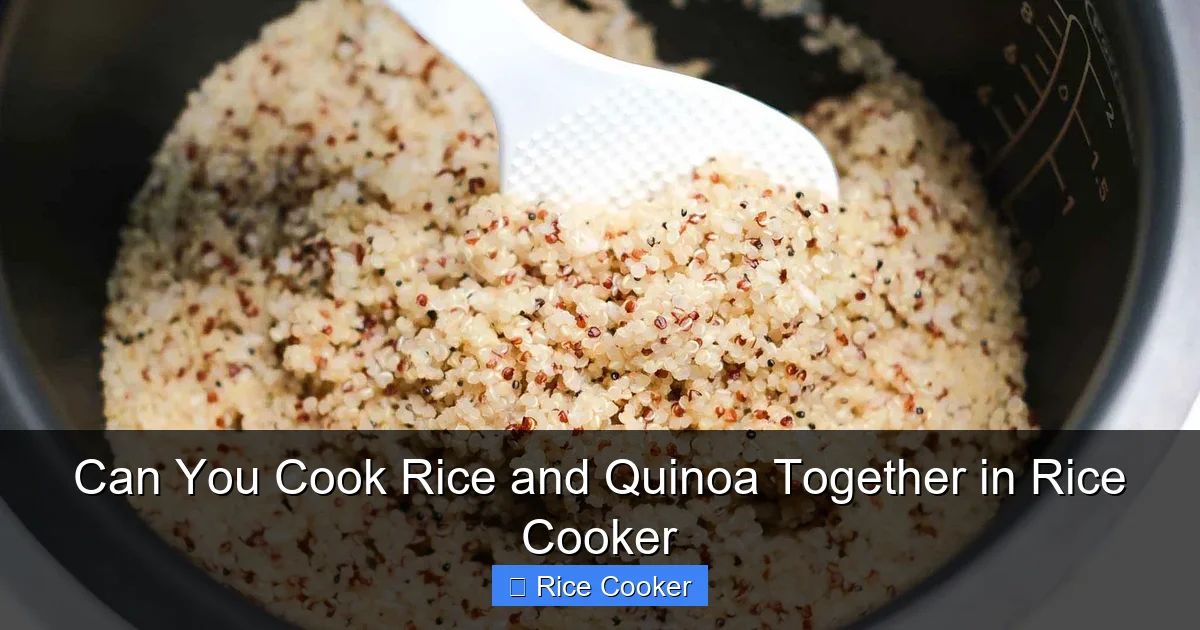
Visual guide about Can You Cook Rice and Quinoa Together in Rice Cooker
Image source: kunyitpepper.com
Why Rice and Quinoa Behave Differently
Rice (especially white rice) is mostly starch and swells quickly when exposed to heat. Quinoa, on the other hand, contains more protein and fiber, which affects how it absorbs water and expands. Unlike rice, quinoa needs to be rinsed before cooking to remove natural bitterness from saponins on its outer coating.
When combined, these differences mean that if you just dump both grains into the pot with equal water and press start, one might end up overdone while the other is still crunchy. That’s why understanding their unique properties helps you succeed.
Can You Actually Cook Them Together?
The straightforward answer is yes—but with caveats. You can cook rice and quinoa together in a rice cooker, but it works best when you prepare them correctly. Here’s what you need to know before hitting the “cook” button.
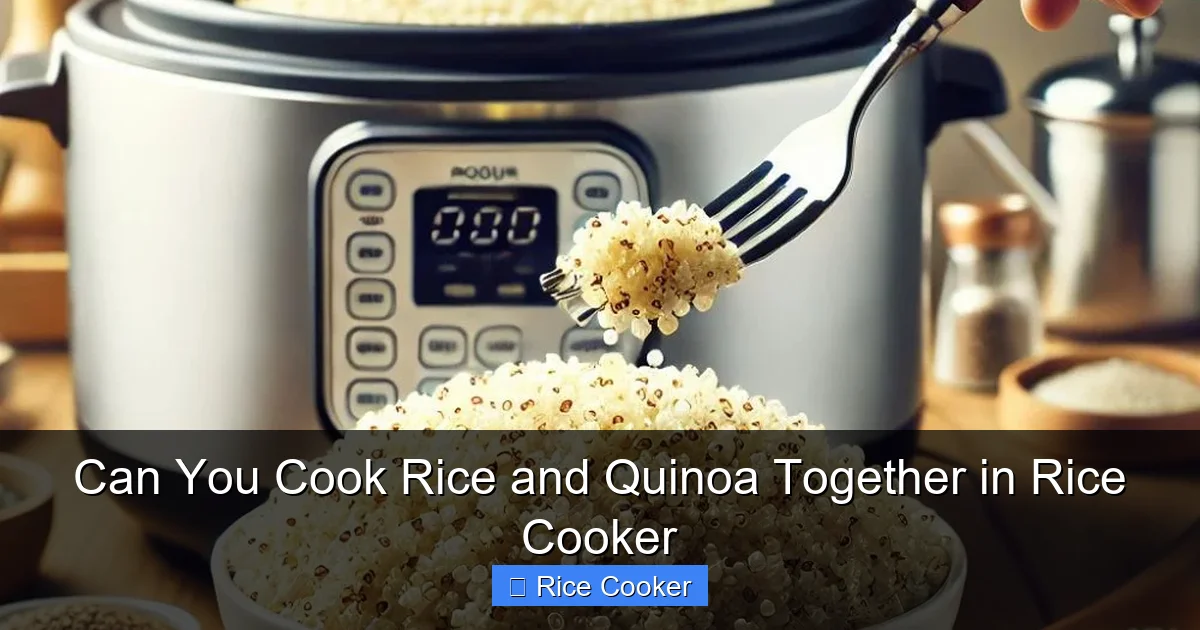
Visual guide about Can You Cook Rice and Quinoa Together in Rice Cooker
Image source: housearctic.com
Which Rice Should You Use?
White rice is usually the easiest choice because it cooks quickly and stays light. Brown rice adds more fiber and nutrients but requires longer cooking time and more water. If you’re using brown rice, expect your total cooking time to increase by about 20–30 minutes.
Wild rice or other specialty rices may also work, but they often need separate soaking or longer prep. For beginners, stick to white or brown rice paired with quinoa.
Should You Soak Quinoa First?
Soaking isn’t strictly necessary, but it helps reduce cooking time slightly and softens the grains. To soak: place rinsed quinoa in water for 15–30 minutes, then drain before adding to the rice cooker. This step is optional but helpful, especially if you’re using older quinoa or want a softer final product.
Do You Need to Rinse Both Grains?
Always rinse quinoa—never skip this step. Use a fine-mesh strainer and run cool water until the water runs clear. This removes the bitter-tasting saponins. Rice generally doesn’t need rinsing unless it’s labeled as “parboiled” or “enriched,” which sometimes contain excess starch.
Step-by-Step Guide: Cooking Rice and Quinoa Together
Ready to give it a try? Follow this simple process for foolproof results every time.
Step 1: Measure Your Ingredients
A good starting ratio is 1 cup quinoa + 1 cup rice, yielding about 4 servings. Adjust based on your appetite or recipe needs. Remember: quinoa expands more than rice, so don’t overcrowd the pot.
Step 2: Rinse the Quinoa
Place quinoa in a strainer and rinse under cold running water for 60 seconds. Shake gently to remove excess moisture.
Step 3: Combine Water and Grains
For most rice cookers, use this water ratio:
- 1 cup quinoa + 1 cup white rice: 2.5 cups water
- 1 cup quinoa + 1 cup brown rice: 3 cups water
Add the rinsed quinoa, uncooked rice, and water to the inner pot. Stir gently once to distribute evenly.
Step 4: Set the Mode and Start
Most standard rice cookers have a single “white rice” setting. Press start and let it do its thing. Avoid opening the lid during cooking—this releases steam and can affect timing.
Step 5: Let It Rest
Once finished, wait 5–10 minutes with the lid on. This allows any remaining moisture to absorb and prevents sticking.
Step 6: Fluff and Serve
Use a fork to fluff the mixture gently. Taste for texture—if the quinoa feels gritty, it wasn’t rinsed well. If the rice is too soft, next time reduce water slightly.
Common Mistakes and How to Fix Them
Even experienced cooks make errors when mixing grains. Here’s how to avoid them—and recover if things go sideways.
Mistake 1: Not Rinsing Quinoa
Symptom: Bitter, soapy taste
Fix: Discard the batch and start over. Always rinse quinoa thoroughly before cooking.
Mistake 2: Using Too Much or Too Little Water
Symptom: Mushy quinoa or dry, hard rice
Fix: Keep notes! Track water amounts per batch. A small adjustment next time will solve it.
Mistake 3: Overcrowding the Pot
Symptom: Uneven cooking, burnt bottom, uneven texture
Fix: Don’t exceed 2 cups total grains in most rice cookers. Leave room for expansion.
Mistake 4: Skipping the Resting Phase
Symptom: Sticky clumps, uneven moisture
Fix: Always let cooked grains rest 5–10 minutes before serving. It makes a huge difference.
Troubleshooting Tips for Perfect Results
What if your first attempt didn’t turn out great? No worries. Here’s how to troubleshoot and improve future batches.
Too Wet? Try Absorbing Extra Moisture
If your mix is soupy or clumpy, scoop out half, spread it on a baking sheet, and toast in a 300°F oven for 10–15 minutes. This evaporates excess water and adds nuttiness.
Too Dry? Add Liquid Gradually
Never pour boiling water directly into hot grains—it causes cracking. Instead, mix 1–2 tablespoons of warm water into the pot, cover tightly, and steam for 5 minutes. Check again before serving.
Still Gritty Quinoa?
This usually means inadequate rinsing or old quinoa. Try soaking it longer (up to 2 hours) or switching brands. Fresh quinoa should feel smooth when rubbed between fingers.
Want Cheaper Alternatives?
Consider using leftover cooked quinoa or rice. Mix 1 part cooked quinoa with 1 part cooked rice, add a splash of broth or oil, and reheat in the rice cooker on “warm” mode for 10 minutes.
Flavor Enhancements Without Complicating Cooking
The beauty of cooking rice and quinoa together is that you can infuse flavor without changing the basic process. Try these ideas:
- Herbs: Add a bay leaf or sprig of thyme to the water while cooking.
- Spices: Stir in turmeric, cumin, or smoked paprika for warmth.
- Liquid Swap: Replace some water with vegetable broth for deeper flavor.
- Fat Boost: Add a teaspoon of olive oil or coconut oil to enrich the dish.
- Sweet Twist: For breakfast bowls, use almond milk instead of water and add cinnamon or maple syrup.
These tweaks elevate the meal without requiring extra steps—perfect for busy days!
Nutritional Benefits of Combining Rice and Quinoa
Beyond great taste, mixing rice and quinoa gives you a powerhouse combo of nutrients. Here’s why it’s worth the effort:
- Complete Protein: Quinoa provides all nine essential amino acids; rice fills in the gaps, creating a complete protein profile.
- Fiber Power: Quinoa offers 5 grams of fiber per cup (cooked); rice adds complexity. Together, they support digestion and satiety.
- Vitamins & Minerals: Quinoa is rich in magnesium, iron, and B vitamins. Rice contributes manganese and selenium.
- Blood Sugar Control: The combination of complex carbs and protein helps stabilize glucose levels.
- Versatility: Use it as a base for stir-fries, salads, burrito bowls, or even desserts like rice pudding with quinoa flakes.
For vegetarians and vegans, this duo becomes especially valuable—providing protein where plant-based diets might otherwise lack it.
Best Practices for Different Rice Cooker Models
Not all rice cookers are created equal. Some have multiple settings (like “brown rice” or “quick cook”), while others are basic. Here’s how to adapt:
Basic Rice Cookers (Single Setting)
These work fine for white rice + quinoa. Just remember that brown rice will take longer and may need extra water. If your model lacks a delay timer, prep ingredients ahead of time.
Advanced Rice Cookers (Multiple Settings)
Look for “mixed grain” or “multi-grain” settings—they’re designed for exactly this purpose! These models often adjust cooking time automatically.
Pressure Cookers with Rice Function
If you’re using an Instant Pot or similar device, set it to “Manual” at high pressure for 8–10 minutes (white rice + quinoa). Natural release for 10 minutes, then quick release any remaining pressure.
Non-Stick vs. Stainless Steel Pots
Most modern rice cookers come with non-stick pots—easy to clean! If yours has stainless steel, line it with parchment paper to prevent sticking.
Storage and Reheating Tips
Leftovers are a win-win. Store cooled cooked rice and quinoa in airtight containers in the fridge for up to 5 days. Freeze portions for up to 3 months—just thaw overnight in the fridge before reheating.
To reheat:
- Microwave with a damp paper towel to retain moisture.
- Add a splash of water or broth if needed.
- Stir halfway through heating for even warmth.
Pro tip: Flavorful leftovers taste even better after resting—so plan accordingly!
Creative Recipe Ideas Using Rice and Quinoa Blend
Don’t let your newfound skill go to waste. Try these tasty applications:
- Buddha Bowl: Top with roasted sweet potatoes, chickpeas, avocado, and tahini dressing.
- Mexican Burrito Filling: Mix with black beans, corn, salsa, and cheese. Warm before wrapping.
- Sushi Base: Cook with a pinch of vinegar and sugar. Cool completely before rolling.
- Breakfast Porridge: Use almond milk, chia seeds, and berries. Simmer on stove or rice cooker “warm” mode.
- Fried Rice: Sauté diced veggies and scrambled eggs, then fold in cooled grains with soy sauce.
Get creative—your rice cooker is more than just for rice!
Final Thoughts: Is It Worth It?
Cooking rice and quinoa together in a rice cooker saves time, reduces cleanup, and delivers a nutritious, satisfying meal. Yes, there’s a learning curve—water ratios, rinsing, resting times—but once you master the basics, it becomes second nature. The payoff? A versatile pantry staple that adapts to countless recipes and dietary needs.
Whether you’re cooking for one or ten, this method proves that healthy eating doesn’t have to be complicated. So go ahead—dump those rinsed grains into your pot, press start, and enjoy the delicious, wholesome result.
Frequently Asked Questions
Can I cook brown rice and quinoa together in a rice cooker?
Yes, but brown rice takes longer to cook than white rice. Increase water by about ¼ cup and expect a longer cooking time. You may need to adjust ratios slightly for best results.
Do I need to soak quinoa before cooking it with rice?
Soaking is optional but recommended. It reduces cooking time and softens the texture. Soak rinsed quinoa in water for 15–30 minutes, then drain before adding to the rice cooker.
Will my rice cooker burn the grains if I mix rice and quinoa?
Burning usually happens due to insufficient stirring or overcrowding. Ensure the pot isn’t full beyond capacity, and give the mixture a gentle stir once after adding water to distribute heat evenly.
How much water do I use for 1 cup of rice and 1 cup of quinoa?
For white rice and quinoa, use approximately 2.5 cups of water. For brown rice and quinoa, use about 3 cups. Adjust based on your preferred consistency and rice cooker model.
Can I add vegetables or protein while cooking rice and quinoa?
It’s possible, but tricky. Hard vegetables like carrots may not soften enough, and meat or beans can alter cooking time. Saute extras separately and mix in after cooking for best texture.
Is it safe to cook rice and quinoa together if I’m on a gluten-free diet?
Absolutely. Both rice and quinoa are naturally gluten-free. Just ensure your rice cooker and utensils haven’t been contaminated with gluten-containing foods previously.