

Can you cook rice in a glass pot? Absolutely! A glass pot is not only safe and stylish but also works beautifully for cooking rice when used correctly. With the right water ratio, heat control, and timing, you can achieve fluffy, evenly cooked rice without a rice cooker. Whether you’re using a stovetop or oven method, glass pots offer transparency so you can monitor your rice as it cooks. This guide walks you through everything—from preparation to cleanup—so you never have to wonder again if glass pots are good for rice.
Key Takeaways
- Glass pots are safe for cooking rice when made of heat-resistant borosilicate glass, which withstands high temperatures without cracking.
- You don’t need a rice cooker—you can cook rice in a glass pot on the stovetop, in the oven, or even using the microwave.
- Proper water-to-rice ratios are essential—typically 1:1.5 to 1:2 (rice to water), depending on the type of rice.
- Heat control is key—use low to medium heat after boiling to prevent scorching and ensure even cooking.
- Glass pots allow visual monitoring, helping you check doneness without lifting the lid, which reduces steam loss.
- Cleanup is easier with non-stick glass surfaces, though soaking stubborn residue helps remove stains.
- Glass pots are versatile—great for rice, soups, grains, and even baking desserts like rice pudding.
📑 Table of Contents
- Can You Cook Rice in a Glass Pot? The Ultimate Guide
- Why Choose a Glass Pot for Cooking Rice?
- How to Cook Rice in a Glass Pot: Step-by-Step Methods
- Choosing the Right Rice for Your Glass Pot
- Troubleshooting Common Rice Cooking Problems
- Cleaning and Maintaining Your Glass Pot
- Glass Pots vs. Traditional Cookware: What’s Better?
- Creative Ways to Use Your Glass Pot Beyond Rice
- Final Thoughts: Is a Glass Pot Worth It for Rice?
Can You Cook Rice in a Glass Pot? The Ultimate Guide
If you’ve ever looked into your kitchen and seen a beautiful, clear glass pot sitting on the shelf—maybe gifted, inherited, or picked up at a thrift store—you might be wondering: Can I actually cook rice in this thing? The short answer is yes, absolutely. But before you start tossing water and rice into your new vessel, it’s important to understand how to use it safely and effectively. Cooking rice in a glass pot isn’t just possible—it’s actually a great alternative to traditional pots, especially when you want full visibility into your cooking process.
In this comprehensive guide, we’ll walk you through everything you need to know about cooking rice in a glass pot. We’ll cover safety considerations, step-by-step instructions for different methods (stovetop, oven, microwave), rice varieties, troubleshooting common issues, and even how to clean and maintain your glass pot for long-term use. By the end, you’ll feel confident using your glass pot for perfect rice every time—no rice cooker required.
Why Choose a Glass Pot for Cooking Rice?
Glass pots come in all shapes and sizes, from simple saucepans to elegant serving dishes. But when it comes to cooking rice, not all glass is created equal. The best glass pots for rice are made from borosilicate glass, a type known for its durability and resistance to thermal shock—meaning it can go from cold to hot (or vice versa) without cracking. Brands like Pyrex and Anchor Hocking are well-known for producing reliable glass cookware.
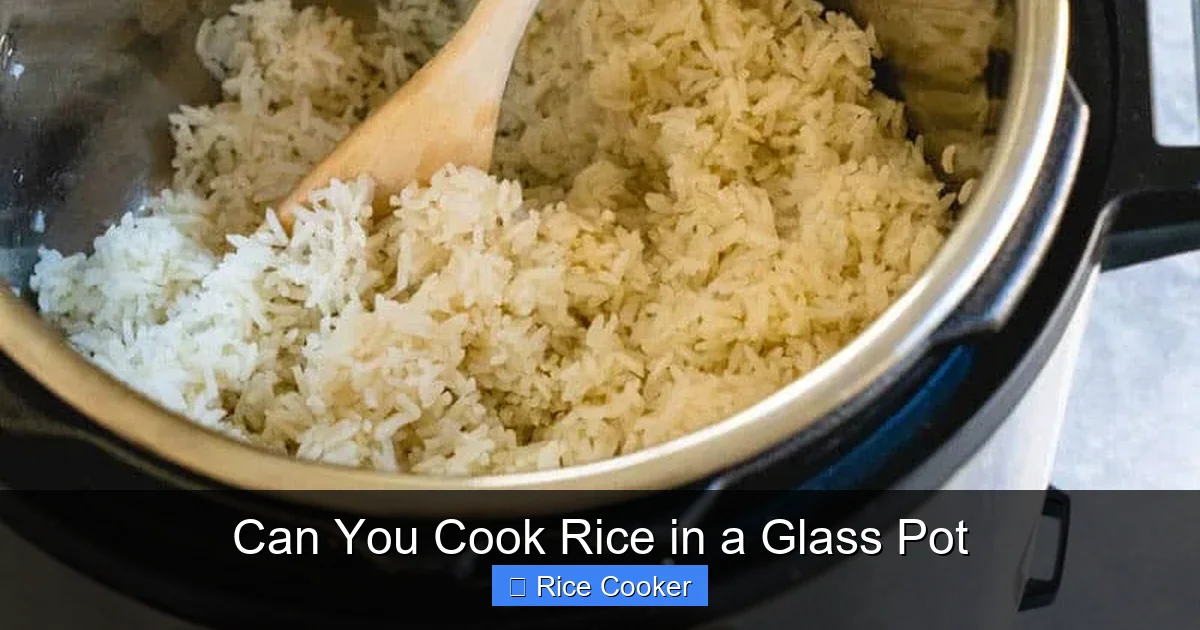
Visual guide about Can You Cook Rice in a Glass Pot
Image source: acouplecooks.com
The Advantages of Using a Glass Pot
- Transparency: One of the biggest perks of cooking rice in a glass pot is that you can see exactly what’s happening. No more guessing if your rice is done or if it’s sticking to the bottom. You can monitor the water level, grain expansion, and color changes in real time.
- Even Heat Distribution: High-quality glass pots distribute heat evenly, reducing the risk of hot spots that can burn your rice or leave unevenly cooked grains.
- Versatility: A glass pot isn’t just for rice. You can use it for soups, stews, risottos, quinoa, oats, and even desserts like rice pudding or baked custards.
- Easy Cleanup: Most glass pots have a smooth, non-porous surface that resists staining and is dishwasher-safe. Stubborn food residue can usually be soaked in warm, soapy water before scrubbing.
- Aesthetic Appeal: Let’s be honest—glass pots look great on the counter or table. They make a nice serving dish too!
What to Look for in a Glass Pot for Rice
Not every glass pot is suitable for cooking rice. Here’s what to check before you start:
- Material: Ensure it’s labeled as “oven-safe” and made of borosilicate glass. Avoid cheap soda-lime glass, which can shatter under sudden temperature changes.
- Size: Choose a pot that fits your portion size. A 2-quart pot is ideal for 1 cup of dry rice; a 4-quart pot works well for 2–3 cups.
- Handle Safety: Make sure the handles are secure and stay cool during use (or use oven mitts).
- Lid Compatibility: Some glass lids are oven-safe, but others aren’t. Check the manufacturer’s guidelines.
How to Cook Rice in a Glass Pot: Step-by-Step Methods
Cooking rice in a glass pot is simpler than you might think. While rice cookers automate the process, stovetop or oven methods give you full control. Below are three reliable ways to cook rice in a glass pot—each with detailed instructions and pro tips.
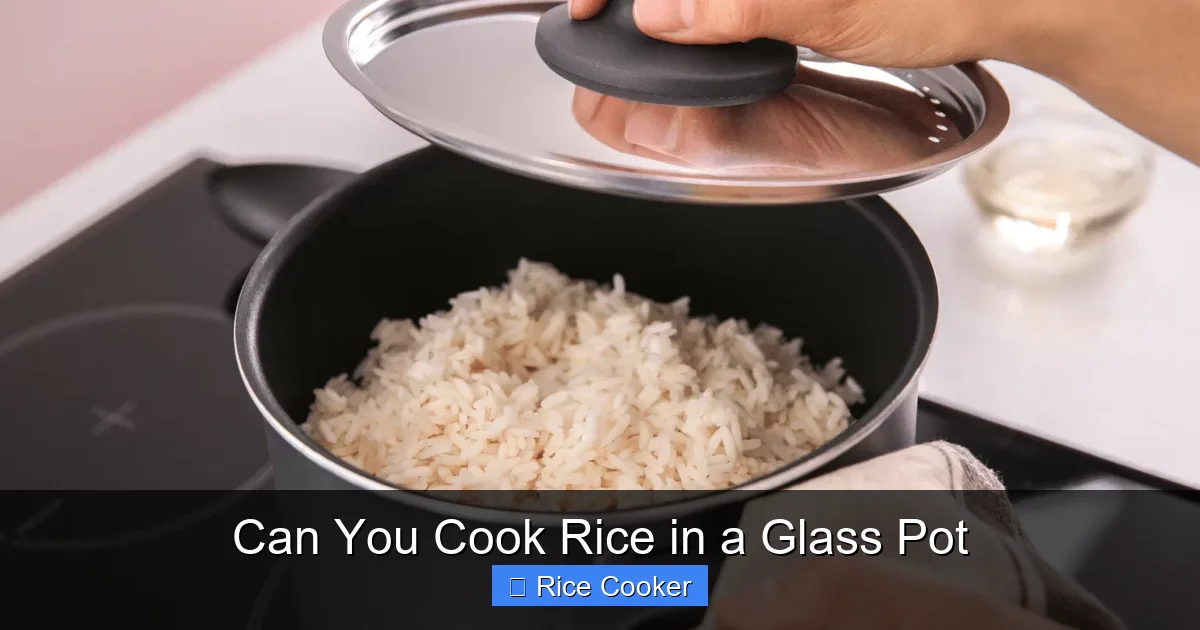
Visual guide about Can You Cook Rice in a Glass Pot
Image source: cookasteak.com
Stovetop Method (Most Common)
This is the classic method most home cooks use. It’s quick, effective, and gives you full control over heat and timing.
- Rinse the Rice: Place your rice in a fine-mesh strainer and rinse under cold water until the water runs clear. This removes excess starch and prevents clumping.
- Add Water: For every 1 cup of rice, add 1.5 to 2 cups of water (adjust based on rice type—see chart below). For example, 2 cups of jasmine rice need 3 cups of water.
- Bring to a Boil: Pour the rice and water into your glass pot. Cover with a lid and bring to a rolling boil over medium-high heat.
- Reduce Heat & Simmer: Once boiling, reduce heat to low. Let the rice simmer gently for 15–20 minutes (white rice) or 30–40 minutes (brown rice). Avoid lifting the lid during this time.
- Rest & Fluff: Turn off the heat and let the rice sit, covered, for 5–10 minutes. Then fluff with a fork and serve.
Pro Tip: If your glass pot doesn’t have a vented lid, crack it slightly during the last 5 minutes to release excess steam.
Baking Method (Oven Technique)
Want hands-off cooking? Try the oven method. It’s perfect for multitasking or cooking larger batches.
- Preheat Oven: Set your oven to 375°F (190°C).
- Combine Ingredients: In your glass pot, mix rinsed rice with water (same ratio as above). Stir once.
- Cover & Bake: Place the pot on a baking sheet (to catch spills) and cover tightly with foil or an oven-safe lid. Bake for 30 minutes for white rice, 50–60 minutes for brown rice.
- Rest & Serve: Remove from oven, let rest 10 minutes, then uncover and fluff.
Note: Always place the glass pot on a trivet or heat-resistant pad to protect your stove or countertop.
Microwave Method (Quick & Easy)
For single servings or busy mornings, the microwave method is fast and convenient.
- Measure Ingredients: Use 1 cup rice + 1.5 cups water in your glass microwave-safe pot.
- Cover Safely: Use a microwave-safe lid or vented plastic wrap. Leave a small corner open to release steam.
- Microwave: Cook on high for 10–12 minutes (white rice). Stir, then continue microwaving in 2-minute intervals until tender (about 12–18 minutes total).
- Let Stand: Wait 5 minutes before uncovering and fluffing.
Safety Note: Never use a glass pot with metal lids or foil in the microwave—it can cause arcing.
Choosing the Right Rice for Your Glass Pot
Different types of rice require slightly different cooking techniques. Here’s a quick guide to help you pick the right grain and adjust your method accordingly.
White Rice
- Varieties: Jasmine, Basmati, Arborio, short-grain (like sushi rice)
- Water Ratio: 1:1.5 (e.g., 1 cup rice : 1.5 cups water)
- Cook Time: 15–20 minutes on stovetop
- Texture: Light, fluffy, and separate when cooked properly.
Brown Rice
- Varieties: Long-grain, short-grain, wild rice
- Water Ratio: 1:2 or 1:2.25 (higher due to bran layer)
- Cook Time: 30–40 minutes on stovetop
- Tip: Soak brown rice overnight to reduce cook time and improve texture.
Instant Rice
- Examples: Minute Rice, Uncle Ben’s Ready Rice
- Method: Follow package instructions—usually just stir in boiling water and let sit 5 minutes.
- Note: These are already par-cooked and don’t require long simmering.
Sushi Rice & Sticky Grains
- Best For: Sushi, risotto, congee
- Technique: Use less water (1:1.25), cook slowly, and avoid stirring after boiling to keep it sticky.
- Pro Tip: Add a pinch of salt and a splash of vinegar after cooking for authentic sushi rice flavor.
Troubleshooting Common Rice Cooking Problems
Even with the best tools, things can go wrong. Here’s how to fix the most common rice disasters when using a glass pot.
Rice Is Too Dry or Hard
This usually means not enough water or insufficient cooking time.
- Fix: Add ½ cup of hot water, cover, and simmer for 10 more minutes. Keep the lid on.
- Prevention: Measure water accurately. Use a liquid measuring cup, not a dry one.
Rice Is Sticky or Gummy
Too much water or overcooking causes mushy rice.
- Fix: Drain excess water using a colander. Spread the rice on a baking sheet and dry in the oven at 200°F (95°C) for 10–15 minutes.
- Prevention: Rinse rice thoroughly and avoid stirring after boiling.
Rice Is Burnt at the Bottom
This happens when heat is too high or the pot isn’t heat-distributing evenly.
- Fix: Discard burnt parts. Soak the pot in warm, soapy water to loosen residue.
- Prevention: Use medium-low heat after boiling. Consider using a pot with thicker bottoms.
Water Doesn’t Absorb Properly
Some rice varieties (like basmati) absorb water faster than others.
- Fix: Let rice soak for 30 minutes before cooking. This softens the grain and improves absorption.
- Prevention: Follow recommended ratios for each rice type.
Cleaning and Maintaining Your Glass Pot
Proper care extends the life of your glass pot and keeps it looking crystal clear. Here’s how to clean and maintain it.
Daily Cleaning Tips
- Soak First: Let food residue soak in warm, soapy water for 10–15 minutes to loosen stuck bits.
- Use Soft Scrubbers: Avoid steel wool or abrasive pads. Use nylon scrubbers or a soft sponge.
- Dishwasher Safe: Most glass pots are dishwasher-safe, but hand-washing preserves the finish longer.
Removing Stains and Odors
- Vinegar Soak: Fill the pot with equal parts white vinegar and water. Boil for 10 minutes, then scrub.
- Baking Soda Paste: Mix baking soda with water to form a paste. Apply to stained areas, let sit 15 minutes, then scrub.
- Lemon Juice: Rub lemon juice on yellowed glass, then wipe clean. It brightens and deodorizes.
Storage Tips
- Store Lid-Up: Place a towel between pots to prevent scratching.
- Avoid Sudden Shocks: Don’t pour cold liquid into a hot pot or put it directly under cold running water.
- Check for Cracks: Regularly inspect for hairline cracks—they can grow over time and lead to breakage.
Glass Pots vs. Traditional Cookware: What’s Better?
You might be wondering: should you ditch your stainless steel pot for a glass one? Let’s compare the two.
Glass Pots
- Pros: See-through, easy to clean, non-reactive, microwave-safe, oven-safe.
- Cons: Can chip or crack if dropped, heavier than metal, may retain heat longer after turning off.
Metal Pots (Stainless Steel, Aluminum)
- Pros: Durable, conducts heat quickly, lightweight, often cheaper.
- Cons: Opaque (hard to monitor), can react with acidic foods, requires more attention to prevent burning.
Verdict: Glass pots are excellent for rice and other delicate dishes where monitoring is important. Metal pots are better for searing or high-heat tasks. Many cooks keep both on hand.
Creative Ways to Use Your Glass Pot Beyond Rice
A glass pot is more than just a rice bowl. Here are some fun and practical ideas:
- Rice Pudding: Combine rice, milk, sugar, cinnamon, and raisins. Bake covered in the oven for a creamy dessert.
- Congee (Rice Porridge): Simmer rice with broth, ginger, and toppings like egg or scallions for a comforting meal.
- Quinoa or Millet: Cook grains in a glass pot for a healthy, fluffy side dish.
- Soups & Stews: Use for minestrone, chili, or tomato soup. The transparency lets you see the ingredients.
- Baking: Make individual custards, bread pudding, or even mini lasagnas in glass baking dishes.
Final Thoughts: Is a Glass Pot Worth It for Rice?
Absolutely. Cooking rice in a glass pot is not only possible—it’s a smart, efficient choice for anyone who values control, clarity, and versatility in the kitchen. Whether you’re preparing a family dinner or experimenting with new recipes, a quality glass pot offers peace of mind and consistent results. With the right technique, you can enjoy perfectly cooked rice every time, no rice cooker needed.
Remember: safety first. Always use oven mitts, avoid thermal shocks, and follow manufacturer guidelines. And don’t forget to clean and store your pot properly to keep it in top shape.
So go ahead—grab that glass pot, measure your rice, add water, and start cooking. You’ve got this!
Frequently Asked Questions
Is it safe to cook rice in a glass pot on the stovetop?
Yes, it’s completely safe as long as the glass pot is made of borosilicate glass and is labeled oven-safe or stovetop-safe. Always use medium-low heat after boiling to prevent cracking.
Can I use any glass pot to cook rice?
No. Only use pots made of heat-resistant borosilicate glass (like Pyrex). Cheap glass can shatter under high heat or sudden temperature changes.
How much water do I use for rice in a glass pot?
Use 1.5 to 2 cups of water per 1 cup of uncooked rice. Adjust based on rice type—brown rice needs more water than white rice.
Do I need to rinse rice before cooking in a glass pot?
Yes, rinsing removes excess starch and prevents clumping. Rinse under cold water until it runs clear.
Can I cook rice in a glass pot in the microwave?
Only if the pot is labeled microwave-safe. Use vented covers and cook in intervals to avoid overflow.
How do I clean a glass pot after cooking sticky rice?
Soak in warm, soapy water for 10–15 minutes. Use a soft sponge and avoid abrasive scrubbers. For stubborn residue, try a baking soda paste.