
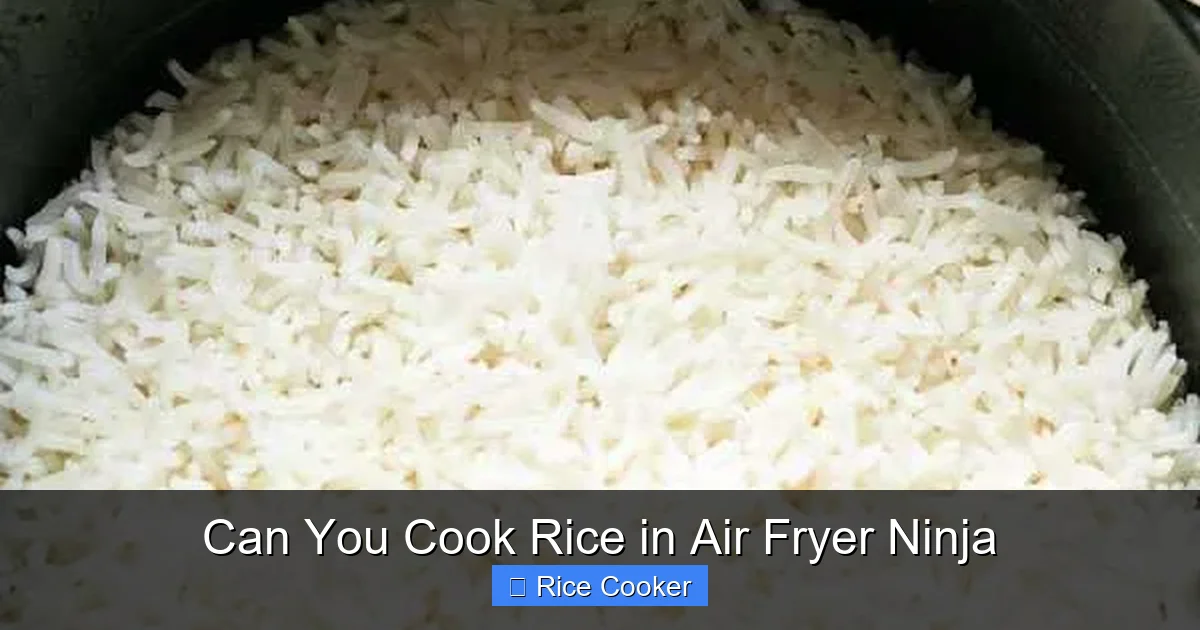
Can you cook rice in an air fryer Ninja? Absolutely! With the right settings and a little know-how, your Ninja air fryer becomes a powerful tool for preparing perfectly fluffy or sticky rice without any extra effort. Whether you’re meal prepping, feeding a crowd, or just craving a hot bowl of comfort food, this method saves time and energy compared to the stovetop or traditional rice cooker. In this guide, we’ll walk you through everything from basic white rice to specialty grains—so you never have to wonder again how to make great rice fast.
Key Takeaways
- Yes, it works: Your Ninja air fryer can replace a dedicated rice cooker and deliver consistent results.
- Ratio is key: The standard water-to-rice ratio for air frying is usually 1:1.5 (e.g., 1 cup rice to 1.5 cups water), but this varies by grain type.
- Pre-soaking helps: Soaking long-grain rice for 20–30 minutes before cooking ensures even texture and shorter cook time.
- Use parchment paper or a trivet: Prevent sticking and simplify cleanup by placing rice in a lined or elevated container.
- Monitor doneness: Check rice halfway through; steam release and fluffing are essential steps for perfect results.
- Experiment with flavors: Add broth, spices, herbs, or vegetables to transform plain rice into a complete dish.
- Clean-up is easy: Non-stick air fryer baskets and parchment paper make post-cooking cleanup a breeze.
📑 Table of Contents
- Introduction: Why Use Your Air Fryer to Cook Rice?
- Why Choose an Air Fryer Over a Traditional Rice Cooker?
- What Types of Rice Work Best in a Ninja Air Fryer?
- Essential Tools and Prep Tips Before You Start
- Step-by-Step Guide: How to Cook Rice in a Ninja Air Fryer
- Common Mistakes to Avoid When Air Frying Rice
- Creative Ways to Elevate Your Air-Fried Rice
- Maintenance and Cleaning After Cooking
- Conclusion: Your New Favorite Way to Cook Rice
Introduction: Why Use Your Air Fryer to Cook Rice?
If you own a Ninja air fryer, you already know it’s one of the most versatile appliances in your kitchen. From crispy chicken wings to golden fries and even reheating leftovers, it does it all. But did you know that you can also cook rice in your Ninja air fryer? That’s right—no more waiting for the kettle to boil or wrestling with a bulky rice cooker. With a few simple tweaks, your air fryer becomes a reliable, space-saving solution for making fluffy, flavorful rice in under 30 minutes.
In this comprehensive guide, we’ll show you exactly how to cook rice in your Ninja air fryer, why it works so well, what types of rice are best suited for this method, and how to avoid common pitfalls like mushy or unevenly cooked grains. Whether you’re cooking white rice, brown rice, jasmine, or even quinoa, we’ve got practical tips and step-by-step instructions to help you master this technique. Plus, we’ll share creative ways to use your air-fried rice in meals beyond the basics—because why settle for plain when you can have bold?
Why Choose an Air Fryer Over a Traditional Rice Cooker?
Many people assume a rice cooker is the only way to get perfect rice. While dedicated rice cookers excel at maintaining precise temperature control and automated timing, they often take up valuable counter space and come with a hefty price tag. Enter the Ninja air fryer: compact, multi-functional, and surprisingly effective at cooking rice.
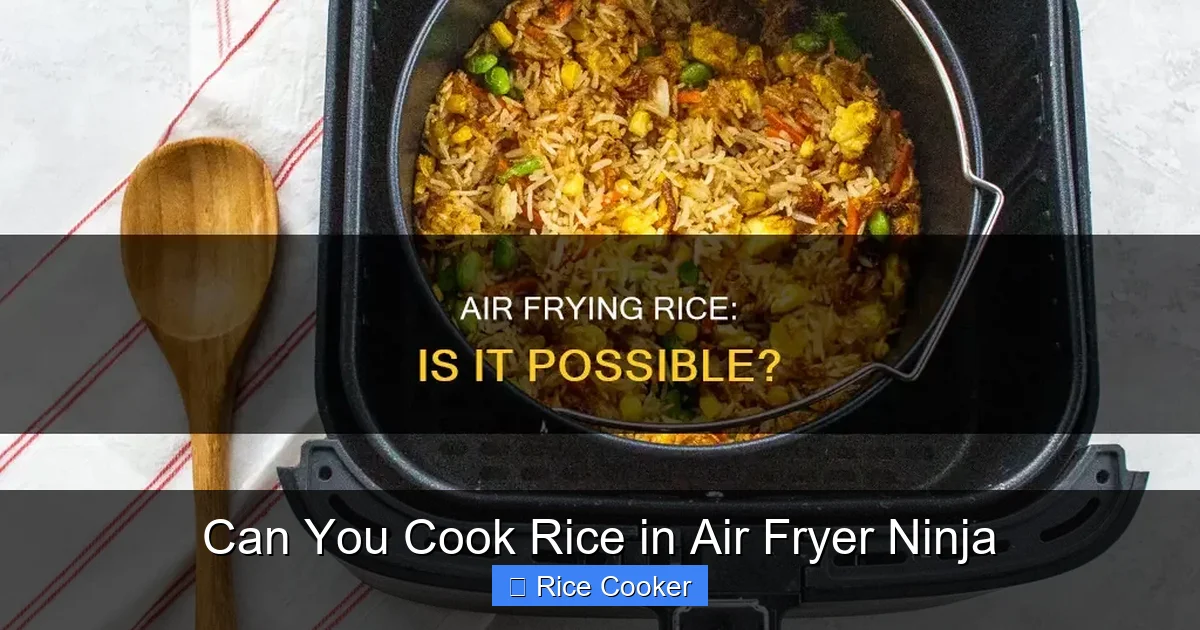
Visual guide about Can You Cook Rice in Air Fryer Ninja
Image source: cycookery.com
Air fryers circulate hot air rapidly around food, which not only crisps surfaces but also cooks grains evenly from the inside out. When used correctly, this process mimics the gentle steaming action of a rice cooker while adding a subtle texture that many describe as “fluffy” or “light.” Plus, since most modern air fryers (including Ninja models) feature digital controls and preset functions, you can cook rice with minimal guesswork.
Another major advantage is versatility. Instead of buying a separate appliance, you’re already using your air fryer for snacks, mains, and now—rice. And let’s be honest: who has room on their counter for yet another gadget?
What Types of Rice Work Best in a Ninja Air Fryer?
Not all rice is created equal when it comes to air frying. Some grains handle high heat and airflow better than others. Here’s a breakdown of the most successful options:
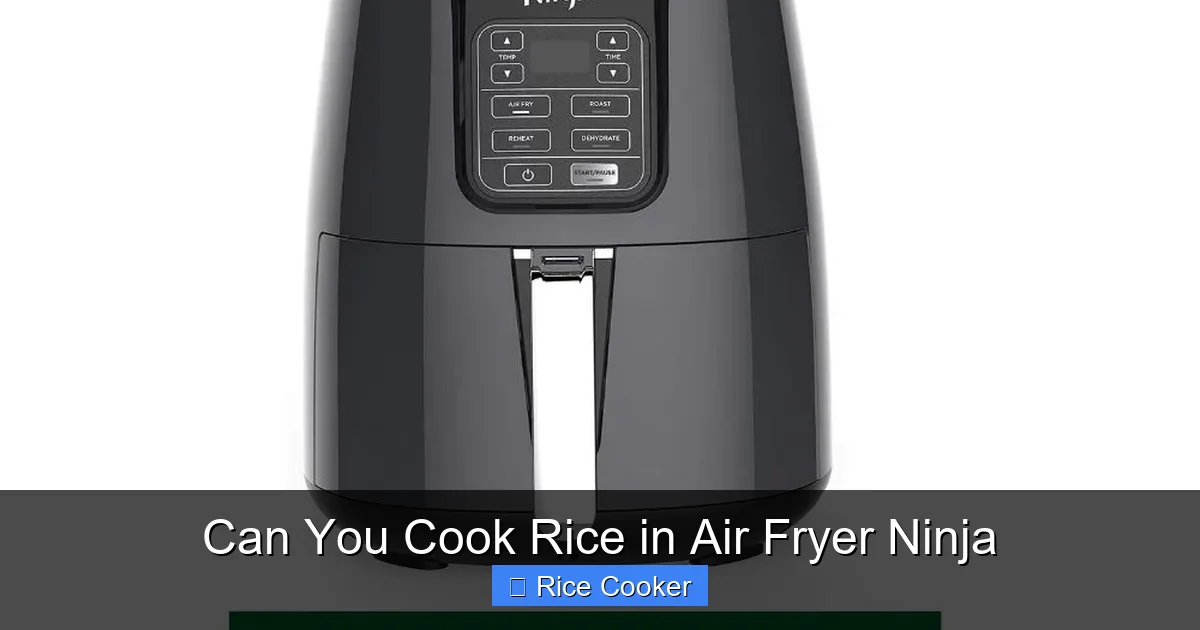
Visual guide about Can You Cook Rice in Air Fryer Ninja
Image source: kitchenxpart.com
White Rice (Jasmine, Basmati, Long-Grain)
White rice is the easiest and most forgiving option for air frying. Its starch structure allows it to absorb moisture efficiently and cook uniformly. Jasmine and basmati varieties tend to stay separate and fragrant, making them ideal for stir-fries, salads, or side dishes.
Brown Rice
Brown rice takes longer due to its higher fiber content, but it still works well in an air fryer if you adjust timing and water ratios accordingly. Expect a chewier, nuttier texture compared to stovetop versions.
Cooked Grains & Specialty Varieties
Rice blends, wild rice, and even gluten-free alternatives like quinoa or millet can be air-fried successfully with minor adjustments. Just remember: denser grains may need more liquid or slightly lower temperatures.
Avoid instant or quick-cook rice—these are designed for microwave use and won’t benefit from air circulation. Stick to regular uncooked grains for the best results.
Essential Tools and Prep Tips Before You Start
Before you turn on your Ninja air fryer, gather these items and follow our prep checklist:
- Heat-resistant container: A ceramic or glass dish that fits inside your air fryer basket (avoid metal).
- Parchment paper or silicone liner: Prevents sticking and makes cleanup effortless.
- Measuring cups: Precision matters—use standard measuring tools.
- Lid or foil cover: Helps trap steam during cooking.
Here’s how to prep your rice properly:
- Rinse your rice under cold water until the water runs clear. This removes excess starch and prevents gumminess.
- Soak long-grain rice for 20–30 minutes if possible. Soaking shortens cook time and improves texture.
- Drain soaked rice thoroughly before combining with water.
Pro tip: For extra flavor, replace half the water with vegetable or chicken broth. Herbs like bay leaf or cilantro add depth too!
Step-by-Step Guide: How to Cook Rice in a Ninja Air Fryer
Follow this foolproof method for perfect air-fried rice every time:
Step 1: Measure Rice and Water
Start with a 1:1.5 ratio—for example, 1 cup raw rice needs 1.5 cups water. Brown rice typically requires 1:1.75 (1 cup rice to 1.75 cups water). Adjust based on desired consistency.
Step 2: Combine Ingredients in Container
Add rinsed rice and water to your heat-safe dish. Stir gently, then place the container inside the air fryer basket lined with parchment paper.
Step 3: Set Temperature and Time
For white rice: 350°F (175°C) for 20–25 minutes. For brown rice: 360°F (180°C) for 30–35 minutes. These are starting points—your model may vary slightly.
Step 4: Cover and Let It Steam
Cover the container loosely with aluminum foil or a lid. The goal is to trap steam without sealing completely—this mimics a rice cooker’s environment.
Step 5: Pause and Fluff Midway
After 10–12 minutes (white rice) or 15 minutes (brown rice), open the fryer and fluff the rice gently with a fork. This redistributes moisture and ensures even cooking.
Step 6: Final Steam Release
Continue cooking until tender. Then remove the cover and let the rice sit for 5 minutes off-heat. This final steam phase finishes the process and firms up the grains.
Step 7: Serve Immediately
Fluff again before serving. Enjoy plain, seasoned, or mixed into bowls, casseroles, or fried rice!
Common Mistakes to Avoid When Air Frying Rice
Even experienced cooks make errors—especially with new techniques. Here’s what NOT to do:
- Skipping rinsing: Unrinsed rice leads to clumpy, gummy results.
- Using too much water: Excess liquid causes sogginess. Always measure carefully.
- Overcrowding the basket: Ensure there’s enough space for air circulation. Cook small batches if needed.
- Opening the door frequently: Each opening releases steam, extending cook time and risking unevenness.
- Neglecting to fluff mid-way: Skipping this step results in dry clumps on top and wet spots underneath.
If your rice turns out too firm, add a splash of hot water and cover for 2–3 more minutes. If it’s mushy, next time reduce water slightly or shorten cook time by 2 minutes.
Creative Ways to Elevate Your Air-Fried Rice
Plain rice is fine—but it doesn’t have to be boring. Use your Ninja air fryer to make gourmet-style rice dishes with minimal effort:
Garlic Herb Rice
Sauté minced garlic in olive oil, mix into cooked rice with chopped parsley, lemon zest, and a pinch of salt. Perfect over grilled fish.
Spicy Saffron Rice
Add saffron threads steeped in warm water to your cooking liquid. Finish with toasted pine nuts and currants for a Mediterranean twist.
Fried Rice (No Pan Needed!)
Cook diced veggies (carrots, peas, bell peppers) separately in the air fryer until tender. Mix with cooled rice, scrambled egg, soy sauce, and sesame oil. Topped with green onions—it’s restaurant-quality!
Stuffed Bell Peppers (with Rice Filling)
Fill halved bell peppers with seasoned rice, bake in the air fryer at 375°F (190°C) for 20–25 minutes. A complete low-effort meal.
The beauty of air frying is that it simplifies complex recipes. No stirring required—just combine, set, and enjoy.
Maintenance and Cleaning After Cooking
One of the biggest perks of cooking rice in your Ninja air fryer is how easy it is to clean. Here’s how to keep things sparkling:
- Let the air fryer cool completely before removing the basket.
- Scrape off any stuck bits with a spatula or brush.
- Wash the basket and container in warm, soapy water. Most Ninja models have dishwasher-safe parts.
- Reapply non-stick spray lightly if needed for future use (though parchment usually eliminates this).
Never submerge the heating element or control panel in water. Always dry thoroughly before reassembly.
Conclusion: Your New Favorite Way to Cook Rice
So, can you cook rice in a Ninja air fryer? The answer is a resounding yes—and it might just become your go-to method. Whether you’re preparing a quick dinner, meal prepping for the week, or impressing guests with minimal effort, this technique delivers consistent, delicious results without sacrificing quality or flavor. With proper ratios, attention to timing, and a few smart shortcuts like soaking and steaming, your air-fried rice rivals—or even surpasses—what you’d get from a dedicated rice cooker.
Plus, the added benefits of speed, versatility, and ease of cleaning make it a win-win. So next time you reach for the pot on the stove, consider giving your Ninja air fryer a try instead. You’ll wonder why you waited so long to discover this game-changing hack.
Frequently Asked Questions
How long does it take to cook rice in a Ninja air fryer?
White rice typically takes 20–25 minutes at 350°F (175°C), while brown rice needs 30–35 minutes at 360°F (180°C). Always check for doneness halfway through and adjust as needed.
Do I need to soak the rice before air frying?
Soaking isn’t mandatory, but it helps long-grain rice cook faster and more evenly. Soak for 20–30 minutes before cooking for best texture.
Can I cook other grains like quinoa or farro in my Ninja air fryer?
Yes! Quinoa works well with a 1:1.5 ratio and 15–20 minutes at 350°F. Farro may need slightly more water and longer cook time—experiment to find your ideal setting.
Will my rice stick to the air fryer basket?
To prevent sticking, always use parchment paper or a silicone liner in your cooking container. This also makes cleanup effortless.
Can I double the recipe for larger batches?
Absolutely—but ensure your container fits comfortably in the air fryer basket. Overcrowding disrupts airflow and leads to uneven cooking.
Is air-fried rice healthier than boiled rice?
Nutritionally, they’re nearly identical. However, air frying uses little to no oil, potentially reducing fat content slightly compared to traditional boiling methods.