
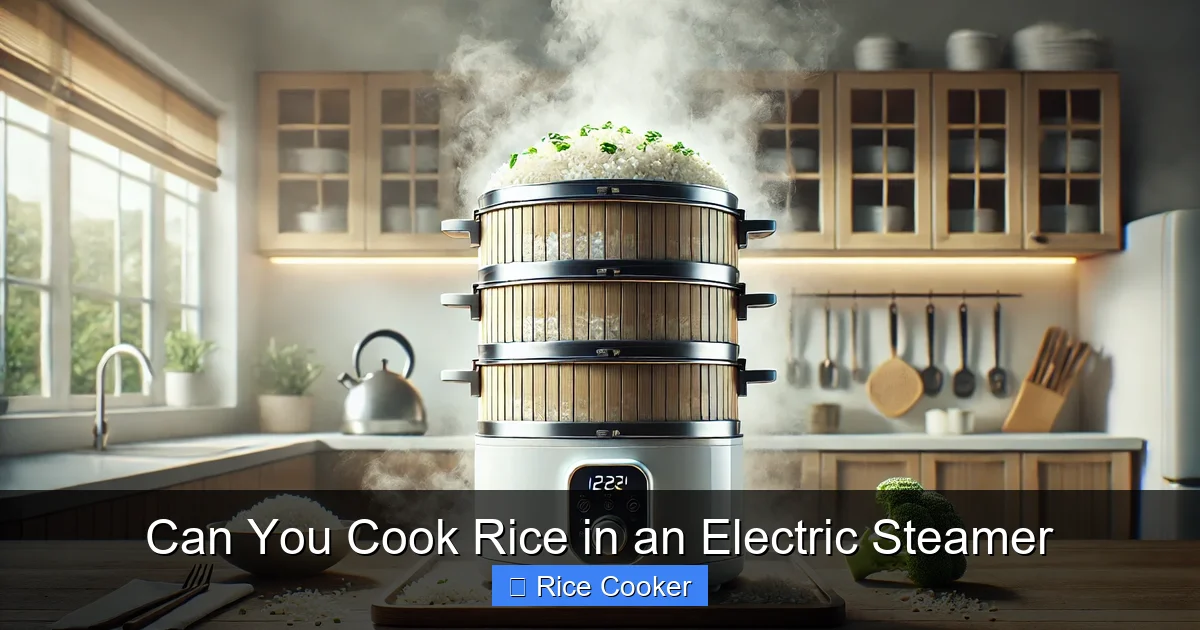
Cooking rice in an electric steamer is not only possible—it’s a great way to make tender, flavorful grains. Unlike traditional methods, steamers use gentle, moist heat to cook rice evenly without sticking. With the right ratio of water and a few simple steps, you can enjoy fluffy, delicious rice just like you would from a rice cooker.
Key Takeaways
- Electric steamers can cook rice effectively when used with proper water ratios and timing.
- Different rice types require different steaming approaches—jasmine, basmati, brown rice, and sushi rice each respond differently to steam.
- Pre-soaking rice improves texture, especially for long-grain or whole grain varieties.
- Using a rice-to-water ratio of 1:1.2 to 1:1.5 works best for most rice types in a steamer.
- Covering and letting rice rest after steaming helps achieve fluffier results.
- Cleaning your steamer properly after rice cooking prevents residue buildup and maintains performance.
- An electric steamer adds versatility to your kitchen, allowing you to cook multiple foods simultaneously.
[FEATURED_IMAGE_PLACEHOLDER]
Can You Cook Rice in an Electric Steamer?
Have you ever wondered if your trusty electric steamer can do more than just steam vegetables? The short answer is yes—you absolutely can cook rice in an electric steamer. While rice cookers are specifically designed for this task, many people don’t realize that electric steamers are versatile appliances capable of handling a variety of foods, including rice. With a little know-how, you can turn your steamer into a one-stop kitchen tool for preparing healthy, fluffy grains alongside veggies, proteins, and more.
Unlike boiling rice on the stovetop or using a rice cooker, steaming rice gently cooks it using moist heat. This method preserves nutrients, prevents burning, and helps maintain the integrity of each grain. Whether you’re meal-prepping for the week, cooking for a crowd, or simply looking for a healthier alternative to fried rice, using an electric steamer opens up new culinary possibilities. And the best part? It’s easier than you might think!
How Does an Electric Steamer Work?
Before diving into the how-to of cooking rice, let’s quickly break down how electric steamers function. These appliances generate steam by heating water in a reservoir. The steam then circulates through the cooking chamber, transferring heat to the food placed inside a perforated tray or basket. Because the food isn’t submerged in water, there’s minimal risk of overcooking or creating a mushy texture.
The Science Behind Steaming Rice
When rice absorbs moisture and heat, its starches gelatinize, turning the raw grain into soft, edible kernels. In a steamer, the controlled environment ensures even heat distribution without direct contact with boiling water. This means the rice cooks slowly and steadily, reducing the chance of scorching while maintaining moisture levels throughout.
Benefits of Steaming Over Other Methods
- Healthier cooking: No added fats or oils needed.
- Even cooking: Gentle heat reduces hot spots.
- Preserves nutrients: Less leaching of vitamins compared to boiling.
- Easy cleanup: Minimal residue and no sticky pans.
- Multi-food capability: Cook rice and steamed veggies at once.
Choosing the Right Type of Rice for Steaming
Not all rice is created equal—and some work better in a steamer than others. Understanding the differences between rice varieties will help you choose wisely and achieve the best results.
White Rice (Long-Grain vs. Short-Grain)
Most commonly found in American kitchens, white long-grain rice (like jasmine or regular long-grain) is ideal for steaming. Its structure holds up well under moist heat without becoming gluey. Short-grain white rice, such as sushi rice, also steams nicely but may require slightly less water due to its higher starch content.
Brown Rice
Brown rice takes longer to cook because the bran layer slows down water absorption. However, it’s nuttier in flavor and more nutritious. If your steamer has enough power and capacity, brown rice can be steamed successfully—just plan ahead and soak it overnight or for several hours beforehand.
Instant or Parboiled Rice
These pre-cooked rices are convenient but often lack the texture and fullness of traditionally cooked grains. They’re generally not recommended for steaming since they’ve already undergone partial cooking and may turn mushy.
Wild Rice and Specialty Varieties
Wild rice blends or colored rice mixes may behave unpredictably in a steamer. Test small batches first if you’re experimenting with these types.
Step-by-Step Guide: Cooking Rice in an Electric Steamer
Ready to try it yourself? Follow this foolproof process to cook perfectly steamed rice every time.
1. Measure Your Rice Accurately
Start by measuring out the amount of rice you need. For reference:
- 1 cup uncooked rice = about 2–3 cups cooked
- Use a dry measuring cup for accuracy
2. Rinse the Rice Thoroughly
Rinsing removes excess starch and prevents clumping. Place rice in a fine-mesh strainer and rinse under cold running water until the water runs clear. This step is especially important for long-grain white rice.
3. Soak (Optional but Recommended)
For extra-fluffy results—especially with brown or wild rice—soak the rinsed rice in room-temperature water for 20–30 minutes. Drain before proceeding.
4. Set Up Your Steamer Properly
Fill the bottom reservoir with fresh, cold water. Make sure not to exceed the max line. Place the inner steaming basket on top and add your measured rice. Do not pack it down—spread it evenly.
5. Adjust Water Ratio Based on Rice Type
This is arguably the trickiest part. Here are general guidelines:
| Rice Type | Water Ratio (rice:water) | Steaming Time |
|---|---|---|
| White long-grain | 1:1.2 | 15–18 minutes |
| Sushi rice | 1:1 | 12–15 minutes |
| Brown rice | 1:1.5 (with soaking) | 25–30 minutes |
| Instant rice | Avoid—not recommended | N/A |
Note: Always consult your steamer’s manual—some models have preset timers or sensors that adjust automatically.
6. Start Steaming
Plug in the steamer, close the lid securely, and turn it on. Most units have a single “steam” setting. Avoid using multiple trays unless your model supports high-capacity stacking.
7. Let It Rest After Cooking
Once the timer goes off, let the rice sit covered for 5–10 minutes. This allows residual steam to finish hydrating any remaining dry spots and improves fluffiness.
8. Fluff and Serve
Use a fork to gently fluff the rice, breaking up any clumps. Transfer to a serving bowl and enjoy!
Troubleshooting Common Issues
Even experienced cooks run into hiccups now and then. Here’s how to fix the most common problems when steaming rice.
Rice Is Too Dry or Undercooked
This usually happens with too little water or insufficient steaming time. Next time, increase the water slightly and extend cooking time by 3–5 minutes. Also check that your steamer is producing consistent steam—if not, descale the unit according to the manufacturer’s instructions.
Rice Is Mushy or Sticky
Oversteaming causes this issue. Reduce cooking time by 2–3 minutes next attempt. Also ensure you didn’t rinse too vigorously or use too much water during preparation.
Steamer Smells Like Burnt Rice
This suggests mineral buildup or old food residue in the reservoir. Clean the steamer thoroughly after each use, especially the heating element area. Use vinegar or a mild descaling solution monthly if hard water is a problem.
Rice Doesn’t Fluff Well
If the grains remain compacted, they likely didn’t absorb enough moisture. Try soaking again before steaming, or add a splash of warm water directly into the rice basket halfway through cooking (only if your model allows it).
Tips for Perfect Steamed Rice Every Time
Want to take your rice game to the next level? These pro tips will elevate your results significantly.
- Use filtered or bottled water if your tap water is heavily mineralized—it reduces scale buildup and affects taste.
- Don’t overcrowd the steamer. Leave space around the rice so steam circulates freely.
- Experiment with broth instead of water for added flavor—chicken or vegetable broth works great.
- Keep a log of your trials—note rice type, water ratio, and time so you can refine future batches.
- Invest in a rice paddle or chopsticks—they’re gentler than forks and prevent crushing delicate grains.
Can You Cook Other Grains in an Electric Steamer?
Absolutely! Once you master rice, expand your horizons. Quinoa, millet, barley, and even oat groats can all be steamed beautifully. Each requires slightly different settings, so start with smaller quantities until you find your preferred method.
For example, quinoa typically needs a 1:2 ratio (quinoa:water) and steams for about 12–15 minutes. Buckwheat groats take closer to 20–25 minutes with a 1:2.5 ratio. Treat these like brown rice—pre-soak if possible for creamier texture.
Cleaning and Maintenance Tips
Proper care extends your steamer’s life and ensures reliable performance. After cooking rice, always:
- Unplug the unit and let it cool completely
- Empty any leftover water from the reservoir
- Wipe down interior surfaces with a damp cloth
- Remove and wash removable baskets (check if dishwasher-safe)
- Descale monthly using white vinegar and water (follow manufacturer guidelines)
Never submerge the main body of the steamer in water or put electrical components in the dishwasher.
Frequently Asked Questions
Do I need a special rice steamer?
No—any standard electric steamer with a removable basket works. Just follow proper water ratios and timing for best results.
Is steamed rice healthier than boiled rice?
Yes, steaming retains more nutrients and doesn’t require added fat. It also produces less arsenic leaching compared to boiling certain rice types.
Can I cook rice and vegetables together?
Definitely! Just place vegetables below the rice basket if they need longer cooking times, or above if they cook faster.
How long does cooked steamed rice last in the fridge?
Store in an airtight container for up to 5 days. Reheat gently with a splash of water to restore moisture.
Will my rice cooker work as a steamer?
Some modern rice cookers have steaming functions, but dedicated steamers offer better control and multi-use flexibility.
What if my steamer doesn’t have a timer?
Use a kitchen timer or phone alarm to track cooking time based on the guidelines above. Consistency is key—don’t rely solely on visual cues.
Conclusion: Yes, You Can Cook Great Rice in an Electric Steamer!
So there you have it—cooking rice in an electric steamer isn’t just possible; it’s simple, healthy, and surprisingly effective. With the right technique and a bit of practice, you’ll soon be enjoying restaurant-quality fluffy grains at home. Plus, the ability to multitask—steaming rice alongside broccoli, fish, or dumplings—makes your kitchen workflow much more efficient.
Whether you’re a busy parent, a health-conscious eater, or someone who loves kitchen gadgets, learning to cook rice in a steamer expands your culinary toolkit. Give it a try today, tweak as needed, and soon you’ll wonder why you waited so long to explore this option.
This is a comprehensive guide about can you cook rice in an electric steamer.
Key Takeaways
- Understanding can you cook rice in an electric steamer: Provides essential knowledge
Frequently Asked Questions
What is can you cook rice in an electric steamer?
can you cook rice in an electric steamer is an important topic with many practical applications.