
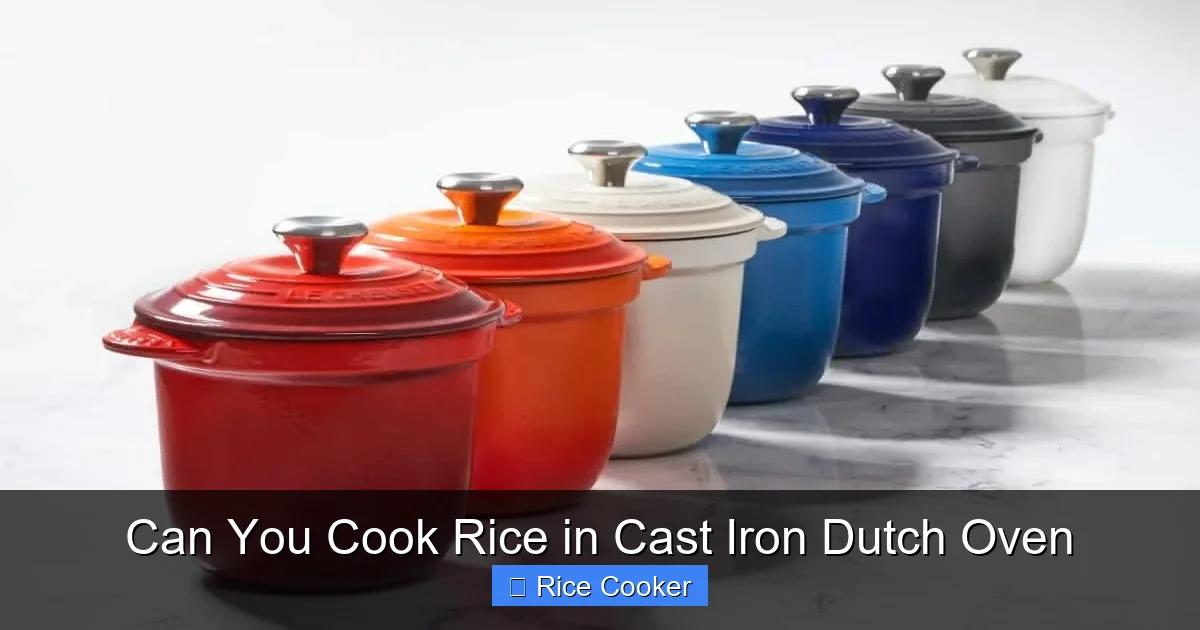
Can you cook rice in a cast iron Dutch oven? Absolutely! With the right technique and timing, a cast iron Dutch oven can produce fluffy, evenly cooked rice just like a traditional rice cooker. This powerful cookware combines even heat distribution and moisture retention to elevate your grain game.
# Can You Cook Rice in Cast Iron Dutch Oven?
You’ve probably heard that cast iron Dutch ovens are the ultimate multitaskers in the kitchen. From searing steaks to baking bread, these heavy-duty pots do it all. But here’s a question many home cooks—especially those without dedicated rice cookers—ask: **Can you cook rice in a cast iron Dutch oven?** The short answer? Yes, absolutely. In fact, many chefs swear by using their Dutch ovens for rice because of their excellent heat retention and even cooking performance.
But before you toss a cup of rice into your favorite enameled Dutch oven, let’s break down everything you need to know. We’ll cover the science behind why Dutch ovens work so well, step-by-step instructions, pro tips for perfect results every time, and even how to troubleshoot common issues. Whether you’re making fluffy jasmine rice, hearty brown rice, or fragrant basmati, your Dutch oven might just become your new go-to kitchen tool.
## Why Use a Cast Iron Dutch Oven for Rice?
Before diving into the “how,” it helps to understand the “why.” A good rice dish requires consistent heat, precise moisture control, and minimal temperature fluctuations. Cast iron excels at all three.
First, cast iron heats slowly but retains heat exceptionally well. This means once your rice starts boiling, the pot stays hot enough to simmer gently without scorching. Second, most modern Dutch ovens—especially enameled ones—create an airtight seal when the lid is on. That trapped steam does the magic work of steaming the rice from above, which helps each grain puff up evenly.
Finally, the flat bottom and thick walls of a Dutch oven allow for even heat distribution across the entire base. Unlike thin-skinned saucepans that can create hot spots, a Dutch oven cooks rice uniformly from edge to center.
That said, not all cast iron is created equal. Unglazed cast iron can be porous and may absorb flavors over time, which isn’t ideal if you plan to use your Dutch oven for both rice and curry. Enameled cast iron solves this problem—it’s non-reactive, easy to clean, and looks great on any stovetop or dining table.
## What Types of Rice Work Best?
Not all rice is made equal—and neither are their cooking requirements. Some varieties require longer soaking times, others need specific water ratios, and a few benefit from higher heat. Here’s how different types perform in a Dutch oven:
### White Rice (Jasmine, Basmati, Long-Grain)
White rice typically has a shorter grain length and lower fiber content, making it easier to cook evenly. Jasmine and basmati, in particular, release more starch when cooked, giving them a light, separate texture when done right.
– **Water ratio:** 2 cups water per 1 cup rice
– **Soak time:** Optional—basmati benefits from a 15-minute soak to reduce excess starch
– **Cooking time:** 15–20 minutes
Because white rice doesn’t have the tough bran layer of brown rice, it absorbs water quickly and finishes faster. The key is bringing the water to a rolling boil before reducing heat.
### Brown Rice
Brown rice has a tougher outer hull, so it needs more water and longer cooking time. It also benefits from a bit of patience during the initial heating phase.
– **Water ratio:** 2.5:1 or 3:1 (water to rice)
– **Soak time:** At least 20–30 minutes (helps soften the hull and reduces cooking time)
– **Cooking time:** 40–50 minutes
Because brown rice takes longer to cook, you’ll want to start with medium heat and keep a close eye on it. Overcooking can make it mushy; undercooking leaves it chewy.
### Wild Rice & Black Rice
These specialty grains are trickier due to their unique textures and densities.
– **Wild rice:** Often sold as a mix of long, slender grains; requires up to 60 minutes of cooking with a 3:1 water ratio.
– **Black rice:** Dense and chewy; best soaked overnight and cooked slowly over low heat for 45+ minutes.
For these, consistency is everything. Use a timer and avoid lifting the lid frequently to check progress.
## Essential Tools and Setup
Before you begin, gather what you’ll need:
– **Cast iron Dutch oven** (preferably 3–5 quarts)
– **Measuring cup** (dry measuring cups are more accurate than liquid ones for rice)
– **Fine-mesh strainer** (for rinsing, especially with basmati or jasmine)
– **Tongs or fork** (for fluffing after cooking)
– **Timer** (your best friend in rice-making!)
Make sure your Dutch oven is clean and dry. If it’s enameled, wipe out any residue. If it’s bare cast iron, season it lightly if needed—but remember, bare cast iron isn’t ideal for acidic dishes like tomato-based rice.
Also, choose a lid that fits snugly. If yours doesn’t seal perfectly, consider placing a piece of foil between the lid and rim to help trap steam.
## Step-by-Step Guide: Cooking Perfect Rice in a Dutch Oven
Ready to get cooking? Follow this foolproof method for fluffy, delicious rice every time.
### Step 1: Rinse and Measure
Start by measuring your rice using dry measuring cups. For example, if your recipe calls for 1 cup of rice, use one dry cup—not a liquid measuring cup filled to the brim.
Rinse the rice under cold running water using a fine-mesh strainer until the water runs clear. This removes excess starch and prevents gummy results. Skip this step if using quick-cooking or instant rice.
### Step 2: Combine Ingredients
Add your rinsed rice to the Dutch oven. Pour in the appropriate amount of water (or broth for extra flavor). Add a pinch of salt if desired. For extra richness, stir in a teaspoon of butter or oil.
### Step 3: Bring to a Boil
Place the Dutch oven on medium-high heat. Cover with the lid and bring the mixture to a rolling boil. You should see vigorous bubbles forming around the edges.
### Step 4: Reduce Heat and Simmer
Once boiling, immediately reduce the heat to the lowest possible setting. You want a gentle simmer, not another rolling boil. Keep the lid on!
Let the rice cook undisturbed for the recommended time:
– White rice: 15–20 minutes
– Brown rice: 40–50 minutes
Avoid opening the lid during this time—every time you lift it, you lose precious steam.
### Step 5: Rest and Fluff
After the timer goes off, turn off the heat but leave the lid on. Let the rice rest for 5–10 minutes. This allows residual steam to finish cooking the grains evenly and gives you that classic “fluffed” texture.
Finally, remove the lid carefully (steam may escape), and gently fluff the rice with a fork or tongs. Serve immediately.
## Pro Tips for Success
Even experienced cooks make mistakes—so don’t worry if your first attempt isn’t perfect. These tips will help you nail it every time.
### Use the Right Water Temperature
Starting with room-temperature water works fine. But if you’re in a rush, you can use cold water directly from the tap—just make sure your stove distributes heat evenly.
### Don’t Peek!
Lifting the lid lets steam escape, which can throw off your timing and result in unevenly cooked rice. Trust the process and let it cook undisturbed.
### Adjust Ratios Based on Altitude
At high altitudes, water boils at a lower temperature, so rice may take longer to absorb moisture. Increase cooking time by 2–5 minutes, or add an extra tablespoon of water if needed.
### Experiment with Flavors
Want garlic-infused rice? Sauté minced garlic in the Dutch oven before adding rice and water. Want coconut rice? Replace half the water with coconut milk and add a pinch of salt.
### Clean Your Dutch Oven Properly
Enameled Dutch ovens are dishwasher-safe, but hand-washing preserves the finish longer. For stubborn stuck-on rice, fill with warm water and let it soak for 15 minutes before scrubbing gently with a sponge.
## Common Mistakes to Avoid
Even small errors can affect your outcome. Watch out for these pitfalls.
### Using Too Much Water
Too much water = soggy, mushy rice. Stick to tested ratios and adjust only if necessary based on your rice type and altitude.
### Not Rinsing the Rice
Unrinsed rice tends to clump together. Rinsing ensures individual grains stay separate.
### Opening the Lid Too Early
As mentioned earlier, steam loss disrupts the cooking process. Wait until the full timer duration before checking.
### Using High Heat Throughout
High heat causes the bottom layer of rice to burn while the top remains undercooked. Always reduce to low after boiling.
### Skipping the Resting Period
Skipping the 5–10 minute rest means you miss out on that final burst of steam that makes rice truly fluffy.
## Troubleshooting: What to Do When Things Go Wrong
Mistakes happen. Here’s how to fix common issues.
### Rice Is Sticky or Gummy
This usually means too much starch was left on the rice or too much water was used. Next time, rinse more thoroughly and follow the correct water ratio.
### Rice Is Undercooked in the Center
Undercooked rice often results from insufficient resting time or inconsistent heat. Try increasing resting time slightly and ensure your stove maintains steady low heat.
### Burnt Bottom Layer
If rice sticks to the bottom, your heat might be too high, or the pan wasn’t preheated properly. Consider placing a trivet or parchment paper underneath if burning persists.
### Rice Is Dry and Crumbly
Dry rice suggests too little water or too much heat. Add a splash of water during the last 5 minutes of cooking if needed.
## Beyond Basic White Rice: Creative Recipes
Once you’ve mastered plain rice, expand your repertoire. A Dutch oven is perfect for flavorful variations.
### Coconut Lime Rice
Use coconut milk instead of water, add zest from one lime, and finish with fresh cilantro. Great with Thai or Indian curries.
### Spanish Rice
Sauté onions and bell peppers in olive oil before adding rice and tomato sauce. Cook until tender for a vibrant side dish.
### Pilaf with Herbs and Nuts
Toast chopped almonds or pine nuts in the Dutch oven before adding rice. Stir in dried apricots, parsley, and thyme for a nutty, aromatic pilaf.
### Fried Rice Leftovers
Turn leftover cooked rice into fried rice by heating it in the Dutch oven with soy sauce, scrambled eggs, and vegetables. Just be careful not to burn the bottom!
## Cleaning and Maintenance Tips
Your Dutch oven deserves care to last generations.
– After cooking sticky rice, soak it in warm water before scrubbing.
– Never put a hot Dutch oven in cold water—it can crack the enamel.
– Store it upside down to prevent moisture buildup inside the lid.
– Check for chips in the enamel regularly; damaged areas can harbor bacteria.
## Final Thoughts
So, can you cook rice in a cast iron Dutch oven? Without a doubt—yes. It’s not only possible, but it can yield restaurant-quality results right in your own kitchen. With the right technique, attention to detail, and a little practice, you’ll soon wonder why you ever bothered with other methods.
The beauty of using a Dutch oven lies in its versatility and reliability. Whether you’re feeding a family or impressing guests, this one-pot method delivers consistent, delicious rice every single time. And since Dutch ovens come in so many sizes and styles—from Le Creuset to Lodge—you’re bound to find one that fits your lifestyle and budget.
Next time you’re craving perfectly fluffy jasmine or golden-brown basmati, reach for your Dutch oven instead of the microwave. Your taste buds (and your dinner guests) will thank you.
Key Takeaways
- Yes, it’s possible: A cast iron Dutch oven is fully capable of cooking rice effectively when used correctly.
- Heat control matters: Starting with medium-high heat and reducing to low after boiling ensures even cooking and prevents burning.
- Proper ratios are key: The standard water-to-rice ratio (2:1 for white rice) works well in a Dutch oven setup.
- Lid sealing is crucial: Keeping the lid tightly closed traps steam, helping rice absorb moisture evenly.
- Resting time improves texture: Letting rice sit covered for 5–10 minutes after cooking fluffs it up beautifully.
- Cleanup is simple: Most Dutch ovens come with enamel coating that resists sticking and makes washing easy.
- Versatility beyond rice: Once you master rice, try stews, soups, or baked goods in your trusty Dutch oven.
Frequently Asked Questions
Is it better to use an enameled or bare cast iron Dutch oven for rice?
Enameled cast iron is generally preferred because it’s non-reactive, easy to clean, and less likely to absorb flavors. Bare cast iron can work but risks imparting metallic tastes and requires more maintenance.
Do I need to soak rice before cooking in a Dutch oven?
Not always. White rice like jasmine doesn’t need soaking. Brown or basmati rice benefits from a short soak (15–30 minutes) to improve texture and reduce cooking time.
Can I cook rice directly in the Dutch oven without preheating?
It’s fine to add cold water and rice straight to the pot. Just ensure you bring it to a boil quickly and then reduce heat immediately to maintain control.
What if my Dutch oven lid doesn’t fit tightly?
Place a piece of aluminum foil or parchment paper between the lid and rim to help seal in steam. Alternatively, use a smaller lid or a glass lid designed for tight seals.
How do I prevent rice from sticking to the bottom?
Ensure your stove heats evenly and avoid high heat throughout. Adding a teaspoon of oil or butter at the start also creates a protective barrier.
Can I cook multiple types of rice at once in a Dutch oven?
Only if they have similar cooking times. Otherwise, cook separately. Mixing long-grain white rice with brown rice, for example, leads to uneven results.