
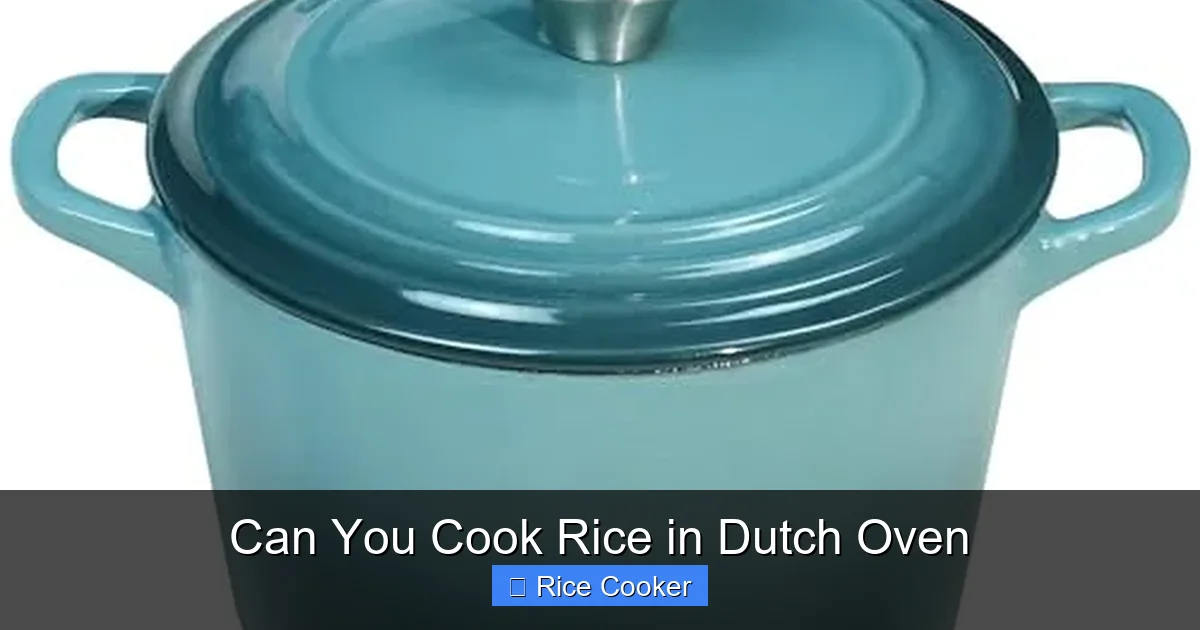
You absolutely can cook rice in a Dutch oven, and it’s one of the most reliable ways to get perfectly fluffy grains without a dedicated rice cooker. With the right technique and timing, your Dutch oven can deliver consistent, delicious results for everything from plain white rice to fragrant basmati or sushi rice. Whether you’re meal prepping or cooking dinner for two, this method saves time, uses minimal cleanup, and works on any stovetop.
Cooking rice in a Dutch oven isn’t just possible—it’s often preferred by home cooks who value control, simplicity, and flavor. While many people associate Dutch ovens with braising meats or slow-simmering stews, their design makes them surprisingly effective for rice. The heavy lid traps steam beautifully, creating a sealed environment where grains cook evenly and stay tender. Plus, if you already own a Dutch oven (and chances are you do), you’re saving money by skipping the rice cooker.
The beauty of using a Dutch oven lies in its thermal mass. Unlike thin-walled pots that lose heat quickly, a Dutch oven retains temperature like a brick, allowing for steady simmering without hot spots. This means your rice won’t stick or burn at the bottom, even when you forget to stir. And because most modern Dutch ovens come with tight-fitting lids—especially enameled cast iron models—they create a near-perfect seal that mimics the function of an actual rice cooker.
Whether you’re making everyday white rice, aromatic basmati, or even sticky sushi rice, the Dutch oven delivers consistent, restaurant-quality results. In this guide, we’ll walk through everything you need to know: from choosing the right pot and rice type to mastering the perfect water ratio and timing. By the end, you’ll be convinced that your Dutch oven is not just for soups and roasts—it’s a powerhouse for perfect rice every single time.
Key Takeaways
- Dutch ovens are ideal for rice cooking: Their thick, even-heating walls distribute heat uniformly, preventing scorching and ensuring evenly cooked grains.
- No need for a rice cooker: A well-seasoned cast iron or enameled Dutch oven can replace a dedicated appliance with equal—or better—results.
- Proper water-to-rice ratio is critical: Most recipes use 1.5 parts water to 1 part rice, but adjustments may be needed based on grain type and altitude.
- Simmering method works best: After boiling, reduce heat to low, cover tightly, and let steam do the work—this locks in moisture and flavor.
- Resting time improves texture: Leting rice sit covered for 5–10 minutes after cooking helps grains absorb remaining moisture and become fluffier.
- Cleanup is simple: Non-stick Dutch ovens or those with easy-clean finishes make washing up a breeze, unlike some electric cookers.
- Versatility extends beyond basics: You can cook pilafs, risotto, jambalaya, and even desserts like rice pudding in a Dutch oven.
📑 Table of Contents
- Why Choose a Dutch Oven Over a Rice Cooker?
- Choosing the Right Dutch Oven for Cooking Rice
- The Science Behind Perfect Rice in a Dutch Oven
- Step-by-Step Guide: How to Cook Rice in a Dutch Oven
- Water Ratios: Getting It Just Right
- Troubleshooting Common Rice Problems
- Cooking Specialty Rices in a Dutch Oven
- Cleaning and Maintaining Your Dutch Oven After Cooking Rice
- Final Thoughts: Why Every Home Cook Needs This Skill
Why Choose a Dutch Oven Over a Rice Cooker?
Many home cooks assume they need a specialized appliance to make good rice, but that’s far from true. A quality Dutch oven offers several advantages over a standard rice cooker, especially for those who love hands-on cooking or want more flexibility in their kitchen tools.
First, Dutch ovens give you full control over heat and timing. With an electric rice cooker, once the cycle starts, you’re mostly waiting. But with a Dutch oven, you decide when to turn off the heat and how long to rest the rice. This is especially helpful if you’re adapting recipes or adjusting for high-altitude cooking, where water evaporation rates differ.
Second, Dutch ovens are incredibly versatile. While a rice cooker is limited to boiling and steaming, a Dutch oven lets you brown ingredients before adding rice—perfect for pilafs or fried rice dishes. You can sauté onions, garlic, or spices first, then add liquid and grains for deeper flavor.
Finally, Dutch ovens clean up easily. Many models are oven-safe and dishwasher-friendly (check your manufacturer’s guidelines), and there’s no plastic interior to worry about warping or emitting odors over time. Plus, they look great on the stovetop or countertop—unlike bulky electric appliances.
Of course, rice cookers have their place. They’re great for multitasking (you can prep other dishes while rice cooks) and offer features like keep-warm functions. But if you’re looking for precision, flavor, and multi-use functionality, a Dutch oven wins every time.
Choosing the Right Dutch Oven for Cooking Rice
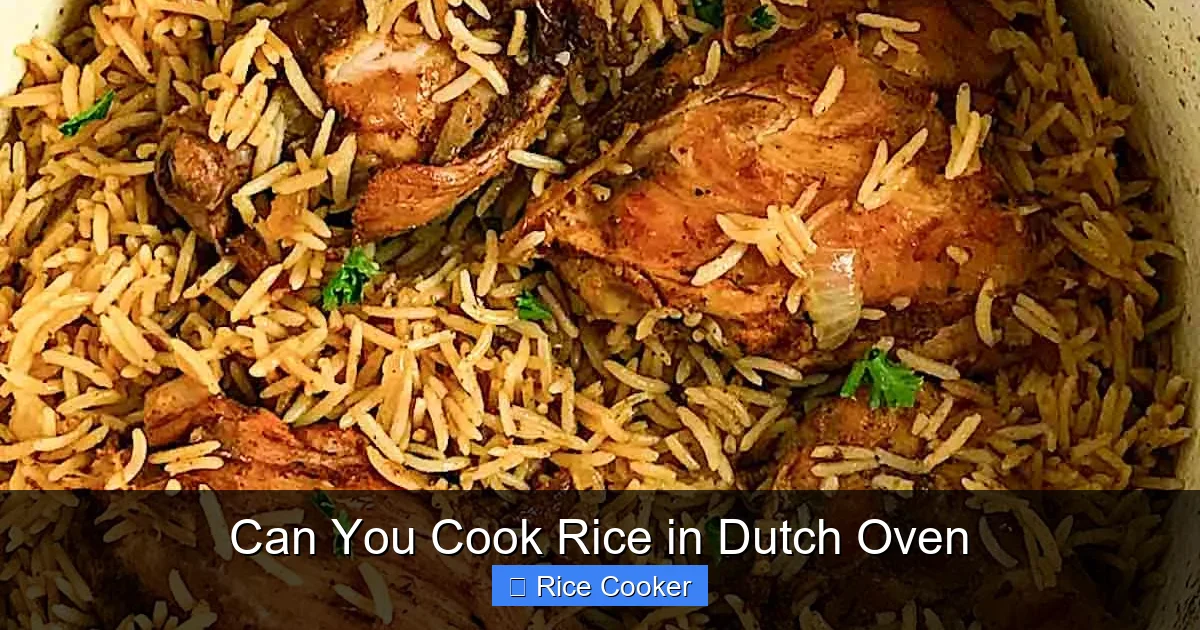
Visual guide about Can You Cook Rice in Dutch Oven
Image source: letscookchicken.com
Not all Dutch ovens are created equal when it comes to rice. To get the best results, consider these key factors:
Material Matters
Cast iron Dutch ovens are legendary for their heat retention and durability. However, bare cast iron requires seasoning and careful maintenance. Enameled cast iron (like Le Creuset or Staub) is easier to care for and non-reactive, meaning it won’t alter the taste of your rice. Stainless steel Dutch ovens are another excellent option—they’re non-porous, dishwasher-safe, and don’t retain flavors from previous meals.
Size Selection
Choose a size based on how much rice you typically cook. For 1–2 servings, a 4- or 5-quart Dutch oven works well. For larger batches (4+ servings), go for 6 quarts or more. Keep in mind that too large a pot wastes energy; too small risks overflow during boiling.
Lid Quality Is Crucial
The lid must fit snugly to trap steam. Glass lids allow you to monitor progress but may let heat escape. Enameled or cast iron lids seal tightly and distribute heat evenly across the top. Some lids even have steam vents—use them only if recommended, as excess venting can dry out your rice.
Non-Stick vs. Standard Surfaces
If your Dutch oven has a non-stick coating, great! It makes stirring and cleaning easier. But avoid metal utensils that could scratch the surface. If it’s bare cast iron or stainless steel, a light oil spray or butter prevents sticking during initial heating.
Ultimately, any well-made Dutch oven with a tight-fitting lid will do the job—but investing in one with good thermal properties ensures flawless rice every time.
The Science Behind Perfect Rice in a Dutch Oven
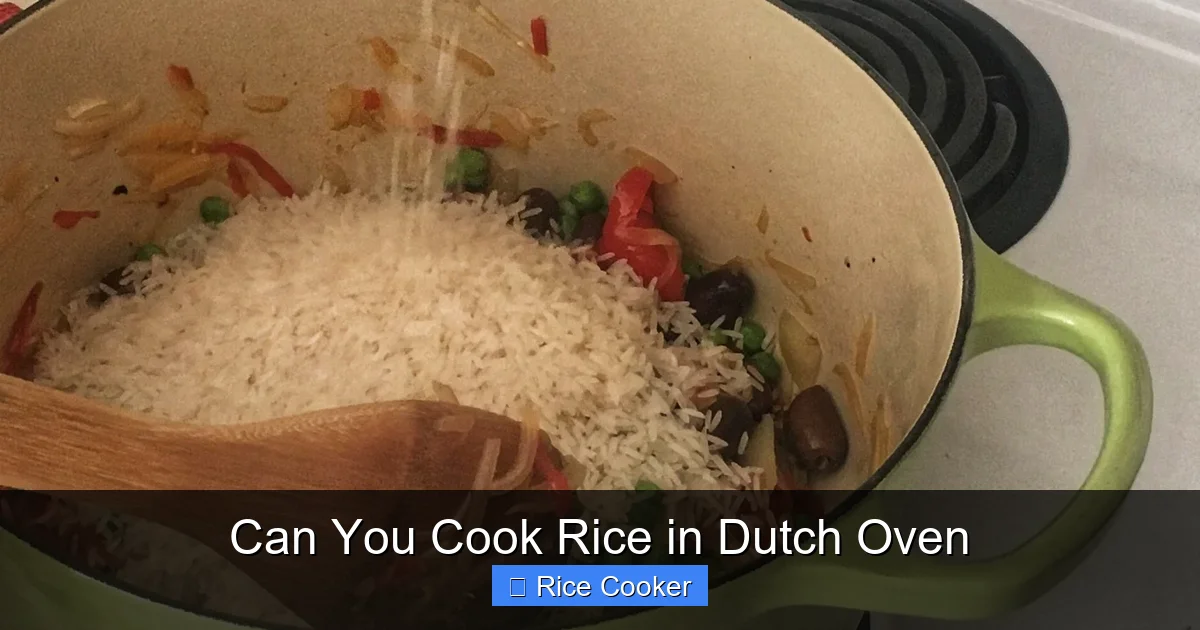
Visual guide about Can You Cook Rice in Dutch Oven
Image source: busylittlebee.ca
Understanding how rice cooks helps you troubleshoot issues and improve results. Rice is essentially starch-filled seeds that absorb water, swell, and gelatinize during cooking. The goal is to hydrate each grain fully without letting it break apart or become mushy.
Here’s what happens inside your Dutch oven:
– **Boiling Phase**: Water reaches 100°C (212°F), and rice absorbs liquid rapidly. Agitation helps prevent clumping.
– **Steaming Phase**: Once absorbed, residual heat continues cooking through conduction and convection. The sealed environment steams the rice gently.
– **Resting Phase**: Allowing rice to sit with the lid on lets moisture redistribute evenly, resulting in fluffy, separated grains.
Dutch ovens excel here because their thick base prevents scorching during the boil, while the heavy lid maintains consistent steam pressure. This mimics the controlled environment of a rice cooker’s inner pot but with greater customization.
One common mistake is opening the lid frequently to check progress. Each time you lift it, you release precious steam, which can lead to undercooked centers or dry edges. Trust the process—once you see the water level drop below the rice surface and steam begins to escape steadily, it’s almost done.
Step-by-Step Guide: How to Cook Rice in a Dutch Oven
Ready to try it? Follow these simple steps for foolproof rice every time:
Ingredients & Equipment
– 1 cup uncooked rice (white, brown, basmati, jasmine—your choice)
– 1.5 cups water (adjust based on grain; see chart below)
– Pinch of salt
– Optional: butter, olive oil, broth instead of water for extra flavor
Equipment Needed
– Dutch oven with tight-fitting lid (4–6 quarts)
– Fine-mesh strainer (for rinsing)
– Wooden spoon or spatula
– Measuring cups
Step 1: Rinse the Rice
Rinsing removes excess starch, which causes clumping. Place rice in a fine-mesh strainer and rinse under cold running water until the water runs clear. This step is optional for short-grain rice but recommended for long-grain varieties.
Step 2: Combine Ingredients
Add rinsed rice, water, salt, and any desired fats (butter or oil) to the Dutch oven. Stir once to combine.
Step 3: Bring to a Boil
Place the Dutch oven over medium-high heat. Bring the mixture to a rolling boil, stirring occasionally to prevent sticking.
Step 4: Reduce Heat and Simmer
Once boiling, reduce heat to the lowest possible setting that maintains a gentle simmer. Cover immediately with the lid.
Step 5: Cook Until Tender
Let rice cook undisturbed for:
– White rice: 15–18 minutes
– Brown rice: 35–40 minutes
– Jasmine or basmati: 18–20 minutes
Avoid lifting the lid during this time.
Step 6: Rest and Fluff
Turn off the heat and let the rice rest, covered, for 5–10 minutes. Then remove the lid and fluff gently with a fork.
That’s it! Your rice should be light, fluffy, and ready to serve.
Water Ratios: Getting It Just Right
The magic number for most rice is 1.5 cups of liquid per 1 cup of uncooked rice. But different grains behave differently:
| Rice Type | Water Ratio | Notes |
|—————–|————-|——-|
| White rice | 1.5:1 | Short to medium grain |
| Basmati | 1.5:1 | Rinse first for separation |
| Jasmine | 1.5:1 | Slightly sticky; rinse lightly |
| Brown rice | 2:1 | Longer cooking time |
| Sushi rice | 1.1–1.2:1 | Less water for stickiness |
| Wild rice | 3:1 | Cooks separately; soak overnight |
For extra flavor, substitute half the water with chicken or vegetable broth. You can also toast rice briefly in oil before adding liquid—this enhances nuttiness and depth.
If you live at high altitudes (above 3,000 feet), increase water slightly and extend cooking time by 2–5 minutes. Conversely, at sea level, reduce water by 1–2 tablespoons to prevent mushiness.
Always measure rice by volume, not weight, unless your recipe specifies otherwise. Use a dry measuring cup for accuracy.
Troubleshooting Common Rice Problems
Even experienced cooks run into hiccups. Here’s how to fix the most common issues:
Rice Sticks to the Bottom
This usually happens when the pan heats too quickly or lacks fat. Solution: Preheat the Dutch oven gently, add a tablespoon of oil or butter before adding rice, and stir occasionally during boiling.
Rice Is Too Dry or Undercooked
Undercooked centers mean you didn’t simmer long enough or the lid wasn’t sealed properly. Next time, extend cooking time by 2–3 minutes and ensure the lid fits snugly.
Rice Is Mushy or Gluey
Too much water or overcooking causes this. Measure carefully, don’t lift the lid early, and avoid stirring after the water boils. For sushi rice, use less water and shorter cooking time.
Grains Are Separated Instead of Fluffy
Over-rinsed rice loses starch, leading to brittle grains. Rinse just until water runs clear—not sparkling.
Burnt or Burnt-Looking Rice
High heat scorches the bottom. Always reduce to low simmer after boiling, and never skip the resting phase.
With practice, these problems become rare. Pay attention to your pot’s behavior, and adjust accordingly.
Cooking Specialty Rices in a Dutch Oven
Your Dutch oven isn’t limited to plain white rice. Try these gourmet variations:
Pilafs and Fried Rice
Sauté diced onions, carrots, and celery in oil. Add rice and toast for 1–2 minutes. Pour in hot broth, bring to a boil, then simmer covered for 18–20 minutes. Add peas, herbs, or cooked sausage before serving.
Sushi Rice
Use short-grain Japanese rice. Rinse until water clears, then cook with 1.1 parts water. After simmering, let rest 10 minutes, then fold in rice vinegar, sugar, and salt while fluffing.
Red or Black Rice
RisottoUse Arborio or Carnaroli rice. Toast it in butter, then add warm stock gradually while stirring. Finish with Parmesan and truffle oil for a creamy, luxurious result.
Each method leverages the Dutch oven’s ability to maintain steady heat—essential for achieving the right texture.
Cleaning and Maintaining Your Dutch Oven After Cooking Rice
Rice residue can be stubborn, but most Dutch ovens handle it well:
– **Enameled Cast Iron**: Soak in warm soapy water for 15–20 minutes. Scrub gently with a sponge. Avoid steel wool.
– **Stainless Steel**: Boil a solution of water and baking soda for 10 minutes to loosen stuck bits. Wipe with a soft cloth.
– **Bare Cast Iron**: Don’t soak! Scrape off residue, wash with hot water and coarse salt (acts as a gentle abrasive), then dry thoroughly and apply a thin layer of oil.
Never put bare cast iron in the dishwasher—it ruins the seasoning. Enameled and stainless models are usually dishwasher-safe, but hand-washing preserves longevity.
After cleaning, store your Dutch oven lid-up to air dry completely. This prevents moisture buildup and keeps the interior pristine.
Final Thoughts: Why Every Home Cook Needs This Skill
Learning to cook rice in a Dutch oven isn’t just about convenience—it’s about empowerment. You gain control over your food, reduce reliance on gadgets, and open doors to countless recipes. Whether you’re feeding a family or impressing guests, knowing how to make perfect rice from scratch builds confidence in the kitchen.
Plus, Dutch ovens are investment pieces that last generations. By using them for rice, you’re maximizing their utility beyond traditional roles. From one-pot meals to side dishes, they shine in every context.
So next time you reach for a rice cooker, pause. Grab your trusty Dutch oven instead. With a little practice, you’ll wonder why you ever doubted it. The results? Fluffy, fragrant, restaurant-worthy rice—without the hassle.
Frequently Asked Questions
Can I cook brown rice in a Dutch oven?
Absolutely! Brown rice takes longer to cook than white rice—typically 35–40 minutes—and needs more water (about 2 cups per 1 cup of rice). Just follow the same simmer-and-cover method, and let it rest before fluffing.
Do I need to rinse the rice before cooking in a Dutch oven?
Yes, especially for long-grain varieties like basmati or jasmine. Rinsing removes excess starch that causes clumping. Simply place the rice in a strainer and rinse under cold water until it runs clear.
What if my Dutch oven doesn’t have a tight-fitting lid?
If your lid leaks steam, try placing a clean kitchen towel between the pot and lid to absorb escaping steam. Alternatively, use foil to create a makeshift seal around the rim.
Can I cook rice directly in the Dutch oven without preheating?
While not ideal, you can add cold water and rice directly to a cold Dutch oven. However, preheating slightly helps prevent sticking and ensures even heat distribution. Just avoid high heat initially.
How do I keep rice warm after cooking in a Dutch oven?
Transfer the rice to a warm oven (200°F/95°C) for up to an hour, or wrap the Dutch oven in a thick towel. Avoid leaving it on the stove—heat fluctuations affect texture.
Can I use broth instead of water to cook rice in a Dutch oven?
Yes! Using broth adds flavor. Replace half or all of the water with chicken, vegetable, or beef broth. You can also add herbs, garlic, or bay leaves during cooking for extra depth.