
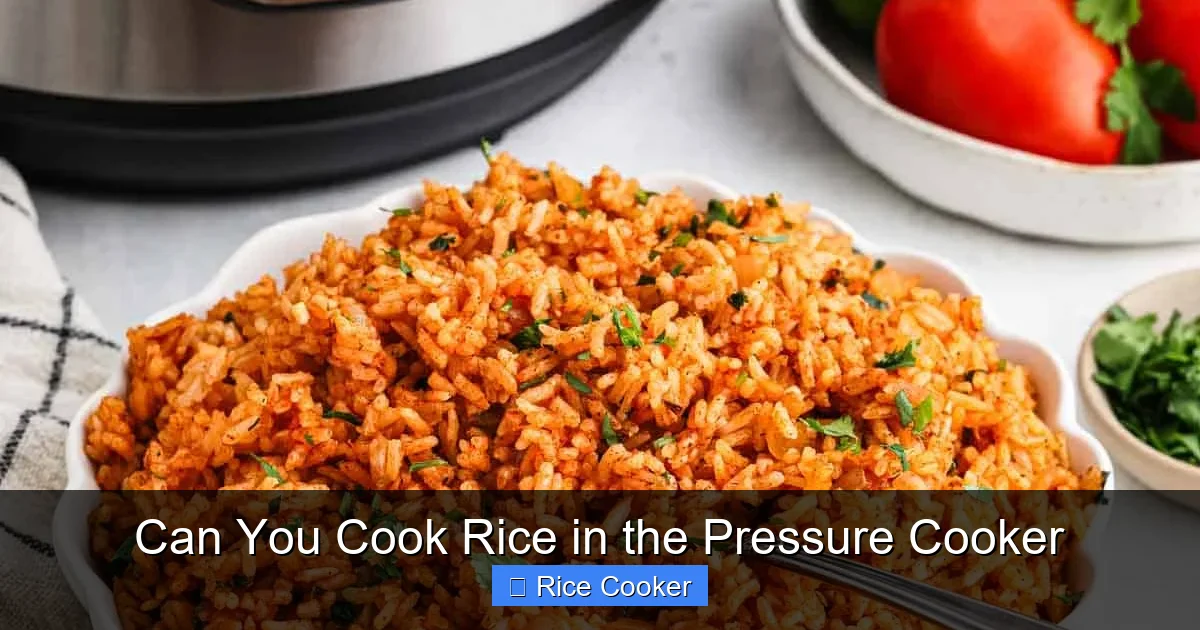
Cooking rice in a pressure cooker is not only possible—it’s one of the easiest and most efficient methods. With the right water-to-rice ratio and proper timing, you’ll get perfectly tender grains without overcooking. This method saves time, energy, and gives consistent results across all rice varieties.
Key Takeaways
- Rice cooks quickly in a pressure cooker: Most types require just 3–6 minutes under high pressure, making it faster than boiling or steaming.
- Use the correct water-to-rice ratio: A general rule is 1:1 (rice to water), but adjustments may be needed based on grain type and cooker model.
- Soaking improves texture: Soaking white or brown rice for 20–30 minutes before cooking helps achieve even fluffiness.
- Natural release is best for most rice: Let the pressure release naturally for 10–15 minutes to prevent mushiness and allow steam to finish cooking.
- Different rice needs different settings: Basmati, jasmine, arborio, and brown rice each have specific cooking times and techniques.
- A pressure cooker is more than a pot: It preserves nutrients, reduces cooking time, and keeps your kitchen cool and quiet.
📑 Table of Contents
- Can You Cook Rice in the Pressure Cooker?
- Why Use a Pressure Cooker for Rice?
- Choosing the Right Rice for Pressure Cooking
- The Perfect Water-to-Rice Ratio
- Step-by-Step Guide to Cooking Rice in a Pressure Cooker
- Advanced Tips for Perfect Rice Every Time
- Best Pressure Cookers for Cooking Rice
- Frequently Asked Questions About Cooking Rice in a Pressure Cooker
- Conclusion: Embrace the Convenience Without Compromise
Can You Cook Rice in the Pressure Cooker?
Have you ever stood over a pot of boiling rice, worried it might boil over, or found yourself waiting too long because the stove was busy? If so, you’re not alone. Cooking rice on the stovetop can be tricky—too much water leads to soggy grains; too little leaves them hard and chalky. But what if there was a better way? Enter the humble pressure cooker: a kitchen workhorse that can transform your rice game with speed, consistency, and minimal effort.
Yes, you absolutely can cook rice in a pressure cooker—and once you try it, you might never go back. Whether you’re making fluffy jasmine rice for Thai food, creamy risotto, or simple white rice for stir-fries, the pressure cooker delivers reliable results every time. In this comprehensive guide, we’ll walk you through everything you need to know about cooking rice in a pressure cooker, from choosing the right type of rice to mastering natural versus quick release. By the end, you’ll be confident enough to ditch the old pot-and-stir method and embrace modern convenience without sacrificing quality.
Why Use a Pressure Cooker for Rice?
If you’re still using a regular saucepan to cook rice, consider upgrading your technique—or at least your tool. Pressure cooking isn’t just for tough cuts of meat or stews; it’s surprisingly versatile when it comes to grains. Here’s why so many home cooks are switching to this method:
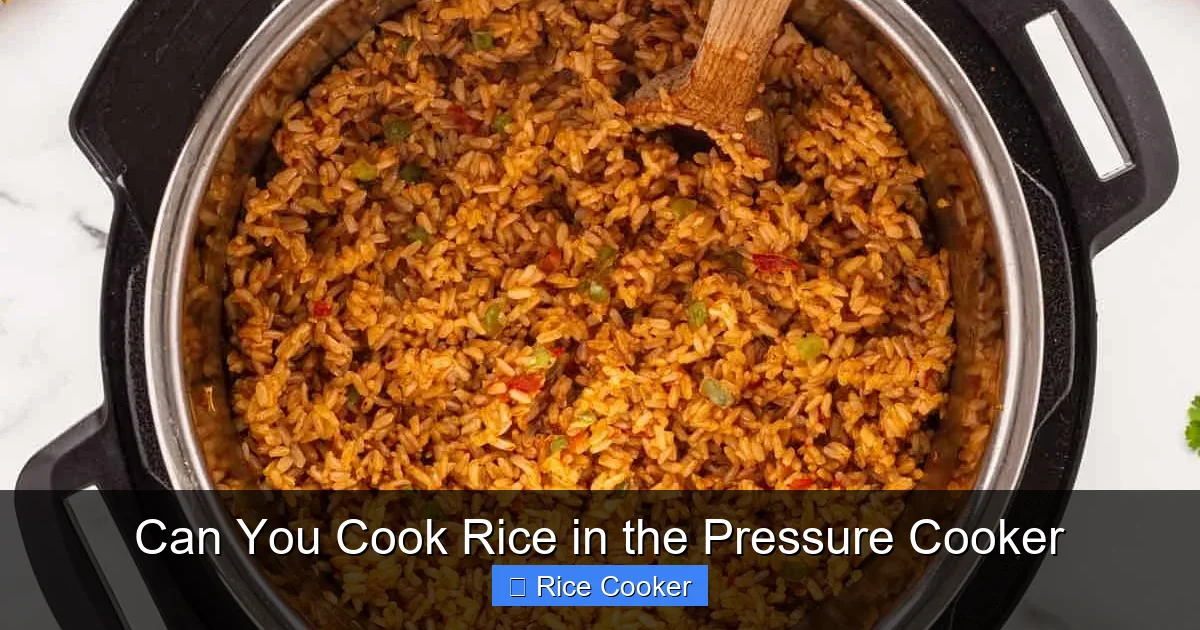
Visual guide about Can You Cook Rice in the Pressure Cooker
Image source: attainable-sustainable.net
Speed Without Sacrificing Quality
Traditional rice takes 18–30 minutes on the stove, but most rice varieties come out perfectly in under 10 minutes under pressure. That means less waiting and more eating. For busy weeknights, this time savings is priceless.
Consistency Every Time
Unlike boiling, where heat fluctuations can ruin your batch, pressure cookers maintain steady temperatures. This means your rice turns out evenly cooked—no more burnt spots or gummy centers.
Energy Efficiency
Pressure cookers use less energy than ovens or stovetops because they trap heat inside. Plus, they retain moisture and steam, reducing the need for constant stirring or monitoring.
Nutrient Retention
Cooked in a sealed environment, rice retains more vitamins and minerals compared to open-pot cooking. The reduced exposure to air and fluctuating temperatures helps preserve nutritional value.
Hands-Off Cooking
Once you set it up, you can walk away. No more hovering over the stove, watching for bubbles or adjusting flames. Just add ingredients, close the lid, and let science do its thing.
Choosing the Right Rice for Pressure Cooking
Not all rice is created equal—and some work better in a pressure cooker than others. Understanding the differences between short-grain, medium-grain, long-grain, and specialty varieties will help you pick the best one for your dish.
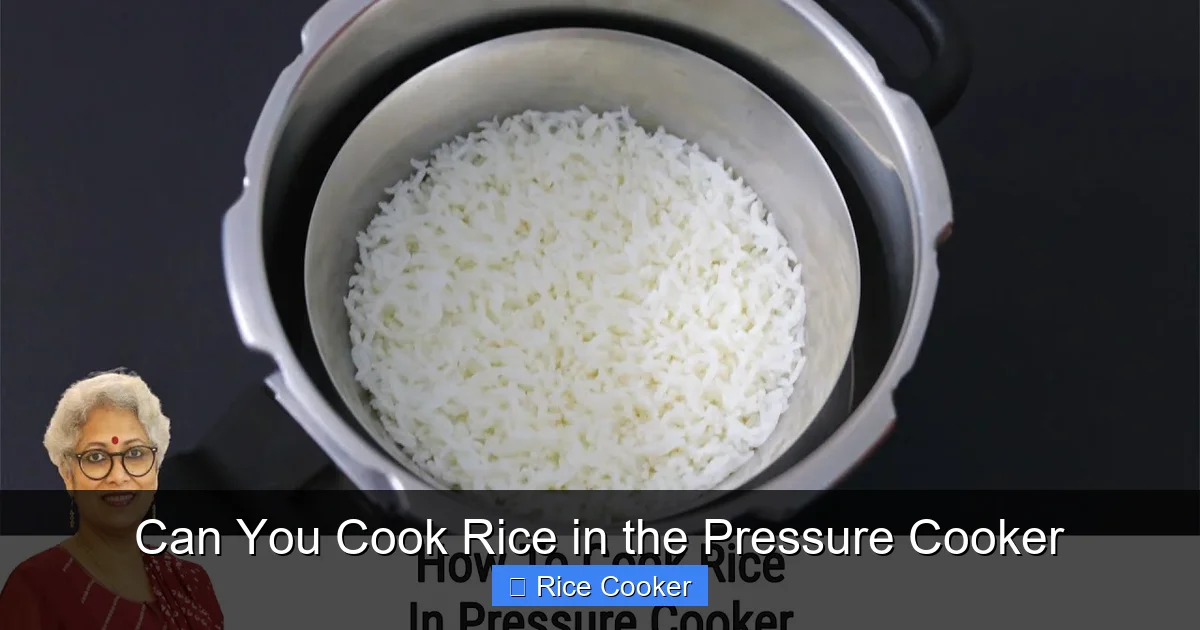
Visual guide about Can You Cook Rice in the Pressure Cooker
Image source: i.ytimg.com
White Rice (Long-Grain & Short-Grain)
Long-grain white rice like Jasmine or Basmati expands during cooking and becomes fluffy when done right. Short-grain white rice, such as Calrose or Arborio, sticks together more and is ideal for risottos or sushi. Both respond well to pressure cooking with a 1:1 water ratio and 3–5 minutes under pressure.
Brown Rice
Brown rice has a tougher outer bran layer, so it needs more liquid and longer cooking times. Expect a ratio closer to 1.25:1 (rice to water) and 6–8 minutes under pressure. Brown rice also benefits from soaking beforehand to soften those bran layers.
Sushi Rice
This short-grain Japanese variety needs precise moisture control. Too much water makes it gluey; too little leaves it dry. Try 1:1.1 ratio with 4 minutes under pressure, then let it rest naturally for 5 minutes before fluffing.
Arborio Rice
Perfect for risottos, Arborio requires constant stirring on the stovetop—but in a pressure cooker, it becomes creamy and tender in just 5–7 minutes. Use 1:1.2 water ratio and natural release to avoid mushiness.
Wild Rice & Other Specialty Grains
Wild rice mixes well with long-grain rice but needs extra time—around 10 minutes under pressure. Quinoa, barley, and millet also adapt well but may require slight ratio tweaks due to their unique textures.
Pro Tip: Always rinse your rice before cooking to remove excess starch. This prevents clumping and ensures lighter, fluffier results—especially important for long-grain varieties.
The Perfect Water-to-Rice Ratio
Getting the water right is arguably the most critical step when cooking rice in a pressure cooker. Unlike traditional methods where you rely on visual cues, pressure cooking relies on precise ratios because the environment is sealed and pressurized.
General Guidelines by Rice Type
- White Long-Grain (Jasmine, Basmati): 1 cup rice : 1 cup water
- White Short-Grain (Sushi, Arborio): 1 cup rice : 1 cup water (slightly more for Arborio)
- Brown Rice: 1 cup rice : 1.25 cups water
- Black or Wild Rice: 1 cup rice : 1.5 cups water
- Cooked Rice Reheating: 1 cup leftover : 1/4 cup water
How to Measure Accurately
Use a standard measuring cup, not a mug—mugs vary in size and throw off your ratios. Level off the top of the rice without packing it down. If your pressure cooker has markings inside, follow those, but double-check with a measuring cup for accuracy.
Adjustments Based on Altitude
If you live above 3,000 feet, you may need slightly more water and longer cooking times. High altitude affects boiling points and pressure levels, so monitor your first few batches closely.
Testing Your Ratio
After cooking, check doneness by gently pressing a grain between your fingers. It should be tender but still slightly firm in the center (al dente). If it’s too hard, increase water next time. If it’s mushy, reduce water slightly.
Step-by-Step Guide to Cooking Rice in a Pressure Cooker
Ready to give it a try? Follow these simple steps for foolproof results every time.
Step 1: Rinse the Rice
Place rice in a fine-mesh strainer and rinse under cold running water until the water runs clear. This removes surface starch and prevents stickiness.
Step 2: Add Rice and Water
Transfer rinsed rice to your pressure cooker pot. Pour in the appropriate amount of water based on the ratio chart above. Stir gently to distribute evenly.
Step 3: Optional – Soak (Especially for White Rice)
Let white rice soak for 20–30 minutes before cooking. This softens the grains and promotes uniform texture. Brown rice also benefits from soaking, though it’s optional.
Step 4: Secure the Lid and Set Pressure
Close the lid securely, ensuring the vent is sealed. Set the pressure valve to “Sealing” mode. Choose the appropriate setting: Manual/Pressure Cook for most rice types.
Step 5: Cook Under Pressure
For white long-grain rice: cook on HIGH pressure for 3 minutes. For brown rice: 6–8 minutes. For Arborio: 5–7 minutes. Timer starts once full pressure is reached.
Step 6: Natural Release (Recommended)
Turn off the heat and let the pressure drop naturally for 10–15 minutes. Then perform a quick release by moving the valve to Venting mode. Do not force the lid open!
Step 7: Fluff and Serve
Once fully depressurized, carefully open the lid away from your face. Use a fork to fluff the rice gently—don’t mash it. Serve immediately.
Troubleshooting Common Issues
- Mushy Rice: Caused by overcooking or too much water. Reduce water or shorten timer next time.
- Dry or Hard Rice: Not enough water or insufficient soaking. Increase water slightly and consider soaking longer.
- Lid Won’t Open: Wait longer for natural release. Steam must escape completely.
- Undercooked Center: Let sit after cooking—residual heat continues cooking grains.
Advanced Tips for Perfect Rice Every Time
Want to take your rice game to the next level? These expert tricks will elevate your results beyond basic instructions.
Use Broth Instead of Water
Add flavor by substituting half the water with vegetable, chicken, or beef broth. This works especially well for brown rice or risotto-style dishes.
Add Aromatics
Before adding rice and water, sauté garlic, ginger, or onions briefly in oil. This builds flavor layers without needing additional pots or pans.
Layer Ingredients for Pilafs
Try onion slices, carrots, or peas layered at the bottom of the pot. They’ll infuse the rice with subtle sweetness and color.
Don’t Overfill
Never fill your pressure cooker more than two-thirds full when cooking rice. Leave room for expansion and airflow. This prevents clogging and ensures even heating.
Keep a Rice Log
Track your ratios, times, and outcomes for different rice types. This helps refine your technique and build confidence over time.
Reheat Leftovers Safely
To reheat cooked rice, add a splash of water or broth to the pot, cover, and use the “Steam” function for 3–5 minutes. Avoid reheating in a microwave unless you’re using a dedicated container.
Best Pressure Cookers for Cooking Rice
While any electric or stovetop pressure cooker works, some models offer features that make rice cooking even easier.
Instant Pot (Electric)
The Instant Pot dominates the market with preset rice buttons and customizable timers. Models like the Instant Pot Duo Evo Plus include a “Rice” function with automatic adjustments for common varieties.
Ninja Foodi (Dual-Bowl)
Great for multitasking—you can cook rice in one bowl while grilling chicken in another. The Foodi also includes a “Steam & Crisp” mode for reheating.
Stovetop Pressure Cookers (All-Clad, Presto)
Durable and powerful, stovetop models like the Presto 01781L Compact are excellent for serious home cooks. They offer manual control and are often more affordable upfront.
Things to Look For
- Timer Precision: Digital displays help track exact cooking times.
- Natural Release Function: Built-in natural release modes save time.
- Non-Stick Interior: Makes cleanup easier and prevents rice from sticking.
- Size Appropriateness: Match the capacity to your household size—4-quart is ideal for families of 3–4.
Frequently Asked Questions About Cooking Rice in a Pressure Cooker
Is it safe to cook rice in a pressure cooker?
Yes, it’s completely safe when used properly. Modern pressure cookers have multiple safety mechanisms including pressure sensors, temperature cutoffs, and secure locking lids. Always read the manual before first use.
Can I cook rice and vegetables together in a pressure cooker?
Absolutely! Add chopped carrots, peas, or broccoli with the rice. Adjust cooking time slightly—vegetables usually take less time, so reduce overall timer by 1–2 minutes.
Do I need to soak brown rice before pressure cooking?
Soaking is optional but recommended. It helps soften the bran layer and ensures even cooking. Soak for 20–30 minutes before proceeding with standard brown rice instructions.
What happens if I skip the natural release?
Skipping natural release may cause rice to become soggy or unevenly cooked. Some recipes allow quick release, but for best texture, always allow 10–15 minutes of natural depressurization after cooking.
Can I cook frozen rice in a pressure cooker?
No—never add frozen rice directly into hot pressure cooker water. Thaw it first. Frozen rice creates steam pockets that can interfere with pressure buildup and lead to inconsistent results.
How do I clean my pressure cooker after cooking sticky rice?
Let the pot cool completely. Fill halfway with warm water and a drop of dish soap. Let sit for 10 minutes, then scrub with a non-abrasive sponge. For stubborn residue, use baking soda paste.
Conclusion: Embrace the Convenience Without Compromise
Cooking rice in a pressure cooker isn’t just a shortcut—it’s an upgrade. You get faster cooking, better texture, fewer cleanup hassles, and the peace of mind that comes from knowing your meal won’t burn or overflow. Whether you’re preparing everyday white rice or experimenting with wild rice pilafs, this method adapts beautifully across varieties and cuisines.
The key lies in understanding your rice type, respecting the water ratio, and allowing the machine to do its job with a proper natural release. Once you master these basics, you’ll find yourself reaching for the pressure cooker more often—not just for rice, but for countless other dishes too.
So go ahead—grab your favorite grain, measure out the water, and let the pressure work its magic. Your taste buds (and your schedule) will thank you.
Frequently Asked Questions
Is it safe to cook rice in a pressure cooker?
Yes, it’s completely safe when used properly. Modern pressure cookers have multiple safety mechanisms including pressure sensors, temperature cutoffs, and secure locking lids. Always read the manual before first use.
Can I cook rice and vegetables together in a pressure cooker?
Absolutely! Add chopped carrots, peas, or broccoli with the rice. Adjust cooking time slightly—vegetables usually take less time, so reduce overall timer by 1–2 minutes.
Do I need to soak brown rice before pressure cooking?
Soaking is optional but recommended. It helps soften the bran layer and ensures even cooking. Soak for 20–30 minutes before proceeding with standard brown rice instructions.
What happens if I skip the natural release?
Skipping natural release may cause rice to become soggy or unevenly cooked. Some recipes allow quick release, but for best texture, always allow 10–15 minutes of natural depressurization after cooking.
Can I cook frozen rice in a pressure cooker?
No—never add frozen rice directly into hot pressure cooker water. Thaw it first. Frozen rice creates steam pockets that can interfere with pressure buildup and lead to inconsistent results.
How do I clean my pressure cooker after cooking sticky rice?
Let the pot cool completely. Fill halfway with warm water and a drop of dish soap. Let sit for 10 minutes, then scrub with a non-abrasive sponge. For stubborn residue, use baking soda paste.