
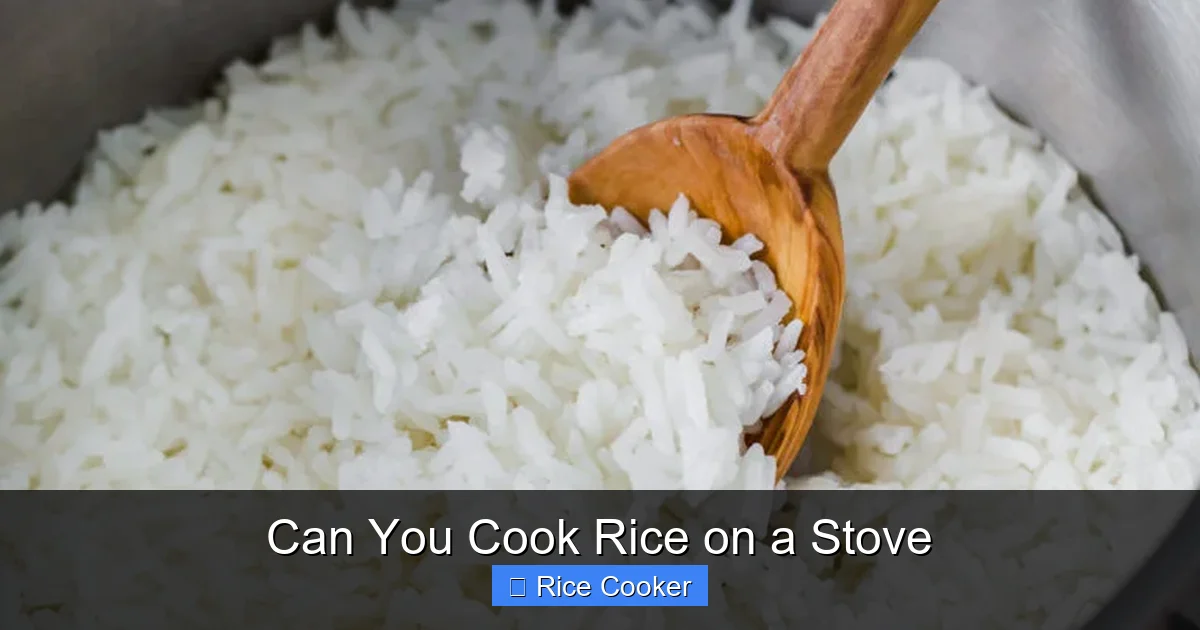
You absolutely can cook rice on a stove—no rice cooker needed. While stovetop cooking requires more attention, it delivers delicious, fluffy results when done correctly. With the right pot, water ratio, and timing, you’ll master this classic method in minutes.
Key Takeaways
- Stove cooking is possible: You don’t need a rice cooker to prepare perfectly cooked rice—just a pot, heat source, and proper technique.
- Water-to-rice ratio matters: The ideal ratio varies by grain type, but most require 1:2 (rice to water) for long grains and slightly less for short ones.
- Heat control is key: Starting high to bring water to a boil, then reducing to low mimics a rice cooker’s automatic switch-off feature.
- Resting time improves texture: Letting rice sit covered for 5–10 minutes after cooking helps steam evenly and fluff up grains.
- Pot choice affects results: A heavy-bottomed pot with a tight-fitting lid prevents scorching and ensures even heat distribution.
- Grain selection impacts cooking: Basmati, jasmine, arborio, and sushi rice all have unique textures and require different handling.
- Common mistakes to avoid: Stirring too often, using cold water, or opening the lid prematurely can ruin your rice.
📑 Table of Contents
- Can You Cook Rice on a Stove?
- The Fundamentals of Stovetop Rice Cooking
- Choosing the Right Pot and Tools
- Mastering the Water-to-Rice Ratio
- Step-by-Step Guide to Perfect Stovetop Rice
- Common Mistakes and How to Fix Them
- Advanced Tips for Elevated Results
- Special Rice Varieties and Their Needs
- Can You Cook Rice Without a Lid?
- How Long Does It Take?
- Is Stovetop Rice Healthier Than Microwave or Instant?
- Final Thoughts
Can You Cook Rice on a Stove?
Let’s be honest—rice is one of the world’s most beloved staples. Whether you’re making sushi, biryani, fried rice, or just enjoying a simple bowl with beans and veggies, rice plays a starring role. But here’s something people often wonder: Can you cook rice on a stove?
The short answer? Absolutely. In fact, many home cooks prefer stovetop cooking because it gives them more control and avoids the plastic smell some associate with cheap rice cookers. Plus, if you’ve ever owned a rice cooker, you might’ve noticed it still uses a heating element—so whether it’s a machine or an open flame, the goal is the same: transform dry grains into tender, fluffy perfection.
In this guide, we’re diving deep into everything you need to know about cooking rice on a stove. From choosing the right pot to mastering timing and avoiding mushy disasters, we’ve got you covered. So grab your favorite grain, fire up that burner, and let’s get started!
The Fundamentals of Stovetop Rice Cooking
Cooking rice on a stove isn’t rocket science—but it does require understanding a few core principles. Unlike boiling pasta or simmering soup, rice needs precise hydration, temperature shifts, and resting time to achieve its signature texture. When you cook rice properly, each grain should be separate, slightly chewy (al dente), and not sticky or gummy.
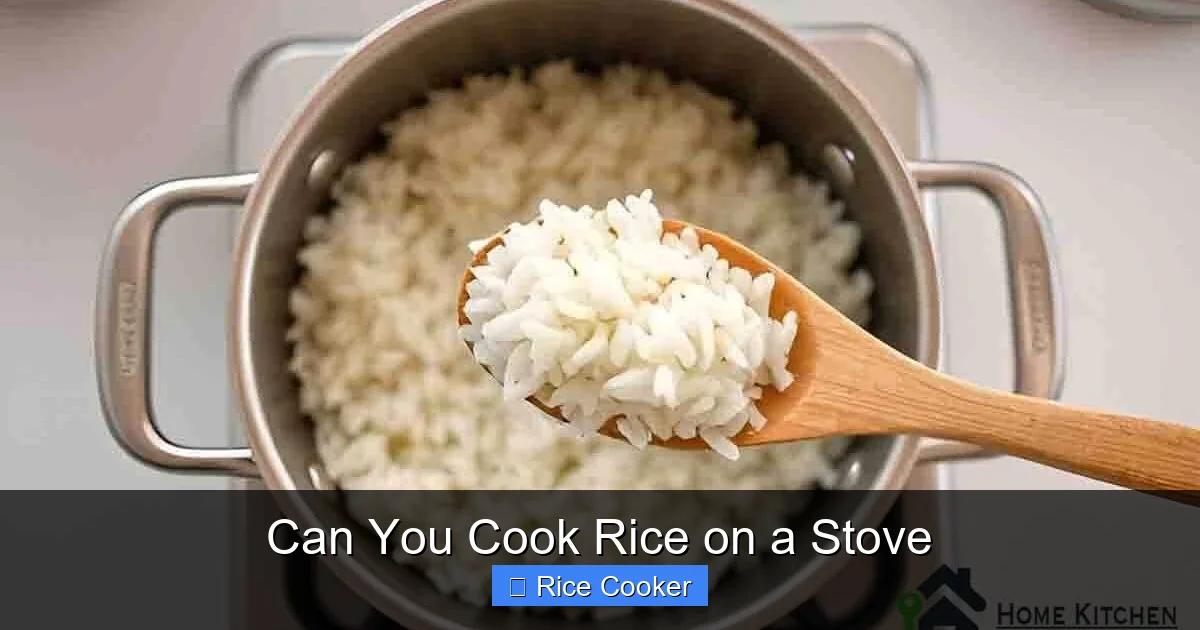
Visual guide about Can You Cook Rice on a Stove
Image source: homekitchenmagazine.com
Why People Choose the Stove Over a Rice Cooker
Many folks turn to the stovetop because they want hands-on control. For example, if you’re making a dish like Spanish paella or Indian pulao, you’ll need to sauté aromatics first before adding rice—something a basic rice cooker can’t do. Also, stovetop rice tends to develop a richer, nuttier flavor due to caramelization at the bottom of the pan (the coveted “rice crust” or *tahdig* in Persian cooking).
Another advantage? No electricity required. That makes it ideal for camping trips, power outages, or anyone living off-grid. And honestly? Once you master it, you might never look back at your rice cooker again.
What Makes Rice “Cook”?
Rice is essentially starch-heavy seed. Raw rice contains no moisture—it’s all absorbed during cooking. As water heats up, the starch granules swell and burst, creating a gel-like layer around each grain. This process is called gelatinization. Once the center of the grain softens enough, it’s done.
The trick? Getting the heat just right so that the surface doesn’t dry out while the inside finishes cooking. Too much heat = burnt bottom, undercooked top. Too little = soupy, mushy rice. That’s why adjusting from high to low heat halfway through is such a game-changer.
Choosing the Right Pot and Tools
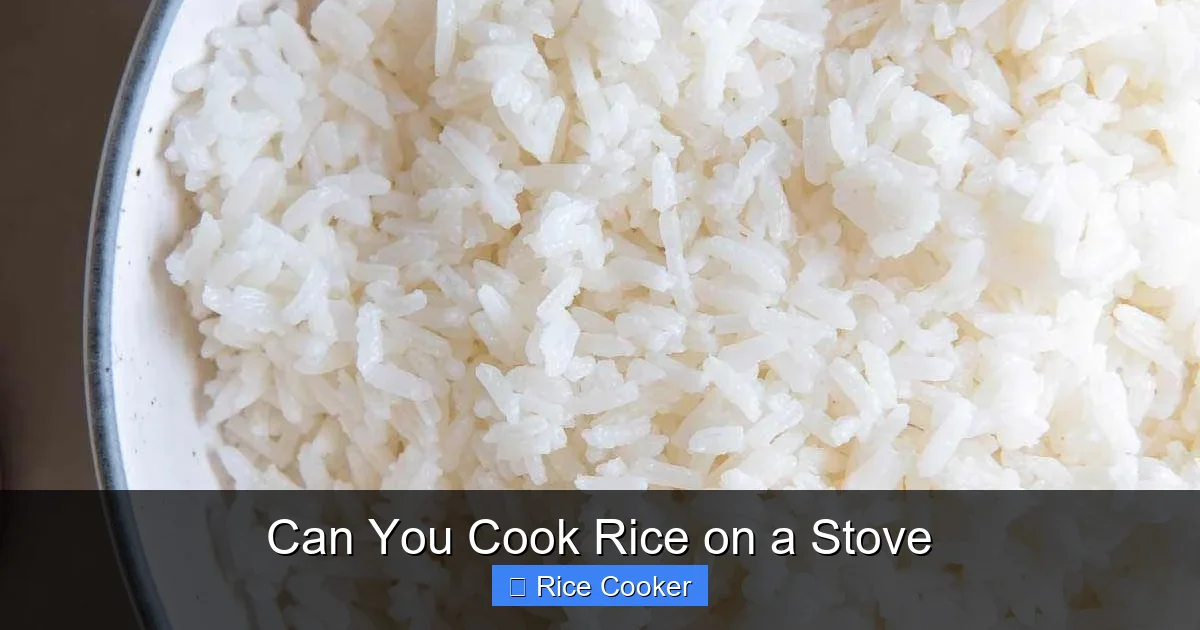
Not all pots are created equal when it comes to rice. A good rice pot should have:
Visual guide about Can You Cook Rice on a Stove
Image source: i.pinimg.com
- A heavy base to distribute heat evenly
- A tight-fitting lid to trap steam
- Enough height to prevent overflow as water evaporates
Best Types of Pots for Rice
Heavy-bottomed stainless steel or enameled cast iron: These retain heat well and reduce hot spots. Look for models with flared sides—they help rice expand without spilling.
Nonstick pans (with caution): While convenient for cleanup, nonstick coatings can degrade under high heat and may flake into your rice. Only use them if you’re careful and don’t overheat.
A wide, shallow pot vs. a tall, narrow one: Most experts recommend a wide pot because it allows better airflow and prevents rice from clumping together. Tall pots work too, but you risk uneven cooking unless stirred frequently.
Essential Accessories
- Lid with vent hole: If your pot doesn’t seal tightly, cover it loosely with foil first, then add the lid. Alternatively, use a kitchen towel draped over the handle to absorb excess steam.
- Wooden spoon or heatproof spatula: Never stir rice once it’s boiling—this releases starch and causes stickiness. Instead, gently fold from the edges toward the center after removing from heat.
- Measuring cup rated in milliliters: Accuracy matters! Volume cups vary by country (US vs. UK), so using metric measurements ensures consistent ratios.
Mastering the Water-to-Rice Ratio
This is probably the most common point of confusion. How much water do you really need? The truth is, it depends on the type of rice and how you like it.
Standard Ratios by Grain Type
| Grain Type | Recommended Ratio (Rice:Water) | Notes |
|---|---|---|
| White long-grain (e.g., basmati) | 1:1.75 to 1:2 | Drain excess water after boiling |
| White short-grain (e.g., sushi rice) | 1:1.25 | Stickier; ideal for rolls |
| Brown rice | 1:2.5 | Takes longer—add extra time |
| Arborio (risotto-style) | 1:3 (stir constantly) | Never use a lid |
For beginners, start with white long-grain rice at a 1:2 ratio. If it’s too dry, next time add half a tablespoon of water per cup. If it’s soupy, reduce by the same amount.
The Floating Test
Some chefs swear by the “float test”: after bringing water to a boil, drop in a single grain. If it sinks immediately, rice is ready. If it floats, wait another minute. This works best with parboiled or instant rice.
Step-by-Step Guide to Perfect Stovetop Rice
Ready to try it yourself? Follow these steps for foolproof results every time.
Step 1: Rinse Your Rice (Optional but Recommended)
Rinsing removes excess starch and surface dust, which reduces stickiness. Place rice in a fine-mesh strainer and rinse under cold running water until the water runs clear. Don’t skip this step if you’re using jasmine or basmati—it enhances aroma and separates grains.
Step 2: Combine Ingredients
Measure rice and water precisely. Add salt if desired—about ½ teaspoon per cup of rice. Some recipes call for oil or butter (1 tablespoon per 2 cups) to prevent sticking and add richness.
Step 3: Bring to a Rolling Boil
Place the pot on medium-high heat. Uncover and watch closely. Once bubbles erupt rapidly and continuously (not just simmering), give it 30 seconds, then reduce heat to low.
Step 4: Cover and Simmer
Immediately cover with a tight-fitting lid. Adjust heat so the water simmers gently—you should hear a soft hissing sound, but no violent bubbling. Cook for 12–18 minutes, depending on grain type and altitude.
Step 5: Rest and Fluff
Turn off the heat and let the rice sit, covered, for 5–10 minutes. This allows residual steam to finish cooking the center without drying the surface. After resting, fluff gently with a fork—never dig down aggressively.
Step 6: Check Doneness
Open the lid and peek. All water should be absorbed, and individual grains should be tender but firm. If there’s still liquid, return to low heat for 2–3 more minutes.
Common Mistakes and How to Fix Them
Even experienced cooks hit snags. Here’s what usually goes wrong—and how to fix it fast.
Mistake #1: Stirring During Boiling
Stirring breaks apart grains and releases too much starch, leading to gluey, sticky rice. Solution: Resist the urge! Just swirl the pot gently if needed.
Mistake #2: Using Cold Water
Cold water slows cooking and can cause uneven absorption. Always use room-temperature or hot tap water for faster, more uniform results.
Mistake #3: Opening the Lid Too Soon
Steam escapes, lowering internal temperature and extending cook time. Keep the lid sealed until the timer ends.
Mistake #4: Wrong Heat Level
High heat scalds the bottom before the top cooks through. Medium-high to high initially, then low once boiling starts.
Mistake #5: Not Rinsing Brown Rice
Brown rice has bran layers that can create bitterness if not rinsed. Always wash before cooking.
Mistake #6: Hurrying the Resting Phase
Rushing means undercooked centers and hard surfaces. Patience pays off—trust the process!
Advanced Tips for Elevated Results
Want restaurant-quality rice at home? Try these pro techniques.
Using Broth Instead of Water
Replace some or all of the water with chicken, vegetable, or mushroom broth. It infuses subtle flavor and keeps rice moist. Add herbs like bay leaf or thyme during cooking for extra depth.
Adding Aromatics
Sauté garlic, ginger, or onions in olive oil before adding rice. For Indian-style pilaf, toast whole spices like cumin and cardamom first. This builds layers of taste impossible with plain water.
Fluffing with Steam
After resting, place a clean kitchen towel over the pot while uncovering. Lift the towel briefly to let steam escape—this creates airy, separated grains.
Cooking Multiple Grains Together
Combine brown and white rice for texture contrast. Brown takes longer, so soak it overnight or cook it separately. Or try wild rice with basmati—just increase water by ¼ cup per cup of wild rice.
Storing Leftover Rice Properly
Cool rice quickly in an ice bath if reheating later. Store in airtight containers and eat within 3 days. Never leave cooked rice at room temperature for more than 2 hours.
Special Rice Varieties and Their Needs
Different rices behave differently. Know your grains to nail the technique.
Basmati Rice
Light, fragrant, and slender. Best soaked for 30 minutes before cooking to elongate grains. Use 1:1.75 water ratio. Don’t overcook—it becomes mushy.
Jasmine Rice
Soft, slightly sticky, and aromatic. Similar to basmati but stickier. Rinse well and use 1:1.5 ratio. Ideal for Thai curries and stir-fries.
Sushi Rice
Short, round, and clingy. Requires precise water control—too much and it’s soggy; too little and it’s chalky. Soak 30 mins, then cook 1:1.25. Season with rice vinegar after.
Arborio Rice
Used for risotto—never covered! Stir constantly in 1:3 liquid over low heat for 18–20 minutes until creamy. Deglaze with wine early for flavor.
Brown Rice
Healthier but denser. Needs extra water (1:2.5) and longer time (30–40 minutes). Pressure cooker speeds this up dramatically.
Wild Rice
Naturally dark and nutty. Must be boiled separately for 45–60 minutes before mixing with other grains. Very absorbent.
Can You Cook Rice Without a Lid?
Technically yes—but not recommended. Without a lid, steam escapes, slowing cooking and risking dryness. If you must, cover loosely with foil and reduce heat significantly. Expect longer cook times and potentially uneven results.
How Long Does It Take?
Most white rice takes 15–20 minutes total: 3–5 minutes boiling + 12–15 simmering + 5–10 resting. Brown rice doubles that. Always check doneness visually or with a toothpick.
Is Stovetop Rice Healthier Than Microwave or Instant?
Not necessarily. All rice provides similar calories and carbs. However, homemade rice lets you control sodium, oil, and additives. Plus, freshly cooked rice tastes better and retains more nutrients.
Final Thoughts
Cooking rice on a stove is totally doable—and once you get the hang of it, you’ll feel empowered. It’s not about perfection; it’s about practice. Start simple: a pot of white rice with salt and water. Master that, then branch out to flavored broths, toasted spices, or mixed grains.
Remember: the stove gives you freedom. You’re not locked into preset timers or limited functions. You can adapt, improvise, and make rice part of your signature dishes. And hey—if you mess up once? No big deal. Even Gordon Ramsay admits he’s burned rice.
So go ahead. Light your burner. Measure your ingredients. Trust the process. Before you know it, you’ll be serving up restaurant-worthy rice like a pro.
Frequently Asked Questions
Can I cook any type of rice on a stove?
Yes, almost every variety—from basmati to brown rice—can be cooked on a stove. However, some like risotto or sushi rice require special techniques. The key is adjusting water ratios and timing based on the grain.
Do I need to soak rice before cooking it on the stove?
Not always, but soaking improves texture for certain types like basmati or sushi rice. It shortens cook time and makes grains more uniform. Just drain thoroughly before cooking.
Why is my stove-cooked rice sticky?
Sticky rice usually results from too much water, stirring during boiling, or using low-quality short-grain rice. Try reducing water by 1/4 cup per cup of rice and avoid stirring once water boils.
Can I add flavorings like garlic or herbs while cooking?
Absolutely! Sauté aromatics first, then add rice and water. Bay leaves, cumin seeds, or ginger slices infuse subtle flavors. Remove solids before finishing for cleaner taste.
What if my rice is undercooked in the middle?
If the center is firm, return the pot to low heat, cover, and cook 2–3 more minutes. Avoid opening the lid—it lowers temperature. For future batches, increase cook time slightly or soak longer.
How do I reheat leftover stovetop rice?
Add a splash of water or broth to steamed rice in a covered pan over low heat. Stir occasionally until warmed through. Alternatively, microwave with a damp paper towel to retain moisture.