
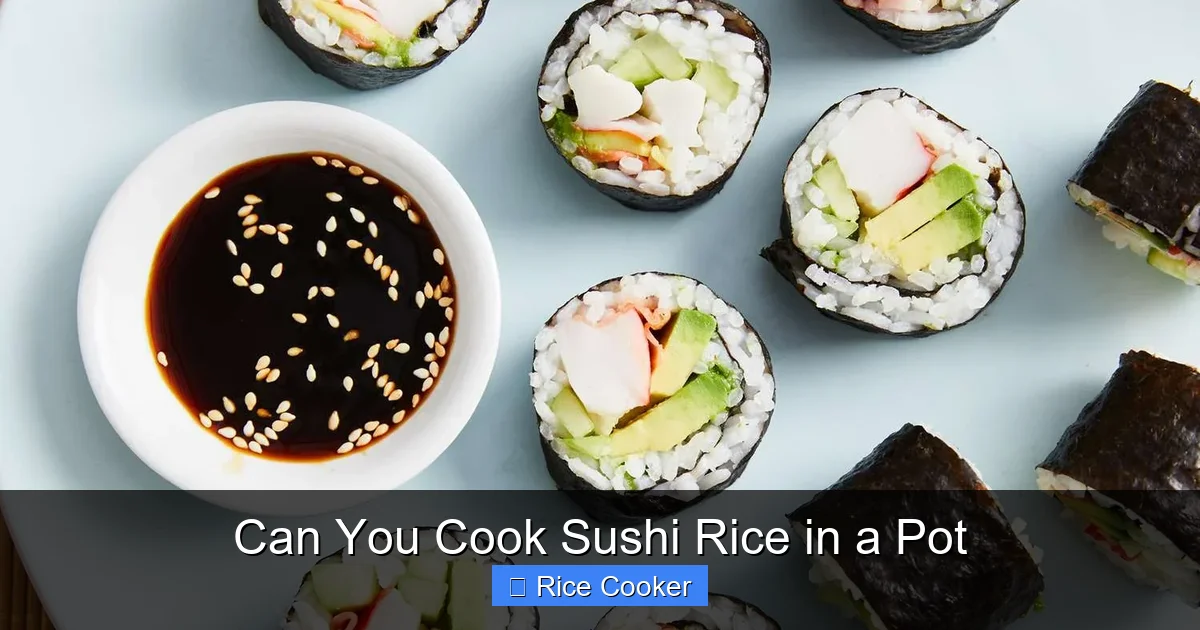
Can you cook sushi rice in a pot? Absolutely! While a rice cooker gives consistent results, cooking sushi rice on the stovetop is simple and effective. With the right technique, your homemade sushi rice will be fluffy, slightly sticky, and full of authentic flavor—perfect for rolls, nigiri, or even sushi bowls.
Key Takeaways
- Yes, you can cook sushi rice in a pot. A heavy-bottomed saucepan works just as well as a rice cooker when done correctly.
- Proper rinsing removes excess starch. Skip the rice cooker’s automatic rinse and do it by hand for better control.
- The 1:1.2 water-to-rice ratio is ideal. Too much water makes rice mushy; too little leaves it undercooked.
- A tight-fitting lid prevents steam escape. This ensures even cooking and proper absorption.
- Resting the rice after cooking is essential. Let it sit covered for 15–20 minutes to achieve the perfect texture.
- Seasoning with rice vinegar adds authenticity. Mix it gently after cooking—never stir once seasoned.
- Patience pays off. Sushi rice requires attention to detail, but the result is worth the effort.
📑 Table of Contents
- Can You Cook Sushi Rice in a Pot? The Short Answer Is Yes!
- Understanding Sushi Rice: What Makes It Special?
- Do You Really Need a Rice Cooker?
- Step-by-Step Guide: How to Cook Sushi Rice in a Pot
- Tips for Perfect Sushi Rice Every Time
- Common Mistakes to Avoid
- Can You Cook Sushi Rice in a Rice Cooker Instead?
- What to Serve With Your Homemade Sushi Rice
- Storing and Reheating Leftover Sushi Rice
- Final Thoughts: Is Cooking Sushi Rice in a Pot Worth It?
Can You Cook Sushi Rice in a Pot? The Short Answer Is Yes!
You’ve probably seen those sleek rice cookers with digital timers and multiple settings—and maybe you’ve wondered if you really need one to make great sushi rice. The truth? You absolutely can cook sushi rice in a pot, and many home chefs swear by the method. In fact, some say stovetop cooking gives them more control over the final texture. Whether you’re preparing a quick lunch roll or aiming for restaurant-quality nigiri, mastering this technique opens up a world of possibilities without needing specialized equipment.
Sushi rice, also known as shari or sumeshi, is the foundation of Japanese cuisine. Unlike regular white rice, it’s made from short-grain Japonica rice that becomes tender yet slightly sticky when cooked properly. This stickiness allows sushi pieces to hold together without falling apart. But achieving that balance isn’t magic—it’s science, timing, and a few simple steps. And guess what? Those steps can all be done in a good old-fashioned pot on your stove.
Understanding Sushi Rice: What Makes It Special?
Before diving into how to cook sushi rice in a pot, let’s talk about why it’s different from the rice you might have grown up eating. Regular long-grain rice has less starch and doesn’t cling together. Sushi rice, on the other hand, relies heavily on amylopectin—a type of starch that creates that signature chewiness and binding quality.
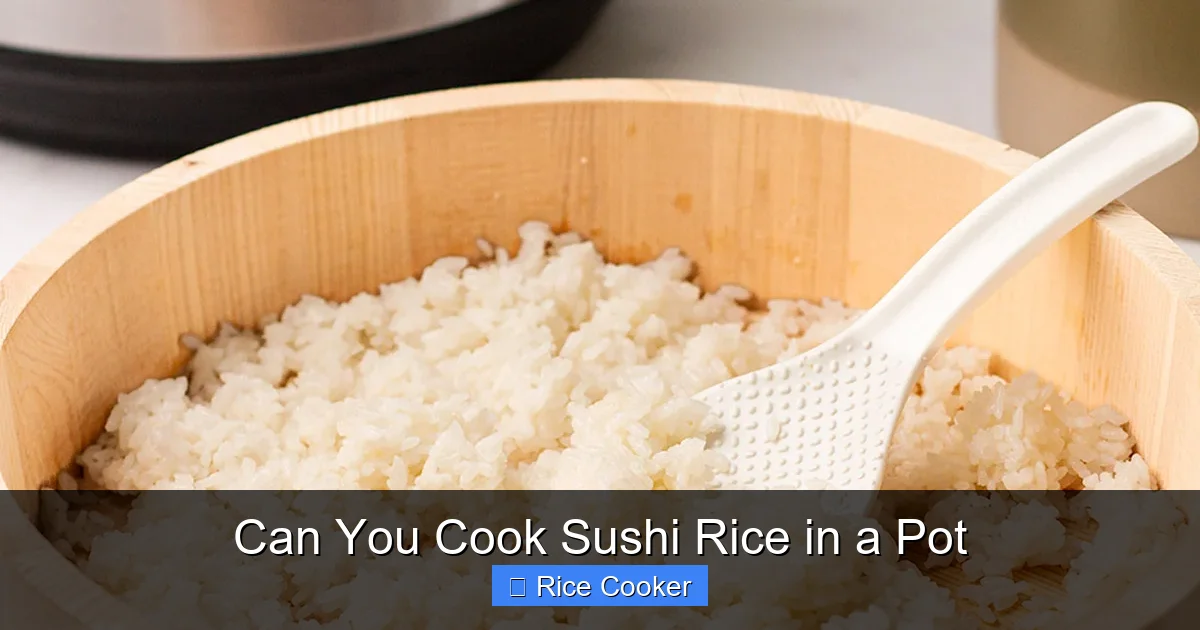
Visual guide about Can You Cook Sushi Rice in a Pot
Image source: sushistaycation.com
The Role of Short-Grain Rice
The best sushi rice starts with high-quality short-grain Japanese rice, like Koshihikari or Calrose. These varieties are naturally higher in starch and lower in protein than other grains. When cooked correctly, they absorb just enough moisture to become soft but not mushy. If you use long-grain rice instead, your sushi will likely fall apart or feel gummy.
Why Rinsing Matters
Rinsing removes surface starch that can make rice gluey if left unchecked. Think of it like washing off excess powder before baking. For sushi rice, this step is non-negotiable. Without rinsing, your final product may be too sticky or clumpy—especially problematic when shaping nigiri or folding ingredients into maki rolls.
The Importance of Water Ratio
Unlike most rices that follow a 1:2 water-to-rice ratio, sushi rice uses slightly less water—usually around 1 part rice to 1.2 parts water. This ensures the grain stays firm yet tender. Too much water leads to soggy rice; too little leaves centers hard and uncooked.
Do You Really Need a Rice Cooker?
This is where things get interesting. Many people assume a rice cooker is essential for sushi rice because it automates the process. But here’s the thing: you don’t need a rice cooker to make excellent sushi rice. In fact, cooking sushi rice in a pot gives you more hands-on control over temperature and timing.
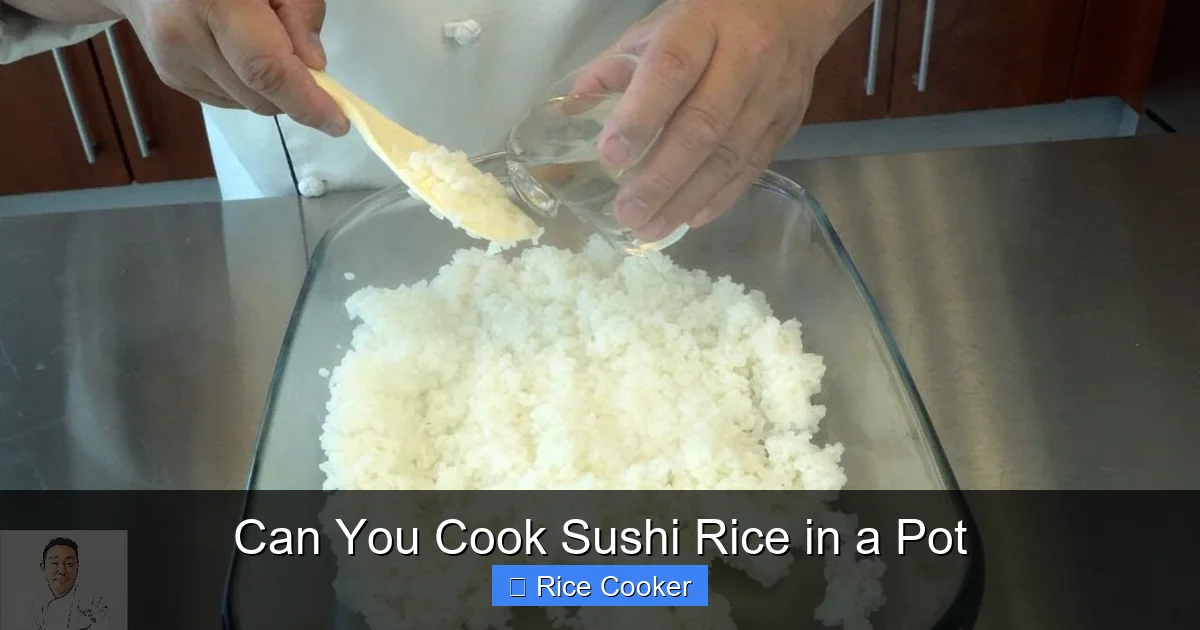
Visual guide about Can You Cook Sushi Rice in a Pot
Image source: i.ytimg.com
Pros and Cons of Using a Pot vs. Rice Cooker
| Method | Pros | Cons |
|---|---|---|
| Pot (Stovetop) | Full control over heat; familiar kitchen tool; no extra cost | Requires monitoring; risk of burning if unattended |
| Rice Cooker | Automated; consistent results; often includes steaming function | Extra appliance; limited customization; may overcook if set incorrectly |
If you already own a heavy-bottomed saucepan with a tight-fitting lid, you’re all set. No need to spend money on an appliance you might rarely use again.
When a Rice Cooker Shines
There are times a rice cooker makes sense—like when you’re cooking large batches or prefer automation. Some models even have a “sushi” setting that adjusts water levels and cooking cycles. But remember: even with a rice cooker, you still need to rinse the rice and add vinegar afterward.
Step-by-Step Guide: How to Cook Sushi Rice in a Pot
Ready to try it yourself? Follow these steps for foolproof sushi rice every time—whether you’re using a pot or a rice cooker.
1. Measure and Rinse the Rice
Start by measuring your rice. Use a clean bowl or cup marked with volume lines. For example, 1 cup uncooked sushi rice yields about 2 cups cooked. Place the rice in a fine-mesh strainer and rinse under cold running water until the water runs clear. Gently rub the grains between your fingers to loosen starch. This usually takes 3–5 rinses.
2. Soak the Rice (Optional but Recommended)
Let the rinsed rice soak for 30 minutes to 1 hour. Soaking helps grains hydrate evenly, resulting in more uniform texture. If you’re short on time, skip this step—but expect slightly less tender results.
3. Combine Rice and Water
Add the soaked (or dry) rice to a heavy-bottomed pot. Pour in water at a 1:1.2 ratio—so for 1 cup rice, use 1.2 cups water. Swirl gently to distribute water evenly.
4. Bring to a Boil, Then Reduce Heat
Cover the pot with a tight-fitting lid. Turn the heat to high and bring to a rolling boil. Once boiling, reduce to low and simmer for 12–15 minutes. Do not lift the lid during this time—steam builds pressure and cooks the rice.
5. Rest and Fluff
Turn off the heat and let the rice rest, covered, for 15–20 minutes. This allows residual steam to finish cooking the grains without drying them out. After resting, fluff gently with a wooden spatula or rice paddle—do not mash.
6. Season the Rice
In a small bowl, mix 2 tablespoons rice vinegar, 1 tablespoon sugar, and 1/2 teaspoon salt until dissolved. Fold this mixture into the hot rice using a cutting motion (never stir). Keep covered while working so it stays warm.
Tips for Perfect Sushi Rice Every Time
Even experienced cooks make mistakes. Here are pro tips to elevate your game:
- Use room-temperature rice vinegar. Cold vinegar can shock the rice and create uneven seasoning.
- Keep everything clean. Use only clean utensils and bowls—cross-contamination affects taste.
- Serve immediately or keep warm. Sushi rice tastes best fresh. If storing, wrap tightly and reheat gently in a steamer.
- Taste before adding salt. Some vinegars are saltier than others—adjust to preference.
- Practice portion control. Make only what you’ll eat soon, since sushi rice doesn’t store well overnight.
Common Mistakes to Avoid
Don’t worry—everyone messes up sometimes. Here’s how to dodge the most frequent pitfalls:
Mistake #1: Not Rinsing Enough
Skipping or under-rinsing leaves too much starch on the surface, causing clumping. Always aim for clear rinse water.
Mistake #2: Using Wrong Water Ratio
Too much water = mushy rice. Too little = chalky center. Stick to 1:1.2.
Mistake #3: Stirring After Cooking
Once rice finishes cooking, never stir aggressively. It breaks apart the delicate texture needed for sushi.
Mistake #4: Adding Vinegar Before Resting
Vinegar added too early steams out. Wait until rice is fully rested and still warm.
Mistake #5: Using Long-Grain Rice
Long-grain rice lacks the right starch structure. Stick to short-grain varieties labeled “sushi rice” or “Japanese rice.”
Can You Cook Sushi Rice in a Rice Cooker Instead?
Absolutely! If you have a rice cooker, the process is similar—just adjust timing and settings. Most rice cookers default to a 1:1.8 water ratio, so reduce water slightly for sushi rice. Some advanced models have a “sushi” or “gluten-free” setting that works perfectly. Still, remember to rinse and season afterward—the cooker handles cooking, not flavoring.
Comparing Methods Side-by-Side
| Step | Pot Method | Rice Cooker Method |
|——|————|——————–|
| Rinsing | Manual | Manual |
| Soaking | Optional | Optional |
| Water Ratio | 1:1.2 | Adjust to 1:1.1–1.2 |
| Cooking Time | 12–15 min | Auto (usually 20–30 min) |
| Resting | Required | Built-in delay |
| Seasoning | Done manually | Done manually |
Both methods yield excellent results—choose based on convenience and preference.
What to Serve With Your Homemade Sushi Rice
Once your rice is ready, the fun begins! Sushi rice pairs beautifully with:
- Nigiri (hand-formed sushi): Try tuna, salmon, or tamago (sweet egg omelet).
- Maki rolls (sushi rolls): Classic California roll, spicy tuna, or cucumber avocado.
- Bowl sushi (chirashi): Topped with assorted raw fish, vegetables, and pickled radish.
- Onigiri (rice balls): Simple, portable snacks wrapped in nori or eaten plain.
- Sushi bowls (Oshizushi): Pressed sushi served in a mold for elegant presentation.
For beginners, start with simple rolls using cucumber, avocado, and imitation crab. As you gain confidence, experiment with fresh seafood and traditional garnishes like wasabi and pickled ginger.
Storing and Reheating Leftover Sushi Rice
Sushi rice doesn’t keep long—ideally, consume within 2 hours of preparation. If you must store it, place in an airtight container and refrigerate for up to 1 day. To reheat, steam gently over boiling water for 3–5 minutes, then fluff. Never microwave directly—it dries out the rice.
Final Thoughts: Is Cooking Sushi Rice in a Pot Worth It?
After reading this, you might be thinking: “Is it really easier than using a rice cooker?” Honestly? It depends on your priorities. If you love precision and control, the pot method wins. If you value speed and consistency, a rice cooker might suit you better. But here’s the kicker: learning to cook sushi rice in a pot teaches you fundamentals that apply to other dishes too—like controlling heat and understanding grain behavior.
Plus, there’s something satisfying about making something from scratch without relying on appliances. And who knows? You might discover you enjoy the ritual of cooking sushi rice as much as eating it.
So yes—can you cook sushi rice in a pot? Yes, you absolutely can. Will it taste as good as restaurant-made sushi rice? With practice, yes. Will it save you money? Definitely. Will it impress your friends? Probably. Start today, and soon you’ll be rolling your own sushi like a pro.
Frequently Asked Questions
Can I use any type of rice to make sushi?
No, only short-grain Japanese rice works best for sushi. Long-grain rice lacks the right starch content and won’t hold together properly. Look for brands labeled “sushi rice” or “Japonica rice.”
How long should I soak sushi rice before cooking?
Soaking for 30 minutes to 1 hour is ideal, but not required. Soaking helps grains cook evenly and improves texture. If you’re short on time, you can skip it—just extend resting time slightly.
Why does my sushi rice turn out sticky?
Overly sticky rice usually means too much water or insufficient rinsing. Check your water ratio (1:1.2) and ensure you rinse until the water runs clear. Also, avoid stirring after cooking.
Can I make sushi rice ahead of time?
Not recommended. Sushi rice is best served fresh within 1–2 hours of seasoning. Stored rice loses its texture and becomes dry or clumpy. If you must store it, refrigerate for up to 1 day and reheat gently.
Do I need special tools to shape sushi?
Basic tools help: a bamboo sushi mat, plastic wrap, and a sharp knife. But you can also form nigiri by hand or use molds for pressed sushi. Practice makes perfect!
What if I don’t have rice vinegar?
You can substitute with white wine vinegar or lemon juice mixed with a bit of sugar and salt—but rice vinegar gives the most authentic flavor. Avoid balsamic or apple cider vinegar—they’re too strong.