
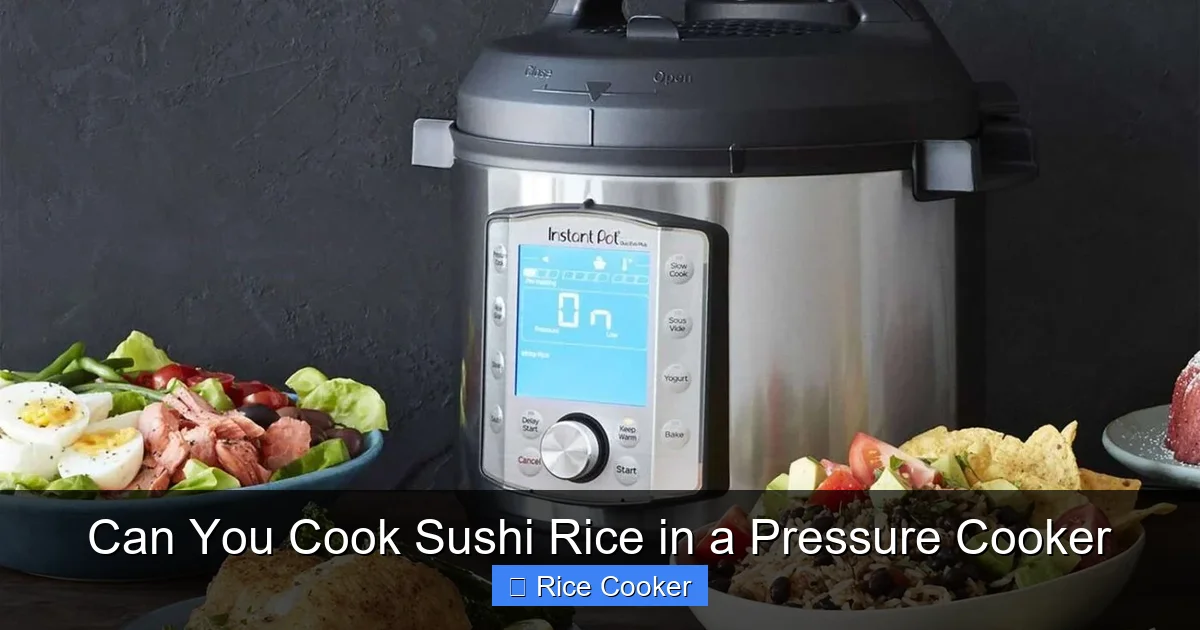
Can you cook sushi rice in a pressure cooker? Absolutely! Using a pressure cooker saves time and yields tender, evenly cooked rice ideal for making sushi at home. With the right ratio and technique, you’ll get that signature sticky texture without the guesswork.
Key Takeaways
- Pressure cookers work great for sushi rice: They provide consistent heat and steam, cooking rice uniformly while preserving its delicate texture.
- Use short-grain Japanese rice: Authentic sushi rice requires the right grain type—short-grain varieties like Koshihikari or Calrose offer the perfect stickiness.
- Correct water-to-rice ratio is key: For most pressure cookers, use a 1:1.2 to 1:1.3 ratio (rice to water) for ideal doneness.
- Seasoning matters: After cooking, mix in rice vinegar, sugar, and salt while the rice is still warm for authentic flavor and texture.
- Don’t skip resting time: Let the rice sit covered for 10–15 minutes after cooking to absorb moisture and firm up slightly.
- Cleaning is simple: Rinse rice before cooking and avoid overfilling your pressure cooker to prevent messes.
- It’s a time-saver: Pressure cooking cuts down active prep time compared to stovetop methods while delivering reliable results.
📑 Table of Contents
- Can You Cook Sushi Rice in a Pressure Cooker? The Short Answer Is YES!
- The Science Behind Perfect Sushi Rice
- What Kind of Pressure Cooker Do You Need?
- Step-by-Step Guide: Cooking Sushi Rice in a Pressure Cooker
- Common Mistakes and How to Avoid Them
- Tips for Different Types of Pressure Cookers
- Creative Uses Beyond Basic Sushi
- How to Store and Reheat Leftover Sushi Rice
- Final Thoughts: Why Pressure Cookers Are a Game-Changer
Can You Cook Sushi Rice in a Pressure Cooker? The Short Answer Is YES!
You bet you can! If you’ve ever wondered whether a pressure cooker can handle sushi rice like a pro, the answer is a confident yes. In fact, many home cooks now prefer pressure cookers for making sushi rice because they deliver consistent, fluffy results with less effort than traditional methods. Whether you’re rolling California rolls, spicy tuna maki, or futomaki stuffed with pickled vegetables, having perfectly prepared sushi rice is essential. And guess what? Your trusty Instant Pot, Ninja Foodi, or any other electric or stovetop pressure cooker can do the job just fine.
Sushi rice needs to be both tender and slightly sticky—clingy enough to hold its shape when rolled but not gummy or mushy. It also must absorb seasoning evenly so each bite tastes fresh and balanced. Traditional methods involve boiling, draining, steaming, and mixing with seasoned vinegar—a multi-step process that takes time and attention. But with a pressure cooker, you simplify everything into one efficient cycle. No constant stirring, no worrying about burning on the bottom of the pot. Just add rice, water, seasoning, and press start. That’s the beauty of modern appliances.
In this complete guide, we’ll walk through everything you need to know—from choosing the right rice to seasoning and serving—so your next batch of sushi rice turns out restaurant-quality every time. Plus, we’ll cover common mistakes to avoid, tips for different types of pressure cookers, and even how to adapt recipes if you’re using leftover rice. By the end, you’ll feel totally confident cooking sushi rice in a pressure cooker and ready to roll some delicious sushi at home.
The Science Behind Perfect Sushi Rice
Before diving into the “how-to,” it helps to understand why certain techniques matter. Sushi rice is made from short-grain Japanese rice, which has high starch content—specifically amylopectin, a type of starch that gives rice its signature stickiness when cooked properly. This stickiness isn’t just about texture; it’s crucial for holding sushi together during rolling and eating.
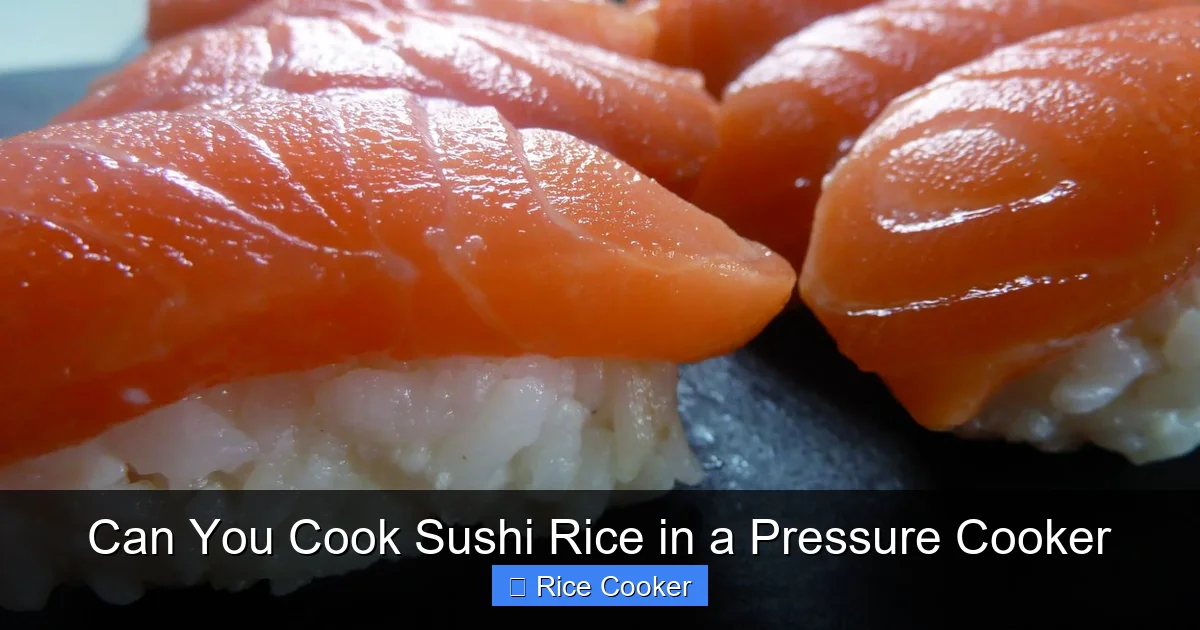
Visual guide about Can You Cook Sushi Rice in a Pressure Cooker
Image source: pressure-cooker-recipes.com
Why Short-Grain Rice Works Best
Short-grain rice absorbs more water than long-grain varieties and swells less during cooking. This means it stays soft and cohesive rather than becoming dry or crumbly. Varieties like Koshihikari (Japanese premium), Calrose (American short-grain), or even Carnaroli (Italian risotto-style) are all acceptable substitutes depending on what’s available locally. Just avoid basmati, jasmine, or joe rice—they won’t give you that authentic sushi bite.
The Role of Starch and Water Ratio
Cooking rice isn’t just about adding water—it’s about achieving the perfect balance between hydration and starch gelatinization. Too much water leads to mushy rice; too little leaves grains hard and separate. For sushi rice in a pressure cooker, most recipes call for a slightly higher water ratio than standard white rice because short-grain absorbs moisture quickly and benefits from extra steam during pressurization.
Temperature Control Matters
Traditional sushi rice is parboiled, then steamed, then cooled rapidly with fans to stop cooking—this prevents overcooking and keeps the grains firm yet tender. A pressure cooker mimics this by trapping steam and applying consistent heat under pressure, which cooks the rice evenly without drying it out. However, unlike stovetop methods, there’s no risk of scorching because the sealed environment prevents direct contact with flames.
What Kind of Pressure Cooker Do You Need?
Not all pressure cookers are created equal—but good news: almost any modern pressure cooker will work for sushi rice. Whether you own an Instant Pot (the most popular brand), a Cuisinart Electric Pressure Cooker, a stovetop model like a Presto, or even a manual oven-safe pressure cooker, the principles remain the same.
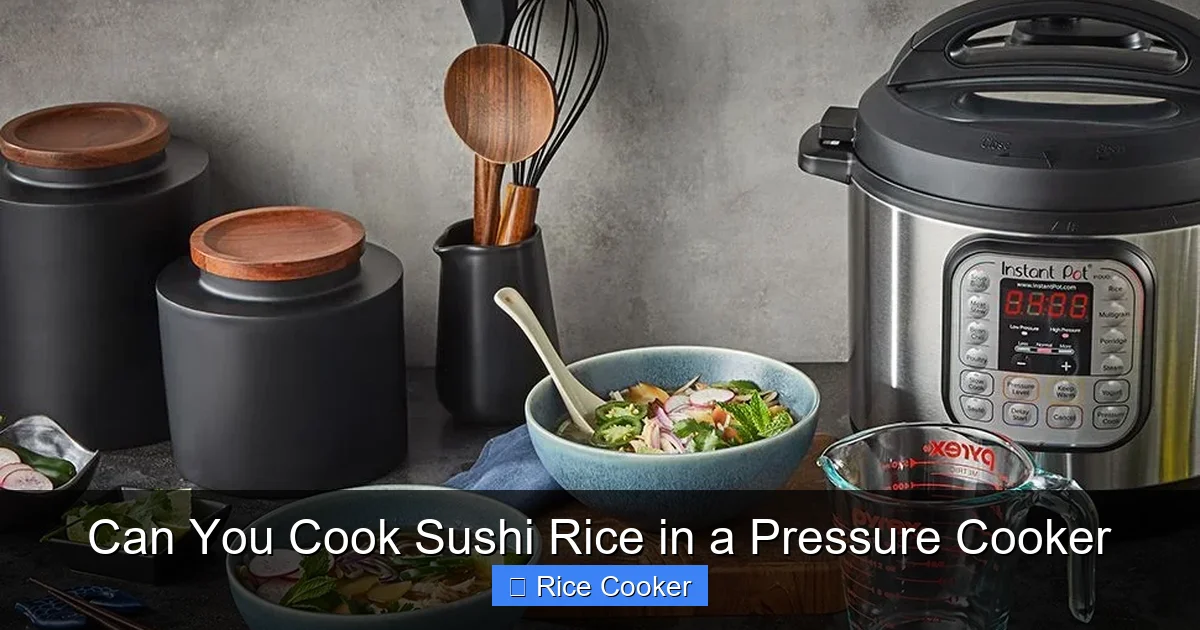
Visual guide about Can You Cook Sushi Rice in a Pressure Cooker
Image source: sushiandrice.com
Electric vs. Stovetop Models
Electric pressure cookers (like Instant Pots) are the easiest to use for beginners because they automate timing and pressure settings. Most have pre-programmed options for “Rice” or “Manual” modes that adjust heat and pressure automatically. Just load your ingredients, select the setting, and walk away.
Stovetop pressure cookers require more monitoring since you control the heat manually. You’ll need to bring the pot to high pressure gradually, then reduce heat once it reaches full pressure. While slightly more hands-on, stovetop models often give you finer control over cooking times and pressures, which some purists prefer.
Capacity Considerations
Choose a size based on how much sushi you plan to make. A 6-quart or larger cooker is ideal for families or meal prep. Smaller 3- or 4-quart models work well for single servings or small batches. Remember: never fill your pressure cooker beyond two-thirds full when cooking rice—this leaves room for expansion and prevents clogging the vent.
Accessories Make a Difference
A steamer basket insert can help separate cooked rice from excess moisture, especially if you’re concerned about overcooking. Some models come with non-stick inner pots that make cleanup easier. Also consider investing in a rice paddle with wide teeth—ideal for gently folding in vinegar without breaking grains.
Step-by-Step Guide: Cooking Sushi Rice in a Pressure Cooker
Ready to try it yourself? Follow these easy steps for foolproof sushi rice every time.
Gather Your Ingredients
- 1 cup short-grain Japanese rice (rinsed)
- 1.2–1.3 cups cold water (adjust based on rice type)
- 2 tablespoons rice vinegar
- 1 tablespoon sugar
- ½ teaspoon sea salt
- Optional: 1 tablespoon sesame oil (for added flavor)
Step 1: Rinse the Rice Thoroughly
This removes excess surface starch, preventing overly sticky or clumpy rice. Place rice in a fine-mesh strainer and rinse under cool running water until the water runs clear—about 3–5 rinses. Shake off excess water gently; don’t rub or press the grains.
Step 2: Combine Rice and Water
Add rinsed rice and water to the pressure cooker pot. Stir lightly to distribute evenly. For most brands, use 1 cup rice to 1.2 cups water as a starting point. Adjust upward if your rice is older or harder, or downward if it’s very young and plump.
Step 3: Add Seasonings
Mix vinegar, sugar, salt, and optional sesame oil directly into the rice-water mixture. Don’t worry—they’ll dissolve during cooking. Some chefs prefer adding seasoning after cooking instead, but doing it beforehand ensures even distribution.
Step 4: Seal and Cook
Close the lid securely, ensuring the valve is set to sealing position. Select “Manual” or “Pressure Cook” mode for 3–4 minutes at high pressure (depending on your model). Natural release for 10 minutes, then quick-release the remaining pressure.
Step 5: Rest and Fluff
Once pressure drops completely, open the lid carefully (watch for steam!). Cover the pot loosely with a towel and let rice rest for 10–15 minutes. Then fluff gently with a rice paddle or wooden spatula—don’t stir vigorously.
Step 6: Season While Warm
While rice is still warm (not hot!), transfer to a large bowl. Drizzle additional vinegar mixture if needed, then fold gently to coat without crushing grains. Fan the surface with a spoon to cool slightly and create a glossy finish.
Common Mistakes and How to Avoid Them
Even experienced cooks run into hiccups when making sushi rice. Here’s how to dodge the pitfalls.
Mistake #1: Not Rinsing Enough
Skipping rinses leaves behind excess starch, resulting in overly sticky, glue-like rice. Always rinse until water clears—this step alone makes a huge difference in final texture.
Mistake #2: Wrong Water Ratio
Using too much water creates soupy, mushy rice. Too little leaves grains hard. Stick to tested ratios (usually 1:1.2 to 1:1.3) and adjust only if necessary based on rice age and brand.
Mistake #3: Overfilling the Cooker
Never exceed two-thirds full capacity. Rice expands during cooking, and overfilling blocks vents or causes messy leaks. If making large batches, consider cooking in two smaller pans.
Mistake #4: Skipping the Resting Period
Rushing the resting phase means uneven moisture absorption. Letting rice sit allows residual steam to distribute evenly, yielding softer, more cohesive grains.
Mistake #5: Stirring Too Hard After Cooking
Violent stirring breaks apart tender sushi rice. Use gentle folds—think “cutting” motions with a rice paddle rather than mixing.
Mistake #6: Adding Seasoning Cold
Seasoning cold rice doesn’t bind well and looks dull. Always add vinegar mixture while rice is still warm so flavors meld naturally.
Tips for Different Types of Pressure Cookers
If you’re using a specific model, here are tailored tips to optimize results.
For Instant Pot Users
Select “Steam” mode instead of “Rice” for better control. Steam cycles use lower pressure and longer cooking times, which can yield fluffier results. Also, ensure your Instant Pot is calibrated correctly—older models sometimes overcook rice.
For Stovetop Pressure Cookers
Bring water to a boil first before adding rice. Once boiling, add rice, stir once, then seal and build pressure slowly over 3–4 minutes. Keep flame medium-high to maintain steady pressure without shaking the pot.
For Oven-Safe Pressure Cookers
These are great for hands-off cooking. Preheat oven to 250°F (120°C), then transfer sealed cooker to oven after reaching pressure. Turn off heat and let natural release happen indoors.
For Multi-Cooker Models (Ninja, Crock-Pot, etc.)
Most have a dedicated “Rice” setting—use that. If not, switch to “Manual” and set timer for 4 minutes at high pressure. Natural release for 10 minutes, then quick release.
Creative Uses Beyond Basic Sushi
Perfect sushi rice isn’t just for nigiri and rolls. Try these fun ideas:
- Onigiri (Japanese Rice Balls): Shape cooled rice into triangles, wrap in nori, and add fillings like pickled plum or grilled salmon.
- Sushi Bowls (Chirashi): Layer raw fish, tamago, cucumber, and avocado over warm sushi rice in a bowl.
- Fried Rice: Stir-fry cooled sushi rice with soy sauce, egg, peas, and diced pork for a twist on classic fried rice.
- Rice Pudding: Mix cooked rice with milk, sugar, cinnamon, and raisins for a comforting dessert.
- Tempura Rice Balls: Dip onigiri in tempura batter and deep fry for crispy outside, soft inside.
How to Store and Reheat Leftover Sushi Rice
Got extra? No problem. Proper storage keeps sushi rice fresh and usable for days.
Cooling First
Always let rice cool completely before storing. Warm or hot rice traps moisture, leading to mold. Spread it out in a shallow container to speed cooling.
Refrigeration
Store in an airtight container for up to 3 days. Cover surface with plastic wrap to prevent drying.
Freezing Option
For longer storage (up to 1 month), freeze in portion-sized bags. Thaw overnight in fridge, then reheat gently with a splash of water and brief microwaving (cover with damp paper towel).
Reheating Tips
Never microwave cold sushi rice straight from fridge—it becomes tough. Instead, steam it over boiling water for 5–7 minutes, fluffing occasionally. Or warm in a saucepan with a lid, adding a teaspoon of water per cup.
Final Thoughts: Why Pressure Cookers Are a Game-Changer
Making sushi rice used to be a labor-intensive process requiring constant supervision and multiple pots. Now, with a pressure cooker, you get restaurant-quality results in under 30 minutes with minimal cleanup. The key is using the right rice, proper ratios, and gentle handling post-cooking. Once you master the basics, you’ll wonder how you ever lived without it.
Whether you’re a sushi novice or a seasoned chef, investing time in learning this method pays off big. Imagine hosting friends for homemade sushi nights—everyone marvels at your perfectly seasoned, beautifully textured rice. And the best part? You’re not tied to buying expensive pre-packaged sushi kits anymore. Just grab some nori, fresh fish, and your pressure cooker, and you’re ready to roll.
So go ahead—give it a try tonight. Your taste buds (and dinner guests) will thank you.
Frequently Asked Questions
Can I use regular white rice instead of short-grain rice for sushi?
No, regular white rice lacks the starch structure needed for sushi’s signature stickiness. Always use short-grain Japanese rice like Koshihikari or Calrose for best results.
How do I know if my rice is overcooked?
Overcooked sushi rice is mushy and falls apart easily when fluffed. To prevent this, follow exact water ratios and avoid cooking longer than recommended.
Should I add seasoning before or after cooking the rice?
Both methods work, but adding seasoning before cooking ensures even distribution throughout the grains. For extra control, some chefs prefer adding it after cooking.
Can I make sushi rice in a slow cooker instead?
Slow cookers aren’t ideal for sushi rice because they don’t generate enough steam pressure to achieve proper texture. Stick to pressure cookers for best results.
Why does my sushi rice turn out dry?
Dry rice usually means insufficient water or overcooking. Check your water ratio and ensure you’re using fresh, high-quality short-grain rice.
Is it safe to leave my pressure cooker unattended while cooking rice?
Yes, modern electric pressure cookers are designed to monitor themselves. Just ensure you follow safety guidelines—never block vents or overfill the pot.