
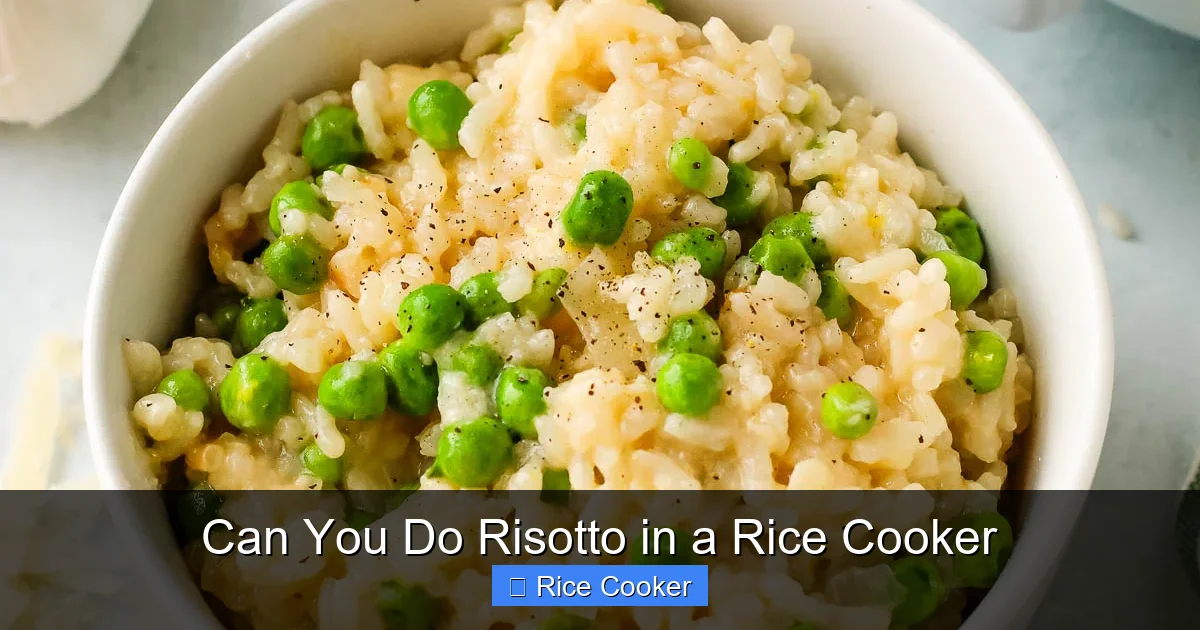
Making risotto in a rice cooker is absolutely possible and surprisingly easy. With the right technique and ingredients, you can create a creamy, flavorful dish that rivals traditional stovetop versions—without constant stirring. The secret lies in using the right rice, proper liquid ratios, and letting your rice cooker do the heavy lifting.
Making risotto used to mean standing at the stove for 30–40 minutes, constantly stirring while watching the pot like a hawk. But what if I told you there’s an easier way? Yes, you can absolutely make risotto in a rice cooker—and it might just become your new favorite method.
Risotto is all about texture: that velvety, creamy consistency achieved by slowly releasing starches from specially cultivated Italian short-grain rice. Traditionally made on the stovetop with constant stirring, it demands focus and patience. However, modern rice cookers—especially newer models with fuzzy logic or induction heating—can replicate those conditions beautifully. The result? A perfectly cooked, restaurant-worthy risotto with minimal effort.
Whether you’re cooking solo or hosting guests, this method saves time without sacrificing quality. Plus, once you master the basics, endless flavor combinations await. Let’s dive into exactly how to turn your rice cooker into a risotto-making powerhouse.
Key Takeaways
- Rice Type Matters: Use short-grain Arborio, Carnaroli, or Vialone Nano for best results—these varieties have high starch content for creaminess.
- Liquid Ratios Are Crucial: Start with a 1:2 ratio of rice to liquid (usually broth), then add more as needed during cooking.
- Prep Your Ingredients: Chop vegetables, mince aromatics, and have everything ready before starting—risotto requires attention to timing.
- Sauté First: Cook onions, garlic, or mushrooms in butter/oil before adding rice to build flavor depth.
- Add Broth Gradually: Unlike regular rice, risotto needs small amounts of warm liquid added slowly while stirring occasionally.
- Let It Rest: After cooking completes, let the risotto rest covered for 5 minutes—this helps redistribute moisture evenly.
- Experiment Flavors: Try adding wine, Parmesan cheese, herbs, or seasonal vegetables for unique twists on classic recipes.
📑 Table of Contents
- Why Choose a Rice Cooker for Risotto?
- Best Rice Types for Risotto in a Rice Cooker
- Essential Equipment & Prep Tips
- Step-by-Step Guide: Making Risotto in a Rice Cooker
- Troubleshooting Common Issues
- Flavor Variations & Creative Twists
- Pro Tips for Perfect Every Time
- Conclusion: Embrace the Convenience Without Compromise
Why Choose a Rice Cooker for Risotto?
If you’ve ever watched someone make risotto, you’ve probably noticed two things: they stir nonstop, and they never take their eyes off the pot. That’s because risotto isn’t just about boiling rice—it’s about controlled starch release through agitation and gradual hydration.
So why use a rice cooker? Isn’t it just for white rice?
Not anymore. Modern rice cookers come equipped with sensors and intelligent programs that monitor temperature and moisture levels far better than human hands. They maintain consistent heat, detect when water has been absorbed, and automatically switch to warming mode—all features that help mimic the gentle simmering process essential for risotto.
Another advantage? Hands-off cooking. You won’t need to stand over the stove, stirring every few minutes. Instead, you’ll prep ingredients ahead of time, sauté them, add rice and broth, press a button, and let science handle the rest.
Of course, not all rice cookers are created equal. Models with induction heating or fuzzy logic tend to perform better for delicate dishes like risotto. But even basic models can work—with a little extra attention during the final stages.
Best Rice Types for Risotto in a Rice Cooker
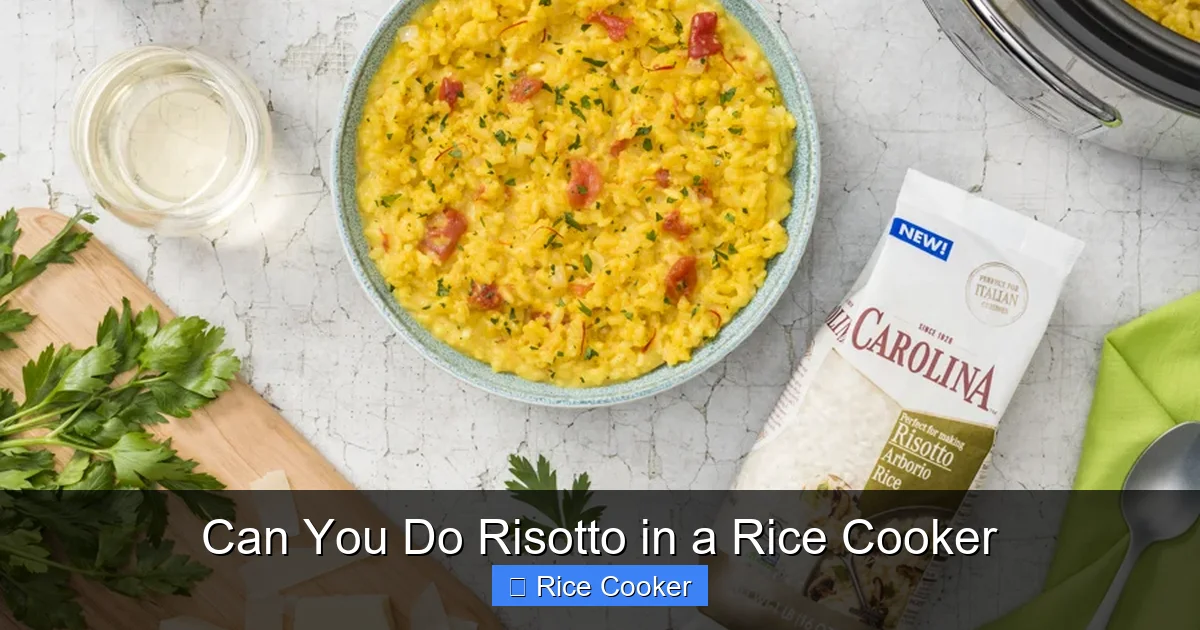
Visual guide about Can You Do Risotto in a Rice Cooker
Image source: carolinarice.com
Not all rice is made equal—especially when it comes to risotto. The magic happens thanks to a special type of rice that holds its shape while releasing plenty of natural starch, creating that signature creamy texture.
The holy trinity for authentic risotto includes:
- Arborio: Most commonly available worldwide; medium-sized grains with high starch content.
- Carnaroli: Considered the gold standard; retains structure longer than Arborio and yields ultra-creamy results.
- Vialone Nano: Smaller grain size; cooks faster and offers balanced creaminess.
Avoid long-grain or jasmine rice—they lack the necessary starch and will turn mushy or dry depending on cooking method.
When shopping, look for packages labeled “Italian risotto rice” or check the back for the specific cultivar name. If you can’t find these varieties locally, some grocery stores carry them online, or you can substitute with medium-grain Japanese rice (like Koshihikari)—though the outcome may be slightly different.
Always rinse your rice before cooking to remove excess surface starch, which can prevent clumping. Just place the rice in a fine-mesh strainer and run it under cold water until the water runs clear.
Essential Equipment & Prep Tips
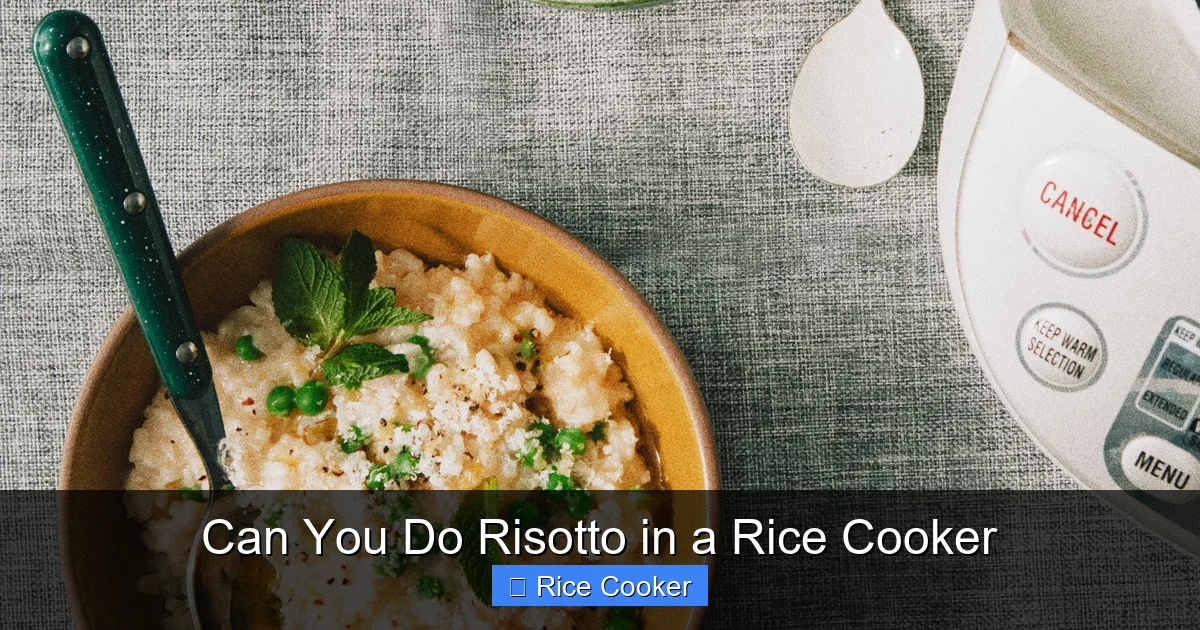
Visual guide about Can You Do Risotto in a Rice Cooker
Image source: assets.bonappetit.com
Before you start, gather what you’ll need:
- A good-quality rice cooker (preferably one with a nonstick inner pot)
- Sharp knife and cutting board
- Measuring cup and ladle
- Medium saucepan for heating broth
- Wooden spoon or silicone spatula
- Optional: immersion blender or hand mixer (for extra smoothness)
Preparation is key. Since risotto cooks quickly once liquid is added, having everything prepped ensures smooth progress. Here’s how to prep like a pro:
Step 1: Prepare Your Base Ingredients
Chop onions finely, slice mushrooms thinly, or dice tomatoes—whatever complements your flavor profile. Sauté these in butter or olive oil until softened but not browned. This builds foundational flavor.
Step 2: Heat Your Broth
Warm vegetable, chicken, or beef broth in a separate pot until steaming—never boiling. Cold broth slows down cooking; hot broth keeps the rice moving forward steadily.
Step 3: Measure Accurately
Use a 1:2 ratio of rice to liquid as your starting point. For example, 1 cup rice = 2 cups broth. Adjust based on your rice cooker’s capacity and desired consistency.
Step 4: Have Tools Ready
Keep your wooden spoon, ladle, and serving bowl nearby. Once the rice cooker starts, you’ll want quick access to stir or add more liquid if needed.
Step-by-Step Guide: Making Risotto in a Rice Cooker
Now for the main event. Follow these steps carefully, and you’ll end up with rich, creamy risotto every time.
Step 1: Sauté Aromatics
Heat 2 tablespoons butter (or olive oil) in your rice cooker pot over medium heat. Add diced onion and cook until translucent—about 3–4 minutes. If using mushrooms, add them now and cook until golden.
Step 2: Toast the Rice
Add rinsed risotto rice and stir gently for 1–2 minutes. This “toasting” step enhances nutty flavor and seals in starch. Don’t rush this—let the rice develop slight color.
Step 3: Deglaze (Optional)
Pour in ½ cup dry white wine and stir until fully absorbed. This adds acidity and complexity—skip it if you prefer a simpler version.
Step 4: Add Warm Broth Gradually
Here’s where rice cookers shine. Pour in 1 cup warm broth. Cover and let simmer on low or “risotto” setting if available. Stir occasionally after first 5 minutes.
Step 5: Monitor Consistency
After 8–10 minutes, check progress. The rice should be tender but still al dente. If too firm, add another ¼ cup broth and continue. If too loose, cover and reduce heat slightly.
Step 6: Final Seasoning & Rest
Once creamy and tender, remove from heat. Stir in grated Parmesan, chopped parsley, lemon zest, or other finishing touches. Cover and let rest 5 minutes before serving. This allows flavors to meld and texture to settle.
Troubleshooting Common Issues
Even experienced cooks hit snags sometimes. Here’s how to fix common problems:
Problem: Rice Too Dry
This usually means insufficient liquid or low heat. Solution: Add warm broth ¼ cup at a time, stirring constantly, until desired consistency reaches. Keep covered while adding.
Problem: Rice Stuck to Bottom
Caused by burning or uneven heating. Prevention: Always use enough fat (butter/oil) to coat the bottom. Stir frequently during early stages. Avoid high heat settings.
Problem: Lumpy Texture
Rough handling or incorrect rice-to-liquid ratio causes lumps. Fix: Stir vigorously with a whisk or blend briefly with immersion blender. Ensure rice is rinsed properly beforehand.
Problem: Undercooked Center
Indicates inconsistent heat distribution. Fix: Transfer mixture to a wide skillet after rice cooker switches to warm mode. Finish cooking on low flame, stirring often, until creamy.
Flavor Variations & Creative Twists
Once you’ve nailed the basics, experiment! Risotto is incredibly versatile.
Classic Mushroom Risotto
Sauté cremini or porcini mushrooms with thyme and garlic. Finish with truffle oil or shaved black truffles for luxury.
Seafood Risotto
Add shrimp, scallops, or mussels during last 5 minutes of cooking. Finish with a squeeze of lemon and fresh dill.
Butternut Squash Risotto
Roast squash cubes first, then puree with broth. Mix into cooked rice with sage and nutmeg.
Carbonara-Inspired Version
Replace broth with egg yolk, grated Pecorino Romano, and crispy pancetta bits. Toss immediately off heat to avoid scrambling eggs.
Remember: always taste as you go and adjust salt, pepper, and acidity (lemon juice or vinegar) to balance flavors.
Pro Tips for Perfect Every Time
Want consistent excellence? Try these insider tricks:
- Use Room-Temperature Ingredients: Prevents shocking the system and ensures even cooking.
- Keep Broth Steaming: Never run out mid-cook. Maintain a steady supply of warm liquid.
- Stir Gently: Aggressive stirring breaks grains. Use soft folds instead.
- Don’t Overfill:: Leave space for expansion—rice swells significantly.
- Clean While Waiting: Wash utensils and prep next course during resting period.
Also consider investing in a rice cooker with multiple settings—some have dedicated “porridge,” “sushi,” or “congee” modes that can be repurposed for risotto.
Conclusion: Embrace the Convenience Without Compromise
Making risotto in a rice cooker isn’t just convenient—it’s transformative. You gain control over texture, save time, and eliminate the stress of constant stirring. Whether you’re feeding one person or ten, this method delivers reliable, delicious results.
The key lies in preparation, patience, and choosing the right tools. With practice, you’ll develop intuition for adjusting liquids, timing, and seasonings. Soon enough, you’ll be impressing friends with stories of how you whipped up gourmet risotto using nothing but a humble kitchen appliance.
So go ahead—grab your rice cooker, fire up that broth, and get creative. Your future self (and dinner guests) will thank you.
Frequently Asked Questions
Can any rice cooker make risotto?
Most modern rice cookers can make decent risotto, especially those with induction heating or multiple preset programs. Basic models may require manual monitoring during later stages, but they still work with careful attention.
How much broth do I need for risotto in a rice cooker?
Start with a 1:2 ratio of rice to liquid (e.g., 1 cup rice to 2 cups broth). Adjust as needed—risotto typically uses more liquid than plain rice due to its creamy texture.
Do I really need to stir while making risotto in a rice cooker?
Stirring isn’t mandatory like stovetop risotto, but occasional stirring helps distribute heat and prevents sticking, especially in the first 5–10 minutes.
How long does risotto take to cook in a rice cooker?
Typically 20–30 minutes total, including prep and resting time. Actual cooking time depends on rice variety and cooker model—check frequently toward the end.
Can I make risotto without wine?
Absolutely! Omit the deglazing step and add extra broth instead. The flavor will be milder but still delicious.
What’s the difference between Arborio and Carnaroli rice for risotto?
Carnaroli holds its shape longer and produces slightly creamier results, while Arborio is more widely available and still excellent. Both work well in rice cookers.