
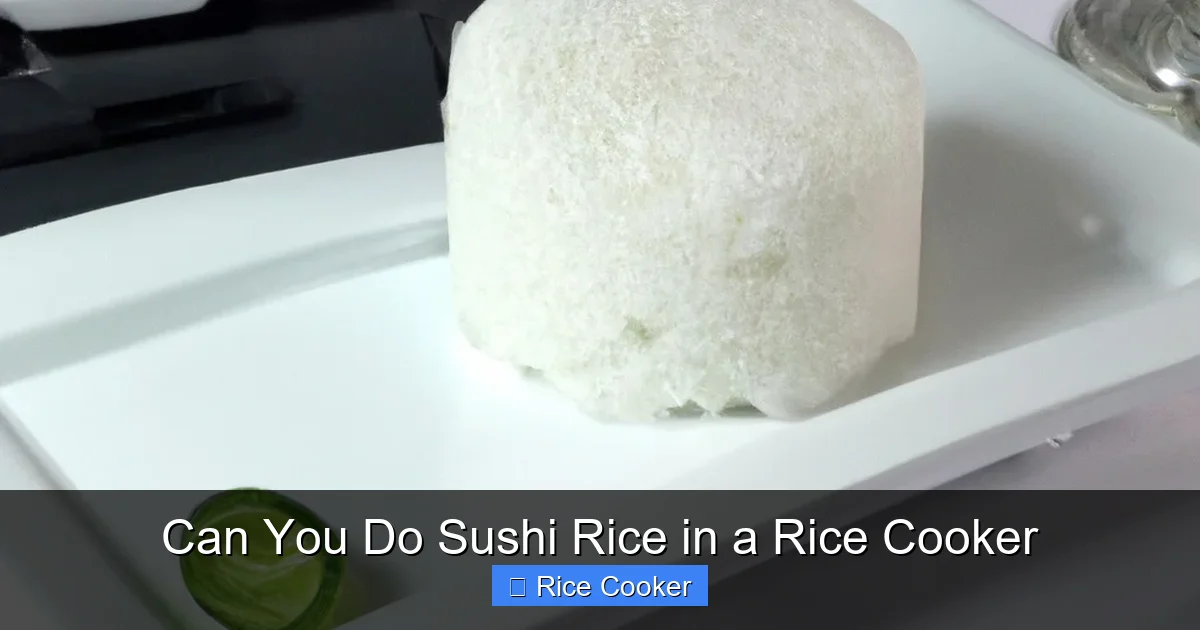
Can you do sushi rice in a rice cooker? Absolutely! With the right technique, your rice cooker can produce restaurant-quality sushi rice that’s tender, slightly sticky, and perfectly seasoned. You don’t need special equipment—just short-grain rice, water, and a few key steps to transform ordinary grains into the foundation of delicious sushi rolls, onigiri, or nigiri.
Key Takeaways
- Rice cookers work great for sushi rice: Modern electric rice cookers are designed to handle the precise water-to-rice ratio and temperature control needed for authentic sushi rice.
- Use the right rice: Short-grain Japanese rice (like Koshihikari or Calrose) is essential for the sticky, creamy texture required in sushi.
- Wash the rice thoroughly: Removing excess starch prevents mushiness and ensures each grain stays separate but cohesive.
- Soak before cooking: Letting rice soak for 30 minutes improves texture and reduces cooking time.
- Vinegar seasoning comes after cooking: Mix in rice vinegar, sugar, and salt only once the rice is cooked—never during.
- Aerate while cooling: Gently fluff with a rice paddle or fork to prevent clumping and help even distribution of seasoning.
- Storage matters: Cooled sushi rice keeps best in an airtight container with plastic wrap pressed directly onto the surface.
📑 Table of Contents
- Can You Do Sushi Rice in a Rice Cooker? Yes—Here’s How!
- Why Choose a Rice Cooker for Sushi Rice?
- Choosing the Right Rice for Sushi
- Step-by-Step Guide: Making Sushi Rice in a Rice Cooker
- Common Mistakes to Avoid
- Tips for Perfect Sushi Rice Every Time
- Serving and Storing Sushi Rice
- Alternatives and Variations
- Frequently Asked Questions
Can You Do Sushi Rice in a Rice Cooker? Yes—Here’s How!
If you’ve ever wondered whether your trusty rice cooker can deliver the delicate, springy perfection needed for sushi, the answer is a confident yes. While traditional methods might involve steaming over bamboo mats or labor-intensive hand-mixing, modern rice cookers have evolved far beyond their humble origins. Today’s models offer precise temperature control, customizable settings, and consistent results—making them ideal for crafting authentic sushi rice at home. Whether you’re rolling California rolls, making onigiri (rice balls), or preparing nigiri-style sushi, mastering sushi rice in a rice cooker opens up a world of culinary possibilities without extra gear or guesswork.
The magic behind good sushi rice lies not just in the type of rice used, but in how it’s prepared. Unlike regular steamed rice, which aims for fluffy, dry grains, sushi rice needs a balance: slightly sticky yet distinct, moist but not soupy, with a glossy finish. Achieving this requires attention to detail—from rinsing away excess starch to timing the soaking period to controlling heat during cooking. But once you understand these nuances, your rice cooker becomes more than just an appliance; it’s your partner in creating restaurant-worthy meals from your kitchen.
Why Choose a Rice Cooker for Sushi Rice?
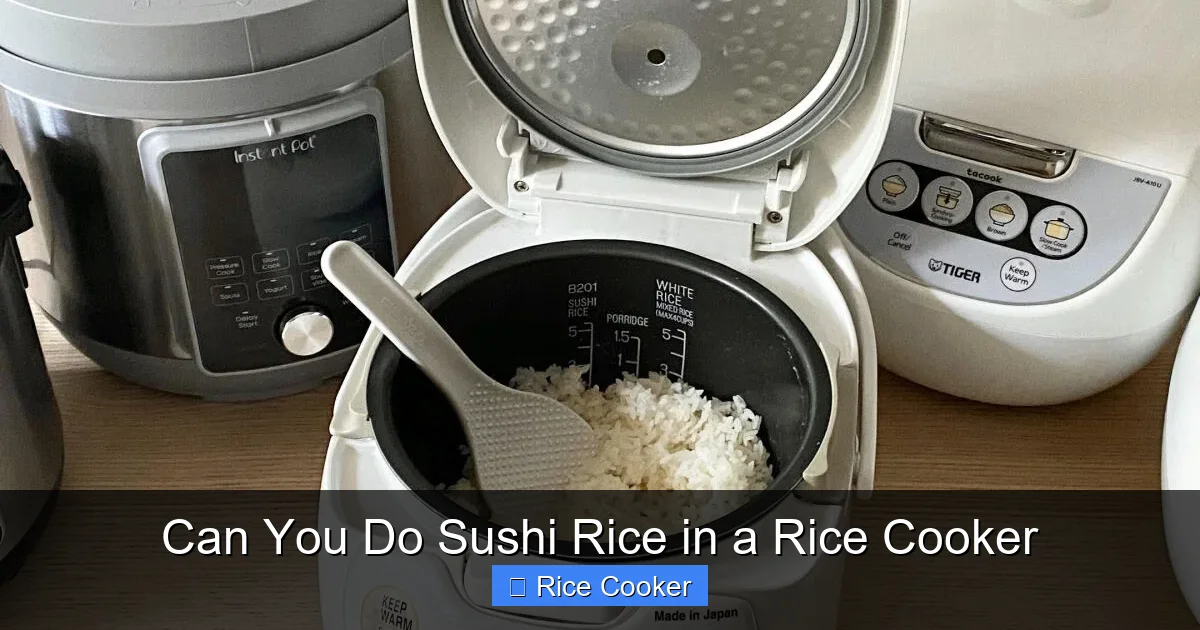
Many home cooks assume that making sushi rice demands specialized tools like a hangiri (wooden sushi tub) or even a dedicated steamer basket. But here’s the truth: if your rice cooker has a “warm” function and can maintain consistent heat without scorching, it’s fully capable of producing excellent sushi rice. In fact, using a rice cooker offers several advantages over traditional methods:
Visual guide about Can You Do Sushi Rice in a Rice Cooker
Image source: helios-i.mashable.com
- Consistency: Rice cookers automate the heating process, ensuring every batch turns out similarly—no more burnt bottoms or unevenly cooked grains.
- Convenience: Set it and forget it. Add rice and water, press a button, and come back to perfectly cooked grains ready for seasoning.
- Energy efficiency: Most rice cookers use less energy than stovetop methods, especially when cooking small batches.
- Versatility: Beyond sushi rice, you can also cook brown rice, quinoa, or even steam vegetables alongside your main dish.
That said, not all rice cookers are created equal. If you’re serious about sushi-making, look for models with fuzzy logic technology, multiple cooking programs (like “quick cook” or “porridge”), and a non-stick inner pot. These features help mimic the gentle, even heat required for sushi rice. Older basic models may struggle with texture, so investing in a quality unit pays off in flavor and ease.
Choosing the Right Rice for Sushi
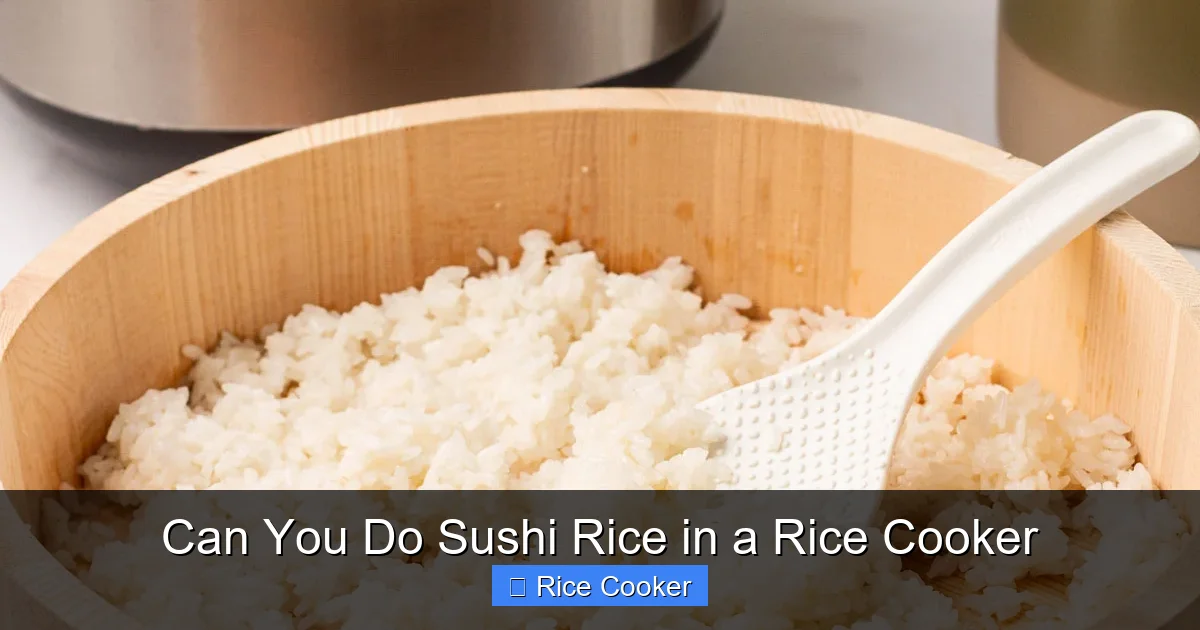
The single most important ingredient in sushi rice is, well… rice. Not just any rice will do. Sushi-grade short-grain rice—often labeled as Japanese-style or sushi rice—has a high starch content and low protein, giving it that signature stickiness without turning gummy. Common varieties include Koshihikari (known for its sweetness and tenderness) and Calrose (widely available in North America and slightly softer).
Visual guide about Can You Do Sushi Rice in a Rice Cooker
Image source: sushistaycation.com
Avoid long-grain rice like jasmine or basmati. While they’re fine for pilafs or fried rice, they lack the binding properties needed for sushi. Similarly, avoid instant or pre-cooked rice—they’ve already lost much of their structural integrity during processing.
When shopping, check the package label. Look for phrases like “short-grain,” “sushi rice,” or “Japanese rice.” If your local store doesn’t carry it, many online retailers ship authentic brands like Nishiki, Tamanishiki, or even Carnation Sushi Rice. Some specialty grocery stores (especially those with Asian sections) also stock it year-round.
What About Brown Rice?
While possible, brown rice isn’t recommended for traditional sushi due to its harder texture and nuttier flavor. However, if you prefer whole grains, some chefs experiment with lightly seasoned brown rice for fusion dishes—but stick to white short-grain for classic nigiri or maki.
Prepping Your Rice Cooker
Before you start, clean your rice cooker thoroughly. Any residue from previous meals can affect taste. Rinse the inner pot with warm water (don’t use soap unless necessary—it might leave odors). Dry completely before adding fresh rice. Also, check the heating plate and lid for buildup; wipe them down to ensure even heat transfer.
If your rice cooker has interchangeable settings (like “white rice,” “quick cook,” or “porridge”), select “white rice” for sushi. Avoid “brown rice” or “multigrain” modes unless specified otherwise—they alter cooking time and moisture levels.
Step-by-Step Guide: Making Sushi Rice in a Rice Cooker
Follow these simple steps to create flawless sushi rice every time:
1. Measure and Rinse the Rice
For every 1 cup of uncooked rice, measure exactly 1.25 cups of cold water (or follow your cooker’s default ratio, usually 1:1). Use measuring cups made specifically for rice if possible—standard ones can lead to inaccuracies.
Place the rice in a fine-mesh strainer or bowl. Rinse under cold running water, gently rubbing the grains between your fingers. Continue until the water runs clear—typically 4–6 rinses. This removes surface starch that causes clumping.
2. Soak the Rice
Transfer rinsed rice to a bowl and cover with cold water. Let it soak for at least 30 minutes—ideally up to 1 hour. Soaking hydrates the grains evenly, resulting in softer, more uniform texture. Skipping this step leads to inconsistent chewiness.
3. Drain and Transfer
After soaking, drain water completely using the same strainer. Then place the rice into the inner pot of your rice cooker. Add measured water (remember: ~1.25 cups per 1 cup rice). Double-check the water level—too little = tough rice; too much = mushy.
4. Start Cooking
Close the lid securely and select the appropriate setting (usually “White Rice”). Press “Cook.” The cycle typically takes 20–25 minutes, depending on your model. Do not open the lid during cooking—this releases steam and disrupts temperature.
5. Let It Rest
Once done, let the rice sit, unplugged, for 10–15 minutes with the lid closed. This allows residual heat to finish cooking evenly and firms up the texture. Resist the urge to stir during this time—it breaks apart the grains.
6. Season with Vinegar Mixture
In a small saucepan, combine:
- ½ cup rice vinegar
- 2 tablespoons sugar
- 1 teaspoon sea salt
Heat gently until sugar dissolves—do not boil. Remove from heat and let cool slightly.
Now, gently fold the vinegar mixture into the hot rice using a cutting motion (not stirring). Work quickly but carefully to avoid crushing the grains. Aim for even coating without overmixing.
7. Aerate and Cool
Transfer rice to a wide, shallow container (like a hangiri or large platter). Use a rice paddle or wooden spoon to fan and fluff the rice while it’s still warm. This cools it rapidly, prevents sticking, and helps vinegar absorb evenly. Keep fanning until rice feels warm but not hot to touch.
8. Store Properly
Press plastic wrap directly onto the surface of the cooled rice to minimize oxidation and drying. Cover with a damp cloth or lid. Use within 2 hours for best results—sushi rice loses freshness fast due to moisture loss and bacterial growth.
Common Mistakes to Avoid
Even experienced cooks slip up sometimes. Here are frequent errors and how to fix them:
- Mushy rice: Caused by over-rinsing or too much water. Stick to 1.25:1 ratio and rinse only until water clears.
- Gummy texture: Usually from under-soaking or cooking at too high heat. Always soak and avoid opening lid mid-cycle.
- Uneven seasoning: Happens when vinegar mix isn’t folded gently. Use a rice paddle—not a whisk—and work in sections.
- Rice sticking to pot: Occurs with cheap pots or burned-on residue. Clean thoroughly and consider using a thin layer of oil (optional) when reheating.
- Taste off: Using tap water instead of filtered can introduce chlorine or minerals. Boil tap water first or use bottled/filtered for cleaner flavor.
Tips for Perfect Sushi Rice Every Time
Want to take your sushi game to the next level? Try these pro tips:
- Use filtered water: Improves taste and prevents cloudy rice caused by impurities.
- Room-temperature rice:** Cools faster after seasoning, helping vinegar bind better.
- Adjust vinegar mix to taste:** Some prefer sweeter or tangier—start with standard recipe and tweak next time.
- Practice folding technique:** Imagine you’re cutting through foam—gentle upward motions preserve structure.
- Cook larger batches wisely:** Make extra rice and freeze portions (without vinegar) for future use. Thaw overnight in fridge before re-seasoning.
- Keep tools clean:** Use dedicated wooden spoons or bamboo paddles—metal can react with acidity.
Serving and Storing Sushi Rice
Fresh sushi rice should be served immediately after preparation for optimal texture and flavor. If you must wait, keep it covered at room temperature for no more than 2 hours. Beyond that, refrigerate—but note that refrigeration hardens the starch, making it less pliable for rolling.
To revive refrigerated rice, steam it lightly (covered) for 3–5 minutes. Alternatively, microwave individual portions with a damp paper towel for 30 seconds. Never reheat seasoned sushi rice—always add fresh vinegar mix after warming.
For leftovers, store plain cooked rice (unseasoned) in an airtight container. Label with date—use within 3 days. Freezing is possible: portion into freezer-safe containers, freeze flat, then thaw gradually in the fridge. Re-season upon use.
Alternatives and Variations
While traditional sushi rice is the gold standard, there are fun twists:
- Sake-infused rice:** Replace part of the water with light sake (1/4 cup sake per 1 cup rice). Adds subtle umami depth.
- Brown rice version:** Soak longer (up to 2 hours), adjust water to 1.5 cups per 1 cup rice. Season lightly—brown rice absorbs vinegar differently.
- Sweet sushi rice:** Reduce vinegar, increase sugar slightly. Great for dessert rolls with fruit or chocolate.
- Colorful rice:** Cook spinach or beet juice into water for green or pink hues—perfect for themed parties!
Experiment cautiously: always test one variable at a time (e.g., only change rice variety, keep everything else constant).
Frequently Asked Questions
Can I use regular white rice instead of short-grain?
Not recommended. Regular white rice lacks the starch needed for proper stickiness. Stick to short-grain Japanese or sushi-specific varieties for best results.
How long does homemade sushi rice last?
Unseasoned cooked rice lasts 3–4 days refrigerated. Seasoned sushi rice should be used within 2 hours at room temperature or 1 day refrigerated—moisture loss affects texture fast.
Do I need a special rice cooker for sushi rice?
No, but a modern electric rice cooker with fuzzy logic and multiple settings works best. Even basic models can succeed if you follow the correct water ratio and don’t open the lid during cooking.
Why is my sushi rice too sticky or too dry?
Sticky rice means too much water or over-rinsing. Dry rice indicates insufficient water or undercooking. Adjust future batches by measuring precisely and avoiding excessive handling.
Can I make sushi rice ahead of time?
Yes, but unseasoned rice can be frozen for up to 1 month. Thaw slowly in the fridge and re-season when ready to use. Never freeze seasoned rice—it becomes mushy upon thawing.
Is it okay to reuse leftover sushi rice?
Absolutely! Plain cooked rice can be repurposed into onigiri, fried rice, or even mixed with egg for tamagoyaki layers. Just re-season if using as sushi base.
Frequently Asked Questions
Can I use regular white rice instead of short-grain?
Not recommended. Regular white rice lacks the starch needed for proper stickiness. Stick to short-grain Japanese or sushi-specific varieties for best results.
How long does homemade sushi rice last?
Unseasoned cooked rice lasts 3–4 days refrigerated. Seasoned sushi rice should be used within 2 hours at room temperature or 1 day refrigerated—moisture loss affects texture fast.
Do I need a special rice cooker for sushi rice?
No, but a modern electric rice cooker with fuzzy logic and multiple settings works best. Even basic models can succeed if you follow the correct water ratio and don’t open the lid during cooking.
Why is my sushi rice too sticky or too dry?
Sticky rice means too much water or over-rinsing. Dry rice indicates insufficient water or undercooking. Adjust future batches by measuring precisely and avoiding excessive handling.
Can I make sushi rice ahead of time?
Yes, but unseasoned rice can be frozen for up to 1 month. Thaw slowly in the fridge and re-season when ready to use. Never freeze seasoned rice—it becomes mushy upon thawing.
Is it okay to reuse leftover sushi rice?
Absolutely! Plain cooked rice can be repurposed into onigiri, fried rice, or even mixed with egg for tamagoyaki layers. Just re-season if using as sushi base.