
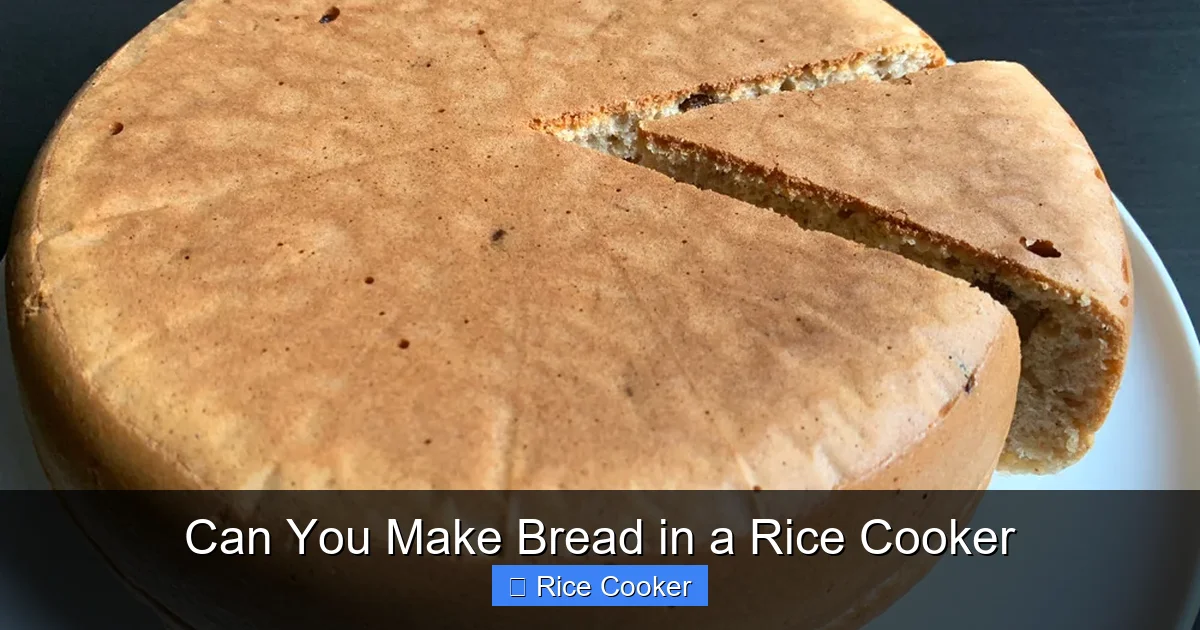
Making bread in a rice cooker is not only possible—it’s simple, fast, and yields delicious results. With the right ingredients and technique, your rice cooker becomes a versatile baking tool that saves time and energy. Whether you’re craving soft sandwich loaves or hearty whole grain bread, this method delivers consistent, tasty outcomes without heating up your kitchen.
Key Takeaways
- Rice cookers are capable of making bread: Many modern rice cookers have a “cake” or “bake” setting that mimics low-and-slow baking conditions needed for bread.
- No oven required: Baking bread in a rice cooker keeps your kitchen cool and avoids oven cleanup, making it ideal for hot weather or small spaces.
- Basic ingredients are all you need: Flour, water, yeast, salt, and sugar form the foundation of most rice cooker bread recipes.
- Consistency depends on your model: Some rice cookers work better than others—check if yours has a keep-warm function and reliable temperature control.
- Experiment with flavors: Add herbs, seeds, cheese, or fruit to create artisan-style loaves right at home.
- Cleanup is easier: Most rice cooker bread pans are non-stick and dishwasher-safe, reducing post-bake stress.
- Great for beginners: The hands-off process makes rice cooker bread an accessible first baking project for new cooks.
📑 Table of Contents
- Can You Really Make Bread in a Rice Cooker?
- Why Choose a Rice Cooker for Baking Bread?
- What Kind of Rice Cooker Do You Need?
- Essential Ingredients for Rice Cooker Bread
- Step-by-Step Guide: How to Make Bread in a Rice Cooker
- Creative Variations and Recipes
- Tips for Perfect Rice Cooker Bread Every Time
- Frequently Asked Questions About Making Bread in a Rice Cooker
- Final Thoughts
Can You Really Make Bread in a Rice Cooker?
Imagine waking up to the warm, inviting aroma of freshly baked bread without turning on a single appliance in your kitchen. Sounds dreamy, right? Well, it’s not just a dream—it’s reality, thanks to your trusty rice cooker. Yes, you read that correctly: you can make real, edible, delicious bread in a rice cooker.
For years, rice cookers were seen as one-trick ponies—just for cooking grains like white rice, brown rice, or even quinoa. But modern rice cookers, especially those with advanced settings like “keep warm,” “steam,” or “bake,” are quietly becoming versatile kitchen powerhouses. And when it comes to baking bread, they shine. No oven? No problem. No fancy equipment? Still no issue. All you need is a few basic ingredients and a little know-how.
In this article, we’ll walk you through everything you need to know about making bread in a rice cooker—from choosing the right model to mastering your first loaf. Whether you’re a complete beginner or someone looking to expand their baking repertoire, this guide will help you bake confidently and creatively.
Why Choose a Rice Cooker for Baking Bread?
If you’ve ever tried to bake bread at home, you know how intimidating it can feel. Kneading dough, managing rising times, monitoring oven temperatures—it’s a lot. But what if you could skip the oven and still get perfect results? That’s where the rice cooker comes in.
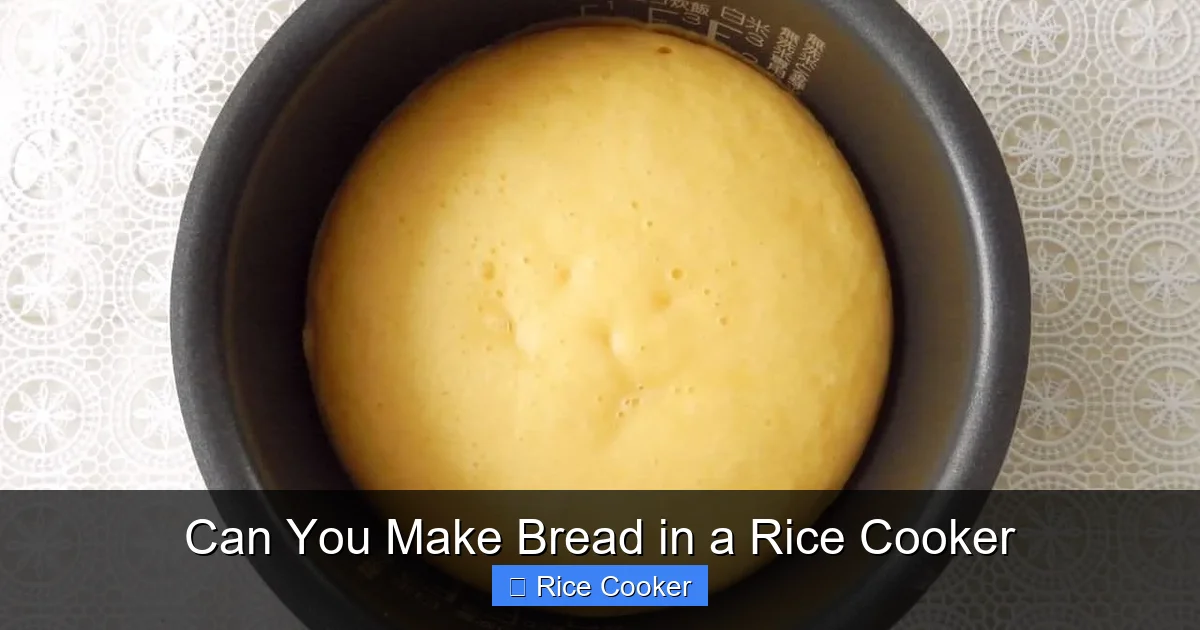
Visual guide about Can You Make Bread in a Rice Cooker
Image source: image.entabe.jp
The Science Behind Rice Cooker Baking
Bread needs heat, moisture, and time to rise and set properly. A rice cooker provides a sealed, insulated environment with consistent temperature control—ideal for gentle, even baking. Most rice cookers maintain temperatures between 185°F and 200°F (85°C–95°C), which is perfect for activating yeast and setting bread structure without overcooking.
When you press the “bake” or “cake” button, the rice cooker heats up and then cycles on and off to maintain warmth. This on/off cycle helps prevent the bread from drying out while allowing steam to circulate—just like a traditional oven’s convection effect.
Benefits of Using a Rice Cooker
There are plenty of reasons to consider baking bread in a rice cooker:
- Energy efficiency: Rice cookers use less electricity than ovens, especially for small batches.
- Space-saving: Great for apartments or tiny kitchens without room for a full oven.
- Hands-off convenience: Mix once, set it, and forget it—until it’s done.
- Consistent results: Once you master the technique, your bread turns out reliably every time.
- Cooler kitchens: No oven heat during summer months means more comfortable baking sessions.
Of course, there are limitations. Rice cooker bread won’t develop the same crust as oven-baked loaves, but many people prefer the softer, moister texture that results from low-and-slow baking.
What Kind of Rice Cooker Do You Need?
Not all rice cookers are created equal when it comes to baking bread. While older models might struggle with temperature consistency, newer ones—especially those with advanced features—are built for versatility.
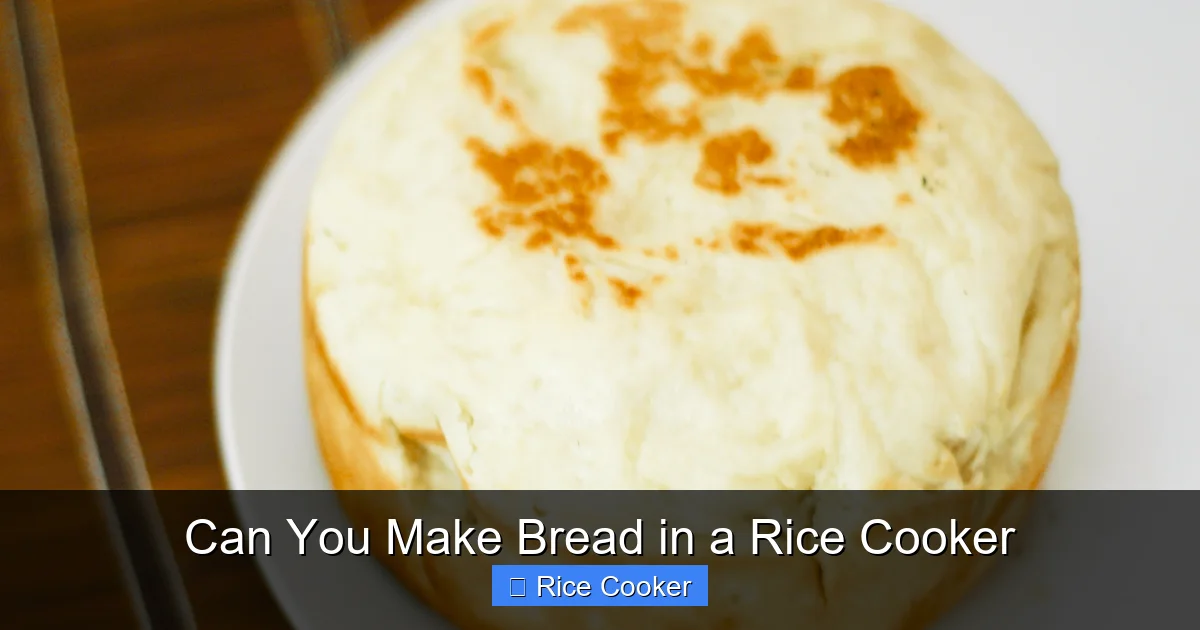
Visual guide about Can You Make Bread in a Rice Cooker
Image source: wikihow.com
Look for These Features
Before you start dreaming up your first loaf, check your rice cooker’s capabilities:
- Keep-warm function: This ensures the bread stays at the right temperature throughout the baking process.
- Timer: Allows you to delay start times, which is helpful for scheduling.
- Cake/bake setting: Some brands label this as “brown rice,” “porridge,” or simply “manual.” If your model has multiple settings, experiment to find the best one.
- Non-stick inner pot: Makes cleanup a breeze and prevents sticking.
- Transparent lid: Lets you monitor progress without opening the lid and losing heat.
If your rice cooker doesn’t have these features, don’t panic. You can still try baking by setting it to “warm” or using the manual mode—but results may vary.
Popular Models Known for Baking Success
Some rice cooker brands have earned reputations among home bakers for reliability:
- Cuckoo CRP-AH061SR: Praised for its precise temperature control and cake function.
- Zojirushi NS-ZCC10: Offers a dedicated “bake” mode and excellent insulation.
- Panasonic SR-DF101: Known for consistent heating and user-friendly interface.
If you’re shopping for a new rice cooker specifically to bake bread, consider investing in a model with at least a 4-cup capacity and multiple cooking functions.
Essential Ingredients for Rice Cooker Bread
You don’t need exotic flours or specialty ingredients to make great bread. In fact, the simplest recipes use just five core components. Here’s what you’ll need:
Basic Pantry Staples
- All-purpose flour: Provides structure through gluten development. For lighter bread, use bread flour instead.
- Sugar: Feeds the yeast and adds subtle sweetness. Brown sugar works well for enriched doughs.
- Salt: Enhances flavor and strengthens gluten network.
- Instant dry yeast: Speeds up rising time compared to active dry yeast.
- Water or milk: Hydrates the dough. Milk adds richness and browning.
Optional Add-Ins for Flavor and Texture
Once you’ve mastered the basics, you can customize your bread:
- Dried fruits (raisins, cranberries)
- Nuts (walnuts, almonds)
- Seeds (sunflower, sesame, chia)
- Herbs (rosemary, thyme)
- Cheese (cheddar, parmesan)
- Honey or maple syrup (for extra moisture)
Pro tip: When adding mix-ins, fold them gently into the dough after the first rise to avoid tearing the dough.
Step-by-Step Guide: How to Make Bread in a Rice Cooker
Ready to bake? Follow this foolproof method for a soft, golden loaf every time.
Ingredients (Makes One 4-cup Loaf)
- 2 cups all-purpose flour
- ¼ cup granulated sugar
- 1 tsp salt
- 2¼ tsp instant yeast
- ¾ cup warm water (about 110°F / 43°C)
- 2 tbsp vegetable oil or melted butter
Equipment Needed
- Rice cooker with non-stick inner pot
- Measuring cups and spoons
- Spoon or spatula
- Clean kitchen towel or paper towels
Instructions
- Activate the yeast: In a small bowl, combine warm water, sugar, and yeast. Let sit for 5–10 minutes until foamy. This confirms the yeast is alive.
- Mix the dough: Pour the yeast mixture into the rice cooker pot. Add oil and salt. Stir in flour gradually until a shaggy dough forms.
- Knead briefly: Use a wooden spoon or spatula to mix until smooth. Alternatively, transfer to a floured surface and knead for 5 minutes.
- First rise: Place a clean cloth over the pot and let rise for 1 hour or until doubled in size.
- Punch down and shape: Gently deflate the dough and place it back into the greased rice cooker pot. Smooth the top.
- Second rise: Cover again and let rise for another 30–45 minutes.
- Bake: Press the “bake” or “cake” button. Bake for 40–50 minutes. The bread is ready when it sounds hollow when tapped.
- Cool: Remove the bread and let it cool completely before slicing.
Troubleshooting Common Issues
Even experienced bakers run into hiccups. Here’s how to fix them:
- Dense bread? Under-proofed dough or too much flour can cause this. Try reducing flour by 1–2 tbsp next time.
- Too dry? Increase liquid slightly or add a splash of milk in future batches.
- Sticking to the pan? Grease the pot thoroughly or line it with parchment paper.
- Undercooked center? Extend baking time by 5–10 minutes, but watch closely near the end.
Creative Variations and Recipes
Once you’ve nailed the classic white bread, it’s time to get creative. Here are three popular variations to try:
Whole Wheat Rice Cooker Bread
Replace half the all-purpose flour with whole wheat flour for a nuttier flavor and added fiber. Note that whole wheat absorbs more liquid—add a tablespoon of extra water if the dough feels too stiff.
Garlic Herb Focaccia
Add 2 cloves minced garlic, 1 tbsp fresh rosemary, and 1 tbsp olive oil to the dough. Drizzle more olive oil over the risen dough and press dimples into the surface before baking.
Chocolate Chip Bread
Stir in ½ cup chocolate chips after the first rise. For extra indulgence, replace ¼ cup of water with orange juice and zest.
Banana Nut Loaf
Mash 1 ripe banana and substitute it for half the water. Fold in ½ cup chopped walnuts and a pinch of cinnamon for warmth.
These recipes show how flexible the base method is—and how easy it is to personalize your bread.
Tips for Perfect Rice Cooker Bread Every Time
Want consistent success? Follow these pro tips:
- Use room-temperature ingredients: Cold liquids slow yeast activation.
- Measure accurately: Too much flour leads to dense bread. Spoon flour into the measuring cup and level it off.
- Don’t open the lid early: Steam escapes and temperature drops, affecting rise.
- Let it cool before slicing: Slicing too soon squishes the crumb.
- Store properly: Keep bread in a paper bag or wrapped in cloth—plastic traps moisture and softens the crust.
Also, clean your rice cooker promptly after use. Residue from bread can harden and affect future cooking.
Frequently Asked Questions About Making Bread in a Rice Cooker
If you’re new to rice cooker baking, you probably have questions. We’ve got answers!
Do I need special yeast for rice cooker bread?
No, regular instant dry yeast works perfectly. Just make sure it’s fresh and stored properly.
Can I use a bread machine instead?
Absolutely! Bread machines follow similar principles but automate kneading and rising. The baking step is often done in a separate oven or, in some models, within the machine itself.
How long does rice cooker bread stay fresh?
At room temperature, it lasts 2–3 days. For longer storage, wrap tightly and freeze for up to 2 months.
Can I double the recipe?
Yes, but you may need to increase baking time slightly. Monitor closely to avoid overbaking.
Is rice cooker bread as good as oven bread?
It won’t have a crispy crust, but many prefer the tender, moist interior. It’s a different texture—not worse, just different.
What if my rice cooker doesn’t have a bake setting?
Try using the “warm” setting and extend baking time. Or look into DIY solutions like placing the dough in a preheated oven turned off, then transferring to a cooler oven—though this defeats the purpose of using a rice cooker.
Final Thoughts
Baking bread in a rice cooker isn’t just a clever hack—it’s a gateway to more confident, creative cooking. It removes barriers like expensive equipment, space constraints, and high energy bills. And honestly? There’s something deeply satisfying about pulling a golden-brown loaf from an appliance you already own every day.
Whether you’re making plain sandwich bread, savory herb rolls, or sweet cinnamon swirls, the process is simple, repeatable, and rewarding. Plus, once you see how easy it is, you’ll likely want to try other baked goods—like cakes, muffins, or even pizza dough—in your trusty rice cooker.
So go ahead, dust off that inner pot, grab your ingredients, and give it a try. Your taste buds—and your mornings—will thank you.
Frequently Asked Questions
Do I need special yeast for rice cooker bread?
No, regular instant dry yeast works perfectly. Just make sure it’s fresh and stored properly.
Can I use a bread machine instead?
Absolutely! Bread machines follow similar principles but automate kneading and rising. The baking step is often done in a separate oven or, in some models, within the machine itself.
How long does rice cooker bread stay fresh?
At room temperature, it lasts 2–3 days. For longer storage, wrap tightly and freeze for up to 2 months.
Can I double the recipe?
Yes, but you may need to increase baking time slightly. Monitor closely to avoid overbaking.
Is rice cooker bread as good as oven bread?
It won’t have a crispy crust, but many prefer the tender, moist interior. It’s a different texture—not worse, just different.
What if my rice cooker doesn’t have a bake setting?
Try using the “warm” setting and extend baking time. Or look into DIY solutions like placing the dough in a preheated oven turned off, then transferring to a cooler oven—though this defeats the purpose of using a rice cooker.