
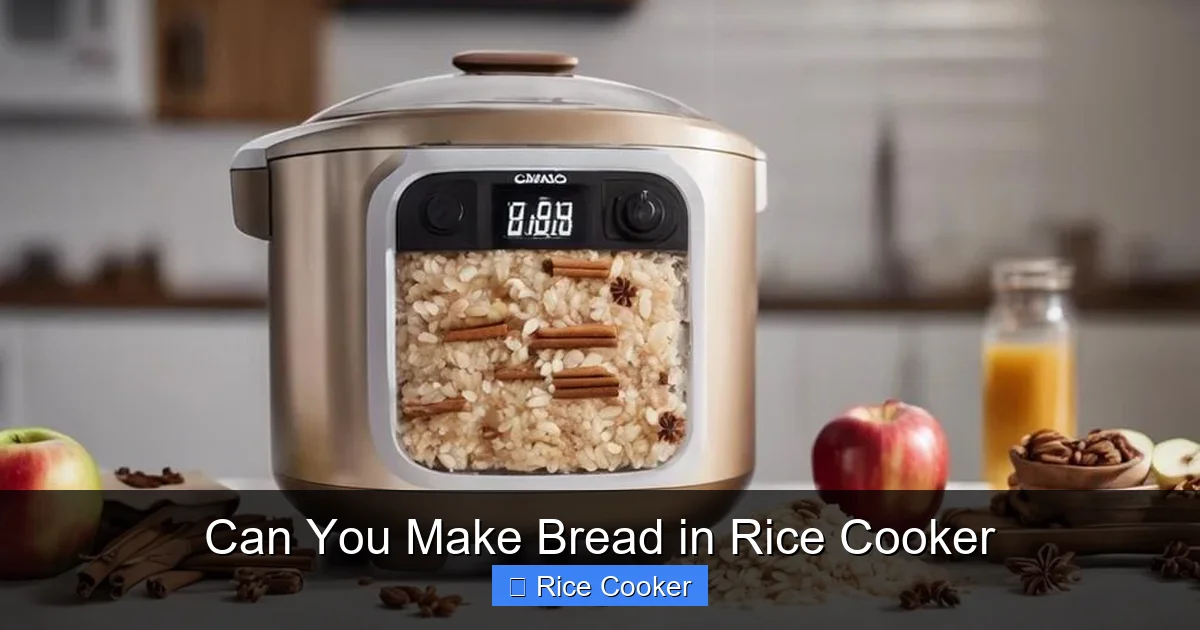
Making bread in a rice cooker is not only possible—it’s easy, quick, and requires minimal effort. With the right recipe and technique, your everyday rice cooker becomes a powerful tool for baking soft, aromatic loaves right in your kitchen. No oven? No problem. No special equipment? Not needed. Just mix, rise, and cook.
Key Takeaways
- Yes, you can bake bread in a rice cooker: Most standard rice cookers have a “cake” or “brown rice” setting that works perfectly for bread.
- It saves time and energy: Baking in a rice cooker uses less electricity than an oven and finishes faster.
- You don’t need special tools: A mixing bowl, measuring cups, and a spatula are all you really need.
- Ingredients matter: Using fresh yeast, quality flour, and proper hydration leads to better texture and flavor.
- Customization is easy: Add herbs, cheese, nuts, or seeds to make flavored artisan-style breads at home.
- Clean-up is simple: Line the inner pot with parchment paper or use a non-stick spray for easy removal.
- Perfect for beginners: The automated process reduces the chance of overmixing or underbaking.
📑 Table of Contents
- Can You Make Bread in Rice Cooker?
- The Science Behind Rice Cooker Bread
- Choosing the Right Rice Cooker
- Essential Ingredients and Equipment
- Step-by-Step Guide: Making Basic White Bread
- Tips for Perfect Rice Cooker Bread Every Time
- Creative Variations and Flavors
- Troubleshooting Common Issues
- Frequently Asked Questions
- Conclusion: Your New Favorite Kitchen Hack
Can You Make Bread in Rice Cooker?
If you’ve ever stood in the kitchen, staring at a bag of flour and wondering what to make next, you’re not alone. Many people dream of homemade bread but think it requires expensive equipment or hours of kneading. The good news? You might already have everything you need—right in your kitchen cupboard.
A rice cooker, that humble appliance we use for steaming rice, can actually double as a mini bread oven. With its insulated design and precise temperature control, it creates the perfect environment for yeast fermentation and gentle rising. In fact, many modern rice cookers come with a dedicated “cake” setting specifically designed for baking desserts and even bread.
In this complete guide, we’ll walk you through everything you need to know about making delicious, fluffy bread using your rice cooker. From choosing the right model to mastering ingredient ratios and troubleshooting common issues, we’ve got you covered. Whether you’re a beginner baker or someone looking to expand their culinary repertoire, learning to make bread in a rice cooker opens up a world of possibilities.
The Science Behind Rice Cooker Bread
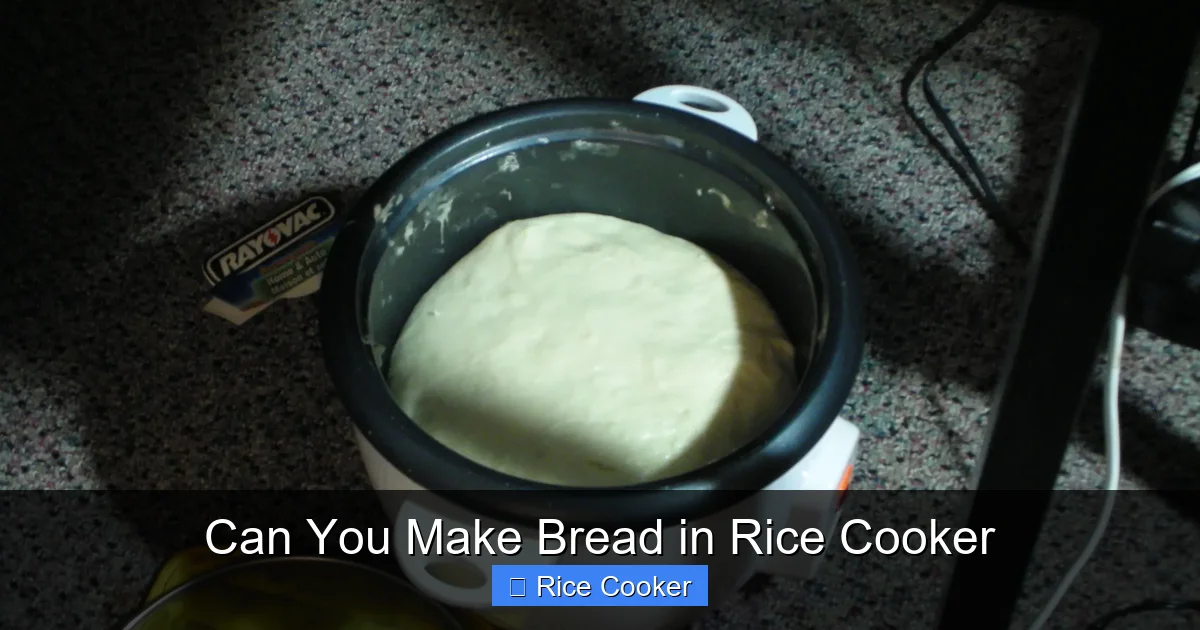
Before diving into recipes, it’s helpful to understand why rice cookers work so well for bread making. Unlike traditional ovens, rice cookers maintain consistent internal temperatures without hot air circulation. This steady warmth helps yeast activate gradually, creating those coveted air pockets in your loaf.
Visual guide about Can You Make Bread in Rice Cooker
Image source: content.instructables.com
Temperature Control and Insulation
Rice cookers are engineered to keep food warm after cooking—a feature that makes them ideal for proofing dough. When the heating element turns off during the “warm” cycle, the insulated pot retains heat beautifully, allowing your dough to rise slowly and evenly. This gentle environment prevents overheating that could kill yeast or cause dense crumb structure.
Moisture Retention
Bread made in a rice cooker benefits from higher humidity compared to oven-baked versions. The sealed environment keeps steam inside, resulting in softer crusts and moister interiors. This is especially true for white breads like sandwich loaves or dinner rolls.
Energy Efficiency
Using a rice cooker instead of an oven saves significant energy. An average rice cooker uses around 300-500 watts, while most ovens consume over 2,000 watts. Plus, there’s no preheating required—just mix, pour, and press start!
Choosing the Right Rice Cooker
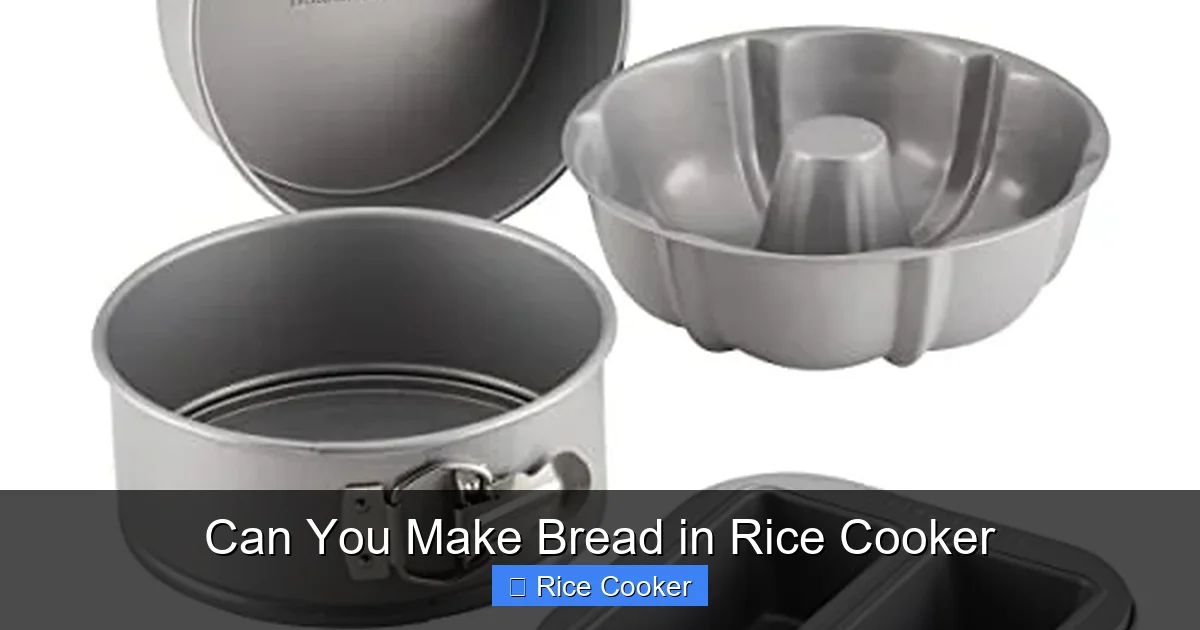
Not all rice cookers are created equal when it comes to bread baking. While older models may lack the necessary settings, newer ones offer features specifically designed for baking.
Visual guide about Can You Make Bread in Rice Cooker
Image source: m.media-amazon.com
Look for These Features
- Cake/Bread Setting: Modern rice cookers often include a dedicated function for baking cakes and breads. This setting adjusts timing and temperature for optimal results.
- Non-Stick Inner Pot: Essential for easy cleanup and preventing sticking. Ceramic-coated pots are ideal.
- Size Capacity: Choose a 3-cup to 6-cup capacity depending on how much bread you plan to make. Larger families may prefer 8-cup models.
- Keep-Warm Function: Allows extended proofing without risking overheating.
If your current rice cooker doesn’t have these features, don’t worry—many still work well with manual adjustments. Just monitor closely during the first few attempts.
Essential Ingredients and Equipment
One of the best things about rice cooker bread is how simple the ingredients list can be. You won’t find complicated specialty flours or exotic spices unless you want them!
Basic Ingredients
- Flour (1½ to 2 cups): All-purpose flour works great for most recipes. For heartier breads, try whole wheat or bread flour.
- Water (¾ to 1¼ cups): Warm (about 100°F/38°C) encourages yeast activation. Too hot kills it; too cold slows it down.
- Sugar or Honey (1–2 tbsp): Feeds the yeast and adds subtle sweetness.
- Salt (½ tsp): Enhances flavor and controls yeast activity.
- Yeast (1 packet or 2¼ tsp active dry yeast): Fresh yeast lasts longer but active dry is more accessible.
- Olive Oil or Butter (1–2 tbsp): Adds richness and softness to the crumb.
Optional Add-Ins
- Dried fruit (raisins, cranberries)
- Nuts (walnuts, almonds)
- Herbs (rosemary, thyme)
- Cheese (cheddar, parmesan)
- Spices (cinnamon, nutmeg)
Minimal Equipment Needed
- Mixing bowl
- Measuring cups and spoons
- Whisk or spoon
- Spatula
- Kitchen towel
- Small knife or dough scraper (optional)
For easiest cleanup, line your rice cooker’s inner pot with parchment paper or lightly grease it with nonstick spray.
Step-by-Step Guide: Making Basic White Bread
Let’s start with a foolproof recipe that yields soft, tender bread perfect for sandwiches, toast, or simply slathered with butter.
Recipe Overview
- Makes one small loaf (about 4×6 inches)
- Prep time: 20 minutes
- Proofing time: 1–1½ hours
- Cooking time: 45–60 minutes
Ingredients
- 2 cups all-purpose flour
- ¾ cup warm water (100–110°F)
- 2¼ tsp active dry yeast
- 2 tbsp granulated sugar
- ½ tsp salt
- 1 tbsp olive oil
Instructions
- Activate the Yeast: In a large bowl, combine warm water, sugar, and yeast. Let sit for 5–10 minutes until foamy. If it doesn’t foam, your yeast may be old—start over with fresh yeast.
- Add Dry Ingredients: Stir in flour, salt, and oil until a shaggy dough forms. It will be sticky—that’s normal!
- Knead Briefly: Turn dough onto a lightly floured surface and knead 5–7 minutes until smooth and elastic. Alternatively, use a stand mixer with dough hook.
- First Rise: Place dough back in clean bowl, cover with damp towel or plastic wrap, and let rise in a warm spot for 1–1½ hours, or until doubled in size.
- Shape the Loaf: Punch down dough to release air bubbles. Shape into oval or rectangle and place seam-side down into greased rice cooker pot.
- Second Rise (Optional): Cover pot with lid and let rest for 20–30 minutes if desired for fluffier texture.
- Cook the Bread: Close lid firmly and select “Cake” or “Brown Rice” setting. If unavailable, use regular “White Rice” setting and extend time by 10 minutes.
- Finish Cooking: Once timer goes off, open lid and insert toothpick into center. If clean, remove bread immediately. If wet or sticky, replace lid and continue cooking in 5-minute intervals until fully baked.
- Cool Completely: Transfer bread to wire rack. Wait at least 30 minutes before slicing to allow starch to set.
Tips for Perfect Rice Cooker Bread Every Time
Even experienced bakers encounter hiccups—but with practice and attention to detail, you’ll master this method quickly.
Master the Dough Consistency
Your dough should feel slightly tacky but not overly wet. If too sticky, add 1 tbsp flour at a time. If too stiff, drizzle in 1 tsp water until pliable.
Control Proofing Environment
The ideal proofing temperature is between 75–85°F (24–29°C). Avoid placing dough near drafty windows or air conditioners. A sunny windowsill, warm oven (turned off), or inside a turned-on rice cooker (off) works well.
Don’t Overfill the Pot
Never fill the rice cooker more than halfway. Dough expands significantly during rising and baking, and overcrowding leads to flat, dense loaves.
Use the Toothpick Test
This is your best indicator of doneness. Insert into center—if clean, it’s ready. If crumbs stick, give it another 5 minutes.
Experiment with Ratios
Adjust flour-to-water ratio based on climate and flour type. Humid environments may require extra flour; arid climates might need more liquid.
Store Properly
Slice and freeze portions for later. Reheat in toaster or oven at 350°F (175°C) for 10 minutes to restore freshness.
Creative Variations and Flavors
Once you’ve mastered basic bread, the fun begins! Customize your loaf with endless combinations.
Whole Wheat Honey Bread
Substitute 1½ cups whole wheat flour for white flour. Add 2 tbsp honey and ¼ cup chopped pecans. Bake as usual—the nuttiness pairs beautifully with honey.
Cheesy Garlic Herb Loaf
Add ½ cup grated cheddar, 2 minced garlic cloves, 1 tsp dried oregano, and 1 tsp rosemary to the dough. Perfect alongside pasta or soup.
Banana Nut Bread
Mash 1 ripe banana into water before adding other liquids. Fold in ½ cup walnuts and ½ tsp vanilla extract. Sweet, moist, and satisfying.
Everything Bagel Style
After shaping, brush with egg wash (1 egg beaten with 1 tbsp water) and sprinkle with everything bagel seasoning before baking. Slice and toast for breakfast!
Pizza Dough Base
Skip sugar and oil for a savory base. Use bread flour for chewier texture. Roll thin, top with sauce and cheese, then bake in oven or pizza stone for 12–15 minutes.
Troubleshooting Common Issues
Don’t panic if your first attempt isn’t perfect—every baker has off days!
Dense or Gummy Crumb?
This usually means under-proofing or under-baking. Ensure yeast is fresh and proofing environment is warm enough. Also check that you’re using correct flour measurements (use spoon-and-level method, not scooping directly from container).
Dough Won’t Rise
Common causes: expired yeast, water too cold/too hot, or inactive starter. Always test yeast before starting. If using tap water, let chlorine evaporate by warming it gently first.
Crust Too Hard or Burnt
Reduce cooking time by 5–10 minutes or lower heat setting if available. Some rice cookers have adjustable timers—try shorter cycles with frequent checks.
Stuck to the Pot
Always grease or line the pot. Avoid metal utensils that scratch nonstick coating. Cool completely before removing.
Flat Loaf
Over-kneaded dough loses elasticity. Knead just until smooth—no more. Also ensure second rise was sufficient.
Off-Color or Smell
Old flour loses potency. Check expiration dates. Stale ingredients lead to poor rise and unpleasant odors.
Frequently Asked Questions
Still have questions? We’ve got answers!
Can any rice cooker make bread?
Most modern rice cookers with a cake or brown rice setting can bake bread successfully. Older models without specific functions may also work if you monitor closely and adjust timing manually.
How long does rice cooker bread take?
Total time typically ranges from 2 to 3 hours, including prep, proofing, and baking. Active hands-on time is only about 20–30 minutes.
Do I need to grease the rice cooker pot?
Yes, always grease or line the pot to prevent sticking and simplify cleanup. Parchment paper works great and makes removal effortless.
Can I make gluten-free bread in a rice cooker?
Yes, but results vary widely depending on blend used. Gluten-free mixes formulated for baking generally work well. Expect lighter texture compared to wheat-based bread.
Is rice cooker bread healthier than store-bought?
Absolutely! Homemade bread contains no preservatives, artificial flavors, or excessive sodium. You control ingredients and portion sizes too.
Can I use a pressure cooker instead?
Standard pressure cookers aren’t ideal due to high heat and lack of insulation. However, some models with sauté and slow cook functions can mimic rice cooker performance if used carefully.
Conclusion: Your New Favorite Kitchen Hack
Making bread in a rice cooker isn’t just convenient—it’s transformative. It brings bakery-quality loaves into homes without ovens, limited counter space, or fancy appliances. With just five basic ingredients and less than an hour of total effort, you can enjoy warm, fragrant bread fresh from your kitchen.
This method democratizes baking, allowing anyone to experiment, create, and savor the joy of homemade goodness. Whether you’re whipping up a quick sandwich loaf, gourmet herb focaccia, or sweet banana bread, your rice cooker stands ready to help.
So go ahead—grab that bag of flour and let curiosity lead the way. Before long, you’ll wonder how you ever lived without this simple, brilliant trick. Happy baking!
Frequently Asked Questions
Can any rice cooker make bread?
Most modern rice cookers with a cake or brown rice setting can bake bread successfully. Older models without specific functions may also work if you monitor closely and adjust timing manually.
How long does rice cooker bread take?
Total time typically ranges from 2 to 3 hours, including prep, proofing, and baking. Active hands-on time is only about 20–30 minutes.
Do I need to grease the rice cooker pot?
Yes, always grease or line the pot to prevent sticking and simplify cleanup. Parchment paper works great and makes removal effortless.
Can I make gluten-free bread in a rice cooker?
Yes, but results vary widely depending on blend used. Gluten-free mixes formulated for baking generally work well. Expect lighter texture compared to wheat-based bread.
Is rice cooker bread healthier than store-bought?
Absolutely! Homemade bread contains no preservatives, artificial flavors, or excessive sodium. You control ingredients and portion sizes too.
Can I use a pressure cooker instead?
Standard pressure cookers aren’t ideal due to high heat and lack of insulation. However, some models with sauté and slow cook functions can mimic rice cooker performance if used carefully.