
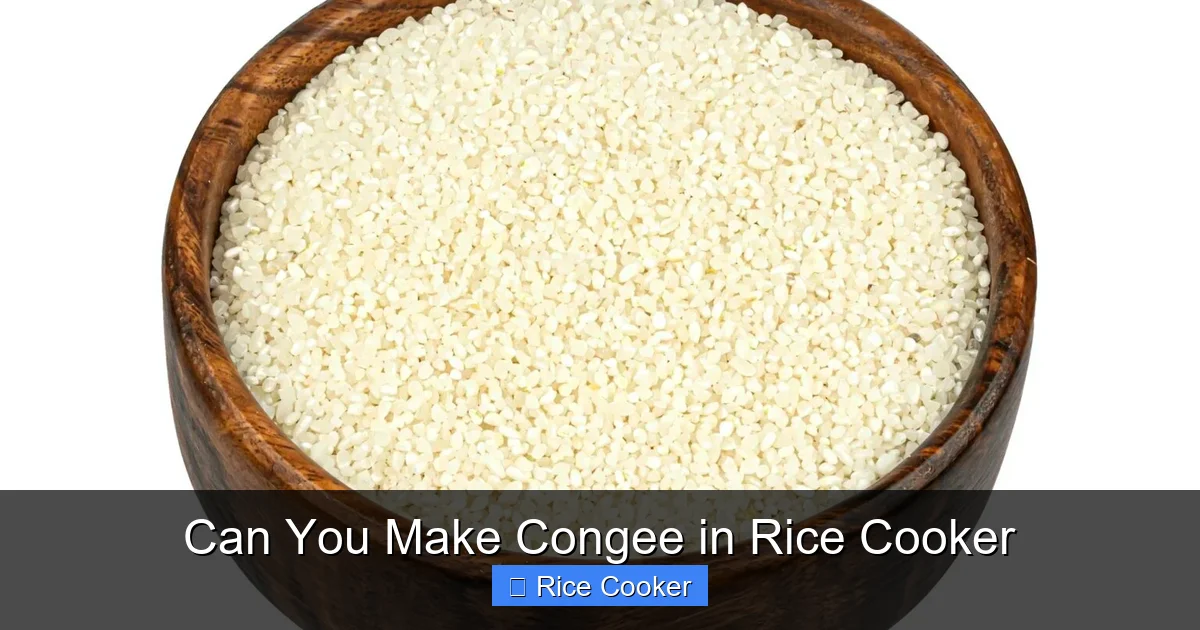
You absolutely can make delicious congee in a rice cooker! With the right ratio of rice to water and a few simple steps, your rice cooker becomes a versatile tool for preparing this nutritious, soothing dish. Whether you’re making traditional plain congee or adding savory toppings, it’s quick, easy, and requires minimal effort.
Key Takeaways
- Rice Cooker Works Perfectly: Yes, a rice cooker is ideal for making congee—its automated functions ensure consistent results every time.
- Use the Right Rice: Short-grain white rice like Japanese or sushi rice yields the creamiest texture; avoid long-grain varieties.
- Water Ratio Matters: Start with 6–7 parts water per 1 part rice for soft, porridge-like consistency; adjust as needed.
- Add Toppings Creatively: Enhance flavor with ginger, scallions, egg, pork, seafood, or even sweet options like red bean paste.
- Timing Is Key: After cooking, let it rest for 10–15 minutes before fluffing—this helps achieve that silky texture.
- Clean-Up Is Easy: Most rice cookers have non-stick inner pots that are dishwasher-safe and simple to clean.
📑 Table of Contents
- Can You Make Congee in a Rice Cooker? Absolutely—and It’s Easier Than You Think!
- The Science Behind Congee: Why Texture Counts
- Choosing the Right Rice Cooker for Congee
- Step-by-Step Guide: Making Basic Plain Congee
- Elevating Your Congee: Savory & Sweet Variations
- Common Mistakes & How to Fix Them
- Tips for Batch Cooking & Meal Prep
- Beyond Rice: Alternative Grains for Congee
- Health Benefits of Homemade Congee
- Final Thoughts: Why Every Kitchen Needs This Skill
Can You Make Congee in a Rice Cooker? Absolutely—and It’s Easier Than You Think!
There’s something deeply comforting about a warm bowl of congee. Whether you’re recovering from illness, starting your day with a gentle meal, or simply craving something soothing, congee delivers. Traditionally cooked slowly on the stove over low heat for hours, congee—a staple in Chinese, Japanese, Korean, and Southeast Asian cuisines—is essentially just rice and water (sometimes with broth) simmered until thick and creamy.
But what if you don’t want to stand over a pot all day? Enter: the humble rice cooker. If you own one, you already have everything you need to make perfect congee at home—no special equipment required. In fact, using a rice cooker takes much of the guesswork out of the process. The appliance handles temperature control automatically, preventing scorching or sticking while delivering consistently soft grains. Plus, many modern models come with dedicated settings like “porridge” or “congee,” though even basic ones work beautifully with a few adjustments.
In this guide, we’ll walk through everything you need to know about making congee in a rice cooker—from choosing the right rice and water ratios to customizing flavors and textures. Whether you’re a beginner cook or an experienced home chef looking to expand your repertoire, you’ll find practical tips, recipe ideas, and troubleshooting advice that will turn your next batch into a culinary win.
The Science Behind Congee: Why Texture Counts
Visual guide about Can You Make Congee in Rice Cooker
Image source: kitchencuddle.com
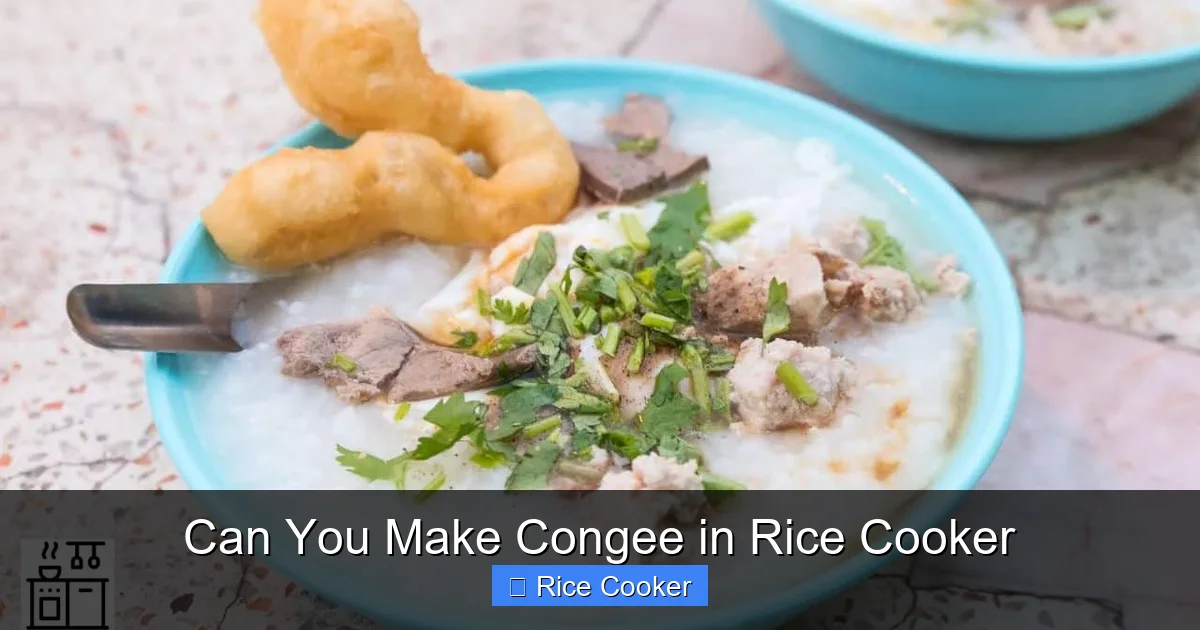
Before diving into recipes, it helps to understand what makes congee different from regular rice. At its core, congee is cooked rice that has broken down significantly during simmering, releasing starches into the liquid. This creates a smooth, velvety mouthfeel rather than fluffy individual grains.
The magic lies in the type of rice used. Short-grain varieties contain more amylopectin—a starch that gelatinizes easily when heated—resulting in greater stickiness and creaminess. Long-grain rice, by contrast, tends to stay separate and dry, which isn’t ideal for congee. That’s why Japanese-style short-grain rice (like Koshihikari or Calrose) works best. Brown rice can also be used but requires longer cooking times and may result in a chewier texture.
Another key factor is hydration. Congee needs extra water compared to steamed rice—typically six to eight times the volume of rice. Without enough liquid, the mixture won’t soften properly; too much, and it becomes watery. Your rice cooker’s ability to maintain steady heat ensures gradual breakdown without burning, making it far superior to stovetop methods for beginners.
Choosing the Right Rice Cooker for Congee
Visual guide about Can You Make Congee in Rice Cooker
Image source: kitchencuddle.com
Not all rice cookers are created equal—especially when it comes to porridge-making. While most standard electric rice cookers can handle basic congee, certain features make the job easier:
Fuzzy Logic vs. Analog Models
Modern digital rice cookers with fuzzy logic technology sense internal conditions and adjust heating accordingly. These often include preset programs for congee, risotto, or soup. They’re gentler on ingredients and reduce the risk of scorching.
Older analog models rely on simpler thermostats and may require closer monitoring. However, they still produce excellent results if you follow timing guidelines carefully.
Capacity Considerations
Smaller cookers (1–2 cups uncooked rice) are great for individuals or small families. Larger ones (4–10 cups) suit bigger households or meal prep. Just remember: the same water-to-rice ratio applies regardless of size.
Non-Stick Inner Pot Quality
A good-quality non-stick coating prevents congee from gumming up the pan. Look for removable, dishwasher-safe inserts for easy cleanup—a must when dealing with sticky starches!
Step-by-Step Guide: Making Basic Plain Congee
Ready to try it yourself? Here’s how to make foolproof plain congee using any electric rice cooker:
Ingredients
- 1 cup short-grain white rice
- 6–7 cups water (start with 6, add more if needed)
- A pinch of salt (optional)
Instructions
- Wash the Rice: Rinse the rice under cold water 2–3 times until the water runs clear. This removes excess starch and prevents gumminess.
- Add Ingredients: Place rinsed rice in the inner pot, then pour in water. Add salt if desired.
- Start Cooking: Close the lid and select the “Porridge,” “Congee,” or “Slow Cook” setting if available. If your model only has a “White Rice” function, that’s fine too—just expect slightly firmer texture.
- Let It Rest: Once the cycle ends, let the pressure release naturally for 10–15 minutes. Avoid opening early—the residual heat finishes softening the grains.
- Fluff & Serve: Gently stir with a wooden spoon to break up any clumps. Serve warm with your favorite toppings.
Pro Tip: For ultra-smooth consistency, blend half the congee after cooking using an immersion blender or countertop mixer before returning it to the pot.
Elevating Your Congee: Savory & Sweet Variations
Plain congee is delicious, but where it really shines is customization. Below are popular ways to transform your bowl into a satisfying meal or dessert.
Savory Congee Ideas
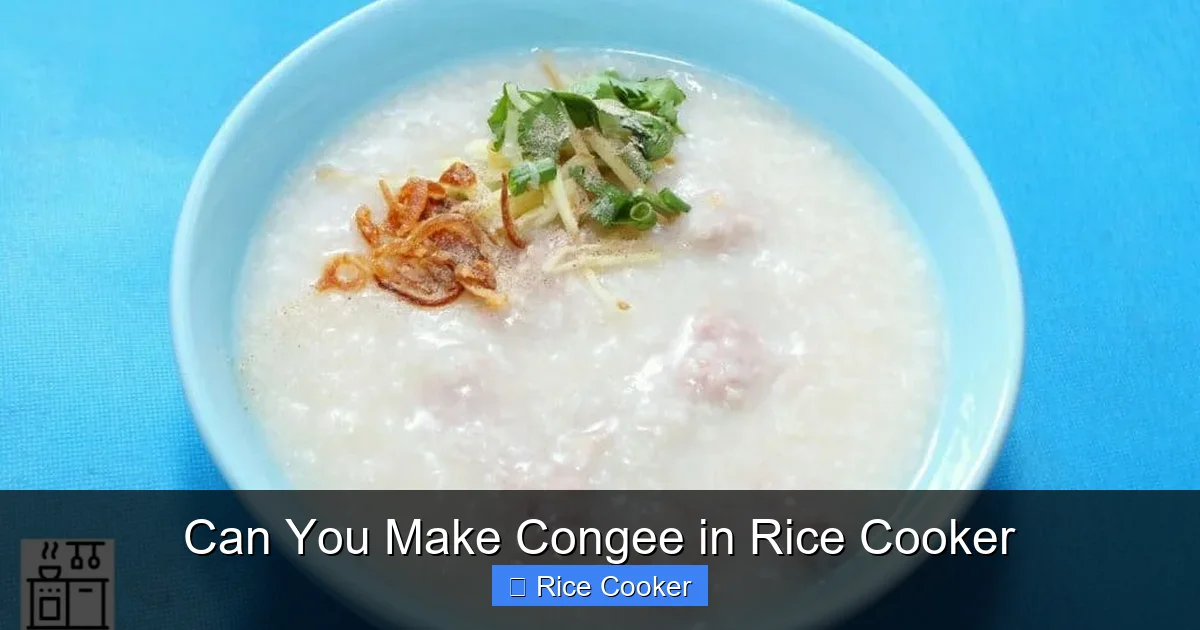
- Ginger Chicken Congee: Simmer diced chicken breast with minced fresh ginger in water before adding rice. Season with soy sauce, white pepper, and chopped scallions at the end.
- Silky Egg Congee: Beat 1–2 eggs and slowly drizzle into hot congee while stirring constantly. The residual heat cooks them into tender ribbons.
- Pork & Mushroom: Sauté sliced mushrooms and diced pork belly until fragrant, then combine with rice and water. Finish with a dash of sesame oil.
- Seafood Delight: Add shrimp, fish cake, or clams during the last 10 minutes of cooking. Garnish with cilantro and lime.
Sweet Congee Options
- Red Bean Paste: Mix sweetened adzuki beans (canned or homemade) into plain congee for a classic East Asian dessert.
- Brown Sugar & Coconut: Stir in coconut milk and brown sugar during cooking. Top with toasted sesame seeds or crushed peanuts.
- Fruit Compote: Fold in mashed bananas, pears, or apples toward the end. A sprinkle of cinnamon enhances the flavor.
Remember: When adding solids like meat or legumes, increase water slightly to compensate for absorption.
Common Mistakes & How to Fix Them
Even with the best intentions, things can go wrong. Here’s how to troubleshoot common congee disasters:
Too Thick?
If your congee turned out too dense, stir in boiling water ½ cup at a time until reaching desired consistency. Heat gently if reheating.
Too Thin?
This usually means too little rice was used. Unfortunately, there’s no easy fix—next time, increase rice quantity. Alternatively, simmer uncovered on low heat to evaporate excess liquid (risky without supervision).
Grains Remaining Hard?
Undercooked rice suggests insufficient soaking time or incorrect water ratio. Try letting rinsed rice sit in water for 30 minutes before draining—this softens the outer layer and improves texture. Also verify your water measurement accuracy.
Sticky Bottom Layer?
Scorching occurs when the bottom dries out. Always ensure adequate water, stir occasionally during the first 10 minutes (if possible), and use a non-stick pot. Avoid high-heat settings.
Tips for Batch Cooking & Meal Prep
Congee stores exceptionally well—making large batches a smart strategy for busy weeks. Refrigerate portions in airtight containers for up to 4 days. Reheat gently on the stove or microwave, adding a splash of water if too thick.
For freezing, transfer cooled congee to freezer-safe jars or bags (leave headspace for expansion). Thaw overnight in the fridge and reheat thoroughly. Note: Texture may become slightly grainier after freezing, but flavor remains intact.
Consider portioning into silicone ice cube trays for single servings—perfect for quick breakfasts or post-workout meals!
Beyond Rice: Alternative Grains for Congee
While white rice reigns supreme, adventurous cooks can experiment with other grains:
- Oats: Create hearty oatmeal-style congee using rolled oats. Use 3 parts water per 1 part oats and cook until creamy.
- Quinoa: Nutrient-dense and protein-rich, quinoa congee pairs well with vegetables or herbs.
- Couscous: Surprisingly effective! Quick-cooking couscous makes light, fluffy congee—ideal for Middle Eastern-inspired bowls.
- Rice Bran or Broken Rice: Traditional in some cultures, these yield extra-soft textures and lower glycemic indices.
Always adjust cooking times based on grain type—check manufacturer instructions or do a test batch first.
Health Benefits of Homemade Congee
Making congee at home offers nutritional advantages over store-bought versions. You control ingredients, avoiding added sugars, preservatives, and excessive sodium. Plus, the slow cooking process breaks down complex carbs, making nutrients more digestible—especially beneficial for sensitive stomachs or those healing from illness.
Congee is naturally gluten-free (using certified GF rice), low-fat, and rich in B vitamins. Customizing with vegetables, lean proteins, and healthy fats (like avocado or nuts) boosts its nutritional profile further.
For weight management, congee provides sustained energy without heavy calories—just be mindful of topping choices!
Final Thoughts: Why Every Kitchen Needs This Skill
Learning to make congee in a rice cooker isn’t just about convenience—it’s about embracing nourishing, adaptable eating. In a world of fast food and processed meals, taking five minutes to rinse rice and press a button feels almost revolutionary. Yet here you are, about to enjoy a bowl that’s been gently transformed into something magical.
Whether you’re feeding a crowd, prepping for the week, or seeking comfort in a simple dish, congee delivers. And thanks to your trusty rice cooker, it’s never been easier. So go ahead—give it a try tonight. Your taste buds (and your stomach) will thank you.
Frequently Asked Questions
Do I need a special rice cooker to make congee?
No, any standard electric rice cooker works perfectly for congee. Even basic models without dedicated porridge settings can produce excellent results with the right water ratio and cooking time.
What kind of rice is best for congee?
Short-grain white rice like Japanese sushi rice or Calrose is ideal because it contains more starch, which creates a creamy, cohesive texture when cooked slowly.
How much water should I use for congee?
Use 6 to 7 cups of water for every 1 cup of rice. Adjust based on desired thickness—add more for thinner porridge, less for firmer consistency.
Can I make congee ahead of time?
Yes! Congee keeps well refrigerated for up to 4 days. Freeze portions in ice cube trays for easy reheating. Always reheat thoroughly on the stove or microwave.
Why does my congee taste gummy or sticky?
This usually happens when too much starch is released, often due to insufficient rinsing or incorrect water ratio. Always rinse rice until water runs clear and measure water carefully.
Can I add salt or seasonings while cooking?
Absolutely. Add salt early for flavor penetration, or mix in sauces, broths, or spices during the last few minutes of cooking for nuanced tastes.