
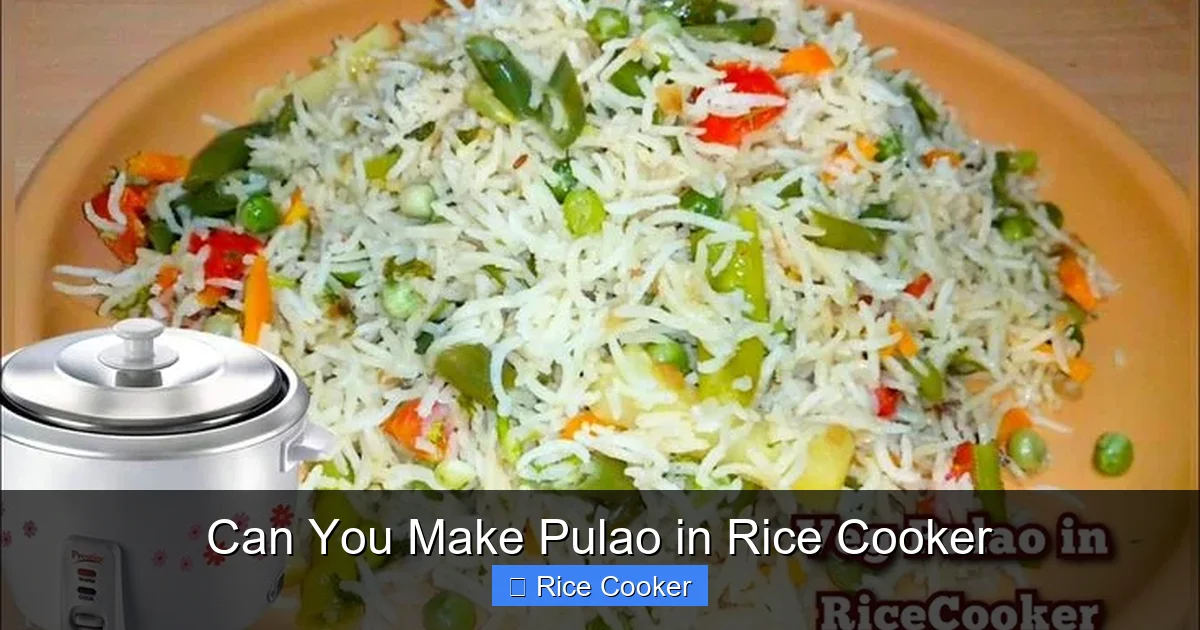
Absolutely—you can make flavorful pulao in a rice cooker! With the right technique and ingredients, your rice cooker transforms plain rice into fragrant, well-spiced one-pot meals that are both convenient and satisfying. Whether you’re using basmati rice or adding chicken, lentils, or veggies, this appliance handles the cooking perfectly every time.
Key Takeaways
- Yes, it’s possible: A rice cooker can cook perfect pulao without constant attention—just add rice, water, spices, and protein or vegetables.
- No special model needed: Standard rice cookers work fine; advanced models with fuzzy logic offer even better results.
- Proper ratios matter: Use 1:1.5 to 1:2 rice-to-water ratio depending on grain type (long-grain vs. short-grain).
- Spice layering is key: Toast whole spices first, then sauté aromatics before adding rice for maximum flavor.
- Resting time enhances texture: Let cooked pulao sit covered for 5–10 minutes after cooking to absorb steam evenly.
- Clean-up is simple: Most rice cooker inner pots are non-stick and dishwasher-safe for easy maintenance.
[FEATURED_IMAGE_PLACEHOLDER]
# Can You Make Pulao in Rice Cooker?
You’ve probably heard that your trusty rice cooker is limited to just steaming white rice—but what if I told you it could do so much more? Enter *pulao*, a beloved South Asian one-pot dish packed with rice, protein, vegetables, and warming spices like cumin, cardamom, cinnamon, and bay leaf. Traditionally made on the stovetop with careful timing and flame control, pulao might seem too complex for an appliance designed only for boiling grains. But here’s the good news: yes, you absolutely can make pulao in a rice cooker, and it’s easier than you think.
In fact, many home cooks swear by their rice cookers for making pulao because they eliminate guesswork around heat levels and don’t require babysitting. Whether you’re cooking biryani-style pulao with marinated meat, vegetarian versions with peas and carrots, or even fusion dishes like paneer pulao, your rice cooker can handle it all—especially when you follow the right steps. Plus, since everything cooks together in one pot, cleanup is minimal and flavors meld beautifully.
Before we dive into recipes and techniques, let’s clear up a common misconception: a rice cooker isn’t just for sticky jasmine rice or bland oatmeal. Modern rice cookers—even basic ones—are versatile kitchen tools capable of handling soups, steamed dumplings, yogurt, and yes, richly spiced pulaos. The secret lies in understanding how moisture, heat distribution, and timing interact within the device.
—
## Why Choose a Rice Cooker for Pulao?
Many people assume that traditional pulao requires simmering over medium-low heat for hours while carefully monitoring doneness. While that method yields excellent results, it also demands active involvement and risk of burning or undercooking. That’s where a rice cooker shines. Here’s why switching to this appliance makes sense:
### Consistent Temperature Control
Unlike open flames, which fluctuate unpredictably, most rice cookers maintain steady internal temperatures once they reach the “keep warm” phase. This means your rice won’t scorch, and your spices won’t turn bitter.
### Hands-Free Convenience
Set it and forget it! After sautéing onions and spices (which you’ll still need to do), simply add everything else—rice, liquid, and proteins—and press start. No stirring required.
### Even Cooking
Rice cookers distribute heat evenly across the entire inner pot, ensuring each grain gets the same amount of moisture and heat. This prevents clumping and produces fluffier rice compared to uneven stovetop batches.
### Time Efficiency
While pulao typically takes 30–45 minutes on the stove, a rice cooker cuts active prep time significantly. Total cook time may be similar, but you save on monitoring and adjusting heat.
### Versatility Across Diets
From vegetarian lentil pulao to chicken pulao or beef pulao, the rice cooker adapts seamlessly. You can even experiment with quinoa, barley, or wild rice blends for gluten-free or nutrient-dense options.
Of course, there are limitations—like needing to pre-cook certain meats or adjust seasonings post-cooking—but overall, the benefits far outweigh the drawbacks for most households.
—
## Essential Ingredients and Tools
Before jumping into recipes, gather these foundational items:
### Core Ingredients:
– Long-grain basmati rice: Best choice due to its fragrance and ability to stay separate after cooking.
– Whole spices: Cinnamon stick, green cardamom pods, cloves, bay leaves, cumin seeds.
– Aromatics: Onion (finely chopped), garlic (minced), ginger (grated).
– Protein/Vegetables: Chicken thighs, lamb, paneer, cauliflower, green peas, carrots.
– Liquid: Water or low-sodium broth (for extra depth).
– Salt, sugar, oil/ghee: For balancing flavors and preventing sticking.
### Optional Add-ins:
– Saffron strands soaked in warm milk (for authentic aroma)
– Yogurt (to tenderize meat)
– Fresh herbs (mint/coriander) added at the end
### Required Equipment:
– Standard rice cooker (with non-stick inner pot)
– Chef’s knife & cutting board
– Skillet or frying pan (for initial spice-toasting and sautéing)
– Measuring cup (rice-specific for accuracy)
> 💡 Tip: If your rice cooker has multiple settings (e.g., “Porridge,” “Soup,” or “Quick Cook”), default to the standard “White Rice” mode unless specified otherwise.
—
## Step-by-Step Guide: Making Pulao in Your Rice Cooker
Ready to transform your kitchen routine? Follow this foolproof process:
### 1. Prep All Ingredients First
Chopping, marinating, and measuring everything ahead ensures smooth execution. Cut onions thin so they caramelize nicely; dice vegetables uniformly for even cooking.
### 2. Toast Whole Spices
Heat 1–2 tablespoons of oil or ghee in a skillet over medium heat. Add cumin seeds, bay leaves, cinnamon, cardamom, and cloves. Fry until fragrant (about 30 seconds). This releases essential oils and builds flavor base.
### 3. Sauté Aromatics
Add onions and cook until golden brown. Stir in garlic and ginger, then toss in any hard vegetables (like carrots) to soften slightly.
### 4. Add Protein (If Using)
Brown chicken pieces or sear paneer cubes briefly before transferring to rice cooker. This step isn’t mandatory—some prefer raw additions—but browning adds richness.
### 5. Layer in Rice and Liquid
Rinse basmati rice under cold water until runoff runs mostly clear. Drain thoroughly. Transfer rice, vegetables, protein, and spices to rice cooker pot. Pour in water or broth—use 1 cup liquid per 1 cup dry rice as starting point, adjusting later if needed.
### 6. Season and Close Lid
Sprinkle salt, optional sugar, and drained saffron (if using). Seal lid tightly—no steam escape during cooking!
### 7. Select Cooking Mode
Press “Start” on standard setting. Total cycle usually lasts 20–30 minutes depending on quantity.
### 8. Rest Before Fluffing
Once done, let pulao rest undisturbed for 5–10 minutes with lid closed. This allows residual steam to hydrate dry edges and unify flavors.
### 9. Final Touches
Gently fold in fresh herbs, lemon juice, or fried onions before serving.
—
## Recipe Variations You Can Try
The beauty of rice cooker pulao is its adaptability. Here are three crowd-pleasing versions:
### Classic Chicken Pulao
– Marinate chicken in yogurt, lemon juice, turmeric, and garam masala for 30 mins.
– Skip browning; add directly to cooker with 1.25 cups water per cup rice.
– Garnish with fried onions, cilantro, and mint.
### Vegetarian Lentil & Veggie Pulao
– Soak red lentils for 15 mins, drain.
– Sauté diced potatoes, carrots, green beans with spices.
– Combine with rinsed rice and 1.5 cups water per cup grain.
– Top with roasted cashews and fresh coriander.
### Biryani-Inspired Pulao (Layered Style)
– Parboil rice for 5 mins until 70% cooked.
– Alternate layers of rice, marinated chicken, and saffron-infused milk in cooker.
– Seal tightly and cook on “Steam” mode for 10 mins after standard cycle completes.
Each variation maintains core principles: proper hydration, spice infusion, and resting time.
—
## Common Mistakes to Avoid
Even experienced cooks slip up sometimes. Watch out for these pitfalls:
– Using too much liquid: Overfilling leads to mushy rice. Stick to tested ratios.
– Skipping spice-toasting: Raw spices taste harsh; always toast briefly.
– Not rinsing rice: Starch causes clumping. Rinse until water clears.
– Opening lid during cooking: Releases precious steam and disrupts temperature.
– Neglecting resting period: Results in uneven texture and separated grains.
By sidestepping these errors, your rice cooker pulao will be restaurant-quality every time.
—
## Tips for Perfect Texture and Flavor
Want your pulao to impress family and friends? Master these pro-level tricks:
– Use aged basmati: Older grains absorb water better and stay firm.
– Pre-soak rice: Soak for 20–30 mins before cooking for extra tenderness.
– Adjust salt gradually: Taste liquid before adding—you can always fix it after cooking.
– Add acid at the end: A splash of lime or vinegar brightens deep spice notes.
– Toast nuts or dried fruits: Almonds, raisins, or pistachios boost visual appeal and crunch factor.
Also consider investing in a rice cooker with a stainless steel inner pot—they retain heat longer and prevent scorching compared to cheaper ceramic coatings.
—
## Cleaning and Maintenance
After enjoying your delicious meal, cleaning is a breeze thanks to modern designs:
1. Unplug and let pot cool completely.
2. Remove inner pot (usually detachable).
3. Wash with mild soap and sponge—avoid metal scrubbers on non-stick surfaces.
4. Wipe exterior with damp cloth.
5. Store in dry place with lid slightly ajar to prevent odors.
Most manufacturers recommend hand-washing only, though check your manual. Dishwasher-safe models exist but aren’t universal.
—
## Frequently Asked Questions
Can I use regular white rice instead of basmati?
Technically yes, but basmati’s unique aroma and elongation during cooking make it ideal for pulao. Regular long-grain rice works too, but expect less fragrance and softer texture.
What if my pulao turns out dry?
Add ¼ cup hot water, cover tightly, and let sit 5 minutes. Steam will rehydrate grains. Avoid adding water mid-cycle—it lowers temperature and extends cooking time.
Do I need to brown meat before adding it?
Not necessarily. For quicker meals, skip browning and add raw meat. However, searing develops Maillard reaction flavors that elevate the dish.
Can I make pulao without a rice cooker?
Absolutely! Traditional methods involve simmering rice with spices on the stovetop. It requires more attention but yields excellent results when done correctly.
How do I store leftover pulao?
Refrigerate in airtight containers for up to 4 days. Reheat with a splash of water in microwave or skillet to restore moisture.
Is it safe to cook meat in my rice cooker?
Yes, provided you clean the interior thoroughly afterward and avoid cross-contamination. Just ensure meat reaches safe internal temperatures (165°F/74°C for poultry).
—
## Final Thoughts
Cooking pulao in a rice cooker isn’t just possible—it’s revolutionary for anyone who loves flavorful, hands-off meals. Gone are the days of watching the stove, worrying about burning, or guessing when rice is done. With this simple appliance, you unlock consistent, restaurant-quality dishes with minimal effort.
Whether you’re feeding a hungry family, hosting guests, or meal-prepping for the week, rice cooker pulao delivers on taste, convenience, and comfort. Experiment with different proteins, veggies, and spice blends to keep things exciting. And remember: the best part is knowing your kitchen stays clean while dinner simmers away quietly in the background.
So next time you open your rice cooker, don’t think “just rice.” Think “flavor explosion”—because with a little know-how, you can turn ordinary grains into extraordinary meals.
This is a comprehensive guide about can you make pulao in rice cooker.
Key Takeaways
- Understanding can you make pulao in rice cooker: Provides essential knowledge
Frequently Asked Questions
What is can you make pulao in rice cooker?
can you make pulao in rice cooker is an important topic with many practical applications.