

Making rice and peas in a rice cooker is not only possible but also simpler than traditional stovetop methods. This one-pot dish combines tender rice with creamy kidney beans, aromatic herbs, and spices for a flavorful meal in under 30 minutes. Whether you’re new to Caribbean cuisine or just looking for an easy dinner hack, your rice cooker is ready to shine.
Key Takeaways
- Yes, it’s possible: A rice cooker can perfectly cook rice and peas when used correctly—no stove needed.
- Flavor comes from spices: Key ingredients like thyme, scallions, garlic, and pimento berries (or allspice) define the authentic taste.
- Ratio matters: Use about 1½ cups liquid per cup of rice, adjusting for bean absorption.
- Soaking beans isn’t mandatory: Canned beans save time while still yielding great results.
- Cooking time is quick: Most rice cookers do the work in 20–25 minutes once water hits boiling point.
- It’s versatile: Swap red kidney beans for black-eyed peas or add diced carrots for extra nutrition.
- Cleanup is easy: One pot means fewer dishes—ideal for busy kitchens.
📑 Table of Contents
- Can You Make Rice and Peas in a Rice Cooker?
- The Science Behind Cooking Rice and Peas in a Rice Cooker
- Essential Ingredients for Authentic Rice and Peas
- Step-by-Step Guide: Making Rice and Peas in Your Rice Cooker
- Common Mistakes to Avoid
- Creative Variations & Dietary Swaps
- Storage & Meal Prep Tips
- Why This Method Beats the Stovetop
- Final Thoughts: Embrace the Simplicity
Can You Make Rice and Peas in a Rice Cooker?
If you’ve ever craved that rich, savory flavor of classic Caribbean rice and peas—but didn’t want to babysit a pot on the stove—you’re in luck. Yes, you can absolutely make rice and peas in a rice cooker, and it might just become your new go-to method. This humble kitchen appliance has evolved far beyond plain white rice, proving itself as a powerhouse for whole meals, stews, soups, and even desserts.
Rice and peas is more than a dish; it’s a cultural cornerstone across the Caribbean—served at family gatherings, holidays, and Sunday dinners alike. Traditionally cooked over an open flame or on the stovetop with coconut milk, fresh herbs, and slow-cooked beans, the recipe varies slightly by island. But with today’s modern rice cookers offering precise temperature control and automatic shut-off, recreating this beloved comfort food at home has never been easier.
In this guide, we’ll walk you through everything you need to know—from choosing the right ingredients to mastering the perfect texture. Whether you’re using dried beans or canned, fresh herbs or dried substitutes, we’ve got practical tips to help you nail that authentic taste without the hassle. Plus, we’ll share some creative twists so you can customize the dish to your liking. Let’s get cooking!
The Science Behind Cooking Rice and Peas in a Rice Cooker
Before diving into recipes, it helps to understand why a rice cooker works so well for this dish. Unlike boiling rice on the stove, which requires constant monitoring and stirring, rice cookers operate on a closed-loop system: they heat water to a boil, then automatically switch to “warm” mode once the grains absorb all the moisture. This gentle, consistent heat prevents scorching and ensures even cooking—especially important when you’re adding ingredients like beans or spices that can affect texture and timing.
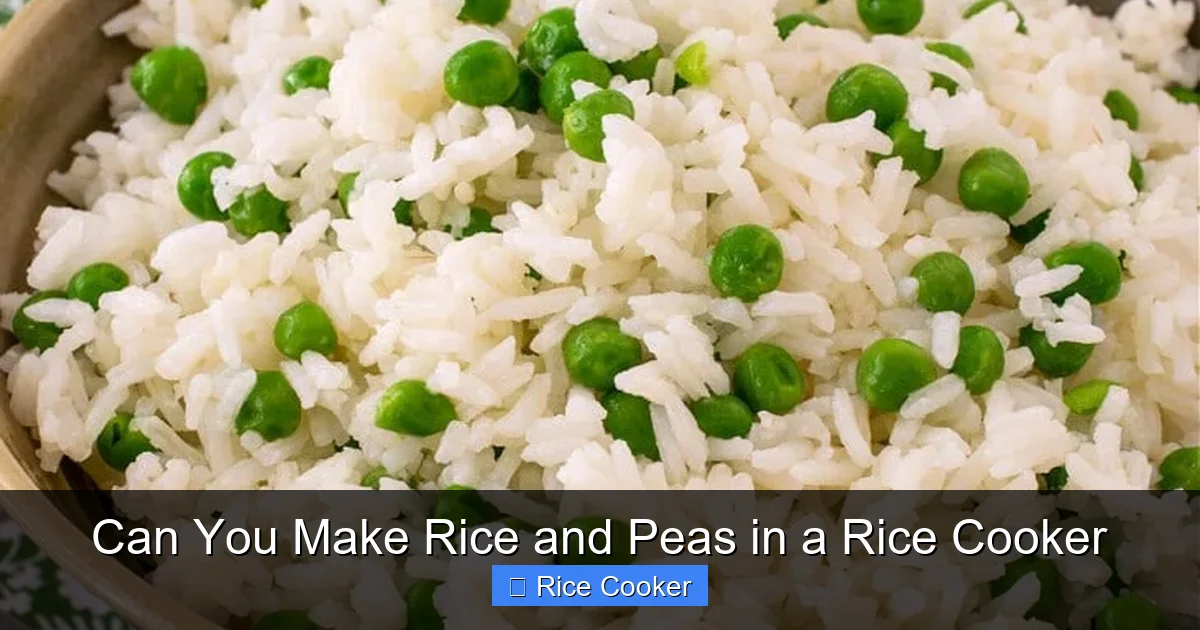
Visual guide about Can You Make Rice and Peas in a Rice Cooker
Image source: afamilyfeast.com
How Rice Cookers Handle Different Ingredients
Most standard rice cookers handle short-grain or medium-grain rice best—think Jasmine, Basmati, or even converted long grain. These varieties absorb liquid well and hold their shape after cooking. When making rice and peas, the addition of beans changes the absorption rate slightly. Kidney beans, for example, release starch as they soften, thickening the broth and giving the dish its signature creamy consistency. A good rice cooker will manage this transition smoothly, especially if you rinse the beans first and drain excess starch.
Another advantage? The sealed environment reduces evaporation, meaning less liquid is lost during cooking. That’s why sticking to the recommended water-to-ratio rule is crucial. Too little water risks dry, clumpy rice; too much leads to mushy beans and weak flavor.
Why Traditional Methods Can Be Tricky
On the stovetop, rice and peas often requires a two-stage process: first simmering the beans until nearly tender, then combining them with rice and finishing the cook. This helps prevent the rice from turning to mush while the beans fully rehydrate. But with a rice cooker, you don’t need separate stages—just proper prep and timing.
Also, traditional recipes sometimes call for soaking dried beans overnight. While this improves digestibility and cuts cooking time, many home cooks skip it due to convenience. With a rice cooker, even unsoaked beans can cook through in under 45 minutes—though canned beans remain the fastest option.
Essential Ingredients for Authentic Rice and Peas
True rice and peas isn’t just rice + beans. It’s about layering flavors through aromatic seasonings and fats. Here’s what you’ll need to get that authentic Caribbean kick:
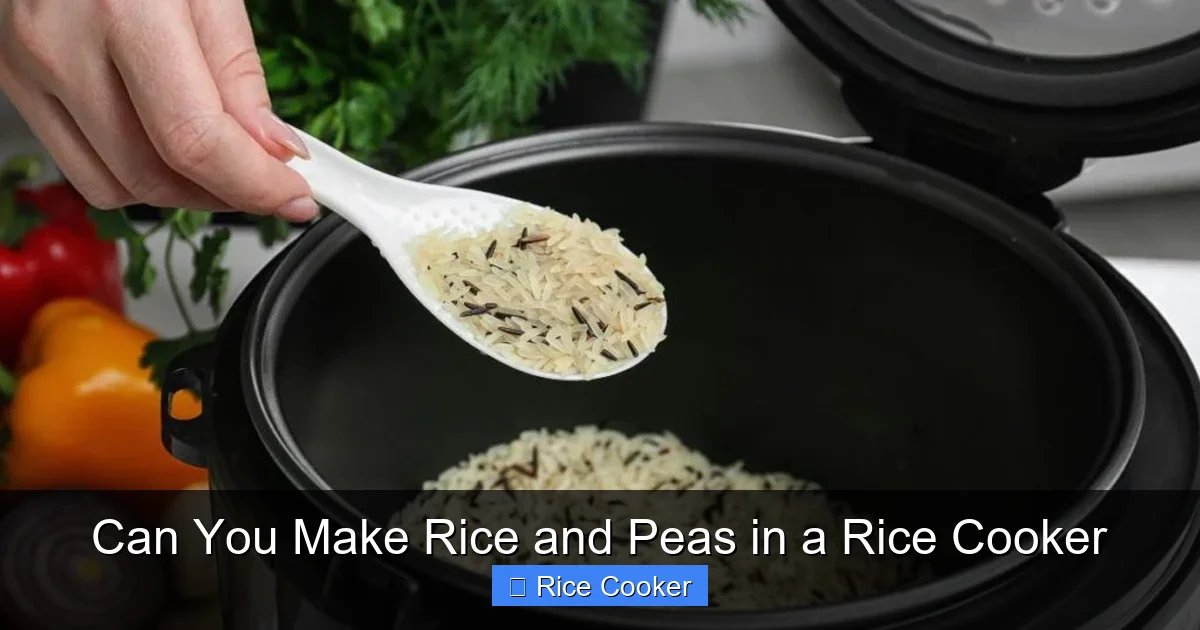
Visual guide about Can You Make Rice and Peas in a Rice Cooker
Image source: obeches.com
- Rice: Use 1 cup long-grain white rice (like basmati or jasmine). Avoid instant or brown rice—they won’t give the right texture.
- Beans: Red kidney beans are traditional, but black-eyed peas or butter beans also work. If using dried, soak for 8 hours or do a quick 30-minute soak before cooking.
- Liquid: Coconut milk gives richness and creaminess. You can also use chicken stock for depth, or a mix of both.
- Aromatics: Fresh scallions (green onions), garlic cloves, and fresh thyme sprigs are non-negotiable. For pimento berries, use 1 tsp ground allspice as a substitute.
- Fat: Vegetable oil, coconut oil, or butter adds moisture and helps sauté aromatics.
- Salt & Pepper: Taste and adjust before serving. Caribbean dishes are bold—don’t be shy!
Optional but delicious additions include diced bell peppers, minced Scotch bonnet pepper (for heat), or a splash of lime juice at the end for brightness.
Step-by-Step Guide: Making Rice and Peas in Your Rice Cooker
Ready to try it yourself? Follow these simple steps for foolproof results every time.
Prep Your Ingredients
- Rinse the rice: Place rice in a fine-mesh strainer and rinse under cold water until the water runs clear. This removes excess starch and prevents gumminess.
- Prepare the beans: If using dried beans, drain and rinse thoroughly. Canned beans only need rinsing—skip soaking entirely.
- Mince aromatics: Slice 2 scallions (white and light green parts finely chopped; reserve greens for garnish), press 3–4 garlic cloves, and strip leaves from 3–4 thyme sprigs.
Build Flavor in the Pot
- Sauté in oil: Add 2 tbsp vegetable oil to your rice cooker pot. Heat over medium heat (if your model has this setting) for 1 minute. Add scallions, garlic, and thyme. Sauté 1–2 minutes until fragrant—don’t let garlic burn.
- Add beans and rice: Stir in rinsed beans and rice. Toast gently for another minute to coat grains in flavor.
- Pour in liquid: Add 1½ cups coconut milk (or combo of broth + coconut milk) and ¾ cup water. Stir to combine.
- Season generously: Add 1 tsp salt, ½ tsp black pepper, and 1 tsp ground allspice (if using dried pimento).
Cook & Finish
- Start the cook cycle: Close lid and press “Cook” or “White Rice” mode. No need to stir again.
- Let stand: Once done, let sit for 5–10 minutes with lid on. This allows residual steam to finish softening beans.
- Garnish and serve: Fluff with a fork, top with reserved scallion greens, and squeeze fresh lime over if desired.
Pro tip: For extra creaminess, mash a few cooked beans against the side of the pot before fluffing.
Common Mistakes to Avoid
Even experienced cooks stumble sometimes. Here’s how to sidestep the most frequent pitfalls:
- Overloading the pot: Don’t fill beyond halfway. Rice expands as it cooks—plus beans add bulk.
- Skipping rinsing: Unrinsed rice leads to sticky clumps, especially with coconut milk’s high fat content.
- Not draining beans: Extra bean brine adds unnecessary salt and starch. Always rinse canned beans.
- Using low-quality coconut milk: Choose canned full-fat versions—not light or watery cartons.
- Neglecting heat adjustment: Some rice cookers lack “keep warm” settings. Switch off immediately after cycle ends to avoid drying out.
Creative Variations & Dietary Swaps
Once you master the basics, feel free to experiment! Here are a few crowd-pleasing ideas:
Vegan & Gluten-Free Friendly
Traditional recipes often include pork fat or chicken stock—but you can easily veganize it. Replace animal products with coconut milk, vegetable broth, and smoked paprika for umami depth. Serve with roasted plantains or fried dumplings for authenticity.
Spicy Version
Want heat? Add a finely chopped Scotch bonnet pepper during sautéing, but remove it before adding liquid to control intensity. Or mix ¼ tsp cayenne into the final mix.
Colorful Upgrade
Stir in diced carrots or corn kernels during the last 5 minutes of cooking for added sweetness and nutrition. They’ll stay bright and crunchy!
Protein Boost
For meat lovers, brown ½ lb diced bacon or ham hock in the oil before adding aromatics. Remove solids before mixing in rice and beans.
Storage & Meal Prep Tips
Rice and peas actually tastes better the next day as flavors meld! Store leftovers in an airtight container in the fridge for up to 4 days. Reheat gently on the stovetop with a splash of water or coconut milk to restore moisture. Freeze portions in ice cube trays for up to 3 months—perfect for quick lunches.
Note: Texture may change upon reheating—fluff with a fork and add a spoonful of warm liquid if needed.
Why This Method Beats the Stovetop
While stovetop cooking offers control, it demands attention. Stirring constantly prevents burning, and timing beans vs. rice is tricky. A rice cooker eliminates guesswork. Just measure, mix, press “cook,” and relax. Plus, cleanup is minimal—one pot means one scrub.
Modern smart models even let you delay-start meals or adjust cook times via apps. Imagine coming home to perfectly cooked, aromatic rice and peas waiting for you!
Final Thoughts: Embrace the Simplicity
Making rice and peas in a rice cooker isn’t just convenient—it’s a celebration of flavor made accessible. No special equipment, no long prep, just real food that brings people together. Whether you’re feeding a crowd or whipping up dinner solo, this dish proves that great meals don’t require complexity.
Next time you reach for instant noodles or frozen pizza, remember: your rice cooker can do so much more. From jerk-seasoned chicken to oxtail stew, the possibilities are endless. And with rice and peas, you’ve got a taste of the tropics on your plate—without leaving the kitchen.
Frequently Asked Questions
Do I need to soak dried beans before making rice and peas in a rice cooker?
Not necessarily! Soaking speeds up cooking and improves digestibility, but unsoaked beans can still cook through in a rice cooker in about 45 minutes. For fastest results, use canned beans instead—just rinse them well before adding to remove excess sodium and starch.
Can I use any type of rice for rice and peas?
Stick with long-grain white rice like basmati or jasmine. These varieties absorb liquid evenly and stay separate after cooking. Avoid short-grain (like sushi rice) or brown rice, as they tend to become too soft or gummy when combined with beans and coconut milk.
What if my rice cooker doesn’t have a “keep warm” function?
That’s okay! Once the cooking cycle ends, turn off the unit immediately and let the rice rest covered for 5–10 minutes. This allows residual steam to finish cooking the beans and prevents drying. Don’t leave it plugged in—rice can overcook and lose texture if kept warm too long.
How do I make rice and peas spicier?
Add a small amount of heat during sautéing: finely chop ½ Scotch bonnet pepper and remove seeds if milder flavor is preferred. Alternatively, mix ¼ tsp cayenne or hot sauce into the liquid before adding rice. Always taste as you go and adjust gradually.
Can I freeze leftover rice and peas?
Yes! Portion into freezer-safe containers or ice cube trays, label with date, and freeze up to 3 months. Thaw overnight in the fridge and reheat gently with a splash of water or coconut milk. Avoid microwaving directly from frozen—it can create uneven textures.
Is it safe to cook beans in a rice cooker without pre-soaking?
Absolutely. Modern rice cookers generate enough heat to break down bean cell walls effectively, even without soaking. Just ensure you rinse dried beans well and cook on the standard “white rice” setting for at least 40–45 minutes. Monitor after the first cycle if your model lacks auto-shutoff.