
Yes, you can absolutely make perfect rice in a pressure cooker—it’s faster, more efficient, and delivers consistent results every time. With the right water-to-rice ratio and cooking time, your fluffy, golden-brown grains are just one button press away. Whether you’re using white rice, brown rice, or even wild rice, this method saves energy and time without sacrificing flavor or texture.
Key Takeaways
- Pressure cookers cook rice quickly—most types of rice cook in 10–30 minutes, much faster than boiling on the stove.
- Perfect results depend on ratios—use 1:1 for white rice and 1:1.25 to 1:1.5 for brown rice to avoid mushy or dry outcomes.
- Natural release is best—allowing steam to release slowly helps keep rice tender and prevents overcooking.
- No rinsing required—unlike stovetop methods, pressure cookers don’t need rinsed rice, saving time and nutrients.
- Versatile for all rice types—from jasmine and basmati to black and red rice, pressure cookers adapt easily.
- Saves energy and time—one-pot cooking means less cleanup and less electricity or gas used.
- Use a trivet or steamer basket—for extra moisture control or cooking multiple foods at once.
📑 Table of Contents
- Can You Make Rice in a Pressure Cooker? Absolutely!
- Why Use a Pressure Cooker for Rice?
- Choosing the Right Type of Rice for Pressure Cooking
- Essential Tools and Ingredients
- Step-by-Step Guide: How to Cook Rice in a Pressure Cooker
- Troubleshooting Common Rice Problems
- Advanced Tips for Perfect Pressure-Cooker Rice
- Can You Cook Other Grains in a Pressure Cooker?
- Energy Efficiency and Cleanup Benefits
- Conclusion: Why Pressure Cooker Rice Is a Game-Changer
Can You Make Rice in a Pressure Cooker? Absolutely!
Imagine this: You come home after a long day, tired but hungry. Instead of standing over a pot of boiling water for 45 minutes, you simply toss some rice into your pressure cooker, add water, hit a button, and walk away. Within 20 minutes, you’re greeted with perfectly fluffy, fragrant rice that tastes like it came from a professional kitchen. Sound too good to be true? It’s not. You really can make great rice in a pressure cooker, and it’s easier than you think.
The pressure cooker has become a kitchen hero for busy families, health-conscious cooks, and anyone who loves quick, hands-off meals. But when it comes to rice, there’s been a long-standing myth that pressure cookers can’t deliver the same quality as a rice cooker or a well-stirred pot on the stove. That couldn’t be further from the truth. With the right technique, your pressure cooker can rival—and sometimes even surpass—traditional rice-making methods.
In this complete guide, we’ll walk you through everything you need to know about making rice in a pressure cooker: from choosing the right type of rice to mastering the perfect water ratio, timing, and release method. Whether you’re a beginner or an experienced cook looking to expand your repertoire, this article will turn you into a pressure-cooker rice pro in no time.
Why Use a Pressure Cooker for Rice?
If you’ve ever wondered whether a pressure cooker is worth the investment, let rice be your litmus test. This humble grain is one of the most versatile and essential components of global cuisine—yet it’s notoriously tricky to get right. Too little water? Dry and chalky. Too much? Mushy and gluey. And if you’ve ever watched rice boil over on the stove, you know how frustrating it can be to clean up.
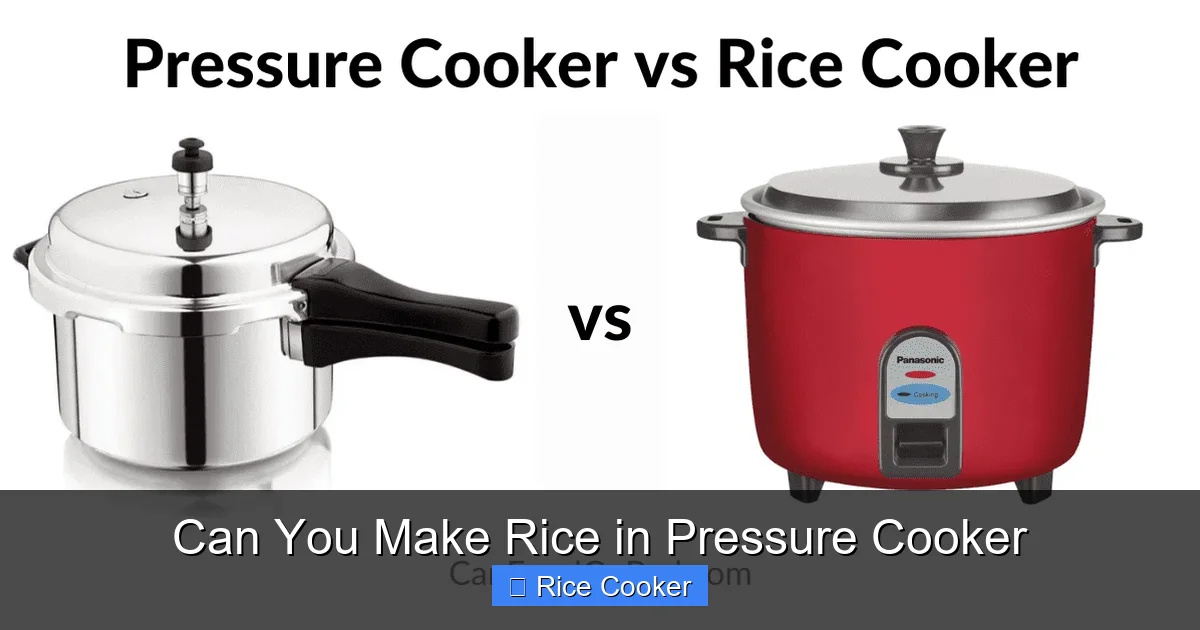
Visual guide about Can You Make Rice in Pressure Cooker
Image source: canfoodgobad.com
Enter the pressure cooker: a sealed environment that traps steam and builds pressure, allowing food to cook faster and more evenly. When it comes to rice, this means:
- Faster cooking times—White rice takes only 6–8 minutes under pressure; brown rice around 25–30 minutes.
- Even heat distribution—No hot spots or scorching at the bottom of the pot.
- Less water evaporation—The sealed lid keeps moisture locked in, reducing the risk of drying out.
- One-pot convenience—No need to stir, watch, or adjust heat constantly.
Plus, modern electric pressure cookers (like Instant Pots) come with pre-programmed settings specifically for rice. Just add rice and water, select “Rice” mode, and let the machine do the rest. No guesswork, no babysitting—just perfect rice every time.
Choosing the Right Type of Rice for Pressure Cooking
Not all rice is created equal—and not all rice behaves the same way under pressure. Understanding the differences between rice varieties will help you choose the best one for your dish and ensure success in the pressure cooker.
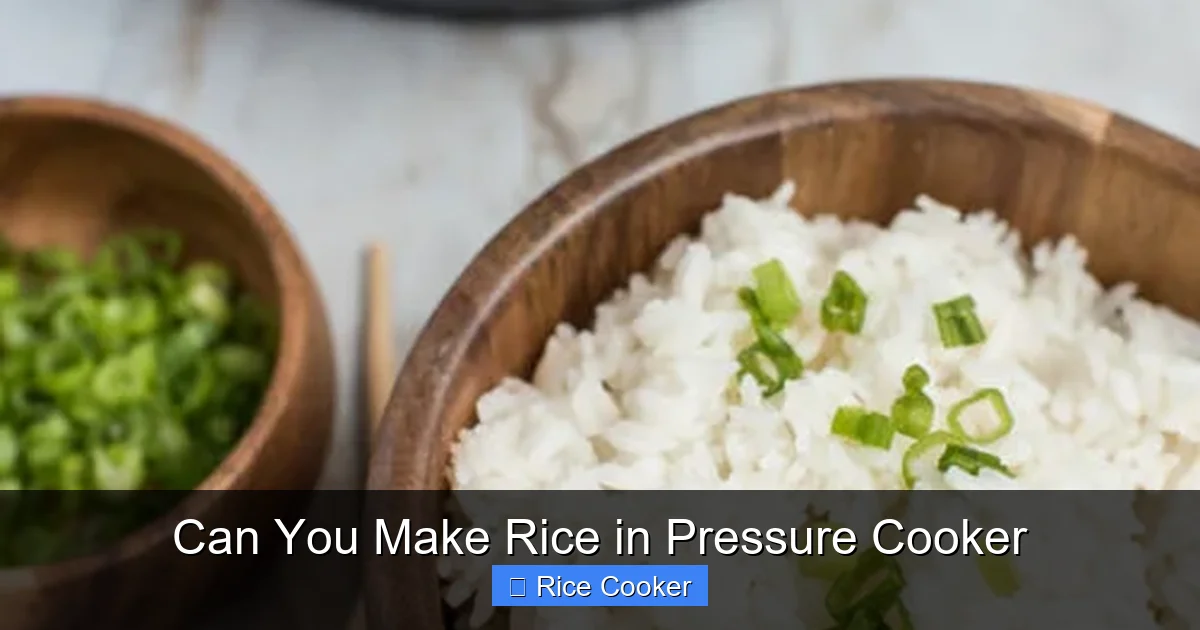
Visual guide about Can You Make Rice in Pressure Cooker
Image source: pressurecookingtoday.com
White Rice (Long-Grain, Medium-Grain)
White rice is the most common type and includes varieties like Jasmine, Basmati, and American long-grain. These have a soft, fluffy texture when cooked and absorb water quickly. They work exceptionally well in pressure cookers because they cook evenly and don’t clump together.
Best for: Everyday meals, fried rice, biryanis, and side dishes.
Brown Rice (Short-Grain, Long-Grain)
Brown rice retains its bran layer, giving it a nuttier flavor and chewier texture. Because it’s denser and takes longer to soften, it needs more water and longer cooking time. While it’s slightly harder to cook perfectly than white rice, modern pressure cookers handle it beautifully.
Best for: Health-conscious meals, grain bowls, and salads.
Wild Rice and Black Rice
These are technically not true rice but seeds or grains from aquatic grasses. Wild rice is chewy and earthy, while black rice is rich in antioxidants and turns purple when cooked. Both require careful water ratios and longer cooking times, but they shine in a pressure cooker.
Best for: Gourmet dishes, detox bowls, and colorful presentations.
Instant Rice and Parboiled Rice
These are pre-treated to reduce cooking time. While they can be used in a pressure cooker, they often don’t benefit as much from the high pressure and may become overly soft. Stick to whole-grain or long-grain varieties for best results.
Essential Tools and Ingredients
Before you start, make sure you have the right setup. You don’t need fancy equipment—just a few basics to get started.
What You’ll Need
- A working pressure cooker—electric (like Instant Pot) or stovetop with a locking lid.
- Clean, uncooked rice—rinsed or unrinsed, depending on preference.
- Measuring cups—a standard 180ml cup works best for measuring rice.
- Water—filtered or tap, depending on your taste preference.
- A trivet or steamer basket (optional)—helps prevent rice from sticking and allows extra moisture.
Do You Need to Rinse Rice?
This is a hotly debated topic. Traditionally, white rice is rinsed to remove excess starch, which prevents clumping. However, in a pressure cooker, the sealed environment naturally reduces starch runoff, so rinsing isn’t necessary. In fact, skipping the rinse saves time and preserves more nutrients.
For brown rice and wild rice, rinsing helps remove surface dust and debris. A quick swirl in a mesh strainer under cold water is usually enough.
Step-by-Step Guide: How to Cook Rice in a Pressure Cooker
Now for the main event: actually cooking rice in your pressure cooker. Follow these steps closely, and you’ll never go back to the stove-top method.
Step 1: Measure Your Rice and Water
Start by measuring your rice. Use a standard cup (not a coffee mug). For most white rice varieties, use a 1:1 ratio—1 cup rice to 1 cup water. For brown rice, use 1 cup rice to 1.25 to 1.5 cups water. Wild rice typically needs 1 cup rice to 2.5 cups water.
Pro Tip: Add 1 tablespoon of oil or butter for extra flavor and a softer texture.
Step 2: Add Rice and Water to the Cooker
Pour the measured rice and water into the pressure cooker inner pot. Stir gently to separate any clumps. If you’re using a trivet or steamer basket, place it inside first to elevate the rice slightly above the bottom of the pot.
Step 3: Close the Lid and Set the Valve
Secure the lid tightly and turn the sealing valve to “Sealing” position. On an electric model, select “Manual” or “Pressure Cook” mode. For stovetop models, bring to high heat until steam starts to release from the valve.
Step 4: Adjust Cooking Time
- White rice (long-grain): 6–7 minutes at high pressure.
- Brown rice: 25–30 minutes at high pressure.
- Wild rice: 30–35 minutes at high pressure.
- Black rice: 28–32 minutes at high pressure.
Note: Cooking times can vary slightly based on altitude and brand of rice. Always check manufacturer guidelines.
Step 5: Natural Release
Once cooking is complete, turn off the heat and allow the pressure to release naturally for 10–15 minutes. Then, carefully turn the valve to “Venting” to release any remaining pressure. Never force the lid open before pressure is fully released.
Step 6: Fluff and Serve
Open the lid, fluff the rice gently with a fork, and serve immediately. Avoid pressing down—this compacts the rice and ruins the texture.
Troubleshooting Common Rice Problems
Even with the best technique, mistakes happen. Here’s how to fix the most common issues when cooking rice in a pressure cooker.
Rice Is Too Dry or Hard
Cause: Not enough water or insufficient cooking time.
Fix: Increase water by ¼ cup next time and extend cooking time by 2–3 minutes. Brown rice especially needs patience.
Rice Is Sticky or Gluey
Cause: Too much water or overcooked rice. Cause: Insufficient pressure or early release. Cause:
Fix: Always use a trivet or steamer basket. Add 1–2 tablespoons of oil to prevent sticking. Want to take your rice game to the next level? Try these expert tricks. A stainless steel trivet elevates the rice above the bottom of the pot, preventing burning and ensuring even cooking. It also allows steam to circulate freely. Cook rice in chicken broth instead of water for extra flavor. Or add a bay leaf, a pinch of saffron, or a teaspoon of coconut milk for aromatic depth. Make a large batch and freeze portions in airtight containers. Thaw overnight in the fridge and reheat in the microwave or on the stove for quick meals. Absolutely! The pressure cooker isn’t just for rice. You can also cook quinoa, barley, millet, farro, and even oats. Each requires different water ratios and cooking times, but the process is similar. For example, quinoa needs 1:2 ratio and 8–10 minutes under pressure. This versatility makes the pressure cooker a powerhouse appliance for whole-food cooking. Beyond convenience, pressure cookers are eco-friendly. They use less energy than ovens or stovetops and reduce cooking time significantly. Plus, since everything cooks in one pot, cleanup is minimal. Just wash the inner pot and trivet—no scrubbing burnt-on rice from a dozen pots and pans. Making rice in a pressure cooker isn’t just possible—it’s revolutionary. With the right technique, you can achieve restaurant-quality rice at home, faster and cleaner than ever before. Whether you’re feeding a family, meal-prepping for the week, or exploring global cuisines, this method gives you reliable, delicious results every single time. Forget the old myths. The pressure cooker is more than a tool for stews and soups—it’s a rice-making machine. Once you master this simple process, you’ll wonder how you ever lived without it. So go ahead: grab your rice, your cooker, and a handful of water. In less than half an hour, you’ll have fluffy, golden, perfectly cooked rice—ready to pair with anything your heart desires. Both work well, but pressure cookers are faster and more energy-efficient. Rice cookers offer precise temperature control, while pressure cookers save time and require less attention. For most home cooks, a pressure cooker is the better choice for daily rice. Yes! White rice, brown rice, wild rice, and even black rice can all be cooked in a pressure cooker. Just adjust the water ratio and cooking time based on the variety. For white rice, use 1 cup water per cup of rice. For brown rice, use 1.25 to 1.5 cups. Wild rice needs about 2.5 cups per cup. It’s optional. Rinsing removes excess starch, but in a pressure cooker, the sealed environment naturally reduces clumping. Skipping the rinse saves time and nutrients. Absolutely. Most modern Instant Pots have a built-in “Rice” setting that automatically adjusts time and pressure. Just add rice and water, select the setting, and let it do the work. Natural release lets the pressure drop slowly, resulting in fluffier rice. Quick release uses steam to release pressure fast, which is quicker but can lead to uneven texture. Natural release is recommended for rice.
Fix:
Rice Is Undercooked
Fix: Ensure the cooker reaches full pressure before timing begins. Don’t open the lid during cooking.Rice Burns at the Bottom
Advanced Tips for Perfect Pressure-Cooker Rice
Use a Trivet for Better Texture
Add Flavor Infusions
Double the Batch and Freeze
Try Different Cooking Methods
Can You Cook Other Grains in a Pressure Cooker?
Energy Efficiency and Cleanup Benefits
Conclusion: Why Pressure Cooker Rice Is a Game-Changer
Frequently Asked Questions
Is it better to use a rice cooker or pressure cooker for rice?
Can I use any type of rice in a pressure cooker?
How much water do I need for 1 cup of rice in a pressure cooker?
Should I rinse the rice before pressure cooking?
Can I cook rice in an Instant Pot?
What’s the difference between natural and quick release?