
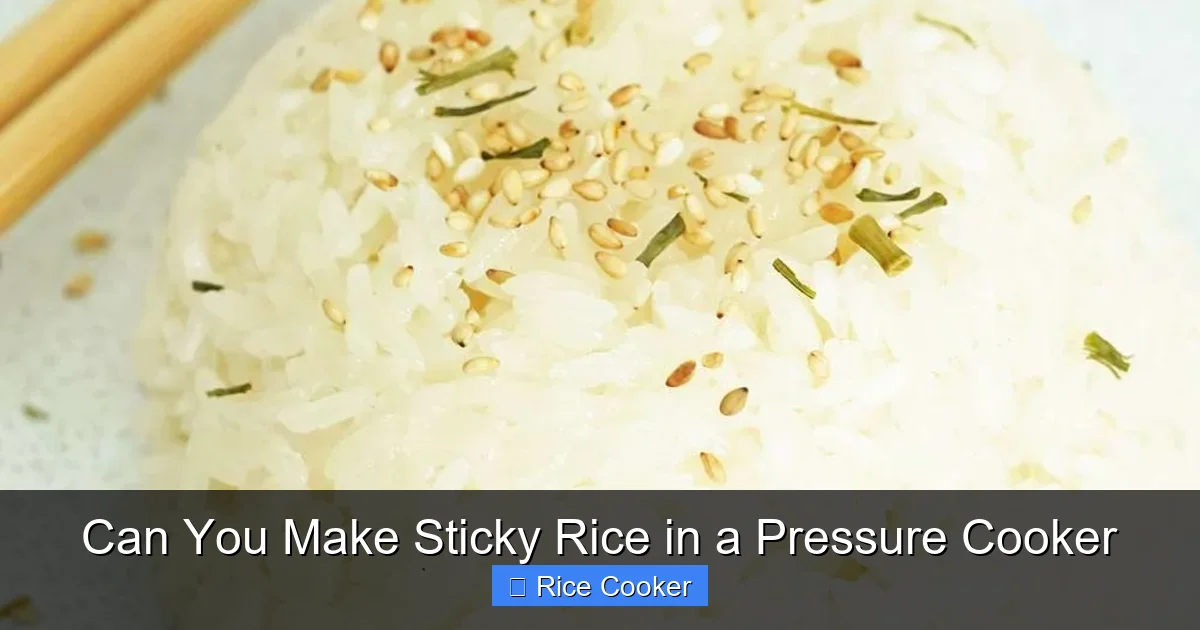
Making sticky rice in a pressure cooker is not only possible—it’s easy and delivers delicious results every time. Whether you’re using an Instant Pot or a traditional stovetop model, the key lies in the right water-to-rice ratio and proper sealing. This method saves time, preserves nutrients, and gives you restaurant-quality texture without extra effort.
Key Takeaways
- Pressure cookers can make perfect sticky rice: With the right technique, both electric (like Instant Pot) and stovetop models work beautifully.
- Water ratio is critical: Use 1:1.25 (rice to water) for ideal chewiness and moisture retention.
- Soaking helps: Soaking jasmine or glutinous rice for 30 minutes improves texture and reduces cooking time.
- Natural release vs. quick release: Natural release prevents grain breakage and ensures even cooking.
- Flavor enhancement tricks: Add coconut milk, pandan leaves, or a splash of fish sauce for authentic taste.
- Cleaning is simple: Rinse rice before cooking and use a non-stick pot to avoid sticking.
📑 Table of Contents
- Can You Make Sticky Rice in a Pressure Cooker?
- The Science Behind Sticky Rice
- What You’ll Need
- Step-by-Step Guide: Making Sticky Rice in a Pressure Cooker
- Troubleshooting Common Issues
- Flavor Variations and Serving Suggestions
- Electric vs. Stovettop Pressure Cookers: Which Is Better?
- Tips for Perfect Every Time
- Conclusion
Can You Make Sticky Rice in a Pressure Cooker?
Have you ever craved that warm, slightly sweet, melt-in-your-mouth bite of Thai sticky rice but didn’t have a bamboo steamer? Or maybe you’re tired of waiting hours for your oven to preheat just to steam a small batch? Well, here’s some great news: you can absolutely make sticky rice in a pressure cooker, and it might just become your new go-to method.
Sticky rice—also known as glutinous rice or khao niao—is a beloved staple across Southeast Asia, used in everything from mango desserts to savory stir-fries. Traditionally cooked by steaming over boiling water, it gets its signature chewy, cohesive texture from the way the starches gelatinize when heated with moisture. But what if you don’t own a steamer basket or live in a place where fresh mangoes aren’t available year-round? Enter the humble pressure cooker.
In recent years, pressure cookers—especially the popular Instant Pot—have revolutionized home cooking. They reduce cooking times dramatically while preserving flavor and nutrients. And yes, they can handle sticky rice too. In fact, many home cooks swear by this method because it’s faster than traditional steaming and produces consistent results every time. So whether you’re making it for breakfast, dinner, or a festive dessert, let’s dive into how to do it right.
The Science Behind Sticky Rice
Before we get into the “how,” let’s talk about the “why.” Why does sticky rice behave so differently from regular long-grain white rice?
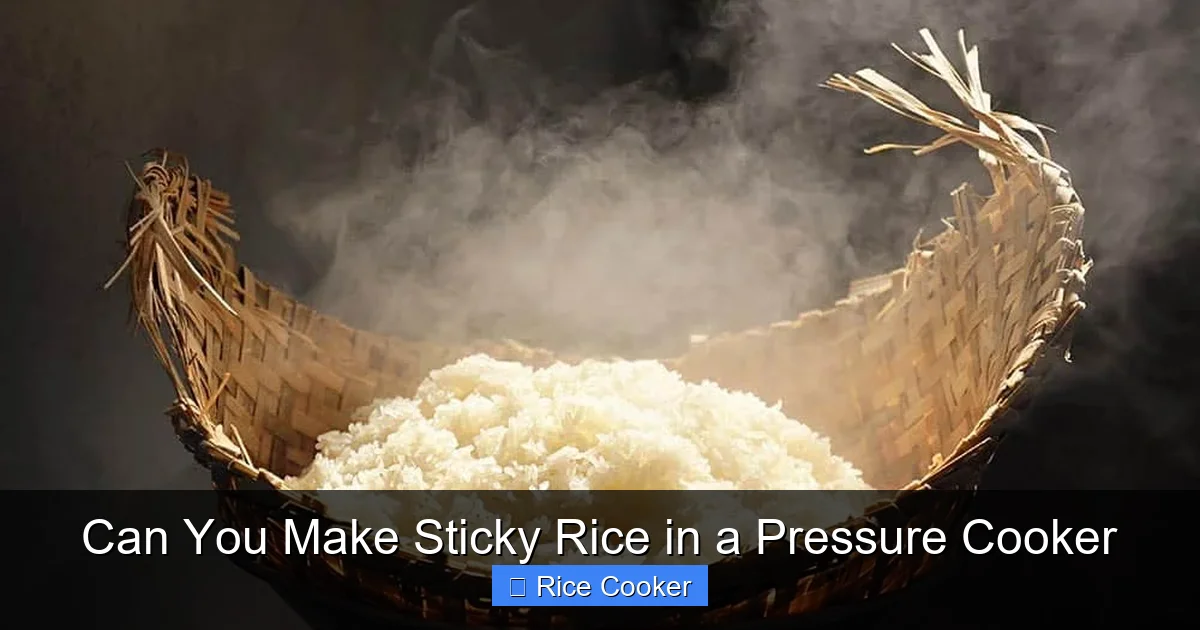
Visual guide about Can You Make Sticky Rice in a Pressure Cooker
Image source: cookingwithlane.com
Understanding Glutinous Rice vs. Regular Rice
Despite the name, glutinous rice isn’t actually gluten-free—it contains no gluten at all. The term “glutenous” refers to its sticky texture when cooked, thanks to high levels of amylopectin starch. Regular rice has more amylose, which makes it fluffy and separate. When glutinous rice absorbs water and heat, those amylopectin molecules swell and link together, creating that characteristic clingy bite.
This is why soaking is so important: it allows the grains to absorb water gradually, reducing internal stress during cooking and preventing cracking or uneven texture. Plus, soaked rice cooks more evenly under pressure.
Why Pressure Cooking Works
Pressure cookers trap steam inside, increasing internal temperature beyond boiling point (up to 250°F or 121°C). This intense heat quickly penetrates the rice grains, accelerating starch gelatinization. The sealed environment also means moisture stays locked in—no evaporation loss like with open-pot boiling.
For sticky rice, this is ideal. You want maximum moisture absorption without overcooking or turning mushy. That’s why timing and pressure settings matter so much.
What You’ll Need
Don’t worry—you don’t need special equipment. If you already have a pressure cooker (electric or stovetop), you’re good to go. Here’s what to gather:
Visual guide about Can You Make Sticky Rice in a Pressure Cooker
Image source: cookingwithlane.com
- Glutinous rice (jasmine-style): Available at Asian grocery stores or online. Avoid brown glutinous rice unless specified for your recipe.
- Fresh water: Filtered is best, but tap works fine.
- Measuring cup: Standard 1-cup measure (not metric).
- Fine mesh strainer: For rinsing.
- Pressure cooker: Electric (Instant Pot, Ninja Foodi) or stovetop (Fagor, Presto).
- Optional flavorings: Coconut milk, pandan extract, salt, or palm sugar.
Pro tip: Buy rice in smaller bags if you don’t cook often—glutinous rice can clump if stored too long.
Step-by-Step Guide: Making Sticky Rice in a Pressure Cooker
Ready to try it yourself? Follow these steps for foolproof results:
Step 1: Rinse and Soak the Rice
Start by placing 1 cup of raw glutinous rice in a fine mesh strainer. Rinse under cold running water for 30–60 seconds until the water runs clear. This removes excess starch and prevents cloudiness.
Transfer the rinsed rice to a bowl and cover with room-temperature water. Let it soak for at least 30 minutes—ideally 1–2 hours. Longer soaking improves texture and shortens active cooking time. Drain thoroughly before proceeding.
Step 2: Prepare Your Pressure Cooker
Add 1.25 cups of fresh water to your pressure cooker inner pot. If using an Instant Pot, ensure the “Steam Rack” or trivet is placed inside (don’t submerge rice directly in liquid unless instructed otherwise). For stovetop models, add water to the manufacturer-recommended minimum line.
Place the drained rice into a heat-safe container that fits snugly inside the pot (a stainless steel bowl or silicone steamer basket works well). Cover it with a lid or foil to prevent direct contact with steam.
Step 3: Set the Pressure and Timer
Seal the lid tightly and set your cooker to high pressure for 8–10 minutes. Timing may vary slightly depending on brand and altitude, so consult your manual. Once the timer ends, allow a 10-minute natural release, then perform a quick release to vent any remaining pressure.
Never force-open the lid before depressurizing—this causes splattering and ruins texture.
Step 4: Fluff and Serve
Carefully remove the rice container using oven mitts or tongs. Gently fluff the rice with a fork—but don’t mash it! It should be soft, moist, and slightly sticky between fingers.
If desired, mix in a teaspoon of coconut milk or a pinch of salt for added richness. Serve immediately while warm.
Troubleshooting Common Issues
Even with perfect technique, things can go wrong. Here’s how to fix them:
Rice Too Dry or Crumbly
This usually means too little water or insufficient soaking. Next time, increase water to 1.5 cups and soak for 2 hours. Also check that your pressure seal was complete—air leaks cause uneven heating.
Rice Stuck to the Pot
Always rinse before cooking and avoid direct contact with hot surfaces. Using a non-stick insert or silicone mold helps prevent sticking. Never skip the soaking step!
Rice Too Wet or Mushy
Overcooking or excessive water leads to sogginess. Reduce water to 1 cup and shorten cooking time to 6–7 minutes. Natural release is gentler than quick release for delicate textures.
Uneven Texture (Some Grains Hard)
This happens when rice wasn’t evenly distributed or soaked properly. Always drain completely after soaking, and spread rice loosely in a single layer in the steamer basket.
Flavor Variations and Serving Suggestions
Plain sticky rice is delicious, but it’s even better with a twist. Try these ideas:
- Coconut Sticky Rice: Stir in 2 tablespoons of coconut milk and a pinch of salt before cooking. Top with toasted sesame seeds.
- Pandan Infusion: Add 2–3 drops of pandan extract or steep pandan leaves in the water for 10 minutes before adding rice.
- Savory Option: Mix in diced ham, shrimp, or roasted peanuts. Serve alongside spicy curries.
- Dessert Style: Steam with jackfruit or mango slices folded in. Drizzle with condensed milk.
Pair it with grilled meats, spring rolls, or even as a base for poke bowls. Leftovers reheat beautifully in the microwave with a splash of water.
Electric vs. Stovettop Pressure Cookers: Which Is Better?
Both types can produce excellent sticky rice, but there are differences:
| Type | Pros | Cons |
|---|---|---|
| Electric (Instant Pot) | Automated timers, precise controls, multiple functions | Smaller capacity, higher cost |
| Stovetop | More affordable, larger volume options, familiar operation | Requires monitoring, longer setup |
If you already own one, stick with it. Otherwise, an Instant Pot offers convenience for frequent cooks, while a stovetop model suits occasional use.
Tips for Perfect Every Time
Want to master this dish? Follow these pro tips:
- Use aged rice: Look for packages labeled “aged” or “prepared”—they’re less likely to clump.
- Don’t overcrowd: Cook in batches if needed. Overfilling blocks steam circulation.
- Let it rest: After natural release, let rice sit covered for 5 minutes before fluffing.
- Store wisely: Refrigerate in airtight containers for up to 3 days. Reheat with a damp paper towel to retain moisture.
Conclusion
Making sticky rice in a pressure cooker isn’t just possible—it’s practical, efficient, and yields incredible results. By following the right steps—soaking, proper water ratios, and controlled pressure—you can enjoy restaurant-quality sticky rice at home in under 30 minutes. Whether you’re serving it with grilled fish, mochi ice cream, or a tropical fruit salad, this versatile grain adds warmth and tradition to any meal.
So next time you’re craving something comforting and authentic, reach for your pressure cooker instead of the stove. You might just discover your new favorite way to cook rice.
Frequently Asked Questions
Can I use regular white rice instead of glutinous rice in a pressure cooker?
No, regular white rice won’t give you the same sticky texture. Only glutinous (sticky) rice contains the right starch structure to form that cohesive, chewy bite.
How long should I soak the rice before pressure cooking?
Soak for at least 30 minutes, ideally 1–2 hours. This ensures even hydration and prevents hard spots during cooking.
Do I need to add oil to the rice when pressure cooking?
Not necessarily. A little neutral oil (like vegetable or coconut) can help prevent sticking, but it’s optional. Rinsing and proper soaking are more important.
Can I freeze leftover sticky rice?
Yes! Cool completely, portion into freezer-safe bags, and store for up to 1 month. Thaw overnight in the fridge and reheat gently with a splash of water.
Is natural release always better than quick release for sticky rice?
Generally yes—natural release allows gentle heat distribution and prevents sudden grain collapse. Quick release is fine if you’re short on time, but natural is preferred for best texture.
What if my rice turns out too wet?
Drain excess water carefully after cooking. Spread it on a baking sheet lined with parchment and broil for 2–3 minutes to dry out any moisture.