
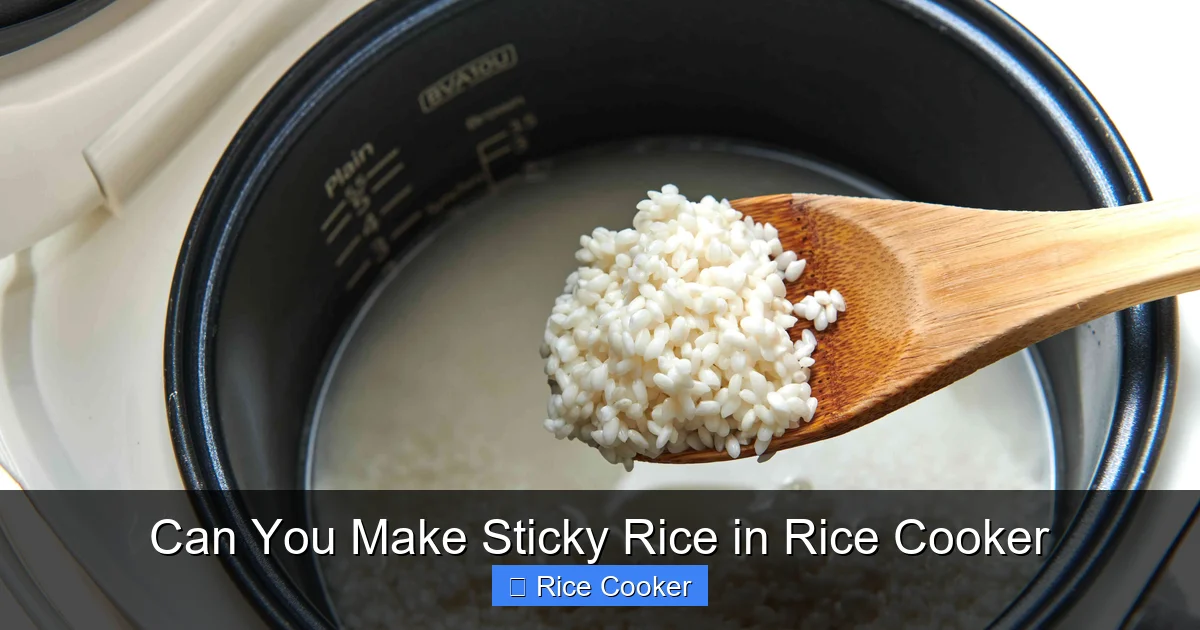
Can you make sticky rice in rice cooker? Absolutely! With the right ingredients, ratios, and technique, your rice cooker can produce soft, chewy, and delicious sticky rice perfect for sushi or desserts. This guide walks you through step-by-step instructions, helpful tips, and common mistakes to avoid.
Key Takeaways
- Sticky rice (glutinous rice) works well in most modern rice cookers. It’s important to use short-grain glutinous rice, not regular white rice.
- Proper rinsing and soaking are essential. Rinse until water runs clear and soak for at least 30 minutes—ideally 1–4 hours for best results.
- Use the correct water-to-rice ratio. A general rule is 1:1.1 to 1:1.2 (rice to water), but adjust based on your cooker model.
- Don’t open the lid during cooking. Let the rice cook undisturbed for optimal texture and steam distribution.
- Let it rest after cooking. Resting for 5–10 minutes helps the moisture distribute evenly, giving you fluffier results.
- Fluff gently with a fork. Overmixing can break the grains and make the rice gummy.
- Experiment with flavor additions. Add coconut milk, sugar, or salt for sweet or savory variations.
📑 Table of Contents
- Can You Make Sticky Rice in Rice Cooker? The Ultimate Guide
- What Is Sticky Rice and Why Use a Rice Cooker?
- Choosing the Right Rice for Your Dish
- Step-by-Step Instructions: Making Sticky Rice in a Rice Cooker
- Perfecting the Water Ratio: Trial and Error Made Easy
- Troubleshooting Common Issues
- Creative Ways to Enjoy Your Homemade Sticky Rice
- Tips for Different Rice Cooker Models
- Storing and Reheating Leftover Sticky Rice
- Conclusion: Mastering Sticky Rice Has Never Been Easier
Can You Make Sticky Rice in Rice Cooker? The Ultimate Guide
Have you ever wondered if your trusty rice cooker can do more than just cook plain white rice? The answer is a resounding yes—especially when it comes to making sticky rice. Whether you’re craving Japanese-style mochi, Thai mango sticky rice, or even homemade sushi, learning how to make sticky rice in a rice cooker opens up a world of culinary possibilities right in your kitchen.
Sticky rice, also known as glutinous rice, might sound tricky, but with the right technique, it becomes surprisingly simple. Unlike regular long-grain rice, sticky rice has no actual gluten—it’s the high amylopectin content that gives it its signature chewiness and stickiness. This unique texture makes it ideal for dishes where you want the rice to hold together without falling apart. And guess what? Modern rice cookers are designed to handle this type of grain beautifully, especially models with fuzzy logic or induction heating.
In this comprehensive guide, we’ll walk you through everything you need to know about making perfect sticky rice using your rice cooker. From choosing the right rice to mastering the water ratio and post-cooking techniques, you’ll be whipping up restaurant-quality sticky rice at home in no time. So grab your measuring cup and let’s get started!
What Is Sticky Rice and Why Use a Rice Cooker?
Understanding Glutinous Rice
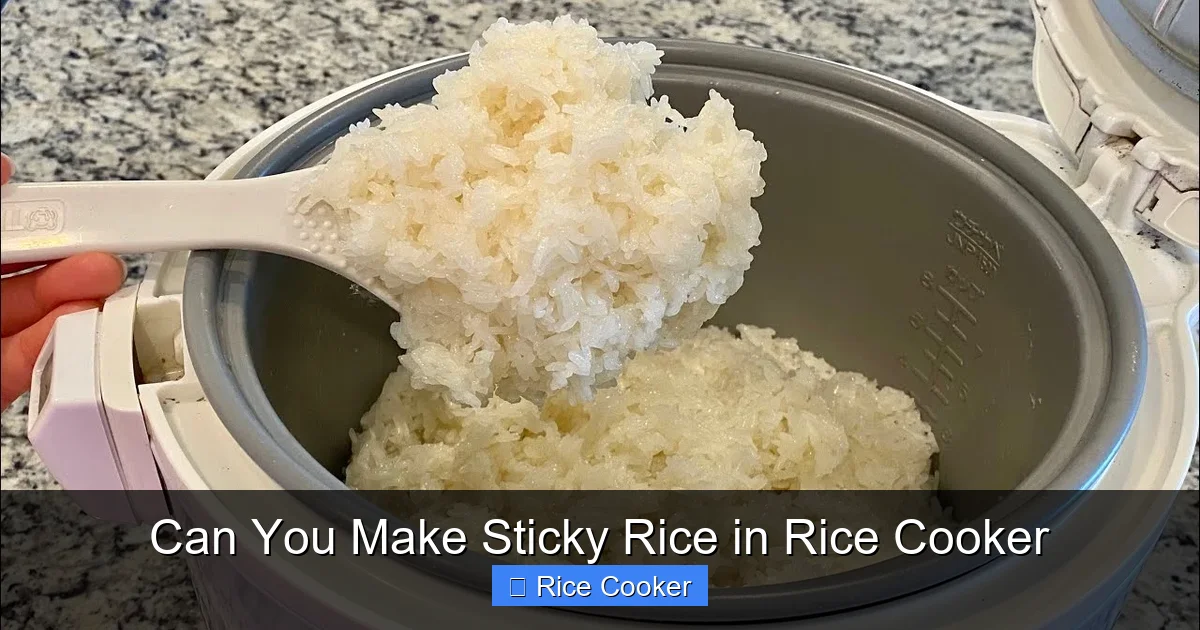
Before diving into the cooking process, it’s important to understand what sets sticky rice apart from other types. Glutinous rice—often called “waxy rice” or “mochi rice”—is a short-grain variety that originates from Southeast Asia and parts of China and Japan. Despite its name, it doesn’t contain gluten like wheat-based flours do. Instead, its starch composition is almost entirely amylopectin, which causes the grains to swell and adhere to one another when cooked.
Visual guide about Can You Make Sticky Rice in Rice Cooker
Image source: iscleecam.edu.vn
This property makes it perfect for traditional dishes such as:
- Thai mango sticky rice – sweetened with coconut milk and served over warm, chewy rice
- Japanese mochi – pounded glutinous rice cakes used in wagashi (traditional sweets)
- Zongzi – Chinese glutinous rice dumplings wrapped in bamboo leaves
- Sushi rolls – while sushi rice is different, understanding sticky rice helps with texture control
Why Choose a Rice Cooker?
Rice cookers offer several advantages over stovetop methods when preparing sticky rice:
- Consistency: They maintain a steady temperature throughout the cooking cycle, reducing the risk of burning or uneven texture.
- Ease of use: Just add rice and water, press a button, and let the machine do the work.
- Precision: Many advanced models automatically switch from heating to warming mode, preventing overcooking.
- Hands-off convenience: No constant stirring or monitoring required—perfect for busy days.
That said, not all rice cookers are created equal. Some older models may struggle with the higher water absorption rate of glutinous rice, leading to mushy results. But with a few adjustments, even basic rice cookers can deliver excellent sticky rice.
Choosing the Right Rice for Your Dish
Types of Glutinous Rice
Not all sticky rice is the same. Here are the most common varieties you’ll find at grocery stores:
Visual guide about Can You Make Sticky Rice in Rice Cooker
Image source: thespruceeats.com
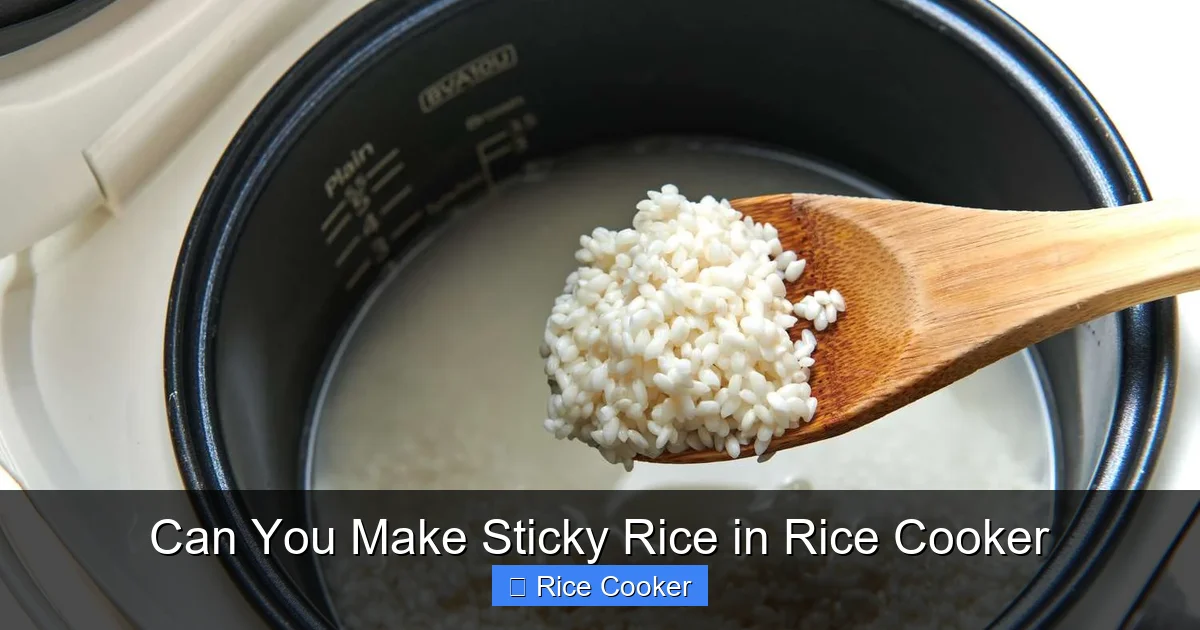
- White Glutinous Rice: The most common type, available year-round. Ideal for both sweet and savory dishes.
- Brown Glutinous Rice: Less processed, with a nuttier flavor and extra fiber. Takes longer to cook and requires more soaking.
- Sweet Potato Glutinous Rice: Infused with natural sweetness and vibrant color—great for desserts.
- Powdered Mochi Flour: Not whole grain; instead, it’s ground from cooked glutinous rice. Used for making mochi from scratch.
Where to Buy Quality Sticky Rice
Look for brands labeled specifically as “glutinous rice” or “sticky rice.” Avoid calling it “sweet rice” unless specified—some regions use different terminology. Asian grocery stores typically carry high-quality options, but many mainstream supermarkets now stock it near the jasmine or basmati rice section.
Tip: Check the packaging for freshness. Fresh rice should have a clean, slightly sweet aroma. If it smells musty or sour, discard it.
Step-by-Step Instructions: Making Sticky Rice in a Rice Cooker
Ingredients & Tools You’ll Need
- 1 cup glutinous rice (white or brown)
- Water (filtered or cold tap water)
- Chef’s knife or chopsticks
- Fine-mesh strainer
- Measuring cups
- Non-stick rice cooker pot (if your model uses one)
Preparation Phase
The secret to great sticky rice lies in proper preparation. Follow these steps before turning on your rice cooker:
- Rinse Thoroughly: Place the rice in a fine-mesh strainer and rinse under cold running water for 2–3 minutes. Swirl gently with your fingers. Continue rinsing until the water runs clear. This removes excess starch and prevents clumping.
- Soak Properly: Transfer rinsed rice to a bowl and cover completely with cold water. Soak for at least 30 minutes, but ideally 1–4 hours. For brown glutinous rice, soak overnight if possible.
- Drain Excess Water: After soaking, drain well using the strainer. Pat dry with a clean kitchen towel to remove surface moisture—this helps prevent sogginess.
Cooking Process
Now it’s time to load up your rice cooker:
- Add drained rice to the inner pot.
- Measure water carefully. Start with a ratio of 1 cup rice to 1.1 cups water. Adjust later if needed.
- Close the lid securely and select the “Cook” or “Rice” setting. Avoid using “Quick Cook” or “Pressure Cook” modes—they can overheat the rice.
- Once the cycle completes, let the rice sit undisturbed for 5–10 minutes. This allows residual heat to finish steaming the grains evenly.
Finishing Touches
After resting, gently fluff the rice with a wide spatula or fork. Don’t mash it—just lift and turn to separate any clumps. At this point, you can customize your sticky rice:
- For Sweet Dishes: Stir in 2 tablespoons of coconut milk, 1 tablespoon sugar, and a pinch of salt while still hot.
- For Savory Dishes: Mix in sesame oil, scallions, or soy sauce for flavor.
Perfecting the Water Ratio: Trial and Error Made Easy
General Guidelines
The water-to-rice ratio is critical because glutinous rice absorbs more liquid than regular rice. Here’s a quick reference table:
| Rice Type | Soaking Time | Water Ratio (per 1 cup rice) |
|---|---|---|
| White glutinous | 1–4 hours | 1.1–1.2 cups |
| Brown glutinous | Overnight | 1.3–1.5 cups |
Note: These are starting points. Every rice cooker behaves differently due to variations in heat intensity and insulation.
How to Adjust Ratios
If your rice turns out too wet or dry, here’s how to troubleshoot:
- Mushy/Too Wet: Next time, reduce water by 0.1 cup increments. Also ensure you rinsed thoroughly and didn’t over-soak.
- Hard/Undercooked: Increase water slightly and extend soaking time. Consider adding 5–10 minutes of resting after cooking.
- Gummy Texture: This usually means too much starch wasn’t washed away. Rinse longer next batch.
Pro Tip: Keep a journal of your experiments—note the brand of rice, cooker model, soaking duration, and final outcome. Over time, you’ll develop a personalized formula that works perfectly for your setup.
Troubleshooting Common Issues
My Rice Came Out Too Dry
This often happens when the water evaporates too quickly due to high heat settings or insufficient initial water. Solutions include:
- Increase water ratio by 0.1–0.2 cups
- Avoid opening the lid during cooking—it releases steam
- Ensure your rice cooker isn’t placed near drafts or direct sunlight
It’s Stuck to the Bottom of the Pot
Burned rice indicates scorching, usually caused by:
- Using non-stick pots on high-heat settings (switch to normal “rice” mode)
- Not enough water
- Failing to stir occasionally during early stages (though minimal stirring is okay)
Prevention: Always use a bit more water than usual and never skip soaking.
Grains Are Separating Instead of Sticking
This suggests the rice was over-rinsed or dried out before cooking. To fix it:
- Reduce rinsing time—rinse only until water clears
- Don’t pat dry after soaking; just drain
- Consider adding a teaspoon of neutral oil to the water for cohesion
Creative Ways to Enjoy Your Homemade Sticky Rice
Classic Thai Mango Sticky Rice
Serve warm sticky rice topped with sliced ripe mangoes, drizzled with condensed coconut milk, and sprinkled with toasted sesame seeds. Perfect for summer!
Japanese Style with Coconut Milk
Mix cooked rice with ¼ cup coconut cream, 1 tbsp sugar, and a dash of salt. Let cool slightly before serving with grilled meats or vegetables.
Stuffed Zongzi-Inspired Rolls
Wrap filling (like pork belly or red bean paste) in banana leaves or parchment paper, then place on top of the rice before reheating. Steam for 10 minutes to infuse flavors.
Dessert Bowls
Layer sticky rice with fresh fruit, granola, and yogurt for a healthy breakfast or snack.
Tips for Different Rice Cooker Models
Basic Automatic Rice Cookers
These standard models work fine if you follow the steps above. Key advice: Stick to the recommended water ratio and avoid custom programs.
Induction Heating Models
More precise temperature control means better results. Use the exact same method, but you may find you need slightly less water due to superior heat retention.
Multi-Function Rice Cookers/Slow Cookers
Use the “Rice” or “Steam” function—never the “Soup” or “Yogurt” settings. Pre-soak remains crucial.
Electric Pressure Cookers (Not Recommended)
While technically possible, pressure cooking can make sticky rice overly dense and rubbery. Traditional rice cookers are gentler and more reliable.
Storing and Reheating Leftover Sticky Rice
Refrigeration Tips
Store leftover sticky rice in an airtight container for up to 3 days. Cover with plastic wrap pressed directly onto the surface to prevent drying.
Reviving Cold Rice
To reheat, place rice in a microwave-safe dish, add 1–2 teaspoons of water, cover with damp paper towel, and microwave for 30-second intervals until warm.
Freezing for Later
Portion into freezer bags and freeze for up to 1 month. Thaw overnight in the fridge before reheating.
Conclusion: Mastering Sticky Rice Has Never Been Easier
Making sticky rice in a rice cooker is not only possible—it’s one of the easiest ways to achieve consistently perfect results. With just a few simple steps—rinsing, soaking, measuring water correctly, and letting the machine do its job—you can enjoy authentic-tasting sticky rice anytime. Whether you’re preparing a traditional dessert or experimenting with fusion recipes, your rice cooker becomes a versatile kitchen hero.
Remember, practice makes perfect. Don’t be discouraged if your first attempt isn’t flawless. Pay attention to texture, adjust ratios gradually, and soon you’ll have a go-to method that rivals any restaurant dish. Plus, once you master the basics, you can start playing with flavors, textures, and presentations to create something truly unique.
So go ahead—grab that bag of glutinous rice, fire up your rice cooker, and discover the magic of homemade sticky rice. Your taste buds will thank you!
Frequently Asked Questions
Is glutinous rice the same as sticky rice?
Yes, glutinous rice and sticky rice refer to the same type of short-grain rice. Despite the name, it contains no gluten—its stickiness comes from high amylopectin starch content.
Do I need a special kind of rice cooker for sticky rice?
No, most standard rice cookers work well. However, models with fuzzy logic or induction heating provide more consistent results due to precise temperature control.
How long should I soak glutinous rice before cooking?
Soak for at least 30 minutes, but 1–4 hours is ideal. Brown glutinous rice benefits from overnight soaking for better texture.
Can I substitute regular rice for glutinous rice?
No. Regular white rice lacks the necessary starch structure to become sticky. Using it will result in dry, separate grains.
Why is my sticky rice too hard or undercooked?
This usually happens if the rice wasn’t soaked long enough or if too little water was used. Try increasing soaking time and adding 0.1–0.2 cups of extra water next time.
Can I add flavorings directly into the rice cooker pot?
Yes, but mix them in after cooking. Adding liquids or spices before cooking can disrupt the starch gel formation and affect texture.