Making sushi rice in a rice cooker is not only possible but also incredibly convenient. With the right ingredients and technique, you can achieve that perfect sticky, slightly sweet flavor that’s essential for sushi rolls and onigiri. This method simplifies traditional sushi rice preparation while maintaining authenticity.
Making sushi rice at home might seem intimidating if you’re used to buying it pre-made or relying on restaurant-quality results. But guess what? You can absolutely make delicious, restaurant-style sushi rice right in your own kitchen—using a rice cooker! In fact, many home cooks swear by this method because it’s hands-off, consistent, and surprisingly simple once you know the basics.
Sushi rice, or “shari” in Japanese, is more than just cooked white rice. It has a unique balance of sweetness, acidity, and a firm-yet-sticky texture that holds together beautifully when rolled into nigiri or makizushi (hand-rolled sushi). Traditionally, this rice is prepared by hand—washing, soaking, steaming, then tossing with seasoned rice vinegar. But with today’s advanced rice cookers, achieving that perfect bite is easier than ever.
Whether you’re a beginner dipping your toes into sushi-making or a seasoned home chef looking to streamline your process, learning how to make sushi rice in a rice cooker opens up a world of culinary possibilities. From homemade bento boxes to quick onigiri (rice balls), having freshly made sushi rice ready to go makes all the difference.
Key Takeaways
- Rice cookers are ideal for making sushi rice: Most modern rice cookers have settings specifically for sushi or short-grain rice, ensuring consistent results.
- Proper rinsing is crucial: Rinse the rice thoroughly until the water runs clear to remove excess starch, which affects texture and stickiness.
- Water-to-rice ratio matters: Use about 1:1.1 (rice to water) for medium stickiness—adjust based on your rice cooker model and preference.
- Seasoning comes after cooking: Mix rice with seasoned vinegar only after it’s cooled slightly to avoid overcooking.
- Cooling technique affects texture: Gently fluff and cool the rice with a fan or by spreading it thin to prevent mushiness.
- Storage tips extend freshness: Store sushi rice in an airtight container with a damp cloth to maintain moisture.
- Common mistakes to avoid: Don’t skip rinsing, don’t add seasoning too early, and never press down on the rice when mixing.
Quick Answers to Common Questions
Can any rice cooker make sushi rice?
Most rice cookers can make sushi rice, but those with a “short grain” or “sushi” setting yield better results due to precise temperature control.
Do I need special rice for sushi?
Yes—use Japanese short-grain rice like Koshihikari or Calrose. These varieties have the right starch content for sticky, firm sushi rice.
How long does sushi rice take to cook?
Cooking time varies by model, but most rice cookers finish sushi rice in 20–30 minutes, followed by a 10-minute rest period.
Can I make sushi rice ahead of time?
Absolutely! Store cooled sushi rice in an airtight container with a damp cloth in the fridge for up to 2 days. Reheat gently before serving.
Why do I need to rinse sushi rice?
Rinsing removes excess surface starch, preventing gummy or clumpy texture and helping each grain cook evenly.
📑 Table of Contents
The Science Behind Sushi Rice
Understanding why sushi rice behaves differently from regular steamed rice helps explain how to prepare it properly. The key lies in the type of rice used and how its starches interact during cooking and cooling.
Sushi rice is almost always made from short-grain Japanese rice (like Koshihikari or Calrose), which contains high levels of amylopectin—a branched starch molecule that gives rice its characteristic clingy texture. When cooked, these starches absorb water and gelatinize, creating a moist yet firm consistency. However, too much starch can make rice gummy or clumpy if not rinsed properly before cooking.
That’s where rinsing comes in. Rinsing removes surface starch without affecting the interior structure of each grain. Think of it like cleaning off flour dust before baking—it prevents sticking and promotes even cooking. For sushi rice, aim to rinse until the water runs mostly clear (though a faint milky tint is okay). Over-rinsing isn’t necessary and may leach out some nutrients and flavor.
Once rinsed, the rice is soaked briefly (usually 30 minutes) so the grains swell evenly. This step ensures uniform texture—no more chewy centers or dry edges!
Choosing the Right Rice Cooker
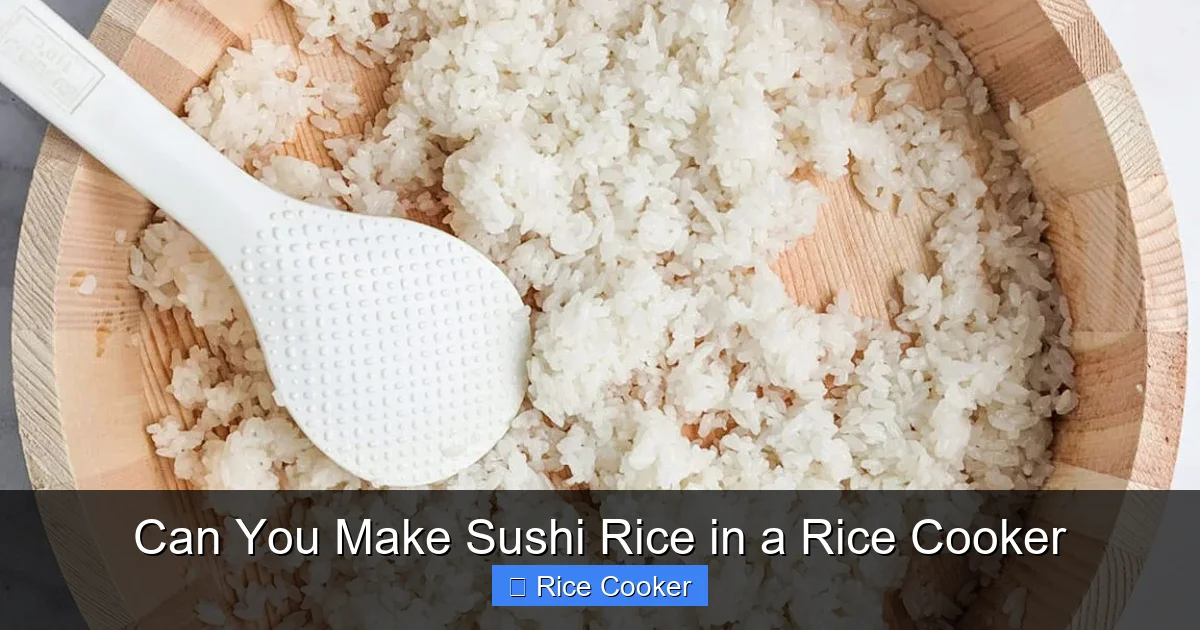
Visual guide about Can You Make Sushi Rice in a Rice Cooker
Image source: sushistaycation.com
Not all rice cookers are created equal—and not all are equally suited for making sushi rice. If you plan to use your rice cooker frequently for Japanese dishes, consider investing in one designed for this purpose.
Look for features such as:
– A dedicated “Sushi” or “Short Grain” setting
– Precision temperature control (especially for keeping rice warm post-cooking)
– Non-stick inner pot with flat bottom for even heat distribution
Popular brands like Zojirushi, Panasonic, and Tiger offer models specifically engineered for authentic Japanese rice. These often include fuzzy logic technology that adjusts heating cycles based on real-time feedback, mimicking the precision of professional steam ovens.
Even simpler rice cookers work fine for basic sushi rice—just follow the manual’s instructions closely and adjust ratios as needed. Just remember: consistency beats complexity. A reliable machine will give you repeatable results day after day.
Step-by-Step Guide: Making Sushi Rice in a Rice Cooker
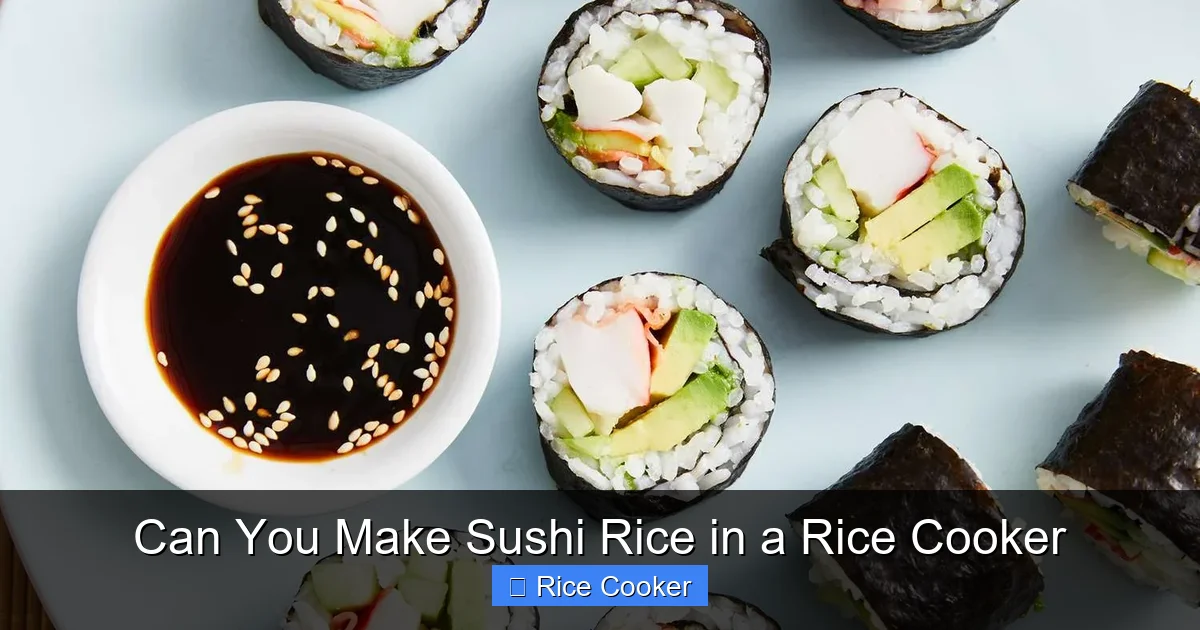
Visual guide about Can You Make Sushi Rice in a Rice Cooker
Image source: sushiandrice.com
Now let’s get into the actual process. Follow these steps carefully, and you’ll end up with fluffy, fragrant sushi rice that rivals what you’d find at a high-end sushi bar.
Ingredients You’ll Need
- 1 cup Japanese short-grain rice (rinsed)
- 1¼ cups cold filtered water
- 2 tablespoons rice vinegar
- 1 tablespoon sugar
- ½ teaspoon sea salt
Equipment Checklist
- Fine-mesh strainer
- Large bowl
- Mixing spoon (wooden preferred)
- Airtight container for storage
- Electric rice cooker with measuring cup included
Step 1: Rinse the Rice Thoroughly
Place the uncooked rice in a fine-mesh strainer and run it under cold running water. Swirl gently with your fingers to loosen starch. Keep rinsing until the water looks nearly clear—this usually takes 5–7 passes. Don’t worry if it still has a slight cloudiness; stop once the flow feels smooth.
Step 2: Soak the Rice (Optional but Recommended)
Drain the rinsed rice completely and place it in a large bowl. Cover with room-temperature water and let sit for 30 minutes. Soaking allows grains to absorb moisture evenly, reducing cook time and improving texture. After soaking, drain again and wipe the bowl dry.
Step 3: Measure Water Accurately
Use the rice cooker’s provided measuring cup to scoop the soaked rice. Add water according to your cooker’s instructions—typically around 1¼ cups per cup of rice. Some models recommend 1:1, others 1:1.2. Start with 1:1.1 as a baseline.
Step 4: Cook the Rice
Transfer rice and water to the rice cooker pot. Close the lid and select the “Sushi” or “Short Grain” mode if available. If not, use the standard “White Rice” setting. Press start and wait patiently—don’t open the lid during cooking!
Step 5: Let It Rest
Once the cycle completes, let the rice rest inside the cooker for 10 minutes with the power off. This final steaming phase finishes cooking gently without drying out the grains.
Step 6: Season the Rice
While the rice rests, prepare the seasoning mix: Combine rice vinegar, sugar, and salt in a small saucepan. Heat gently over low heat until dissolved—do not boil. Remove from heat and set aside.
After resting, transfer the rice to a wide, shallow bowl. Using a wooden spatula or rice paddle, gently fold in the vinegar mixture. Fan the rice while mixing to cool it rapidly and distribute the seasoning evenly. This fanning step is critical—it prevents overheating and keeps the rice light and airy.
Step 7: Serve or Store
Your sushi rice is now ready! Use immediately for rolling, molding into shapes, or serving alongside fish. To store, keep covered with a damp paper towel and plastic wrap in the fridge for up to 2 days. Reheat gently in the microwave with a splash of water before use.
Common Mistakes and How to Fix Them
Even experienced cooks sometimes struggle with sushi rice. Here are the most frequent errors—and how to fix them fast.
Mistake #1: Not Rinsing Enough
Result: Gummy, clumpy rice that won’t separate.
Fix: Always rinse until water runs clear. If your rice still feels sticky after cooking, try adding a few drops of neutral oil to the seasoning mix next time.
Mistake #2: Adding Seasoning Too Early
Result: Overcooked, mushy rice.
Fix: Never toss vinegar mixture into hot rice. Wait until rice cools to body temperature (~20–25°C / 68–77°F).
Mistake #3: Using Tap Water
Result: Off-flavors or mineral deposits affecting taste.
Fix: Use filtered or bottled water for best results—especially important if you notice metallic aftertastes.
Mistake #4: Pressing Down While Mixing
Result: Crushed grains and poor texture.
Fix: Always lift and fold gently. Imagine you’re fluffing clouds, not mashing potatoes.
Mistake #5: Skipping the Resting Period
Result: Undercooked centers or uneven texture.
Fix: Always let rice sit 10 minutes after cooking. It’s worth the wait!
Tips for Perfect Sushi Rice Every Time
Want to elevate your game? Try these pro tips:
– **Use a wide mixing bowl**: This gives you space to fan and toss without spilling.
– **Keep everything cold**: Chill your vinegar mixture beforehand for faster cooling.
– **Test doneness**: After cooking, poke a grain—it should be tender but not mushy.
– **Adjust sweetness**: Some prefer less sugar in the seasoning; others like it sweeter. Taste as you go.
– **Practice makes perfect**: Your first batch might not be perfect—but you’ll learn quickly!
Beyond Basic Sushi Rice: Creative Uses
Once you master the basics, think beyond sushi! Fresh sushi rice works wonders in:
– Onigiri (Japanese rice balls) with tuna mayo or pickled plum
– Chirashi bowls topped with raw fish, avocado, and nori
– Fried rice with vegetables and egg
– Rice pudding with cinnamon and red bean paste
Having a steady supply of well-seasoned rice means no more last-minute trips to the grocery store. Plus, homemade always tastes fresher and healthier.
Final Thoughts
Making sushi rice in a rice cooker is not just possible—it’s practical, efficient, and delivers incredible results. Whether you’re hosting a dinner party, packing lunch, or simply craving fresh sushi at home, this skill puts you in full control of flavor and texture.
The secret? Respect the rice, treat it gently, and don’t rush the process. With a good rice cooker and a little patience, you’ll soon be rolling your own sushi like a pro.
And honestly? There’s something deeply satisfying about knowing exactly what went into your meal—no preservatives, no compromises. So go ahead, fire up that rice cooker, and enjoy the delicious simplicity of homemade sushi rice.
Frequently Asked Questions
Is it really better to use a rice cooker for sushi rice?
Yes, especially for beginners. Rice cookers automate the cooking process, ensuring consistent results without constant supervision. Many have settings optimized for short-grain rice.
What happens if I don’t rinse the rice?
Without rinsing, the rice will retain too much starch, resulting in a gummy, sticky mess that doesn’t separate well when forming sushi.
Can I use regular white rice instead of Japanese short-grain?
Technically yes, but it won’t have the same texture. Regular white rice lacks the amylopectin needed for proper sushi rice stickiness.
How do I know when my rice is done?
The rice cooker will signal completion automatically. After resting, test a grain—it should be tender and slightly translucent, not hard or crunchy.
Can I add extra flavorings to the vinegar mix?
You can experiment with a pinch of mirin or a drop of sesame oil, but traditional sushi seasoning uses only vinegar, sugar, and salt for balance.
Should I wash my rice every time I make sushi?
Yes—always rinse before cooking. Even if you’ve made sushi rice before, fresh batches need the same treatment for optimal texture.