
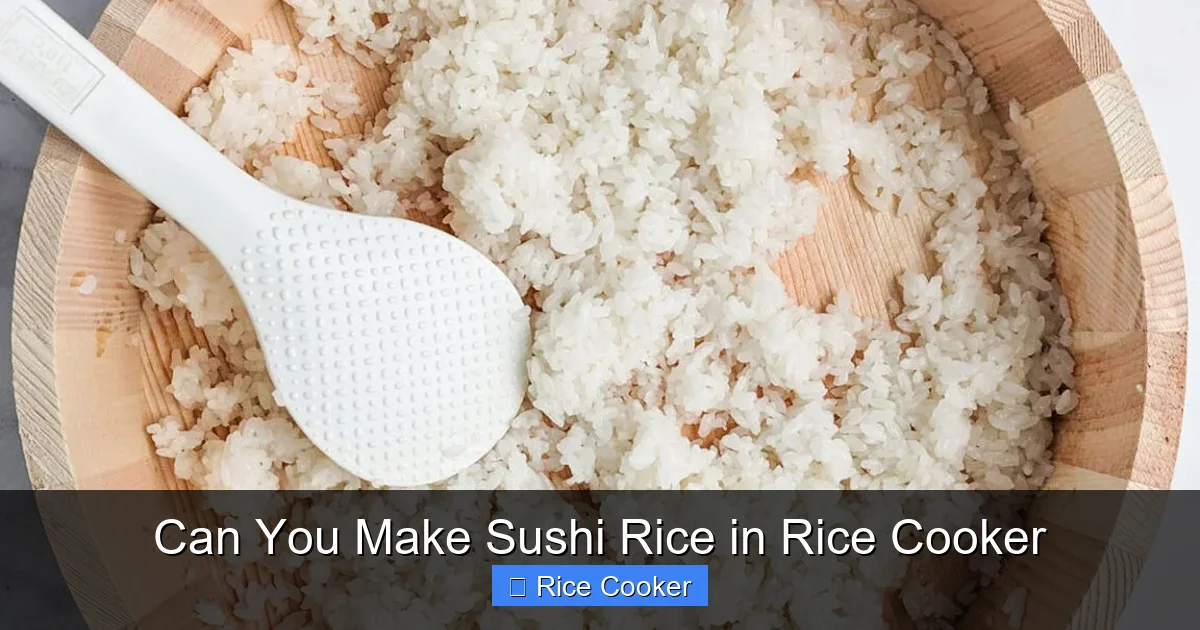
Making sushi rice in a rice cooker is not only possible but also easier than you think. With the right short-grain rice and proper technique, your rice cooker can deliver restaurant-quality results at home. You’ll save time, reduce mess, and enjoy consistently delicious sushi rice—perfect for rolls, nigiri, or even onigiri.
Key Takeaways
- Yes, you can make sushi rice in a rice cooker – it’s simple with the right ingredients and method.
- Use short-grain Japanese rice for the best texture and stickiness.
- Rinse the rice thoroughly to remove excess starch and prevent clumping.
- Use the correct water-to-rice ratio (typically 1:1.1) for perfectly cooked grains.
- Season the rice while warm with a mixture of rice vinegar, sugar, and salt.
- Cool and fluff gently to maintain ideal sushi rice consistency.
- A rice cooker saves time and ensures even cooking without constant attention.
📑 Table of Contents
- Can You Make Sushi Rice in a Rice Cooker?
- Why Use a Rice Cooker for Sushi Rice?
- What Kind of Rice Should You Use?
- Step-by-Step Guide: How to Make Sushi Rice in a Rice Cooker
- Pro Tips for Perfect Sushi Rice Every Time
- Common Mistakes and How to Fix Them
- Creative Uses for Your Homemade Sushi Rice
- Storing and Reheating Sushi Rice
- Frequently Asked Questions
- Conclusion: Why Your Rice Cooker Is About to Become Your New Best Friend
Can You Make Sushi Rice in a Rice Cooker?
Have you ever dreamed of making fresh, restaurant-quality sushi at home—only to find yourself staring at a pot of overcooked, mushy rice? If so, you’re not alone. For years, many home cooks believed that making authentic sushi rice required special techniques, precise timing, and a lot of elbow grease. But guess what? You don’t need to be a sushi chef to nail it. In fact, yes, you absolutely can make sushi rice in a rice cooker, and doing so might just revolutionize how you approach Japanese-inspired dishes.
Sushi rice, also known as shari, is the foundation of countless beloved dishes like maki rolls, nigiri, and chirashi. Its defining feature is a delicate balance: it should be sticky enough to hold together when rolled but not gummy, and it must absorb seasoning beautifully without becoming too soft. Traditionally, this rice is cooked on the stovetop, then seasoned and cooled by hand. But with a good rice cooker, you get consistent results, hands-off cooking, and far less cleanup. Whether you’re a beginner dipping your toes into sushi or a seasoned home cook looking to simplify your process, using a rice cooker is a game-changer.
In this guide, we’ll walk you through everything you need to know about making sushi rice in a rice cooker—from choosing the right rice to seasoning it perfectly. We’ll also share pro tips, troubleshooting advice, and even some creative twists to take your sushi game to the next level. So grab your rice cooker, pick up some short-grain rice, and let’s dive in!
Why Use a Rice Cooker for Sushi Rice?
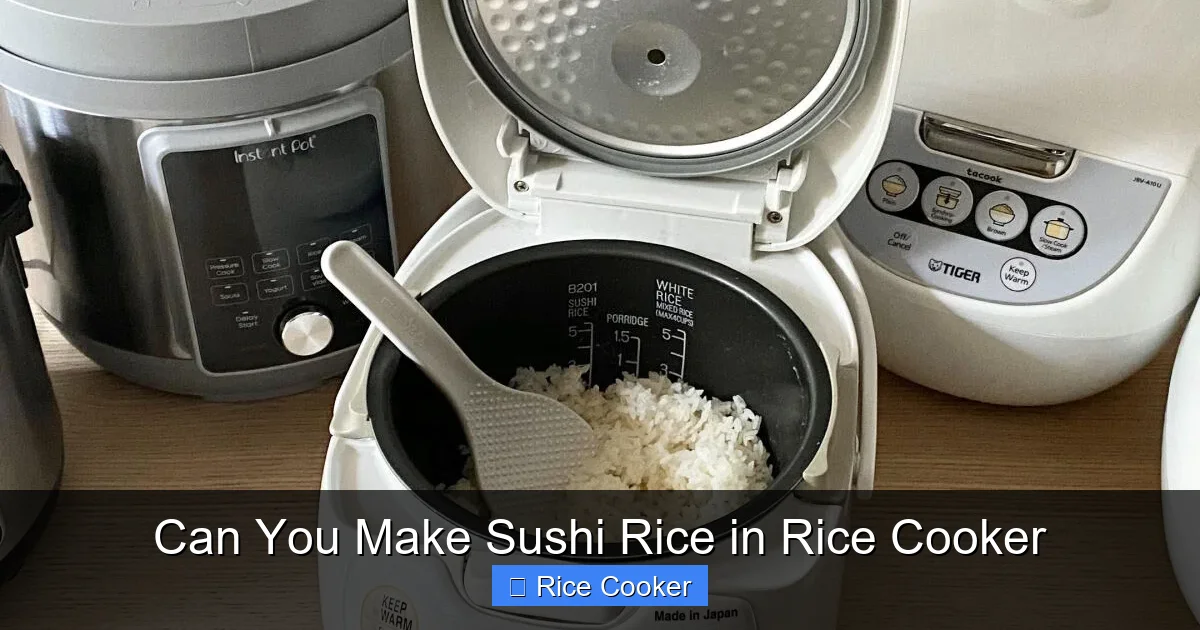
If you’ve ever tried making sushi rice on the stove, you know it can be tricky. Getting the water ratio right, monitoring the heat, and knowing when to stop cooking requires attention and experience. Even experienced cooks sometimes end up with rice that’s either undercooked or too sticky. That’s where the rice cooker shines.
Visual guide about Can You Make Sushi Rice in Rice Cooker
Image source: helios-i.mashable.com
The Magic of Consistent Cooking
Rice cookers are designed to cook rice perfectly every time. They automatically adjust heat and timing based on the amount and type of rice you use. This means no more guessing or worrying about burning the bottom of the pot. The result? Fluffy, evenly cooked grains with a tender bite—just like they do in Japanese restaurants.
Hands-Off Convenience
Once you add the rice and water, the rice cooker does the rest. You don’t have to stand over the stove stirring or checking for doneness. After the cycle ends, you can focus on preparing your fillings, rolling mats, or simply relaxing. It’s especially helpful if you’re making sushi for a group or hosting a dinner party.
Better Texture Control
Unlike stovetop cooking, which can lead to uneven heat distribution, rice cookers provide gentle, even heat throughout the cooking process. This helps preserve the integrity of each grain, resulting in a better texture for sushi rice.
Less Mess, Less Cleanup
Cooking rice in a rice cooker means fewer pots, pans, and spills. And when it comes time to season the rice, you can transfer it directly from the cooker to a wide mixing bowl—no need to scrape sticky residue off the bottom of a pot.
What Kind of Rice Should You Use?
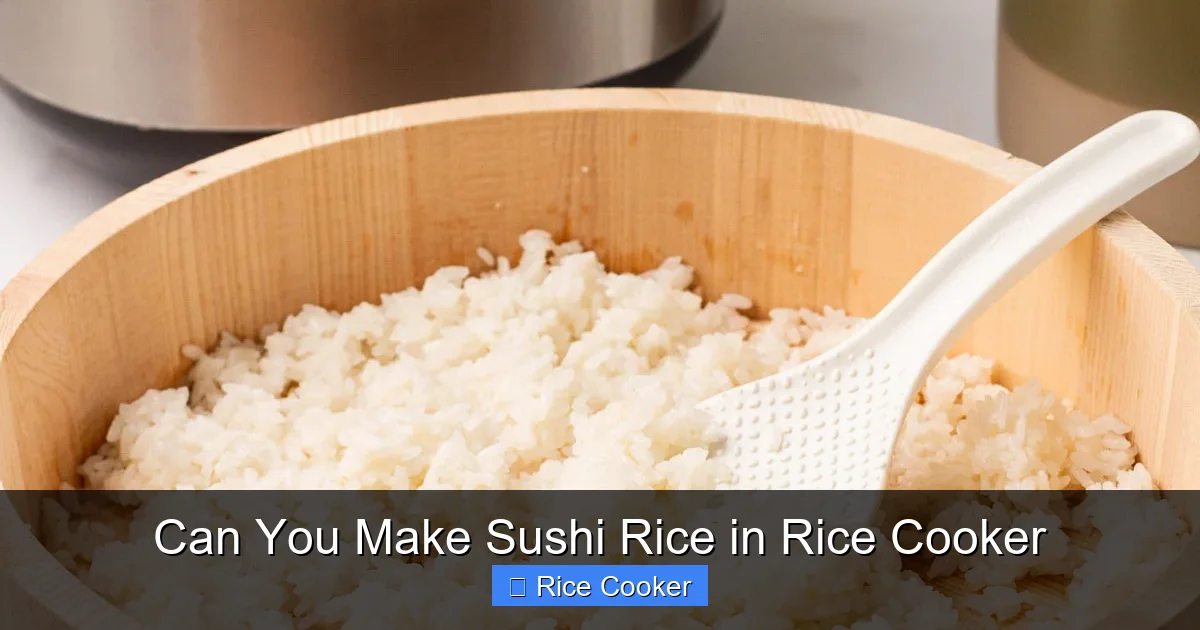
Not all rice is created equal when it comes to sushi. The type you choose has a huge impact on the final result. For sushi rice, you need a specific kind of short-grain rice—usually labeled as “Japanese sushi rice” or “short-grain Japonica rice.”
Visual guide about Can You Make Sushi Rice in Rice Cooker
Image source: sushistaycation.com
Short-Grain vs. Medium-Grain Rice
Short-grain rice has a higher starch content than long-grain varieties, which gives it that signature stickiness when cooked. This stickiness is essential for holding sushi rolls together. Medium-grain rice can work in a pinch, but it won’t be quite as sticky or flavor-absorbent as true short-grain rice.
Popular Brands for Sushi Rice
Some of the most trusted brands include:
- Koshihikari – Considered the gold standard for sushi rice in Japan. It’s slightly sweet, tender, and very sticky.
- Tajiri or Nishiki – Affordable, widely available alternatives that still deliver excellent results.
- Calrose – A common medium-grain rice used in the U.S.; works okay but isn’t ideal for traditional sushi.
Where to Buy It
Look for sushi rice at Asian grocery stores, specialty rice retailers, or online. If you’re new to making sushi, starting with a reputable brand like Nishiki or Koshihikari will give you the best learning curve.
Step-by-Step Guide: How to Make Sushi Rice in a Rice Cooker
Ready to try it? Here’s a foolproof method that works with most rice cookers. Follow these steps closely, and you’ll get perfect sushi rice every time.
Ingredients & Tools You’ll Need
- 1 cup short-grain sushi rice
- 1.1 cups cold water (or filtered water)
- Rice cooker
- Fine-mesh strainer
- Large mixing bowl
- Wooden spoon or rice paddle
- Plastic wrap (optional, for cooling)
Step 1: Rinse the Rice
This step is crucial. Rinsing removes excess surface starch, which can make the rice gummy. Place the rice in a fine-mesh strainer and rinse under cold running water until the water runs clear. This usually takes 3–5 minutes.
Step 2: Drain and Add to Rice Cooker
After rinsing, let the rice drain for about 10–15 minutes. Then transfer it to the inner pot of your rice cooker. Add 1.1 cups of cold water. (Note: The exact ratio may vary slightly depending on your rice cooker model and rice brand—check the manual if needed.)
Step 3: Cook the Rice
Close the lid and press the “Cook” button. Most rice cookers will automatically switch to “Keep Warm” once cooking is complete. Let the rice sit for 10 minutes after the cycle ends. This allows the steam to finish cooking the grains evenly and makes the rice easier to fluff later.
Step 4: Season the Rice
While the rice is still warm (not hot), mix it with the seasoning sauce. In a small saucepan, combine:
- 1/4 cup rice vinegar
- 2 tablespoons sugar
- 1 teaspoon salt
Heat gently over low heat, stirring until the sugar and salt dissolve. Don’t boil it. Once ready, pour the warm sauce over the cooked rice in the mixing bowl. Fold it in gently using a cutting motion with a wooden spoon or rice paddle. Avoid pressing or mashing the rice.
Step 5: Cool and Rest
Spread the seasoned rice out in the bowl and cover it loosely with plastic wrap. Let it cool to room temperature. This helps the flavors meld and prevents the rice from becoming too wet or sticky.
Step 6: Fluff and Serve
Once cooled, fluff the rice gently with the rice paddle. Your sushi rice is now ready! Use it immediately for rolling, or store it in an airtight container with a piece of plastic wrap pressed onto the surface to keep it moist.
Pro Tips for Perfect Sushi Rice Every Time
Even with the right recipe, small details can make a big difference. Here are some expert tips to help you master sushi rice in your rice cooker.
Don’t Skip the Rinse
Skipping this step leads to cloudy, clumpy rice. Always rinse until the water is clear.
Use Filtered Water
Tap water can contain minerals that affect taste and texture. Filtered or bottled water produces cleaner-tasting rice.
Let the Rice Rest Before Seasoning
Allow the rice to rest for 5–10 minutes after cooking. This helps it absorb moisture evenly and makes it easier to fluff.
Season While Warm
Adding the vinegar mixture when the rice is still warm helps it absorb better. Cold rice won’t soak up the seasoning well.
Fold, Don’t Mix
Use a gentle folding motion instead of stirring. This preserves the individual grains and prevents mushiness.
Keep It Covered While Cooling
Covering the rice with plastic wrap prevents a skin from forming on top and keeps it from drying out.
Adjust Water Slightly for Altitude
At high altitudes, you may need to increase the water slightly or decrease cooking time to avoid mushiness.
Common Mistakes and How to Fix Them
Everyone makes mistakes when learning something new. Here are the most common issues with sushi rice in a rice cooker—and how to fix them.
Mushy or Sticky Rice
Cause: Too much water or not rinsing properly.
Fix: Use the correct water ratio and always rinse the rice until the water runs clear.
Gummy Texture
Cause: Overmixing after seasoning or using long-grain rice.
Fix: Fold gently and stick to short-grain rice.
Rice Too Dry
Cause: Not letting the rice rest after cooking or using too little water.
Fix: Allow 10 minutes of resting time and double-check your water measurement.
Unbalanced Flavor
Cause: Incorrect seasoning ratios or not dissolving the sugar and salt.
Fix: Heat the vinegar mixture until the sugar dissolves, and taste before adding it to the rice.
Rice Sticks to the Pot
Cause: Not rinsing or using the wrong type of rice.
Fix: Rinse thoroughly and ensure you’re using short-grain rice.
Creative Uses for Your Homemade Sushi Rice
Once you’ve mastered the basics, you can expand your culinary repertoire. Sushi rice is incredibly versatile and can elevate many dishes beyond traditional rolls.
Sushi Bowl (Bento Bowls)
Top your cooled sushi rice with grilled salmon, avocado, cucumber, and tamagoyaki (sweet omelet). Drizzle with soy sauce and sesame seeds for a quick, satisfying meal.
Onigiri (Rice Balls)
Shape sushi rice into triangles or balls, wrap in nori, and stuff with pickled radish, tuna mayo, or umeboshi. Perfect for lunchboxes or snacks.
Fried Rice
Use leftover sushi rice to make Japanese-style fried rice. Stir-fry with scrambled egg, green peas, carrots, and soy sauce for a flavorful dish.
Hot Served with Toppings
Serve warm sushi rice with teriyaki chicken, katsu curry, or tempura vegetables. It’s a comforting, familiar way to enjoy your homemade rice.
Onigiri with Hidden Fillings
Try making fun onigiri with hidden surprises inside—like a strip of cheese or a slice of spam. Kids love these!
Storing and Reheating Sushi Rice
You can prepare sushi rice ahead of time and store it properly for future use. Just follow these guidelines to maintain quality.
Refrigeration
Store unused sushi rice in an airtight container with a piece of plastic wrap pressed directly onto the surface. This prevents drying. Use within 1–2 days for best flavor and texture.
Room Temperature
For short-term use (up to 4 hours), leave the rice at room temperature, covered. Never leave it out longer than that—it can spoil.
Reheating
To reheat refrigerated sushi rice, place it in a microwave-safe bowl, sprinkle a few drops of water over it, cover with a damp paper towel, and microwave on medium power for 30-second intervals until warmed through. Avoid overheating, which can make it mushy.
Frequently Asked Questions
Can I use regular white rice instead of sushi rice?
Regular white rice won’t give you the same stickiness or flavor absorption as short-grain sushi rice. While you can make sushi-style dishes with it, the texture and taste won’t be authentic. Stick to sushi rice for the best results.
Do I need a special rice cooker for sushi rice?
No. Any standard electric rice cooker will work. Some advanced models have specific settings for different rice types, but most basic ones handle sushi rice perfectly fine.
How much seasoning do I need per cup of rice?
For every 1 cup of cooked sushi rice, use about 2–3 tablespoons of the vinegar-sugar-salt mixture. Adjust to taste—you can always add more, but you can’t take it back.
Can I make sushi rice in a pressure cooker?
Yes, but it requires adjusting the water ratio and cooking time. A rice cooker is simpler and more reliable for beginners.
Is brown rice a good substitute?
Brown rice has more fiber and nutrients, but it doesn’t become sticky like white sushi rice. It’s not ideal for traditional sushi, though you can use it for onigiri or bowls.
How long does sushi rice stay fresh?
Freshly made sushi rice is best eaten within 24 hours. When stored properly in the fridge, it stays usable for up to 3 days, though quality decreases over time.
Conclusion: Why Your Rice Cooker Is About to Become Your New Best Friend
Making sushi rice in a rice cooker isn’t just possible—it’s one of the easiest, most reliable ways to enjoy authentic-tasting sushi at home. With just a few simple steps, the right rice, and a bit of patience, you can create fluffy, flavorful sushi rice that rivals anything from your local sushi spot. No more guesswork, no more burnt bottoms, no more wasted rice.
Whether you’re preparing for a dinner party, packing bento boxes, or just craving some fresh nigiri, your rice cooker is now your secret weapon. Plus, once you’ve mastered the basics, you’ll find endless ways to use your perfectly cooked sushi rice—in bowls, fried rice, onigiri, and more.
So go ahead, fire up that rice cooker, and treat yourself to restaurant-quality sushi rice made right in your kitchen. Your taste buds (and your busy schedule) will thank you.
Frequently Asked Questions
Can I use regular white rice instead of sushi rice?
Regular white rice won’t give you the same stickiness or flavor absorption as short-grain sushi rice. While you can make sushi-style dishes with it, the texture and taste won’t be authentic. Stick to sushi rice for the best results.
Do I need a special rice cooker for sushi rice?
No. Any standard electric rice cooker will work. Some advanced models have specific settings for different rice types, but most basic ones handle sushi rice perfectly fine.
How much seasoning do I need per cup of rice?
For every 1 cup of cooked sushi rice, use about 2–3 tablespoons of the vinegar-sugar-salt mixture. Adjust to taste—you can always add more, but you can’t take it back.
Can I make sushi rice in a pressure cooker?
Yes, but it requires adjusting the water ratio and cooking time. A rice cooker is simpler and more reliable for beginners.
Is brown rice a good substitute?
Brown rice has more fiber and nutrients, but it doesn’t become sticky like white sushi rice. It’s not ideal for traditional sushi, though you can use it for onigiri or bowls.
How long does sushi rice stay fresh?
Freshly made sushi rice is best eaten within 24 hours. When stored properly in the fridge, it stays usable for up to 3 days, though quality decreases over time.