
Making sushi rice without a rice cooker is not only possible but also simple with the right technique. Whether you’re using a stovetop, microwave, or even an instant pot, you can achieve that signature sticky, slightly sweet, and perfectly textured rice essential for rolling sushi. With a few key tips—like rinsing thoroughly and controlling water temperature—you’ll get restaurant-quality results at home.
Key Takeaways
- You don’t need a rice cooker to make great sushi rice. Traditional stovetop, microwave, or pot methods work just as well with careful attention to technique.
- Rinsing the rice is crucial. It removes excess starch, preventing clumping and helping the grains stay separate yet sticky when cooked.
- Water-to-rice ratio matters. The standard is 1:1.2 (rice to water), but adjusting based on grain type ensures ideal texture.
- Cooking method affects texture. Each method—stovetop, microwave, or pot—offers unique control over heat and timing.
- Seasoning while warm gives best flavor. Mixing vinegar, sugar, and salt into hot rice helps it absorb flavors evenly.
- Proper cooling prevents mushiness. Gently fluffing rice as it cools sets the texture for easy rolling.
- Practice makes perfect. Even seasoned chefs adjust their process—don’t be afraid to tweak ratios or timing.
📑 Table of Contents
- Can You Make Sushi Rice Without a Rice Cooker?
- Understanding Sushi Rice: What Makes It Special?
- Essential Tools for Making Sushi Rice Without a Rice Cooker
- Step-by-Step Guide: How to Make Sushi Rice on the Stovetop
- Microwave Method: Quick and Convenient
- Using an Instant Pot or Pressure Cooker
- Common Mistakes and How to Avoid Them
- Tips for Perfect Sushi Rice Every Time
- Pairing Sushi Rice with Different Fish and Fillings
- Storing and Reheating Leftover Sushi Rice
- Final Thoughts: Why Go Without a Rice Cooker?
Can You Make Sushi Rice Without a Rice Cooker?
If you’ve ever stood in front of your kitchen counter, staring at a bag of short-grain Japanese rice and wondering how to turn it into that silky, slightly sticky foundation for nigiri, maki rolls, or futomaki, you’re not alone. Many home cooks dream of mastering sushi rice—but they don’t own a rice cooker. So, the question lingers: Can you make sushi rice without a rice cooker?
The short answer? Absolutely. In fact, many traditional Japanese households still cook their rice on the stovetop, relying on skill rather than appliances. While a rice cooker does simplify the process with automated settings, it’s far from a necessity. With patience, the right tools, and a solid understanding of technique, you can create sushi rice that’s just as delicious—and often even more personal—than what comes out of a machine.
This article will walk you through everything you need to know about making sushi rice without a rice cooker. We’ll cover the science behind the texture, compare different cooking methods, share pro tips for seasoning and handling, and even troubleshoot common mistakes. By the end, you’ll feel confident cooking sushi rice like a pro—no appliance required.
Understanding Sushi Rice: What Makes It Special?
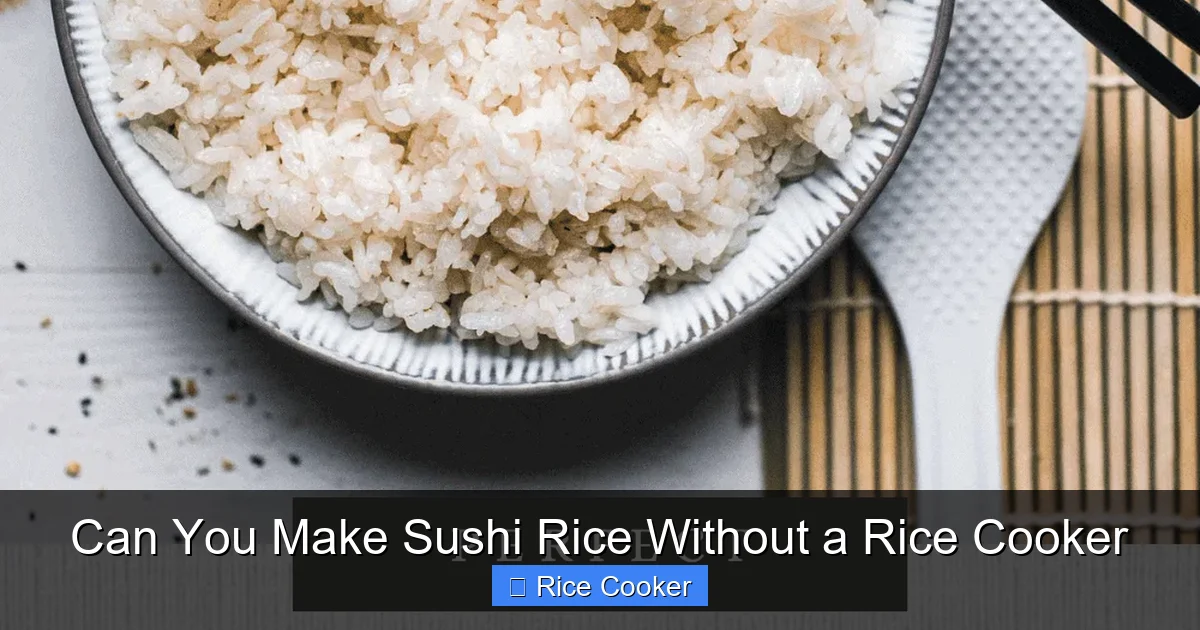
Before diving into methods, it’s important to understand why sushi rice is so unique. Unlike regular white rice, sushi rice is made from short-grain Japanese varieties such as Koshihikari, Akita Komachi, or Sakurai. These grains are starchier and stick together more than long-grain rice, which gives them their signature cling—perfect for holding sushi rolls together.
Visual guide about Can You Make Sushi Rice Without a Rice Cooker
Image source: platingsandpairings.com
The Role of Starch
Starch is the secret ingredient in sushi rice. When cooked, the surface of each grain becomes tacky due to amylopectin, a type of starch that gelatinizes when heated in water. But here’s the catch: too much starch leads to gummy, clumpy rice. That’s why rinsing is non-negotiable. It removes excess surface starch, allowing the grains to cook evenly while maintaining a tender, slightly firm bite.
Texture and Temperature
Another key factor is temperature. Sushi rice must be served warm but not hot—warm enough to hold its shape, but cool enough to handle without burning your fingers. This balance is essential for rolling. Overcooked rice loses structure; undercooked rice remains chewy and unworkable.
Acid and Sweetness
Finally, sushi rice is seasoned with a mixture of rice vinegar, sugar, and salt. This balance of sweet and tangy enhances flavor and helps preserve freshness. The seasoning is added while the rice is still warm, allowing it to absorb the flavors without hardening.
Essential Tools for Making Sushi Rice Without a Rice Cooker
You don’t need fancy gadgets to make sushi rice. In fact, many of the best methods rely on basic kitchen tools. Here’s what you’ll need:
Visual guide about Can You Make Sushi Rice Without a Rice Cooker
Image source: i.ytimg.com
- A medium-sized pot with a tight-fitting lid – A heavy-bottomed pot distributes heat evenly.
- A fine-mesh strainer or colander – For rinsing the rice thoroughly.
- A wooden spoon or rice paddle – To gently stir without crushing the grains.
- A large mixing bowl – For combining and seasoning the rice.
- A fan (optional but helpful) – To cool the rice quickly while fluffing (traditionally done with a susohan, a handheld fan).
- A timer – Precision is key; overcooking ruins the texture.
These tools are all affordable and commonly found in most kitchens. No rice cooker? No problem.
Step-by-Step Guide: How to Make Sushi Rice on the Stovetop
The stovetop method is the most traditional and gives you full control over heat and timing. It’s ideal for those who enjoy hands-on cooking and want consistent results.
Step 1: Measure and Rinse the Rice
Start by measuring your rice. For one serving, use about 1 cup of uncooked rice. Place it in a fine-mesh strainer and rinse under cold running water. Swirl the rice gently with your fingers until the water runs clear—usually 3 to 5 minutes. This step is critical; skipping it leads to overly sticky rice.
Step 2: Soak the Rice (Optional but Recommended)
Let the rinsed rice sit in a bowl of room-temperature water for 30 minutes. This allows the grains to absorb moisture, resulting in more even cooking and a fluffier texture. Drain well before cooking.
Step 3: Combine Rice and Water
In a pot, combine the rice with water. Use a 1:1.2 ratio—for example, 1 cup rice to 1.2 cups water. Some recipes suggest 1:1, but 1.2 provides a bit more liquid to ensure the rice absorbs all the water without drying out.
Step 4: Bring to a Boil
Place the pot on high heat and bring the water to a rolling boil. Cover with a tight-fitting lid and reduce the heat to low.
Step 5: Simmer and Steam
Simmer uncovered for 12–15 minutes. Do not lift the lid during this time—peeking releases steam and can dry out the rice. After 12 minutes, check for doneness: the water should be fully absorbed, and the rice should be tender with no hard center.
Step 6: Rest and Fluff
Turn off the heat and let the rice rest, covered, for 10 minutes. Then, gently fluff it with a rice paddle or wooden spoon. This allows steam to redistribute and sets the texture.
Step 7: Season the Rice
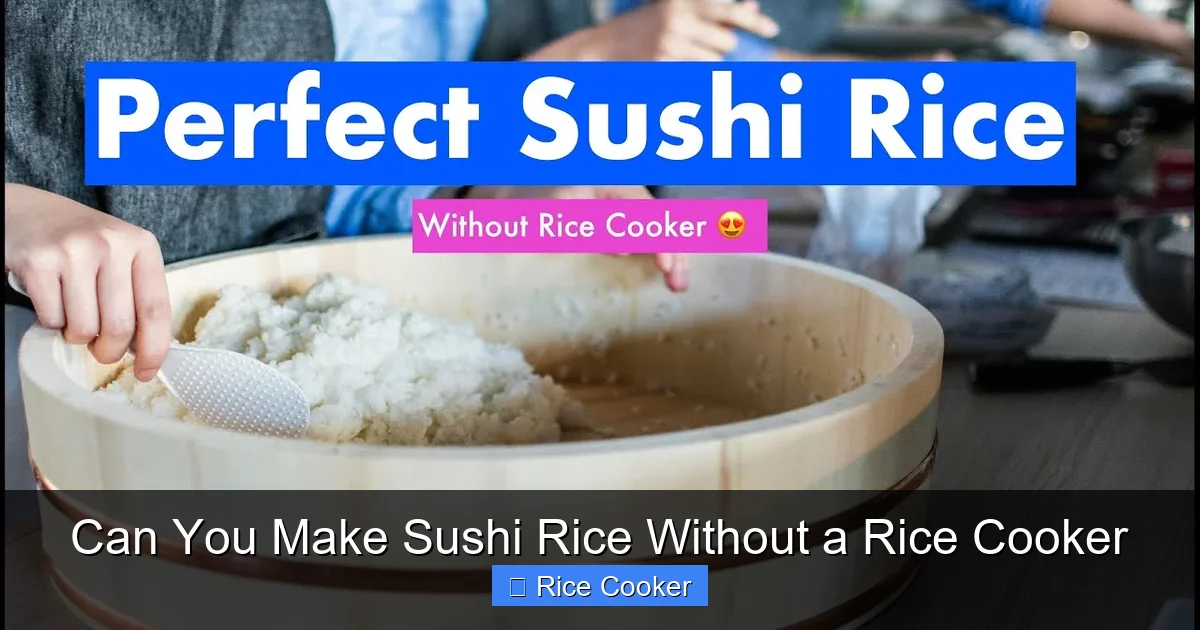
While the rice is still warm, transfer it to a large bowl. In a small saucepan, heat 1/4 cup rice vinegar, 2 tablespoons sugar, and 1 teaspoon salt until dissolved. Pour this mixture over the rice and fold gently with the paddle. Fan the rice as you mix to cool it slightly and give it a glossy finish.
Microwave Method: Quick and Convenient
For busy weeknights, the microwave method offers speed without sacrificing quality. It’s especially useful if you don’t have access to a stove.
What You’ll Need
- A microwave-safe bowl with a fitted lid or microwave-safe plate
- Water
- A fork
Steps
- Place 1 cup of rinsed rice in a microwave-safe bowl.
- Add 1.2 cups of water.
- Cover the bowl with a lid or microwave-safe plate.
- Microwave on high for 10 minutes.
- Let it stand for 5 minutes, then uncover and fluff.
- Season as usual.
Note: Microwaved rice can sometimes be denser. Stirring halfway through and checking doneness helps prevent overcooking.
Using an Instant Pot or Pressure Cooker
If you own an Instant Pot, you’re in luck—it’s one of the best tools for making sushi rice without a traditional rice cooker. The pressurized environment ensures even cooking and fluffy results.
How to Cook Sushi Rice in an Instant Pot
- Rinse 1 cup rice until water runs clear.
- Add rice and 1.2 cups water to the Instant Pot.
- Close the lid, set the valve to sealing, and press “Manual” or “Pressure Cook” for 3 minutes on high.
- Once done, allow a natural release for 10 minutes, then do a quick release.
- Gently fluff and let cool slightly before seasoning.
This method yields tender, separate grains with minimal effort. It’s a favorite among modern home chefs.
Common Mistakes and How to Avoid Them
Even experienced cooks make mistakes when making sushi rice. Here are the most common errors and how to fix them.
Mistake 1: Not Rinsing the Rice
Result: Gummy, clumpy rice.
Solution: Always rinse until water is clear. Use a strainer and swirl gently.
Mistake 2: Using Too Much Water
Result: Mushy, soupy rice.
Solution: Stick to a 1:1.2 ratio. Adjust slightly based on your rice brand.
Mistake 3: Overcooking
Result: Tough, dry rice.
Solution: Check after 12 minutes. Taste a grain—it should be tender but still have a slight bite.
Mistake 4: Adding Seasoning to Cold Rice
Result: Uneven flavor absorption.
Solution: Always add vinegar mixture while rice is warm.
Mistake 5: Stirring Too Hard
Result: Crushed grains.
Solution: Use gentle folding motions when mixing.
Tips for Perfect Sushi Rice Every Time
Consistency comes with practice. Here are expert-level tips to elevate your sushi rice game.
- Use filtered water – It improves taste and texture.
- Room-temperature ingredients – Cold rice or vinegar can shock the system and affect texture.
- Fan while seasoning – This not only cools the rice but adds a subtle shine.
- Store properly – Keep seasoned rice covered with a damp cloth to prevent drying.
- Experiment with rice types – Try different short-grain varieties to find your favorite.
Pairing Sushi Rice with Different Fish and Fillings
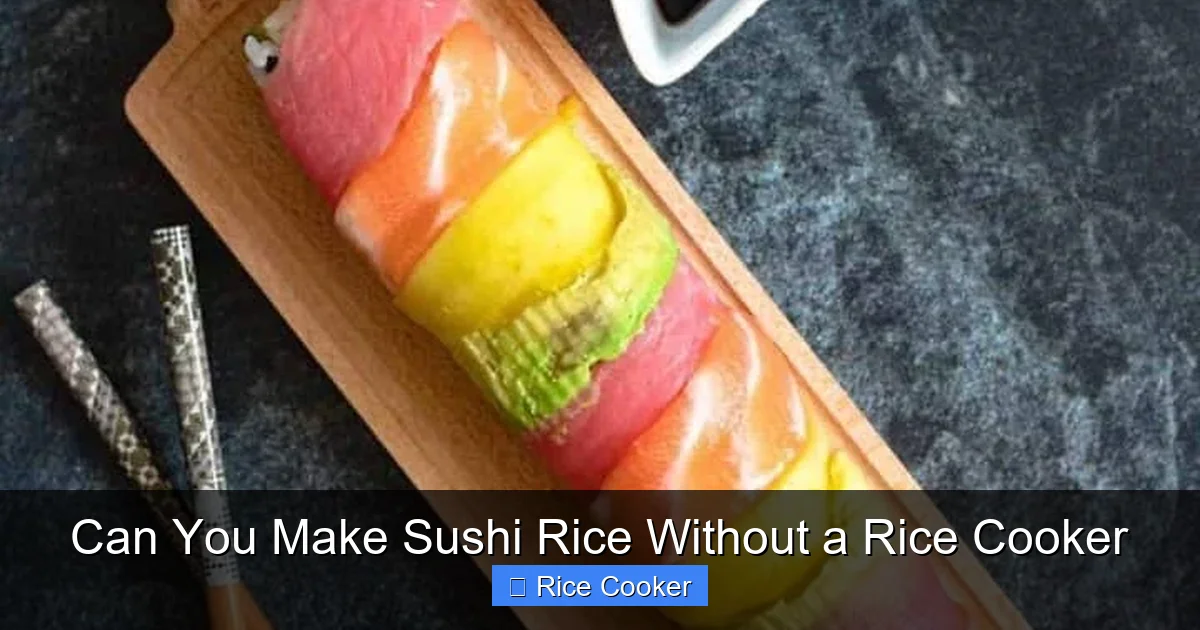
The beauty of sushi rice is its versatility. It pairs beautifully with tuna, salmon, cucumber, avocado, and even creative fillings like pickled vegetables or cream cheese.
When rolling, keep the rice slightly cooler than body temperature. If it’s too warm, it becomes too sticky and difficult to shape. If it’s too cold, it won’t hold together. The ideal temperature is around 90°F (32°C)—just warm enough to mold.
For maki rolls, spread a thin layer of rice on nori, leaving space at the top. Add fillings, roll tightly with a bamboo mat, and slice with a sharp knife. A little practice helps, but even beginners can create impressive rolls.
Storing and Reheating Leftover Sushi Rice
Freshly made sushi rice is best eaten within a few hours. However, you can store it properly for later use.
Wrap leftover rice in plastic wrap or place it in an airtight container. Refrigerate for up to 2 days. Before using again, steam it briefly to refresh the texture. Avoid reheating in the microwave—it tends to dry out.
Alternatively, use leftover rice for chirashi bowls, onigiri, or fried rice. Its sticky texture works surprisingly well in savory dishes.
Final Thoughts: Why Go Without a Rice Cooker?
While rice cookers are convenient, making sushi rice by hand connects you more deeply to the process. It teaches patience, attention to detail, and respect for ingredients. Plus, you develop a better understanding of how rice behaves—knowledge that translates to other cooking tasks.
Whether you’re cooking on the stovetop, in the microwave, or in an Instant Pot, the key is consistency and care. With these methods, you’ll never miss your rice cooker again.
So go ahead—grab that bag of short-grain rice, fire up your stove, and start making sushi rice like a true artisan. Your future sushi rolls will thank you.
Frequently Asked Questions
Can you make sushi rice in a regular pot?
Yes, you can definitely make sushi rice in a regular pot on the stovetop. Just follow a precise water-to-rice ratio and cook on low after boiling. Let it rest before seasoning for best results.
Do I need special rice for sushi?
Absolutely. Use short-grain Japanese rice like Koshihikari or Akita Komachi. These grains have the right starch content to become sticky yet tender when cooked properly.
Why is my sushi rice too sticky?
Over-sticking usually happens when rice isn’t rinsed enough or cooked with too much water. Make sure to rinse until water runs clear and measure your water accurately.
Can I use a Dutch oven to make sushi rice?
Yes, a Dutch oven works well because of its thick bottom and lid, which help retain heat and moisture. It’s great for even cooking and steaming.
How long does sushi rice take to cook without a rice cooker?
On the stovetop, it takes about 12–15 minutes of simmering after boiling. Total time including resting and seasoning is roughly 30–40 minutes.
Is it okay to make sushi rice ahead of time?
Yes, but only if stored properly. Keep it covered with a damp cloth or in an airtight container. Use within 2 hours for best texture, or up to 2 days refrigerated.