
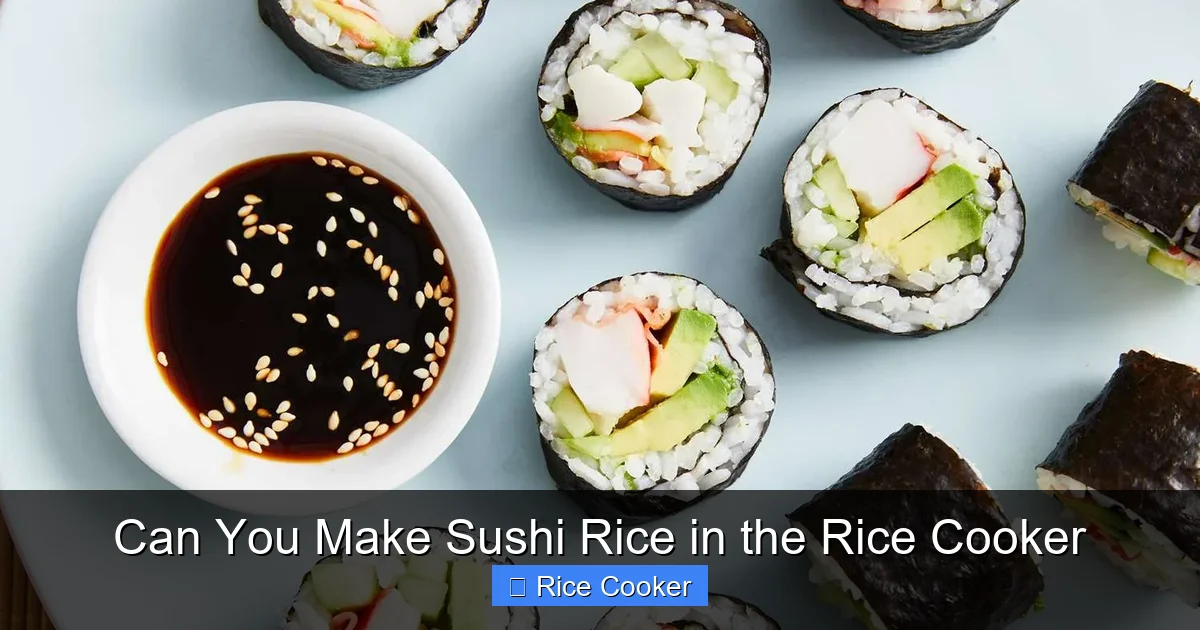
Making sushi rice in a rice cooker is not only possible—it’s easier than you think! With the right ingredients and technique, your rice cooker can deliver perfectly seasoned, sticky, and flavorful sushi rice that rivals traditional methods. You’ll save time, reduce cleanup, and still enjoy authentic-tasting results.
Key Takeaways
- Yes, you can make sushi rice in a rice cooker: It produces consistent, fluffy results with minimal effort.
- Use short-grain Japanese rice: This type is essential for the right texture and stickiness.
- Rinse the rice thoroughly: Remove excess starch to prevent mushiness and achieve ideal sushi consistency.
- Add vinegar mixture before cooking: Combine rice vinegar, sugar, and salt to infuse flavor during the cooking process.
- Avoid overfilling the cooker: Stick to the recommended water-to-rice ratio (1:1.1) for best results.
- Let it rest after cooking: Allowing the rice to sit helps equalize moisture and improve texture.
- Stir gently while fluffing: Use a wooden spatula to maintain the delicate grain structure.
📑 Table of Contents
- Can You Make Sushi Rice in the Rice Cooker?
- The Secret to Great Sushi Rice Lies in the Rice
- The Rice Cooker Method: Step-by-Step Guide
- Common Mistakes and How to Avoid Them
- Troubleshooting Your Sushi Rice
- Tips for Perfect Sushi Every Time
- Alternative Methods Compared
- Frequently Asked Questions About Making Sushi Rice in a Rice Cooker
- Conclusion: Why Your Rice Cooker Deserves a Place in Your Kitchen
Can You Make Sushi Rice in the Rice Cooker?
Have you ever dreamed of making perfect sushi rice without standing over a hot pot, constantly stirring and worrying about scorching the bottom? If so, you’re not alone. Many home cooks wonder whether their trusty rice cooker can handle the delicate task of creating sushi-grade rice—the kind that sticks just enough to hold its shape but remains tender and flavorful when rolled into nigiri or inside-out rolls.
The short answer? Absolutely yes. With a few simple adjustments and the right techniques, your rice cooker can produce restaurant-quality sushi rice that rivals—and sometimes even surpasses—traditional methods. In fact, one of the biggest advantages of using a rice cooker is consistency. Unlike boiling on the stove, where timing and heat control can vary, a rice cooker maintains precise temperatures throughout the cooking cycle, resulting in evenly cooked grains every time.
The Secret to Great Sushi Rice Lies in the Rice
Why Short-Grain Rice Is Essential
Before we dive into the “how,” let’s talk about the “what.” The secret to great sushi rice starts with choosing the right type of rice. Sushi rice isn’t just any white rice—it must be short-grain Japanese rice, often labeled as shinmi-mai or japonica. This variety has a high starch content, which gives sushi rice its signature chewiness and ability to clump together when properly seasoned.
Visual guide about Can You Make Sushi Rice in the Rice Cooker
Image source: i.pinimg.com
Look for brands like Koshihikari, Calrose, or Nishiki in stores or online. These varieties are specifically cultivated for sushi and mochi, making them ideal for this purpose. Avoid long-grain rice (like basmati or jasmine), as they lack the necessary starch and will result in dry, crumbly grains unsuitable for sushi.
How to Store and Prepare Your Rice
Once you’ve selected the right rice, proper storage matters. Keep unopened packages in a cool, dry place. Once opened, transfer the rice to an airtight container and store it in the pantry for up to six months. Never refrigerate uncooked rice—this can affect its texture and shelf life.
When preparing, always measure carefully. A standard cup of uncooked short-grain rice yields about 3 cups of cooked rice. For sushi, you’ll typically need about 1½ to 2 cups of cooked rice per person, depending on how generous you’re feeling with your fillings.
The Rice Cooker Method: Step-by-Step Guide
Choosing the Right Rice Cooker
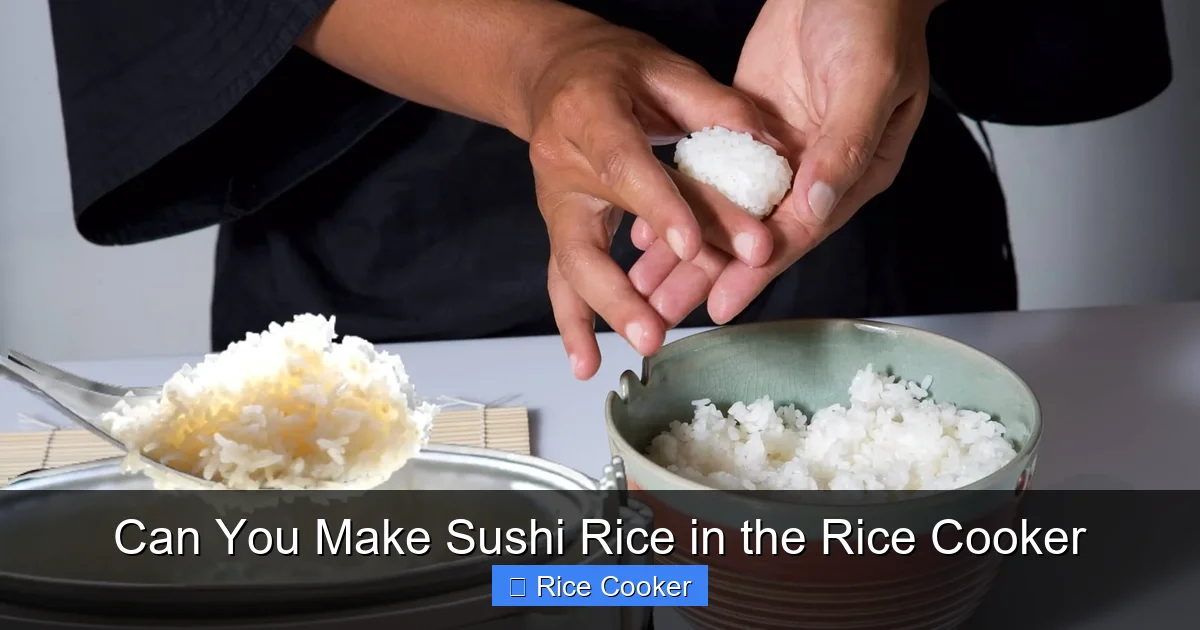
Not all rice cookers are created equal when it comes to making sushi rice. While basic models work fine for plain white rice, those with fuzzy logic or induction heating tend to perform better due to more precise temperature control. Look for features like:
Visual guide about Can You Make Sushi Rice in the Rice Cooker
Image source: bitemybun.com
- Adjustable settings (e.g., “sushi” or “white rice” mode)
- Non-stick inner pots for easy cleaning
- Removable parts that go in the dishwasher
If your cooker doesn’t have a dedicated sushi setting, don’t worry—most standard settings will work just fine as long as you follow the correct ratios and steps below.
Gathering Your Ingredients
Here’s what you’ll need for 2 cups of uncooked sushi rice (about 6 servings):
- 2 cups short-grain Japanese rice
- 2¼ cups cold water (or 1:1.1 ratio)
- ¼ cup rice vinegar
- 2 tablespoons sugar
- 1 teaspoon salt
Pro tip: Use room-temperature water for even hydration. Cold tap water works too, but warm water helps distribute moisture more evenly through the grains.
Step 1: Rinse the Rice Thoroughly
This step cannot be overstated. Rinsing removes excess surface starch, which prevents the rice from becoming gummy or clumpy. Here’s how to do it:
- Place the rice in a fine-mesh strainer or bowl.
- Fill with cold water and swirl gently with your fingers.
- Pour off cloudy water and repeat until the water runs clear—usually 4–5 times.
- Let the rice drain completely while preparing the seasoning.
Skipping this step is the #1 reason beginners fail at making sushi rice. Trust me—your final product will thank you.
Step 2: Mix the Seasoning Solution
In a small saucepan, combine rice vinegar, sugar, and salt. Warm over low heat, stirring until the sugar dissolves completely. Do not boil—just heat enough to dissolve the solids. Let it cool to room temperature before adding to the rice.
Why cool it first? Adding hot liquid directly to uncooked rice can cause uneven absorption and affect the cooking process. Room-temperature seasoning ensures even distribution once the rice is done.
Step 3: Add Rice and Water to the Cooker
Transfer the rinsed rice to the inner pot of your rice cooker. Pour in the measured water. Then, add the cooled vinegar mixture. Give everything a gentle stir with a wooden spoon to distribute the flavor evenly.
Note: Some chefs prefer to add seasoning after cooking, but doing it during helps the flavors penetrate deeper. Either method works—experiment and find what you like best!
Step 4: Cook and Rest
Close the lid and select the appropriate setting. If available, choose “sushi” or “white rice.” Otherwise, use the regular “cook” function. Most cycles take around 20–25 minutes total (including warming).
Once finished, let the rice rest for 10–15 minutes with the lid closed. This allows steam to redistribute evenly and makes fluffing much easier. Resist the urge to open the lid early—it disrupts the cooking process.
Step 5: Fluff and Season (Final Touches)
After resting, remove the rice from the cooker using a wide, flat spatula or rice paddle. Transfer to a large mixing bowl. Drizzle the remaining 2 tablespoons of rice vinegar mixture over the top. Using gentle folding motions (not vigorous stirring), incorporate the seasoning until glossy and evenly coated.
Tip: Work quickly but calmly. Over-handling can break delicate grains and lead to mushy rice.
Common Mistakes and How to Avoid Them
Mistake #1: Not Rinsing Enough
Result: Gummy, sticky clumps instead of individual grains.
Solution: Rinse until water runs clear. Patience here pays off big time.
Mistake #2: Using Wrong Water Ratio
Too much water = soupy rice; too little = hard, undercooked grains.
Solution: Stick to 1:1.1 (rice:water). A measuring cup with markings helps accuracy.
Mistake #3: Adding Hot Seasoning
Causes uneven cooking and poor texture.
Solution: Always cool seasoning before adding to raw rice.
Mistake #4: Overfilling the Pot
Most rice cookers max out at 10–12 cups uncooked. Going beyond risks overflow and uneven cooking.
Solution: Plan portions accordingly. Better to cook in batches than risk disaster.
Mistake #5: Skipping the Rest Period
Results in uneven moisture distribution and difficulty fluffing.
Solution: Always let rice sit covered for 10+ minutes post-cooking.
Troubleshooting Your Sushi Rice
Problem: Rice is Too Sticky
If your rice feels gluey or overly moist, you likely didn’t rinse enough or used too much water. Future batches should rinse longer and reduce water by 1–2 tablespoons.
Problem: Rice is Dry or Crumbly
This usually means insufficient water or over-rinsing (which removes too much starch). Try increasing water slightly next time and rinse fewer times.
Problem: Lacks Flavor
Sushi rice needs balanced sweetness, acidity, and salt. Taste your seasoning solution before adding—adjust proportions if needed. A pinch of MSG can also enhance umami if desired.
Problem: Grains Break During Rolling
Gently handled, fresh sushi rice shouldn’t fall apart. If yours does, it may be too old or overworked. Fresh rice (within 3 months of purchase) holds together best.
Tips for Perfect Sushi Every Time
- Use a bamboo mat: When rolling, wrap your sushi mat in plastic wrap to avoid sticking and make cleanup a breeze.
- Warm your hands: Lightly wet and warm your fingers before handling rice—this prevents sticking and improves grip.
- Work efficiently: Have all fillings ready before assembling. Sushi rice loses its optimal texture within 15–20 minutes of preparation.
- Serve immediately: Best eaten fresh. Leftover rice can be stored in an airtight container for up to 2 days—reheat gently with a damp paper towel in the microwave.
Alternative Methods Compared
Rice Cooker vs. Traditional Boiling Method
While traditional boiling involves bringing water to a rolling boil, then reducing to simmer while covering and steaming, the rice cooker automates this process. Advantages include:
- No constant monitoring required
- Consistent results regardless of skill level
- Less risk of burning or drying out
However, purists argue that stovetop methods allow for greater control over heat and timing. But for busy home cooks, the rice cooker offers unbeatable convenience without sacrificing quality.
Rice Cooker vs. Instant Pot
An Instant Pot can also make excellent sushi rice using the “manual” or “pressure cook” setting. The main difference is texture—some find pressure-cooked rice slightly firmer. Experiment both ways to see what you prefer.
Frequently Asked Questions About Making Sushi Rice in a Rice Cooker
Do I really need special sushi rice?
Yes! Short-grain Japanese rice is designed for sushi because of its high starch content and sticky yet firm texture. Regular white rice won’t give you the same results.
Can I use brown rice instead?
Technically yes, but brown rice has a different starch profile and requires longer cooking times. It’s chewier and less traditional for sushi. Stick to white short-grain for best outcomes.
How long does homemade sushi rice last?
Freshly made sushi rice is best eaten within 30–40 minutes. Refrigerated leftovers stay good for up to 2 days when stored properly in an airtight container.
Can I freeze sushi rice?
Freezing alters texture significantly—it becomes hard and dry upon thawing. Avoid freezing unless you plan to reheat and adjust with extra vinegar and steam.
What if my rice cooker doesn’t have a sushi setting?
That’s totally fine! Use the standard “white rice” or “cook” function. The key is following the correct water ratio and seasoning steps outlined above.
Can I make sushi rice in a non-stick rice cooker?
Absolutely. Non-stick surfaces make cleanup easier and help prevent rice from sticking during cooking. Just avoid metal utensils that could scratch the coating.
Conclusion: Why Your Rice Cooker Deserves a Place in Your Kitchen
Making sushi rice in a rice cooker isn’t just possible—it’s revolutionary for anyone who loves Japanese cuisine but wants to skip the hassle of traditional methods. With consistent results, minimal effort, and delicious outcomes, your rice cooker becomes more than just an appliance for plain meals. It transforms into a gateway to authentic flavors, whether you’re crafting simple California rolls or elaborate omakase-style creations.
Remember: the difference between good and great sushi rice comes down to attention to detail—rinsing well, using the right ingredients, and letting the rice rest. Once you master these basics, you’ll be whipping up perfect sushi rice faster than you can say “wasabi.” So go ahead—grab that short-grain rice, fire up your trusty cooker, and start rolling like a pro.
Frequently Asked Questions
Do I really need special sushi rice?
Yes! Short-grain Japanese rice is designed for sushi because of its high starch content and sticky yet firm texture. Regular white rice won’t give you the same results.
Can I use brown rice instead?
Technically yes, but brown rice has a different starch profile and requires longer cooking times. It’s chewier and less traditional for sushi. Stick to white short-grain for best outcomes.
How long does homemade sushi rice last?
Freshly made sushi rice is best eaten within 30–40 minutes. Refrigerated leftovers stay good for up to 2 days when stored properly in an airtight container.
Can I freeze sushi rice?
Freezing alters texture significantly—it becomes hard and dry upon thawing. Avoid freezing unless you plan to reheat and adjust with extra vinegar and steam.
What if my rice cooker doesn’t have a sushi setting?
That’s totally fine! Use the standard “white rice” or “cook” function. The key is following the correct water ratio and seasoning steps outlined above.
Can I make sushi rice in a non-stick rice cooker?
Absolutely. Non-stick surfaces make cleanup easier and help prevent rice from sticking during cooking. Just avoid metal utensils that could scratch the coating.