
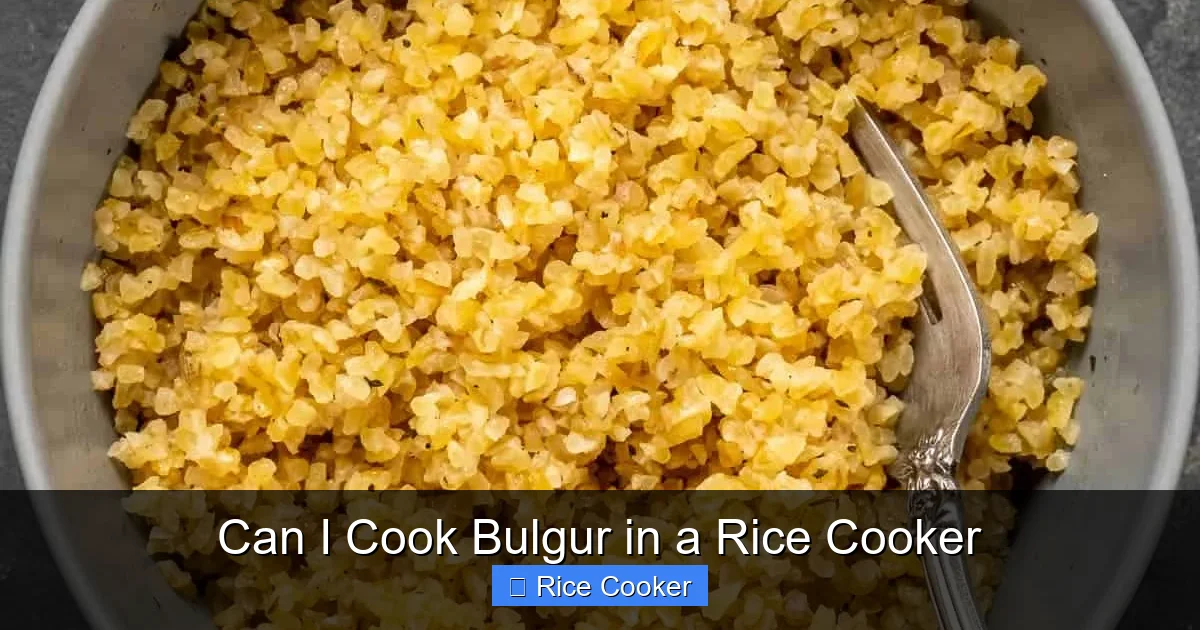
Can I cook bulgur in a rice cooker? Yes—it’s simple, efficient, and yields fluffy, evenly cooked grains every time. With the right ratio and technique, your rice cooker becomes a versatile tool for preparing bulgur quickly and with minimal effort. Whether you’re making tabbouleh, side dishes, or breakfast bowls, this method saves time and ensures consistent results.
Key Takeaways
- Bulgur cooks easily in a rice cooker: It works just like rice, using similar water-to-grain ratios and timing.
- Standard ratio is 2:1 water to bulgur: For most recipes, use two parts liquid (water or broth) for one part bulgur by volume.
- No soaking required: Unlike some grains, bulgur doesn’t need pre-soaking before cooking in a rice cooker.
- Cooking time is short: Most varieties take 10–15 minutes to reach perfection in a rice cooker.
- Perfect for meal prep: Cook large batches at once for salads, pilafs, or quick dinners.
- Customizable flavors: Add herbs, spices, or liquids like lemon juice or olive oil during cooking for extra taste.
- Troubleshooting help: Learn how to fix overcooked, undercooked, or dry bulgur if it doesn’t turn out right.
[FEATURED_IMAGE_PLACEHOLDER]
Can I Cook Bulgur in a Rice Cooker?
Imagine coming home after a long day, opening your rice cooker, and having a warm, nutritious side dish ready in minutes—no stirring, no watching the stove, no risk of burning. That’s exactly what cooking bulgur in a rice cooker offers. This ancient grain, beloved across Mediterranean and Middle Eastern cuisines, transforms into tender, fluffy morsels when treated right. And thanks to modern kitchen appliances, you don’t need years of culinary training to master it.
But first—what exactly is bulgur? Simply put, it’s partially cooked, dried cracked wheat made from durum wheat. Think of it as parboiled before packaging, which speeds up final cooking time. Traditionally used in dishes like tabbouleh or kibbeh, bulgur adds fiber, protein, and a satisfying chewy texture to meals. Now, with your rice cooker doing all the heavy lifting, you can enjoy these benefits without the fuss.
In this comprehensive guide, we’ll walk through everything you need to know about cooking bulgur in a rice cooker—from basic steps to advanced tips, common mistakes, and creative recipe ideas. Whether you’re new to bulgur or a seasoned cook looking for convenience, this article has got you covered.
What Is Bulgur and Why Use It?
Before diving into the how-to, let’s talk about why bulgur deserves a spot in your pantry—and possibly your rice cooker. Originating thousands of years ago in the Fertile Crescent, bulgur was originally created by farmers who needed a way to preserve wheat without losing nutritional value. The process involves steaming, drying, then grinding wheat into coarse to fine flakes. Depending on size, bulgur is categorized as fine, medium, or coarse.
Nutritional Benefits
One cup of cooked bulgur provides about 150 calories, 6 grams of protein, and 8 grams of fiber. It’s also rich in B vitamins, magnesium, iron, and selenium. Because it’s minimally processed, bulgur retains more nutrients than refined grains like white rice or pasta.
Common Uses
You’ll find bulgur starring in:
– Tabbouleh: A fresh parsley-and-tomato salad dressed with lemon and olive oil.
– Bowl meals: Paired with roasted veggies, beans, and tahini sauce.
– Soups and stews: Adds body and heartiness.
– Breakfast porridge: Cooked with milk and sweetened with honey.
– Pilafs: Mixed with onions, garlic, and spices for savory sides.
Now that we’ve established its versatility and health perks, let’s get back to the main question: Can I cook bulgur in a rice cooker?
The Science Behind Cooking Bulgur
Understanding how bulgur behaves during cooking helps explain why a rice cooker works so well. When bulgur absorbs liquid, its starches gelatinize—a process that softens the grain while retaining a slight chewiness. Unlike instant oats or couscous, bulgur isn’t fully hydrated until heated, so precise timing and moisture control are key.
Why Rice Cookers Are Ideal
Rice cookers regulate temperature automatically: they bring water to a boil, then switch to low heat to simmer gently until moisture evaporates completely. This hands-off approach prevents scorching and ensures even cooking—something difficult to achieve on the stovetop unless you’re constantly monitoring.
How It Compares to Other Methods
| Method | Time | Effort | Texture Control |
| Stovetop | 15–20 mins | High (watch closely) | Medium |
| Instant Pot | 8–10 mins | Low | High |
| Rice Cooker | 12–15 mins | Very Low | High |
| Microwave | 5–7 mins | Medium | Low |
As shown above, the rice cooker strikes a perfect balance between speed, ease, and result quality.
Step-by-Step Guide: How to Cook Bulgur in a Rice Cooker
Ready to give it a try? Follow these straightforward steps for foolproof success every time.
Step 1: Measure Your Ingredients
Use a measuring cup to measure both bulgur and liquid. The standard ratio is 1 cup bulgur to 2 cups liquid. You can use plain water, vegetable broth, or even chicken stock for added flavor. If using salted broth, reduce added salt accordingly.
Step 2: Rinse (Optional but Recommended)
While not mandatory, rinsing bulgur removes any dust or debris. Place the bulgur in a fine-mesh strainer and run cool water through it until clear. Drain thoroughly.
Step 3: Add to Rice Cooker Pot
Place rinsed bulgur and measured liquid into the inner pot of your rice cooker. Stir once to distribute evenly.
Step 4: Close Lid and Select Settings
Close the lid securely. On most models, select the “White Rice” setting—this triggers the same high-heat initial phase followed by automatic switching to keep-warm mode. Some advanced units have a dedicated “Grains” or “Whole Grain” setting; use that if available.
Step 5: Wait Patiently
Cooking usually takes 10–15 minutes. Avoid opening the lid during this time—steam escapes and can throw off timing. You’ll hear the cooker click into “keep-warm” mode when done.
Step 6: Let It Rest
Once finished, let the bulgur sit sealed inside for 5 minutes. This allows residual steam to finish hydration without making it soggy.
Step 7: Fluff and Serve
Remove the pot and fluff the bulgur with a fork. Serve hot or let cool slightly for cold salads.
Tips for Perfect Bulgur Every Time
Even with simple instructions, small tweaks make big differences in outcome. Here are pro-level tips to elevate your game.
Use Room-Temperature Liquid
Cold liquid slows heat transfer, leading to uneven cooking. Warm broth or water ensures faster, more uniform absorption.
Don’t Overfill
Most rice cookers max out around 1.5–2 cups of uncooked grain. Going beyond risks overflow or poor heat distribution. Plan portions accordingly.
Add Fat for Moisture
A tablespoon of olive oil or butter in the liquid keeps bulgur from clumping and adds richness. Great for savory dishes.
Season After Cooking
Wait to add salt, lemon juice, or herbs until after cooking. Salt draws out moisture prematurely, potentially creating mushy results.
Try Different Broths
Swap water for mushroom, tomato, or even fruit-infused broths to create unique flavor profiles instantly.
Store Leftovers Properly
Cooked bulgur lasts 3–4 days refrigerated in an airtight container. Reheat gently on the stovetop with a splash of water to revive texture.
Common Mistakes and How to Fix Them
Everyone makes errors—even experienced cooks. Recognizing these pitfalls helps you avoid them next time.
Mistake #1: Using Too Much Water
Result: Soggy, gluey bulgur.
Fix: Stick to the 2:1 ratio. If leftover liquid remains, drain excess gently with a colander after cooking.
Mistake #2: Not Letting It Rest
Result: Sticky, unevenly cooked grains.
Fix: Always rest for 5 minutes post-cooking. This redistributes moisture naturally.
Mistake #3: Opening the Lid Early
Result: Extended cooking time or dryness.
Fix: Resist temptation! Steam loss disrupts internal temp regulation.
Mistake #4: Skipping the Rinse
Result: Dusty taste or gritty mouthfeel.
Fix: Rinse lightly—especially if bulgur feels dusty upon opening the bag.
Mistake #5: Cooking in Bulk Without Adjustments
Result: Inconsistent texture in large batches.
Fix: For 2+ cups, increase liquid by 10% and extend cook time by 2–3 minutes.
Creative Ways to Use Cooked Bulgur
Once you’ve mastered the basics, the possibilities multiply. Try these inspired ideas:
1. Lemon-Herb Tabbouleh (Cold)
Mix cooled bulgur with chopped parsley, mint, diced tomatoes, cucumber, red onion, lemon juice, olive oil, salt, and pepper. Chill before serving.
2. Savory Bulgur Pilaf (Hot)
Sauté onions and garlic in olive oil, add bulgur, toast for 2 minutes, then pour in hot broth. Cook as directed. Finish with toasted pine nuts and parsley.
3. Breakfast Bulgur Porridge
Cook bulgur with milk instead of water. Sweeten with maple syrup, top with sliced bananas and walnuts. Sprinkle cinnamon while warm.
4. Stuffed Peppers
Fill bell peppers with a mix of bulgur, ground meat (optional), tomatoes, and spices. Bake at 375°F (190°C) for 30–35 minutes.
5. Veggie Bowls
Layer cooked bulgur with roasted sweet potatoes, black beans, avocado, and tzatziki sauce. Drizzle with tahini dressing.
6. Soup Thickener
Add bulgur toward the end of simmering soups (like lentil or minestrone). It thickens while adding fiber and body.
Comparing Bulgur to Similar Grains
If you’re considering bulgur, you might wonder how it stacks up against other whole grains. Below is a quick comparison:
Bulgur vs. Couscous
- Processing: Both are pre-cooked, but bulgur uses real wheat while couscous is often made from semolina flour.
- Nutrition: Bulgur has more fiber and protein.
- Cooking Time: Couscous rehydrates in 5 minutes; bulgur needs 10–15.
- Texture: Bulgur is chewier; couscous is lighter.
Bulgur vs. Quinoa
- Protein Content: Quinoa wins (8g vs. 6g per cup).
- Cooking Method: Both work in rice cookers, but quinoa often requires rinsing more thoroughly.
- Flavor: Quinoa has earthier notes; bulgur is milder.
Bulgur vs. Farro
- Texture: Farro is denser; bulgur is softer.
- Cooking Time: Farro takes 30–40 minutes on the stovetop; bulgur is faster.
- Best For: Farro shines in risottos; bulgur excels in salads and quick sides.
Frequently Asked Questions
Can I substitute bulgur for rice in recipes?
Yes, but adjust liquid amounts slightly—bulgur absorbs more moisture initially. Start with equal volumes and taste-test before adding more liquid.
Do I need to soak bulgur before cooking?
No. Unlike some legumes, bulgur doesn’t require soaking. Rinsing is enough to remove surface dust.
Can I cook bulgur in a slow cooker instead?
Technically yes, but it’s not ideal. Slow cookers maintain low temps for hours, which can overcook bulgur into mush. Best for overnight oats-style preparations only.
Is bulgur gluten-free?
No. Made from wheat, bulgur contains gluten. Those with celiac disease or gluten sensitivity should avoid it.
How do I store uncooked bulgur?
Keep in a cool, dry place in an airtight container. It lasts indefinitely—check for moisture or unusual odors before use.
Can I freeze cooked bulgur?
Absolutely. Portion into freezer-safe bags or containers. Thaw in the fridge overnight and reheat with a splash of water to restore texture.
Conclusion: Embrace the Convenience
Cooking bulgur in a rice cooker isn’t just possible—it’s one of the easiest ways to prepare this wholesome grain at home. With minimal effort and maximum flavor potential, your rice cooker becomes a gateway to nutritious, globally-inspired meals. From breakfast porridge to vibrant tabbouleh, the applications are endless.
Remember: consistency comes from following the basics—right ratios, proper resting, and patience. Once you’ve nailed those, experiment with herbs, broths, and toppings to make bulgur uniquely yours. And if something goes wrong? No worries—just adjust next time. Even professional chefs refine their techniques through trial and error.
So go ahead: fill your rice cooker, add bulgur and water, press start, and enjoy the aroma of fresh-cooked grains filling your kitchen. In under 15 minutes, you’ll have a side dish worthy of compliments—or at least a perfectly balanced meal that fuels your day.
Happy cooking!
This is a comprehensive guide about can i cook bulgur in a rice cooker.
Key Takeaways
- Understanding can i cook bulgur in a rice cooker: Provides essential knowledge
Frequently Asked Questions
What is can i cook bulgur in a rice cooker?
can i cook bulgur in a rice cooker is an important topic with many practical applications.