
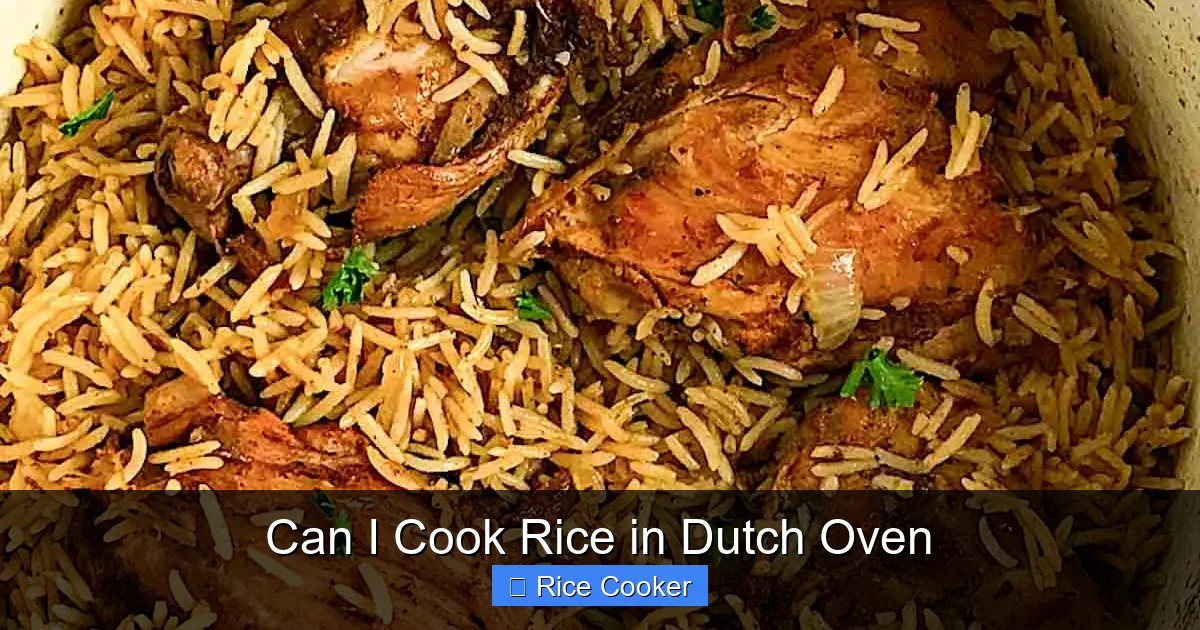
You absolutely can cook rice in a Dutch oven, and it’s easier than you think. With the right ratio and technique, your Dutch oven can deliver fluffy, flavorful rice just like a rice cooker. In this article, we’ll walk you through everything you need—from choosing the best type of rice to mastering the water-to-rice ratio and timing. You’ll also learn pro tips for seasoning, avoiding mushy rice, and even cooking rice ahead of time. Whether you’re camping, prepping for meal prep, or just want more kitchen versatility, using your Dutch oven for rice opens up new possibilities. Plus, we’ll compare it to electric rice cookers and answer common questions so you feel confident every time.
Can I Cook Rice in Dutch Oven? Absolutely — and once you master the method, you’ll wonder why you ever used anything else.
If you love deep flavors, hearty meals, and cooking over open flames (or in your stovetop), chances are you already own a Dutch oven. These cast iron beauties are legendary for soups, stews, braises, and even baking bread. But here’s a secret: they’re also fantastic for making rice. Yes, really.
Cooking rice in a Dutch oven gives you full control over heat and timing, plus it frees up your electric rice cooker for other tasks. Whether you’re preparing a quick weeknight dinner or planning a rustic outdoor feast, learning to cook rice in a Dutch oven adds serious versatility to your kitchen skills. And the best part? It’s simple, affordable, and requires no extra gadgets.
In this complete guide, we’ll break down exactly how to cook perfect rice every single time — no guesswork, no mushy results. We’ll cover everything from rice selection and water ratios to troubleshooting and cleanup. By the end, you’ll be ready to replace your rice cooker with confidence.
Key Takeaways
- Dutch ovens are excellent for cooking rice: Their heavy base and tight-fitting lid help distribute heat evenly, preventing hot spots that can burn or undercook rice.
- Use the right water-to-ratios: A general rule is 1 cup rice to 2 cups water for long-grain white rice, but adjust slightly based on rice type and desired texture.
- Bring to a boil, then reduce to simmer: Boiling first helps hydrate the grains, then lowering the heat allows even cooking without scorching.
- Let rice rest after cooking: Resting for 5–10 minutes lets steam redistribute moisture, fluffing the grains and improving texture.
- Cleaning is simple: Most rice residue comes off easily with warm water; avoid scrubbing immediately to prevent sticking.
- Try different rice types: Basmati, jasmine, brown rice, and even wild rice all work well—each needs slightly different ratios and times.
- No special equipment needed: All you need is a standard Dutch oven, a spoon, and maybe a lid lifter—no rice cooker required.
📑 Table of Contents
- Why Choose a Dutch Oven for Cooking Rice?
- Choosing the Right Rice for Your Dutch Oven
- Essential Tools and Ingredients
- Common Mistakes to Avoid
- Troubleshooting: What If My Rice Doesn’t Turn Out Right?
- Cooking Rice in Different Scenarios
- Cleaning and Maintaining Your Dutch Oven After Cooking Rice
- Final Thoughts: Embrace the Versatility of Your Dutch Oven
Why Choose a Dutch Oven for Cooking Rice?
Dutch ovens aren’t just for heavy-duty braising — they shine in one-pot cooking scenarios where precision matters. When it comes to rice, their thick, heavy base ensures steady, even heat distribution. That means fewer cold spots and no scorched bottom layers.
Unlike thin-walled skillets, Dutch ovens retain heat beautifully. Once brought to a simmer, they keep the temperature stable, which is crucial for rice. Too much heat causes the bottom layer to stick or burn; too little leaves rice gummy. The Dutch oven strikes the perfect balance.
Another advantage? The tight-fitting lid traps steam perfectly. Steam is what cooks rice from the inside out, ensuring each grain absorbs moisture evenly. This mimics the function of an electric rice cooker — minus the cost and energy use.
Plus, Dutch ovens come in various sizes. A 4-quart pot handles about 2 cups of uncooked rice, while a 6-quart version works great for larger batches. They’re also oven-safe, so if you want to finish your rice dish in the oven (like a paella or risotto), you’ve got options.
And let’s not forget portability. Need to cook rice at a campsite or tailgating event? A Dutch oven works on campfires, grills, or portable stoves. No power? No problem.
How a Dutch Oven Compares to Electric Rice Cookers
Many people assume a rice cooker is the only way to get consistently perfect rice. While modern rice cookers are impressive — with fuzzy logic, multiple settings, and automatic shutoff — they’re not necessary. A Dutch oven can do almost everything an electric model does, often better, depending on your priorities.
For example, if you value flavor infusion, a Dutch oven lets you sauté aromatics like onions, garlic, or ginger before adding rice and broth. That builds deeper taste into every bite. Electric rice cookers usually skip that step unless you use a specialized steamer basket.
On the flip side, rice cookers excel at convenience. Press a button, walk away, and return to perfectly cooked rice. With a Dutch oven, you’re actively involved — monitoring the boil, adjusting heat, and resting the rice. Some prefer that control; others find it tedious.
Cost-wise, Dutch ovens win hands down. A quality one lasts decades; rice cookers wear out faster and may need replacement parts.
Ultimately, both tools have strengths. But if you already own a Dutch oven (and most home cooks do), repurpose it for rice — you’ll expand its utility without spending a dime.
Choosing the Right Rice for Your Dutch Oven
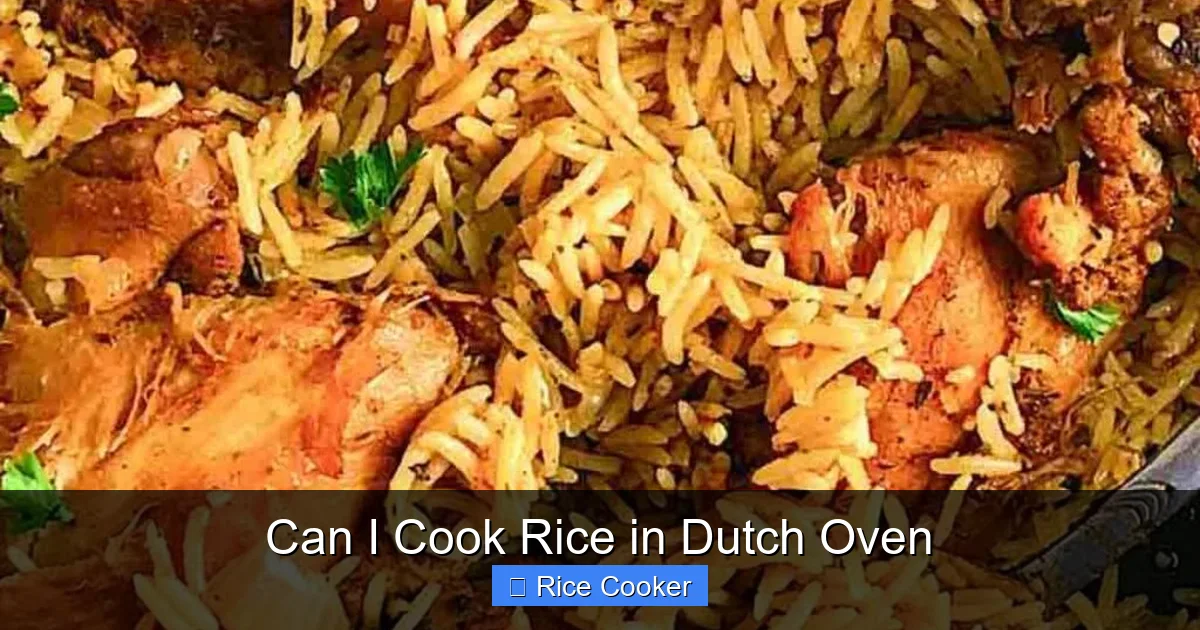
Visual guide about Can I Cook Rice in Dutch Oven
Image source: letscookchicken.com
Not all rice is created equal — and some types work better in a Dutch oven than others. Here’s what to look for:
Long-Grain White Rice
This is the classic choice for fluffy, separate grains. Varieties like basmati and jasmine fall into this category. They absorb water efficiently and don’t clump when cooked properly. Long-grain rice is ideal for dishes like biryani, fried rice, or simple steamed sides.
Short-Grain Rice
Found in sushi and risotto recipes, short-grain rice has sticky starch that makes it cling together. It’s stickier overall, so it requires careful attention during cooking to avoid gluey results. If you love sushi or creamy risottos, go for short grain — but expect more active stirring.
Brown Rice
Higher in fiber and nutrients, brown rice takes longer to cook. Its bran layer slows absorption, so it needs more water and patience. Brown rice works well in Dutch ovens if you plan ahead and use the right ratio.
Wild Rice & Other Specialty Grains
Wild rice is technically a grass seed, not true rice. It expands significantly during cooking and needs generous liquid. Quinoa, barley, and farro can also be cooked in Dutch ovens — each with unique hydration needs.
When shopping, check the package for recommended water ratios. Most brands list ideal cooking methods, including whether to rinse or soak the grains beforehand.
Pro tip: Always rinse long-grain white rice under cold water until the water runs clear. This removes excess starch that causes stickiness. For brown rice, soaking for 30 minutes speeds up cooking and improves texture.
Essential Tools and Ingredients
Before you start, gather these basics:
– A Dutch oven (4–6 quarts recommended)
– Measuring cups and spoons
– Wooden spoon or spatula
– Fine mesh strainer (for rinsing)
– Tongs or fork (for fluffing)
Ingredients:
– High-quality rice (organic preferred if possible)
– Filtered water or broth (broth adds flavor!)
– Salt (optional, but enhances taste)
– Butter or oil (optional, for richness)
Optional extras:
– Steamer insert (helps prevent overcooking if you’re new)
– Lid lifter (for safe handling)
– Timer (your phone works fine)
You don’t need fancy gadgets — just a reliable Dutch oven and willingness to experiment. Remember: practice makes perfect.
Step-by-Step Guide: How to Cook Perfect Rice in a Dutch Oven
Ready to try it? Follow these steps for foolproof results every time:
1. **Measure Your Rice and Water**
Use a 1:2 ratio for long-grain white rice (e.g., 1 cup rice to 2 cups water). Adjust slightly: add ½ cup more water for brown rice, or reduce by ¼ cup for short grain. Always measure dry rice — never after washing.
2. **Rinse the Rice**
Place rice in a strainer and rinse under cool running water. Swirl gently and drain until water is clear. This removes surface starch and prevents gumminess.
3. **Sauté Aromatics (Optional)**
Heat 1 tablespoon oil or butter in the Dutch oven over medium heat. Add chopped onion, garlic, or ginger. Cook 1–2 minutes until fragrant. Skip this if you want plain rice.
4. **Add Rice and Toast Lightly**
Stir in rinsed rice. Let it cook for 1 minute, stirring constantly. This toasts the grains slightly, enhancing nuttiness and preventing mushiness.
5. **Pour in Liquid**
Add salt and bring liquid to a rolling boil. Cover immediately with a tight-fitting lid.
6. **Reduce Heat and Simmer**
Lower heat to low-medium. Keep the lid on and let rice simmer undisturbed for 15–18 minutes (white rice). Brown rice needs 30–40 minutes.
7. **Turn Off Heat and Rest**
Remove from heat. Let sit covered for 5–10 minutes. Don’t peek! Resist the urge to lift the lid early — that releases precious steam.
8. **Fluff and Serve**
Use a fork or chopsticks to gently fluff rice. Discard any remaining liquid (it should be absorbed). Serve immediately.
Pro tip: For extra flavor, substitute half the water with chicken or vegetable broth. Or add a bay leaf or cinnamon stick during simmering.
Common Mistakes to Avoid
Even experienced cooks make errors when switching from rice cookers to Dutch ovens. Watch out for these pitfalls:
Myth: You Must Stir Constantly
False! Stirring disrupts even cooking and breaks apart grains unnecessarily. After adding liquid, stir only once, then leave alone.
Myth: More Water Means Fluffier Rice
Too much water leads to soggy, bland rice. Stick to tested ratios and drain excess liquid if needed.
Myth: All Lids Are Equal
Not all lids seal tightly. If yours leaks steam, try placing a piece of parchment paper between the pot and lid to improve the seal.
Myth: Rice Is Done When Water Evaporates Completely
That’s a recipe for burnt bottoms. Rely on timing and texture — not visual cues — to judge doneness.
Myth: You Can’t Cook Brown Rice
You absolutely can! Just increase water and time. Try 1 cup brown rice to 2¼ cups water, simmered for 35 minutes.
Myth: Leftover Rice Will Never Be Good
Cooled, cooked rice freezes beautifully. Portion into containers and reheat gently in a saucepan with a splash of water.
Troubleshooting: What If My Rice Doesn’t Turn Out Right?
Even with perfect technique, things happen. Here’s how to fix common issues:
Problem: Rice Is Too Dry or Crunchy
Cause: Not enough water or heat was too high.
Fix: Next time, increase water by ¼ cup and reduce heat slightly. Let it rest longer.
Problem: Rice Is Sticky or Gummy
Cause: Overcooked, too much starch, or insufficient rinsing.
Fix: Rinse thoroughly next batch. Reduce cooking time by 2 minutes and avoid lifting the lid.
Problem: Bottom Layer Is Burnt
Cause: Uneven heat or too much direct flame.
Fix: Use medium-low heat and consider placing a trivet under the pot to elevate it slightly.
Problem: Rice Has a Hard Core
Cause: Undercooked center.
Fix: Drain excess water and cover again for 5 more minutes off heat.
Problem: Flavor Is Bland
Cause: No seasoning or insufficient soaking time.
Fix: Add salt during cooking or soak rice overnight for richer absorption.
With each attempt, you’ll learn what works best for your stove, pot, and rice type. Keep notes if needed!
Cooking Rice in Different Scenarios
One of the best things about Dutch ovens is their adaptability. Here’s how to use them creatively:
Campfire or Outdoor Cooking
Dutch ovens are designed for open-flame cooking. Bury the pot in coals for indirect heat, or place it directly over glowing embers. Use a lid lifter for safety. Bring rice to a boil, then transfer to hot coals and cover with a bed of coals on top for gentle simmering.
Meal Prep and Batch Cooking
Make a big pot of rice on Sunday. Store in airtight containers in the fridge for up to 5 days or freeze for months. Reheat gently on the stove with a splash of water.
One-Pot Meals and Grain Bowls
After cooking rice, swap out the water for broth and toss in beans, vegetables, or protein. Simmer together for a complete meal in one pot.
International Dishes
Try Spanish paella, Indian biryani, or Mexican arroz con pollo — all traditionally made in large, heavy pots. The Dutch oven handles the job like a pro.
Cleaning and Maintaining Your Dutch Oven After Cooking Rice
Don’t let rice residue ruin your favorite cookware. Cleaning is easy if you act fast:
– Wait until the pot is completely cool.
– Rinse with warm water — never use cold water on hot iron.
– Use a soft sponge or non-abrasive brush. Avoid steel wool or harsh scrubbers that strip seasoning.
– For stuck-on bits, sprinkle coarse salt and rub with a damp cloth.
– Dry thoroughly and apply a thin layer of food-safe oil if storing long-term.
Never put a cast-iron Dutch oven in the dishwasher — it’ll strip the seasoning and rust the metal.
Final Thoughts: Embrace the Versatility of Your Dutch Oven
Cooking rice in a Dutch oven isn’t just possible — it’s rewarding. It connects you to traditional cooking methods, saves money, and reduces kitchen clutter. Plus, you gain more confidence in the kitchen as you master one-pot wonders.
Whether you’re feeding a family, hosting friends, or simply craving comfort food, your Dutch oven can handle it. Start small: make a pot of jasmine rice tonight and see how it transforms your meals.
And remember — perfection comes with practice. Some batches will be better than others, and that’s okay. Each attempt teaches you something new.
So go ahead. Grab that Dutch oven. Measure your rice. Add water. Bring it to a boil. Then sit back, relax, and trust the process. Before long, you’ll be recommending this method to everyone who asks, “Can I cook rice in a Dutch oven?”
The answer? Absolutely.
Frequently Asked Questions
Can I cook brown rice in a Dutch oven?
Yes! Brown rice takes longer to cook and needs more water than white rice. Use a ratio of 1 cup brown rice to 2¼ cups water and simmer for 35–40 minutes. Soaking the rice beforehand can speed up cooking and improve texture.
Do I need to rinse the rice before cooking in a Dutch oven?
Yes, especially for long-grain white rice. Rinsing removes excess starch that causes stickiness. Rinse under cold water until the runoff is clear, then proceed with cooking.
What size Dutch oven should I use for cooking rice?
A 4-quart Dutch oven works well for 1–2 cups of uncooked rice. For larger batches (3+ cups), use a 6-quart pot. Make sure the lid fits snugly to trap steam effectively.
How do I prevent my rice from burning at the bottom?
Use medium-low heat after bringing the water to a boil. Avoid high flames and ensure your stovetop is level. If burning occurs, reduce heat further and consider elevating the pot slightly with a trivet.
Can I cook rice directly in broth instead of water?
Absolutely! Using broth adds rich flavor. Replace half or all of the water with chicken, beef, or vegetable broth. You can also add herbs, garlic, or onions during the sauté step for extra depth.
Is it okay to lift the lid while cooking rice in a Dutch oven?
It’s best to keep the lid closed throughout cooking. Every time you lift it, steam escapes, which affects timing and texture. Only open it to fluff or serve after the resting period.