
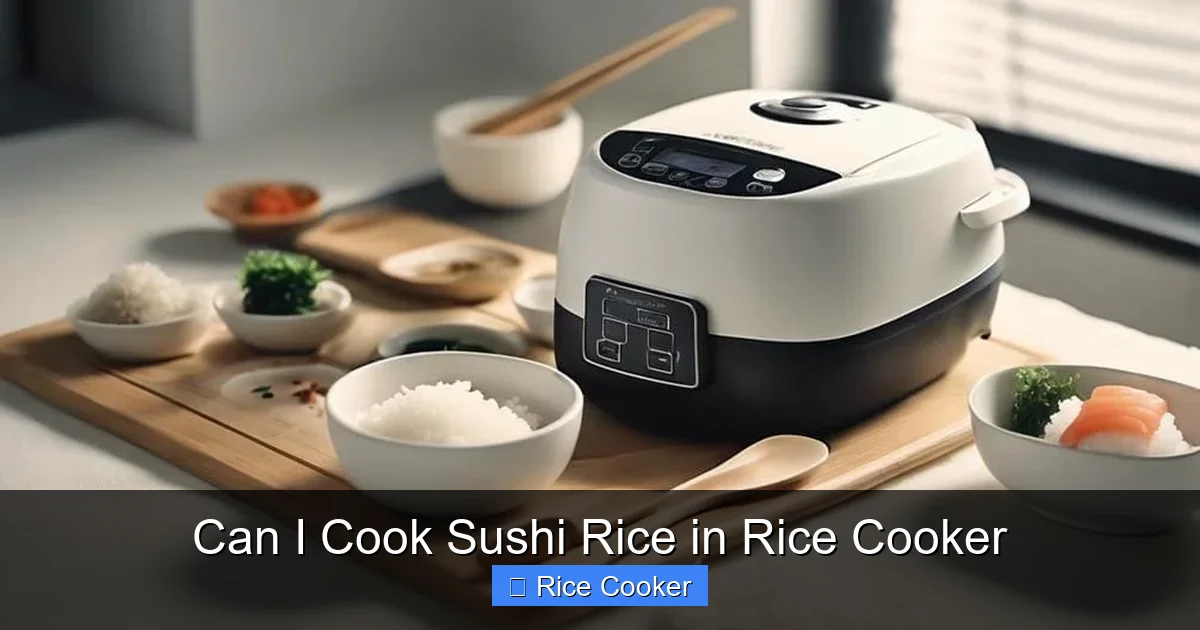
Can I cook sushi rice in a rice cooker? Absolutely—and it’s easier than you think! With the right technique, your rice cooker can produce perfectly seasoned, tender sushi rice that rivals restaurant-quality results. Whether you’re a beginner or a seasoned home cook, this method saves time and ensures consistent, delicious outcomes every single time.
Key Takeaways
- Yes, you can use a rice cooker for sushi rice: Modern rice cookers handle short-grain Japanese rice perfectly, producing the sticky texture needed for sushi.
- Use short-grain Japanese rice: Authentic sushi rice requires a specific type of rice with high starch content; long-grain or basmati won’t give you the right consistency.
- Rinse the rice thoroughly: Removing excess starch prevents gummy or overly sticky results—aim for water that runs clear after rinsing.
- Adjust water-to-rice ratio slightly: Slightly less water than regular white rice helps achieve the ideal clinginess without mushiness.
- Add seasoning after cooking: Mix in rice vinegar, sugar, and salt while the rice is still warm for even distribution and authentic flavor.
- Cool properly before shaping: Let the seasoned rice rest and cool slightly before using for sushi to avoid melting or breaking.
- Clean your rice cooker promptly: Rice vinegar residue can corrode parts if left behind—clean immediately after use to maintain appliance longevity.
📑 Table of Contents
- Can I Cook Sushi Rice in a Rice Cooker? Yes—Here’s How!
- The Science Behind Perfect Sushi Rice
- What Kind of Rice Do You Need?
- Step-by-Step Guide: Cooking Sushi Rice in Your Rice Cooker
- Tips for Success Every Time
- Common Mistakes to Avoid
- Can You Make Brown Sushi Rice?
- How Long Does Sushi Rice Last?
- Alternatives to the Rice Cooker Method
- Final Thoughts: Why This Method Works So Well
- Conclusion
Can I Cook Sushi Rice in a Rice Cooker? Yes—Here’s How!
If you’ve ever dreamed of making fresh sushi at home but worried about getting the rice just right, let me put your mind at ease: yes, you can absolutely cook sushi rice in a rice cooker. In fact, using a rice cooker is one of the most foolproof ways to achieve that perfect balance of tenderness and stickiness that defines great sushi rice. No professional chef skills required—just a few simple steps, the right ingredients, and a little patience.
Sushi rice, also known as shari or hoshigaki (when dried), is the foundation of virtually every sushi dish you’ll find on a menu. It’s made from short-grain Japanese rice that’s been rinsed, cooked, and then seasoned with a mix of rice vinegar, sugar, and salt. The goal? A grain that holds together when rolled but still has a soft, almost buttery mouthfeel. Traditionally, this was done over low heat on the stovetop, but modern rice cookers have evolved far beyond basic functionality—many now come with settings specifically for sushi rice or delicate grains like this. So whether you’re prepping for a dinner party, meal-prepping lunches, or just craving some homemade nigiri, your rice cooker is ready to help.
The Science Behind Perfect Sushi Rice
Before we dive into the “how,” let’s talk about the “why.” Understanding why certain steps matter will help you troubleshoot if things don’t go perfectly the first time—because let’s be real, cooking rice is an art as much as it is science.
Visual guide about Can I Cook Sushi Rice in Rice Cooker
Image source: recipewise.net
Why Short-Grain Rice Works Best
Short-grain rice, especially varieties labeled “Japanese short grain white rice” or “Calrose” (commonly found in North America), has a higher amylopectin content than other types. Amylopectin is a type of starch that makes rice sticky when cooked. This stickiness is essential for sushi because it allows the rice to hold its shape when formed by hand or with a mold. Long-grain rice, like basmati or jasmine, lacks this quality and tends to stay separate and dry—great for pilafs, but not sushi.
Starch vs. Moisture Balance
Another key factor is moisture control. Too much water leads to mushy rice; too little leaves it hard and chalky. When you rinse sushi rice, you’re removing surface starch, which would otherwise make the rice gluey during cooking. But if you rinse too much, you lose flavor and texture. Finding that sweet spot takes practice—but a rice cooker helps automate this process with precise temperature and timing controls.
Heat Distribution Matters
Rice cookers are designed to maintain consistent heat throughout the cooking cycle, ensuring even absorption of water and uniform gelatinization of starch. This means fewer burnt spots and more evenly cooked grains—something hard to replicate on the stovetop unless you’re constantly monitoring the pot.
What Kind of Rice Do You Need?
Not all rice is created equal when it comes to sushi. While you might have generic “Japanese-style rice” in your pantry, it’s worth investing in the real deal—or finding a reliable substitute.
Best Options for Sushi Rice
- Koshihikari: Often called “the Rolls Royce of rice,” this Japanese variety is prized for its glossy appearance, soft texture, and natural sweetness. It’s widely available online or in Asian grocery stores.
- Calrose: Commonly sold under brand names like Thrive Market Organic Short Grain Rice or Lundberg Family Farms Short Grain Brown (though brown isn’t ideal for sushi). Calrose mimics Koshihikari well and works beautifully in rice cookers.
- Amazon.com’s Kirkland Signature Japanese Rice: If you shop Costco, this affordable option delivers excellent results and is a favorite among home chefs.
What NOT to Use
- Long-grain white rice: Will result in fluffy, non-sticky grains unsuitable for sushi.
- Bread flour or instant rice: These aren’t actual rice grains and won’t behave correctly during cooking.
- Cooked leftover rice reheated in the rice cooker: Can lead to uneven texture and poor rehydration.
Step-by-Step Guide: Cooking Sushi Rice in Your Rice Cooker
Now for the fun part—making it yourself! Follow these steps closely, and you’ll have restaurant-quality sushi rice ready in under 30 minutes.
Step 1: Measure and Rinse the Rice
Start by measuring out your desired amount of rice. A typical serving is about ½ cup uncooked per person. Place the rice in a fine-mesh strainer or bowl filled with cold water. Swirl the rice gently with your fingers—don’t rub aggressively—and drain. Repeat until the water runs nearly clear (usually 4–6 rinses). Over-rinsing removes too much starch, leading to dry rice.
Step 2: Add Water to the Rice Cooker
Transfer the rinsed rice to the inner pot of your rice cooker. Most standard rice cookers call for a 1:1.1 water-to-rice ratio (e.g., 1 cup rice to 1.1 cups water), but since sushi rice needs to be slightly firmer and stickier, reduce the water by 1 tablespoon per cup of rice. For example, use 1 cup rice + 1 cup minus 1 tbsp water.
Step 3: Set the Timer and Start Cooking
Close the lid and press “Cook” or select “White Rice” mode. Avoid using “Quick Cook” or “Risotto” modes—they alter pressure and temperature, which affects texture. Let the rice cook undisturbed until the cycle completes. Some advanced models have a “Sushi Rice” setting—use that if available.
Step 4: Steam and Rest
Once the rice cooker switches to “Keep Warm,” do NOT open the lid. Let the rice steam for another 5–10 minutes. This final step ensures full hydration and even texture. Then fluff the rice gently with a rice paddle or wooden spatula—no chopping motions!
Step 5: Season While Warm
This is the secret to authentic flavor! In a small saucepan, combine:
– ¼ cup rice vinegar
– 2 tablespoons sugar
– 1 teaspoon salt
Heat gently until dissolved (do not boil). Immediately pour the mixture over the hot rice while fluffing continuously. Cover with a damp cloth or plate to prevent drying out. Let sit for 15–20 minutes to absorb the flavors.
Step 6: Cool Before Using
After seasoning, spread the rice out on a large cutting board or tray to cool slightly—about 10–15 minutes. This prevents the rice from becoming too sticky to handle when rolling or shaping.
Tips for Success Every Time
Even experienced cooks make mistakes sometimes. Here are pro tips to elevate your sushi game:
- Room-temperature rice is best: If you refrigerate seasoned rice, bring it to room temp before using—it shapes better.
- Use a wooden rice paddle: Metal tools can mash the delicate grains. Wood is gentler and traditional.
- Don’t overcrowd the rice cooker: Stick to recommended capacity limits to ensure proper heat circulation.
- Season in stages: Add half the vinegar mixture first, taste, then add more if needed.
- Practice makes perfect: Your first batch may not be flawless—that’s normal! Keep trying.
Common Mistakes to Avoid
Let’s clear up some myths and missteps so you don’t end up with mushy or bland sushi rice.
Mistake #1: Using Tap Water Only
Hard water contains minerals that can affect taste and texture. Use filtered or bottled water for the cleanest flavor—especially important since sushi rice is eaten plain.
Mistake #2: Skipping the Resting Period
Rushing the cooling or steaming phase leads to uneven absorption of vinegar and inconsistent stickiness.
Mistake #3: Storing Seasoned Rice Wrong
Never refrigerate seasoned sushi rice uncovered—it dries out fast. Store in an airtight container with a damp paper towel on top to retain moisture.
Mistake #4: Using Old Rice
Expired rice loses its ability to absorb liquids properly. Check expiration dates and store rice in a cool, dry place.
Can You Make Brown Sushi Rice?
Technically yes—but it’s not traditional. Brown rice has a nuttier flavor and chewier texture due to its bran layer. While some chefs experiment with it, most purists prefer white short-grain rice for sushi. If you want to try brown sushi rice, increase soaking time (30–45 minutes) and add an extra ¼ cup water per cup of rice. Note that it may not hold together as well when shaped.
How Long Does Sushi Rice Last?
Freshly cooked sushi rice keeps best at room temperature for up to 2 hours. After that, bacteria growth accelerates rapidly. If you must store it longer, refrigerate within 2 hours and consume within 24 hours. Bring to room temp before serving. Never leave sushi rice out overnight—even if it looks fine.
Alternatives to the Rice Cooker Method
While your rice cooker is fantastic, here are quick alternatives if you don’t have one:
- Stovetop: Combine rinsed rice and water in a heavy-bottomed pot. Bring to a boil, reduce heat, cover tightly, and simmer for 15–18 minutes. Turn off heat and let stand 10 minutes.
- Instant Pot: Use the “Manual” or “Pressure Cook” function with a 1:1.1 ratio and natural release.
- Microwave: Not recommended—results are often uneven.
Final Thoughts: Why This Method Works So Well
Cooking sushi rice in a rice cooker isn’t just convenient—it’s reliable. You eliminate guesswork, reduce cleanup, and get consistent results every time. Plus, modern appliances like Zojirushi or Panasonic models offer specialized settings that optimize texture for delicate grains. Once you master this method, you’ll wonder why anyone ever struggled with stovetop rice again.
And remember: sushi is about mindfulness and care. Take your time with each step, taste as you go, and enjoy the process. Whether you’re rolling maki, crafting futomaki, or simply enjoying a piece of nigiri with soy sauce and wasabi, knowing your rice is perfect makes all the difference.
Conclusion
In short: cooking sushi rice in a rice cooker is not only possible—it’s one of the easiest and most effective ways to do it at home. With short-grain Japanese rice, careful rinsing, precise water ratios, and timely seasoning, you’ll create sushi rice that’s tender, flavorful, and perfectly sticky. No special equipment beyond your trusty appliance is needed. So go ahead—grab that rice cooker, measure out your rice, and start making sushi tonight. Your taste buds (and your dinner guests) will thank you.
Frequently Asked Questions
Can I use any type of rice for sushi in a rice cooker?
No—only short-grain Japanese rice (like Koshihikari or Calrose) works best. Long-grain rice lacks the stickiness needed for sushi. Always check labels to confirm it’s labeled “short grain” or “Japanese rice.”
Do I need a special rice cooker for sushi rice?
Not necessarily! Any standard electric rice cooker can handle sushi rice, though models with a dedicated “Sushi Rice” setting (like Zojirushi) offer slight advantages in precision. The key is using the correct water ratio and following proper rinsing and seasoning steps.
How much water should I use per cup of rice?
For sushi rice, use slightly less water than usual: about 1 cup water minus 1 tablespoon per 1 cup of rice. This creates the ideal firm-yet-sticky texture. Adjust based on your rice cooker’s instructions.
Can I make sushi rice ahead of time?
Yes, but only if stored properly. Seasoned sushi rice should be used within 2 hours at room temperature, or refrigerated within 2 hours and consumed within 24 hours. Always cover with a damp cloth or plastic wrap to prevent drying.
Why is my sushi rice too sticky or too dry?
Too sticky usually means over-rinsing or too much water. Too dry suggests under-rinsing or insufficient water. Practice measuring rinses until the water runs clear, and adjust water ratios incrementally.
Is it safe to leave sushi rice in the rice cooker overnight?
Absolutely not. Bacteria grow rapidly in cooked rice above 40°F (4°C). Discard any rice left out for more than 2 hours. If storing, refrigerate promptly and reheat safely before use.