
Can you use Rice a Roni in a rice cooker? Absolutely! This convenient shortcut works great for busy weeknights, offering consistent results without sacrificing taste or texture. With just a few simple steps—like adjusting water levels and timing—you’ll have delicious, fluffy rice dishes ready in minutes. Whether you’re making classic chicken and rice or experimenting with new flavors, your rice cooker makes the process foolproof.
If you’ve ever found yourself staring into your pantry wondering what to make for dinner, chances are you’ve reached for a box of Rice a Roni. Known for its convenience and bold flavors—whether it’s original, garlic butter, or cheddar broccoli—this boxed meal has been a staple in American kitchens since the 1960s. But here’s a question many home cooks ask: **Can I put Rice a Roni in a rice cooker?** The short answer? Yes—and not only is it possible, but it might even be easier and more reliable than traditional stovetop preparation.
Using a rice cooker transforms the process from “monitor-and-stir” to “set-it-and-forget-it.” No more watching the pot like a hawk, worried about scorching or undercooked grains. Instead, you add your ingredients, press a button (or turn a dial), and let modern technology handle the rest. In this article, we’ll walk you through everything you need to know about cooking Rice a Roni in a rice cooker—from setup and ingredient prep to troubleshooting common issues and creative recipe ideas. By the end, you’ll feel confident using your appliance to whip up delicious, restaurant-quality meals in under 30 minutes.
Key Takeaways
- Rice a Roni works well in most standard rice cookers. Its pre-seasoned mix is designed for stovetop cooking but adapts easily to electric models.
- You’ll need slightly less water than with plain white rice. Follow package directions as a base, then reduce liquid by 1–2 tablespoons per cup.
- Cooking time may be shorter than traditional methods. Most rice cookers finish the job in 15–20 minutes on average.
- Seasoning packets should be added at the beginning. This ensures even flavor distribution throughout the dish.
- Stirring halfway through helps prevent sticking or uneven cooking. Use a non-metallic utensil to avoid damaging your cooker’s interior.
- Clean your rice cooker promptly after use. Residue from sauces or seasonings can harden over time if not washed immediately.
- Experiment with liquids beyond water—broth adds extra depth! Chicken or vegetable broth enhances flavor without complicating the process.
📑 Table of Contents
- Why People Choose Rice a Roni Over Plain Rice
- The Science Behind Cooking Rice a Roni in a Rice Cooker
- Step-by-Step Guide: How to Cook Rice a Roni in Your Rice Cooker
- Common Mistakes and How to Fix Them
- Creative Ways to Upgrade Your Rice a Roni Dish
- Maintenance Tips to Extend Your Rice Cooker’s Life
- Final Thoughts: Is Rice a Roni Worth It in a Rice Cooker?
Why People Choose Rice a Roni Over Plain Rice
Rice a Roni stands out because it combines two things people love: instant gratification and rich flavor. Unlike plain white rice—which requires separate seasoning—this product comes pre-mixed with rice, pasta, herbs, spices, and sometimes vegetables. That means fewer ingredients to measure, less cleanup, and faster assembly. For families juggling homework, sports, and errands, that efficiency is priceless.
But convenience isn’t the only reason it remains popular. The brand offers dozens of varieties—each with unique combinations like lemon pepper herb, smoked turkey, or spicy Mexican. This versatility lets you switch up dinners without buying new ingredients every night. And honestly? Sometimes, you just don’t have time to marinate chicken or chop onions from scratch. Rice a Roni fills that gap beautifully, especially when paired with canned beans, frozen peas, or leftover roasted veggies.
Still, some purists argue that homemade always tastes better. While there’s truth to that sentiment, Rice a Roni doesn’t have to be a last-minute sacrifice. When prepared properly—especially in a rice cooker—it delivers satisfying results that rival many restaurant meals. Plus, using an appliance designed specifically for cooking grains means better heat control, consistent moisture, and minimal risk of burning.
The Science Behind Cooking Rice a Roni in a Rice Cooker
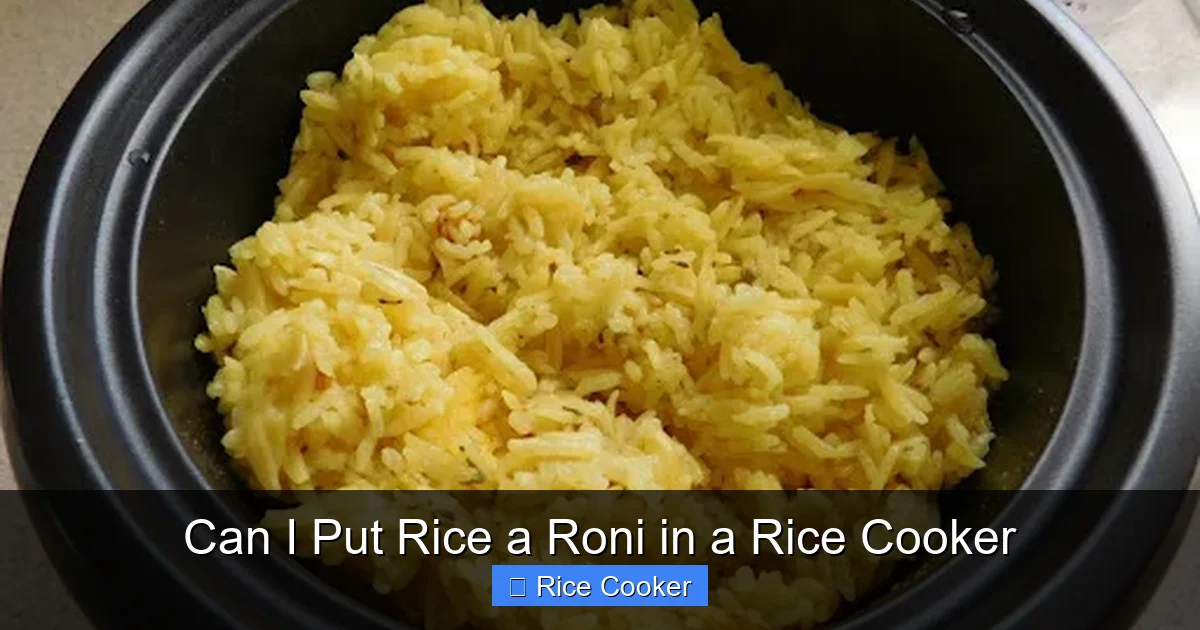
Visual guide about Can I Put Rice a Roni in a Rice Cooker
Image source: lh3.googleusercontent.com
Before diving into recipes, it helps to understand *how* rice cookers work—and why they’re ideal for this type of dish. Most modern models use a thermostat-controlled heating element beneath a metal bowl. As water evaporates during the initial boil, steam pressure builds until it triggers the “keep warm” cycle. At that point, residual heat finishes drying out any remaining moisture without overcooking the grains.
This closed-loop system is perfect for Rice a Roni because:
– It eliminates the need for constant stirring.
– Prevents scorching by maintaining steady temperatures.
– Ensures even hydration across all components (rice, pasta, veggies).
However, not all rice cookers are created equal. Some older models lack advanced sensors and may take longer to detect doneness. Newer digital ones often include fuzzy logic, which adjusts timing based on grain type and volume—making them even more forgiving for mixed dishes like Rice a Roni.
Another key factor is moisture content. Unlike plain rice, which absorbs water gradually, Rice a Roni contains dry pasta and sometimes dehydrated onion/tomato powder. These absorb liquid differently, so using too much water leads to soggy noodles or mushy rice. Too little, and your meal stays undercooked and chalky.
That’s where adjustments come in handy. Most packages recommend 1½ cups water per 1 cup dry mix. But in a rice cooker, you’ll typically reduce that by 10–20%. Think of it like baking cookies: ovens vary slightly, so slight tweaks ensure perfection every time.
Step-by-Step Guide: How to Cook Rice a Roni in Your Rice Cooker
Ready to give it a try? Here’s how to do it right:
Gather Your Ingredients
Start with one box of Rice a Roni (any variety), plus optional extras like:
– ½ cup frozen peas or corn
– ¼ cup shredded cheese
– 1 diced tomato (fresh or canned)
– 1 cup cooked protein (chicken, sausage, or beans)
Prep the Mixer
Open the box and pour the entire contents into the inner pot of your rice cooker. Don’t skip this—even seasoned mixes benefit from being distributed evenly.
Add Liquid
Measure 1¼ cups water per 1 cup dry mix (adjust based on your cooker’s performance). If you’re adding broth instead of water, use the same volume. Pro tip: Warm liquids help activate starches faster, reducing cooking time.
Include Seasoning Packets
Tear open the included seasoning packet(s) and sprinkle them directly onto the mixture. Stir gently with a wooden spoon to coat everything lightly. Avoid compacting the mix—fluffier layers cook more uniformly.
Start Cooking
Place the inner pot back into the base, close the lid securely, and select the appropriate setting. Standard white rice mode usually works best. Press start and wait patiently!
Stir Midway (Optional)
After 8–10 minutes, lift the lid and stir once with a silicone spatula. This redistributes heat and prevents clumping. Return the lid and continue cooking.
Let It Rest
Once done, let the cooker sit unplugged for 5 minutes before opening. This allows steam to redistribute and finalize texture.
Following these steps yields tender rice, al dente pasta, and well-blended flavors—all without babysitting the stove.
Common Mistakes and How to Fix Them
Even experienced cooks hit snags now and then. Here’s how to avoid—and fix—the usual pitfalls:
Mistake #1: Using Too Much Water
Result: Soupy, gluey mess.
Solution: Start with reduced amounts and add more only if needed next time. Keep notes!
Mistake #2: Skipping the Seasoning Packet
Result: Bland, forgettable dinner.
Solution: Never omit the magic powder—it’s what makes Rice a Roni special.
Mistake #3: Not Cleaning the Inner Pot Promptly
Result: Sticky residue ruins future batches.
Solution: Rinse immediately after cooking; scrub stubborn bits with warm soapy water.
Mistake #4: Overloading the Cooker
Result: Uneven cooking, cold spots.
Solution: Stick to half-full capacity for best results.
Mistake #5: Ignoring Manufacturer Instructions
Result: Inconsistent outcomes across different models.
Solution: Always consult your rice cooker’s manual—some have specific settings for mixed grains.
By learning from others’ errors, you’ll master the art faster and enjoy trouble-free meals every time.
Creative Ways to Upgrade Your Rice a Roni Dish
Plain versions are fine—but why stop there? Elevate your dinner game with these clever twists:
Cheesy Comfort Boost
Add ½ cup grated cheddar or Monterey Jack during the last 2 minutes of cooking. Cover tightly so cheese melts into every bite.
Protein Powerhouse
Sauté ground beef or Italian sausage in olive oil before adding Rice a Roni and water. Brown it thoroughly first for maximum flavor impact.
Veggie Fiesta
Toss in chopped bell peppers, zucchini, or spinach along with the seasoning packet. The steam wilts greens perfectly without turning them bitter.
Spicy Kick
Mix in ¼ tsp cayenne pepper or 1 tbsp hot sauce for heat lovers. Balance acidity with a splash of lemon juice post-cooking.
Global Fusion Flavors
Try Thai-inspired: stir in 1 tbsp fish sauce, 1 minced shallot, and ½ cup coconut milk instead of water. Garnish with cilantro and lime wedges.
These upgrades keep leftovers exciting and stretch your grocery budget further. Plus, kids often prefer familiar bases with surprise additions—so sneak in those veggies!
Maintenance Tips to Extend Your Rice Cooker’s Life
Your appliance deserves care too! After each use:
– Remove the inner pot and wash it by hand (never submerge the base).
– Wipe the exterior with a damp cloth.
– Check the sealing ring for food debris—clean it weekly.
– Store the unit unplugged and dry.
Regular maintenance prevents mold growth, unpleasant odors, and mechanical wear. A well-cared-for rice cooker lasts years and continues delivering flawless results.
Also consider investing in a non-stick inner pot if yours scratches easily. Replacement parts are widely available online and affordable. And always use utensils made of wood, silicone, or plastic—never metal—to protect the coating.
Final Thoughts: Is Rice a Roni Worth It in a Rice Cooker?
In short? Yes—absolutely. While homemade meals will always hold a special place in your heart, Rice a Roni offers unmatched speed and consistency—especially when leveraged with smart tools like your rice cooker. It’s no longer just a backup plan; it’s a legitimately delicious, time-saving solution for busy households.
Whether you’re feeding picky eaters, preparing last-minute guests, or simply craving comfort food after a long day, this combo delivers. Experiment with flavors, adjust liquids to suit your model, and don’t fear minor mistakes—they’re part of the journey. Soon enough, you’ll be recommending it to friends who never knew such convenience existed.
So go ahead: open that box, grab your cooker, and press play. Your taste buds (and schedule) will thank you.
Frequently Asked Questions
Can I cook any variety of Rice a Roni in a rice cooker?
Yes, all standard varieties—including garlic butter, cheddar broccoli, and spicy Mexican—work well in rice cookers. Just follow adjusted water ratios and monitor early batches until you find your preferred texture.
Do I really need to stir halfway through cooking?
Not strictly necessary, but recommended for even heat distribution and preventing clumps, especially with denser mixes like beef & barley or chicken & wild rice.
What if my rice cooker has a “brown rice” setting—should I use it?
Generally no. Brown rice settings run hotter and longer, which can overcook Rice a Roni’s delicate pasta and seasonings. Stick to “white rice” or “basic” modes.
Can I freeze leftovers?
Absolutely! Cool completely, portion into airtight containers, and store up to 3 months. Reheat with a splash of water to restore moisture.
Why does my Rice a Roni sometimes taste salty?
Seasoning packets contain salt and MSG. If using broth or adding processed meats/cheese, total sodium increases. Try rinsing cooked mix under cool water briefly to reduce saltiness.
Is it safe to leave Rice a Roni in the rice cooker overnight?
No. Once cooked, food should not sit at room temperature for more than 2 hours. Always transfer leftovers to the fridge promptly and reheat thoroughly before serving.