
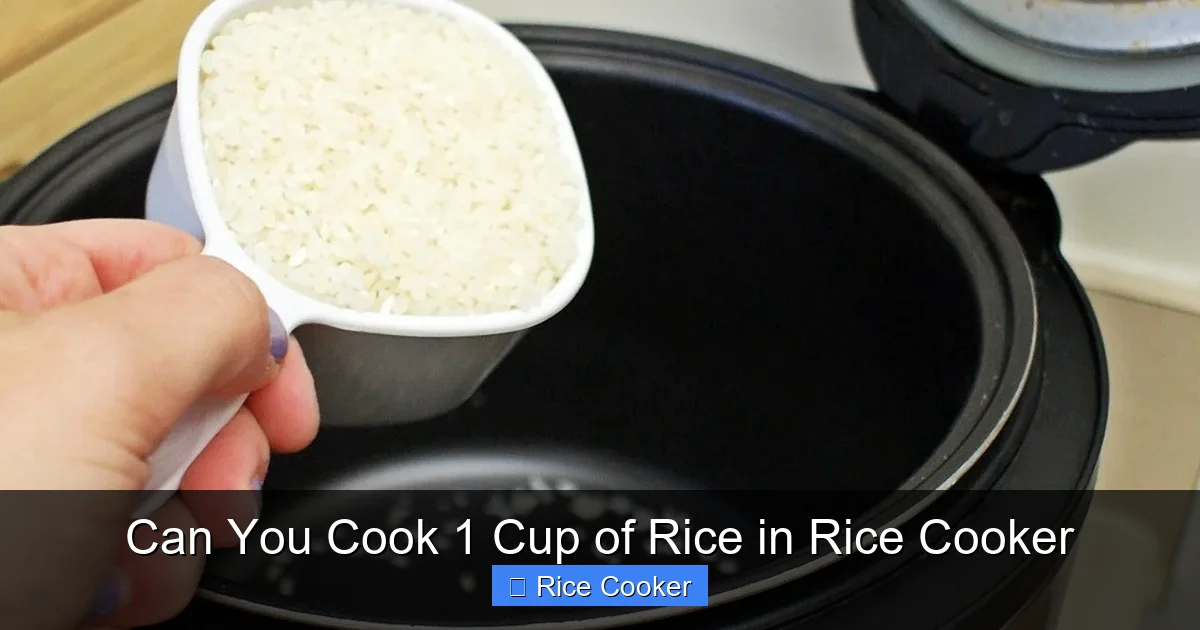
Absolutely, you can cook 1 cup of rice in a rice cooker—and it’s one of the simplest ways to make perfectly cooked grains. Whether you’re using white rice, brown rice, or even specialty grains, a rice cooker handles the hard work of measuring water, timing, and heat control automatically. With just the right water-to-rice ratio and a few smart tips, your one-cup batch will turn out fluffy, tender, and ready to enjoy.
Key Takeaways
- Yes, you can cook 1 cup of rice in a rice cooker—it’s efficient and produces consistent results every time.
- The ideal water-to-rice ratio is typically 1:1.5, meaning 1 cup of dry rice needs about 1.5 cups of water for most types.
- Different rice varieties require different ratios and cooking times; adjust accordingly (e.g., brown rice needs more water and longer cooking).
- Pre-soaking rice can reduce cooking time and improve texture, especially for brown or wild rice.
- Always measure rice by volume, not weight, and rinse it before cooking to remove excess starch.
- Let the rice rest after cooking—this allows steam to distribute evenly and makes fluffing easier.
- Cleaning and maintaining your rice cooker regularly ensures better performance and longevity.
📑 Table of Contents
- Can You Cook 1 Cup of Rice in a Rice Cooker?
- Understanding Rice Cookers and Their Functions
- Choosing the Right Type of Rice for Your 1 Cup Batch
- Measuring Rice and Water Accurately
- Step-by-Step Guide: Cooking 1 Cup of Rice in a Rice Cooker
- Troubleshooting Common Rice Cooker Mistakes
- Tips for Perfect Rice Every Time
- Creative Ways to Use Your Cooked Rice
- Maintenance and Care for Your Rice Cooker
- Conclusion
Can You Cook 1 Cup of Rice in a Rice Cooker?
If you’re new to rice cookers or simply wondering whether you can use yours for small batches, the short answer is: absolutely! Cooking 1 cup of rice in a rice cooker is not only possible—it’s one of the most common and reliable uses for this kitchen appliance. Whether you’re making lunch for one, testing a new recipe, or just craving a warm bowl of comfort food, a rice cooker handles the job with precision and ease. In fact, many people find that cooking smaller amounts actually works better than trying to scale up a large batch, especially when aiming for perfectly fluffy, non-sticky grains.
Rice cookers are designed to automate the entire process—from adding the right amount of water to controlling temperature during cooking and warming afterward. This means you don’t have to stand over the stove, stir constantly, or worry about burning the bottom. With just a few simple steps, you can go from dry rice to tender, ready-to-eat grains in under 30 minutes. Plus, most modern rice cookers come with preset modes for different types of rice (like jasmine, basmati, brown, or sushi), so even if you’re experimenting, your cooker can guide you.
In this article, we’ll walk through everything you need to know about cooking 1 cup of rice in a rice cooker—from understanding water ratios to choosing the right type of rice, troubleshooting common issues, and even getting creative with flavor additions. By the end, you’ll feel confident that no matter what kind of rice you’re using, your rice cooker is up to the task.
Understanding Rice Cookers and Their Functions
A rice cooker is more than just a pot with a timer—it’s a smart kitchen tool engineered specifically for cooking rice. Most models feature an inner pot made of non-stick aluminum or ceramic, a heating element at the base, and an automatic shut-off mechanism that kicks in once the rice is fully cooked. Some advanced models even include fuzzy logic technology, which adjusts cooking time and temperature based on the type and quantity of rice being cooked.
Visual guide about Can You Cook 1 Cup of Rice in Rice Cooker
Image source: storables.com
How Does a Rice Cooker Work?
When you add water and rice to the cooker and press the “Cook” button, the heating element begins to warm the water. As the liquid heats up, it evaporates slightly, creating steam. The rising steam cooks the rice from the top down while the heat from the bottom softens the grains from the inside. Once all the water has been absorbed and the internal temperature reaches a certain point, the cooker detects that the rice is done and switches to “Keep Warm” mode—usually between 140°F and 170°F.
This entire cycle happens automatically, which is why rice cooked in a rice cooker tends to be more consistent than stovetop versions. There’s less risk of undercooking or overcooking because the machine regulates itself. And since you’re using measured ingredients, you get repeatable results every time.
Why Use a Rice Cooker Instead of the Stove?
Many home cooks still rely on the stovetop for cooking rice, but there are several advantages to using a rice cooker—especially for small batches like 1 cup:
- Consistency: No more guessing whether your rice is done until it’s already mushy or crunchy.
- Hands-off convenience: Set it and forget it—perfect for busy days or multitasking.
- Better texture: Rice cookers produce fluffier, more evenly cooked grains due to precise heat control.
- Safety: Less chance of boiling over or burning, especially if you step away from the kitchen.
For someone cooking just 1 cup of rice, a rice cooker saves time, reduces cleanup, and guarantees a better outcome than most beginner stovetop methods.
Choosing the Right Type of Rice for Your 1 Cup Batch
Not all rice is created equal—and the type you choose affects both the water ratio and cooking time. Before you start measuring water, decide what kind of rice you want to cook. Here’s a quick overview of popular options:
Visual guide about Can You Cook 1 Cup of Rice in Rice Cooker
Image source: expertreviewsbestricecooker.com
White Rice
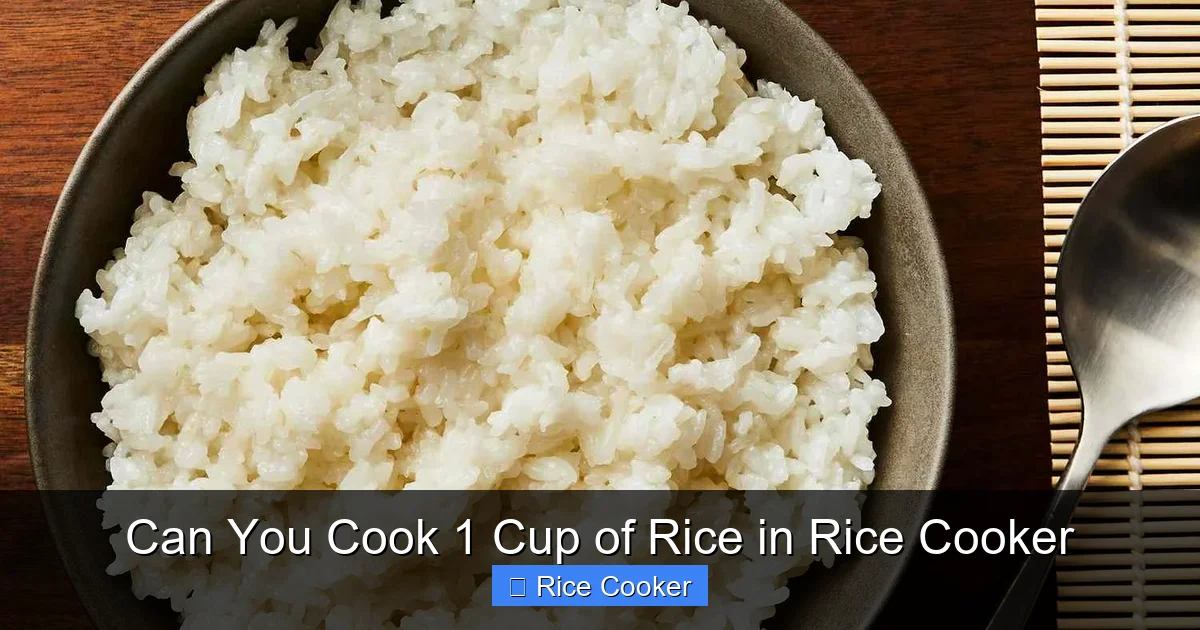
White rice is the most common choice for beginners. It includes the bran and germ removed during milling, giving it a mild flavor and soft texture. Short-grain (like sushi rice), medium-grain, and long-grain varieties all work well in a rice cooker. For 1 cup of white rice, use approximately 1.5 cups of water.
Brown Rice
Brown rice retains its nutty flavor and chewy texture because it’s less processed. However, it also requires more water and longer cooking time. For 1 cup of brown rice, use about 1.75 to 2 cups of water. Soaking it overnight can further improve texture and reduce cooking time.
Jasmine and Basmati Rice
These aromatic varieties are popular in Asian cuisines. Jasmine rice is sticky and slightly sweet, while basmati is fluffy and fragrant. Both need around 1.5 cups of water per 1 cup of dry rice. Rinse them well before cooking to prevent clumping.
Wild Rice
Technically a grass seed, wild rice takes the longest to cook—often 45–60 minutes. Use 2 cups of water for every 1 cup of wild rice. It’s great mixed with other grains or used in salads.
Sushi Rice
Short-grain sushi rice is sticky and ideal for rolls and sashimi bowls. It needs exactly 1.25 cups of water per 1 cup of rice. Don’t rinse sushi rice too vigorously, as some starch helps bind the grains together.
Knowing which rice you’re working with helps you select the correct setting (if your cooker has presets) and adjust water levels accordingly.
Measuring Rice and Water Accurately
One of the biggest reasons people struggle with rice is inaccurate measuring. Unlike recipes that call for grams (which are weight-based), rice is almost always measured by volume—typically using standard U.S. measuring cups. A true “cup” of dry rice weighs about 180–200 grams, depending on the variety.
How Much Water Do You Need?
The general rule of thumb is:
- White rice: 1.5 cups water per 1 cup rice
- Brown rice: 1.75–2 cups water per 1 cup rice
- Wild rice: 2 cups water per 1 cup rice
- Sushi rice: 1.25 cups water per 1 cup rice
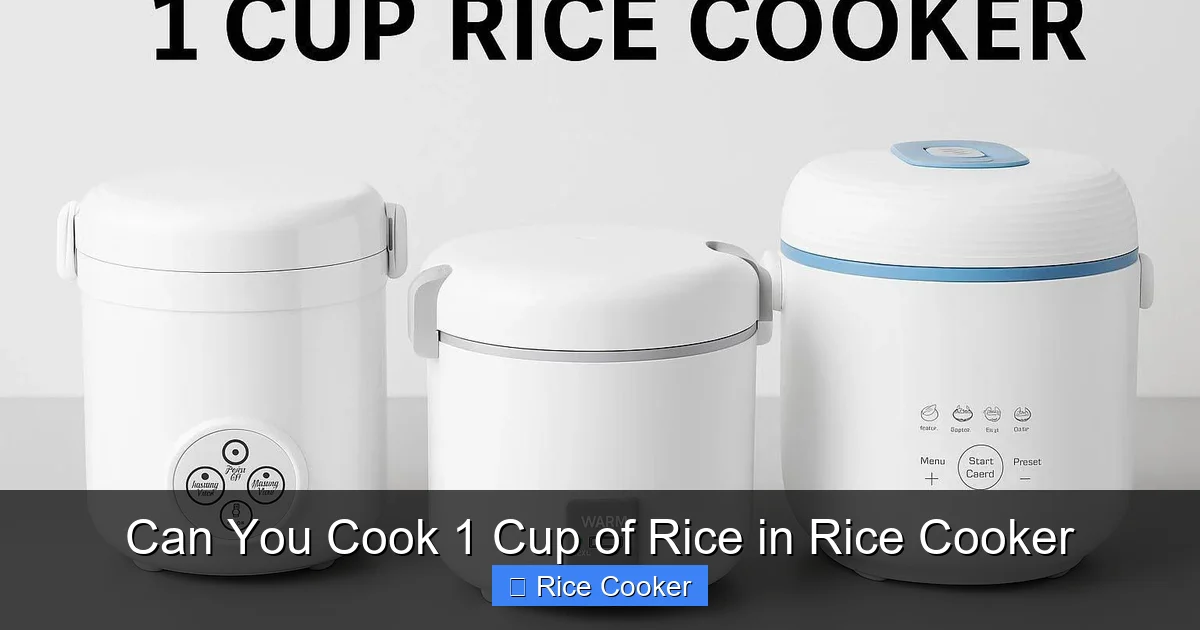
Some rice cookers come with measuring cups included, but if yours doesn’t, use a clear glass or metal measuring cup for accuracy. Avoid scooping rice directly into the cooker with the same spoon you used to scoop dry rice—this can compact the grains and throw off your ratio.
Rinsing Your Rice
Before cooking, rinse your rice under cold running water until the water runs clear. This removes excess surface starch, which can make rice gummy if left unchecked. Rinsing also helps prevent clumping, especially with sticky rice varieties.
To rinse efficiently:
- Place rice in a fine-mesh strainer or sieve.
- Hold it under cool tap water and swish the rice gently with your fingers.
- Continue until water is nearly clear (usually 2–3 rinses).
- Shake off excess water—do not drain completely.
Leaving a little moisture on the surface helps the rice absorb water evenly during cooking.
Step-by-Step Guide: Cooking 1 Cup of Rice in a Rice Cooker
Ready to make your first perfect cup? Follow these simple steps:
Step 1: Measure and Rinse the Rice
Use a 1-cup measuring cup to portion out your dry rice. Transfer it to a strainer and rinse thoroughly under cold water. Shake off excess water—you want the rice damp but not dripping.
Step 2: Add Rice and Water to the Inner Pot
Place the rinsed rice into the inner pot of your rice cooker. Add the appropriate amount of water based on the rice type (see chart above). For white rice, that’s 1.5 cups. Make sure the water level is visible above the rice—never fill past the max line unless specified in your manual.
Step 3: Select the Right Setting
If your rice cooker has multiple settings (e.g., white rice, brown rice, quick cook), choose the one matching your grain. Otherwise, just press “Cook.” Most basic models automatically detect when to switch to “Warm.”
Step 4: Start Cooking
Close the lid securely and press the “Cook” button. The cooker will take 15–30 minutes to complete the cycle, depending on the type of rice. Do not lift the lid during cooking—steam escapes, and temperature drops, which can affect results.
Step 5: Let It Rest
Once the cooker switches to “Warm,” let the rice sit for 5–10 minutes. This resting period allows residual steam to finish cooking the center of each grain and makes fluffing much easier.
Step 6: Fluff and Serve
Use a fork to gently fluff the rice, separating any clumps. Serve immediately or keep it warm on the “Warm” setting for up to an hour.
Pro tip: If your rice seems too wet or sticky, spread it out on a baking sheet and let it air-dry for 5–10 minutes before reheating.
Troubleshooting Common Rice Cooker Mistakes
Even with the best tools, things don’t always go perfectly. Here’s how to fix the most common issues when cooking 1 cup of rice:
Rice Is Too Dry or Undercooked
This usually happens when too little water was used or the cooker wasn’t preheated properly. Next time, increase water by ¼ cup and ensure the inner pot is clean and dry before adding rice.
Rice Is Mushy or Sticky
Overwatering or over-stirring after cooking causes this. Stick to the recommended water ratio and avoid fluffing too aggressively. Also, check if your rice was rinsed excessively—too much starch removal leads to dryness, while too little causes stickiness.
Rice Burns or Scorches at the Bottom
This suggests the inner pot needs cleaning or replacement. Mineral buildup or dried-on residue can insulate heat. Clean the pot regularly with mild soap and water—never use abrasive scrubbers.
Cooker Doesn’t Switch to “Warm” Mode
Check the power connection and ensure the lid is sealed tightly. If the issue persists, the thermostat may be faulty and need professional repair.
Rice Takes Too Long to Cook
Brown and wild rice naturally take longer. If your model lacks a dedicated setting, consider soaking the rice for 30 minutes beforehand to speed up absorption.
Tips for Perfect Rice Every Time
Want your 1-cup batches to be restaurant-quality? Try these expert tips:
- Use room-temperature water: Cold water slows cooking; warm water helps rice absorb moisture faster.
- Don’t peek during cooking: Each time you open the lid, you lose heat and steam, extending cook time.
- Store leftover rice properly: Cool cooked rice quickly in the fridge within 1 hour and reheat with a splash of water to restore moisture.
- Experiment with broth instead of water: Replace half the water with chicken, vegetable, or coconut milk for extra flavor.
- Try the absorption method for extra fluffiness: After the cooker switches to “Warm,” let it sit covered for 10 minutes without fluffing—then gently stir.
Creative Ways to Use Your Cooked Rice
Once you master the basics, the possibilities expand! Use your perfectly cooked 1-cup rice in countless dishes:
- Meal prep bowls: Combine with roasted veggies, grilled chicken, and tahini dressing.
- Fried rice: Sauté with soy sauce, garlic, eggs, and whatever protein/vegetables you have.
- Risotto-style dishes: Slowly add warm broth while stirring to create creamy, rich textures.
- Desserts: Mix with cinnamon, honey, and nuts for rice pudding.
- Bread and muffins: Substitute part of the flour with cooked rice flour for added nutrition and chew.
Having a reliable method for cooking small batches means you’re never stuck with leftover rice that goes bad—or worse, wasted.
Maintenance and Care for Your Rice Cooker
To keep your rice cooker performing well—and lasting years—follow these care tips:
- Clean the inner pot after each use: Wash with warm, soapy water. Avoid metal utensils that can scratch the non-stick coating.
- Wipe the exterior and lid seal: Use a damp cloth to remove spills and prevent mold.
- Descale periodically: Hard water leaves mineral deposits that affect performance. Use vinegar or a commercial descaler monthly.
- Store in a dry place: Keep the unit unplugged and fully dry before storing.
A well-maintained rice cooker will give you consistent results and last for many, many meals.
Conclusion
Cooking 1 cup of rice in a rice cooker isn’t just possible—it’s one of the simplest, most foolproof ways to prepare a staple food that feeds millions every day. With the right water ratio, proper technique, and a few helpful tips, you can achieve fluffy, flavorful rice consistently, whether you’re cooking for one or testing a new recipe. From white and brown to jasmine and wild, your rice cooker adapts to different grains and delivers reliable results without constant attention.
Remember: consistency comes from practice and attention to detail. Measure carefully, rinse properly, and let the machine do its job. And don’t forget to rest the rice after cooking—it makes all the difference in texture. Over time, you’ll develop a rhythm that turns rice from a chore into a joy.
So go ahead—grab that 1-cup measure, add your favorite grain, and let your rice cooker work its magic. Before you know it, you’ll be serving up restaurant-quality rice at home, one perfect cup at a time.
Frequently Asked Questions
Can I cook less than 1 cup of rice in a rice cooker?
Yes, you can cook smaller amounts like ½ cup or ¾ cup, though very small batches may cook unevenly. For best results, stick to at least 1 cup or use a smaller cooker designed for single servings.
Do I need to soak rice before cooking it in a rice cooker?
Soaking isn’t required, but it helps reduce cooking time and improves texture, especially for brown or wild rice. Just drain and rinse soaked rice before adding to the cooker.
What happens if I use too much water when cooking rice?
Too much water results in mushy, overcooked rice. Always follow the recommended water-to-rice ratio and avoid filling past the max line in your cooker.
Can I cook other grains in a rice cooker besides rice?
Yes! Quinoa, barley, oats, and millet can all be cooked in a rice cooker with adjusted water ratios. Check individual guidelines for best results.
How long does it take to cook 1 cup of rice in a rice cooker?
It typically takes 15–30 minutes, depending on the rice type. White rice cooks fastest (~15 min), while brown and wild rice take longer (~30–60 min).
Is it safe to leave rice in the “Warm” setting all night?
Most modern rice cookers are safe for short periods, but leaving rice warm for over 2 hours increases bacterial growth. For overnight storage, refrigerate instead.