
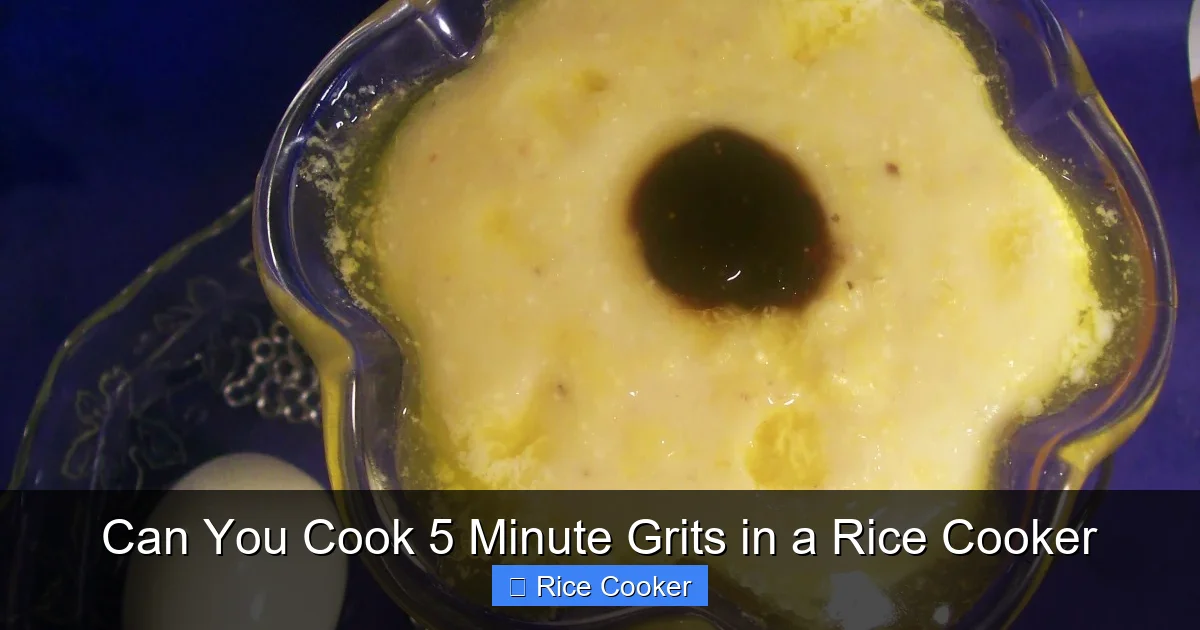
Yes, you can absolutely cook 5-minute grits in a rice cooker—and it’s easier than you think. This simple method delivers perfectly creamy grits without constant stirring. Whether you’re meal prepping or craving comfort food fast, your rice cooker is ready to help.
Key Takeaways
- It’s possible: Rice cookers can cook 5-minute grits using the same basic process as cooking rice.
- Saves time: No need to stir constantly; just add water and grits, press start, and walk away.
- Creamy results: The slow, even heat helps create a smooth, consistent texture.
- Customizable: Add cheese, butter, milk, or spices after cooking for flavor variety.
- Great for batch cooking: Cook large portions ahead of time and reheat easily.
- Works with instant grits: Both stone-ground and quick-cooking varieties work well in this method.
- Clean-up is easy: Most modern rice cookers have non-stick inner pots that make cleaning a breeze.
📑 Table of Contents
- Can You Cook 5 Minute Grits in a Rice Cooker?
- The Science Behind Cooking Grits in a Rice Cooker
- What You’ll Need to Cook Grits in a Rice Cooker
- Step-by-Step Guide: How to Cook 5-Minute Grits in a Rice Cooker
- Tips for Perfect Grits Every Time
- Common Mistakes to Avoid
- Can You Use Other Types of Grits?
- Creative Ways to Serve Your Rice Cooker Grits
- Cleaning and Maintaining Your Rice Cooker
- Frequently Asked Questions About Cooking Grits in a Rice Cooker
- Conclusion
Can You Cook 5 Minute Grits in a Rice Cooker?
If you’ve ever stood over a stove, stirring a pot of grits, hoping not to burn them or end up with lumpy clumps, you’re not alone. For years, making creamy, smooth grits felt like a skill reserved for seasoned home cooks. But what if there was a simpler way? What if you could wake up to perfectly cooked grits without lifting a spoon?
Enter the humble rice cooker—a kitchen appliance designed to do the heavy lifting so you don’t have to. And yes, it turns out, you can cook 5-minute grits in a rice cooker. In fact, it might just be one of the easiest ways to get consistently great results. No stirring required. No babysitting the pot. Just add water, grits, and maybe a pinch of salt, press a button, and let science (and steam) do the rest.
The Science Behind Cooking Grits in a Rice Cooker
Why It Works
Grits are made from ground corn, typically either stone-ground or quick-cooking. The “5-minute” label refers to the time it takes to cook them on the stovetop with constant stirring. But here’s the secret: the actual cooking process depends more on heat and moisture than time alone.

Visual guide about Can You Cook 5 Minute Grits in a Rice Cooker
Image source: bunny-wp-pullzone-o9omkl6wkh.b-cdn.net
A rice cooker maintains a consistent temperature—usually around 212°F (100°C), which is the boiling point of water at sea level. This steady heat allows the starches in the grits to break down gradually, creating that creamy, velvety texture we love. Unlike stovetop cooking, where you have to manage heat fluctuations, the rice cooker keeps everything under control, reducing the risk of burning or uneven cooking.
How Grits Differ From Rice
You might wonder: if grits aren’t rice, why does this work? Well, both are cereal grains, and both absorb liquid and expand when heated. The key difference lies in texture and starch content. Grits have a coarser grind and higher starch content, which means they thicken more and release more creaminess when cooked slowly with liquid.
But here’s the good news: rice cookers are versatile machines. They’re built to handle different grains by adjusting their internal timers and heating cycles based on the type of grain being cooked. So while they’re optimized for rice, they can adapt beautifully to grits too.
What You’ll Need to Cook Grits in a Rice Cooker
Essential Ingredients
- 5-minute grits: Quick-cooking grits are ideal because they’re already pre-treated to cook faster and more evenly.
- Water or broth: Use 3 cups of liquid for every 1 cup of grits for a standard consistency. Chicken or vegetable broth adds extra flavor.
- Salt: A pinch enhances the natural flavor of the grits.
- Optional add-ins: Milk, butter, cheese, garlic powder, smoked paprika—add these after cooking for customization.
Equipment
- A rice cooker with a non-stick inner pot (most modern models have this feature)
- A measuring cup for grits and liquid
- A spoon or spatula for mixing (optional, but helpful for initial stirring)
Step-by-Step Guide: How to Cook 5-Minute Grits in a Rice Cooker
Preparation
Start by rinsing the grits under cold water in a fine-mesh strainer. This removes excess starch and prevents clumping. Shake off the water and set aside.

Visual guide about Can You Cook 5 Minute Grits in a Rice Cooker
Image source: img.sndimg.com
Measuring the Right Ratio
The classic ratio is 1 part grits to 3 parts liquid. So for 1 cup of grits, use 3 cups of water or broth. If you prefer creamier grits, increase the liquid to 3.5 cups or add milk after cooking.
Adding Ingredients to the Rice Cooker
Add the rinsed grits, salt, and liquid to the inner pot of your rice cooker. Stir briefly to combine, then place the lid securely on top.
Choosing the Right Setting
Most rice cookers have multiple settings: white rice, brown rice, porridge, or manual. For grits, use the “Porridge” setting if available. If not, select “White Rice” or “Manual/Custom” and set the timer for 30–40 minutes. Avoid the “Quick Cook” mode—it won’t give the grits enough time to fully hydrate.
Cooking Process
Press start and wait. The rice cooker will begin heating, and once it reaches boiling point, it will switch to a warming cycle. During this phase, the grits absorb the liquid and thicken. Total cooking time is usually around 30–40 minutes, depending on your model.
Finishing Touches
Once the cycle ends, let the grits sit for 5 minutes to finish absorbing any remaining liquid. Then fluff with a spoon, add butter, cheese, or other toppings, and serve hot.
Tips for Perfect Grits Every Time
Use the Right Water-to-Grits Ratio
Too little liquid leads to dry, crumbly grits. Too much makes them soupy. Stick to 3:1, and adjust only if needed based on your preference.
Rinse the Grits First
This step is optional but highly recommended. Rinsing removes surface starch, reducing stickiness and improving texture.
Let Them Rest After Cooking
Just like rice, grits benefit from resting. Letting them sit for 5 minutes after the cycle ends ensures even absorption and smoother texture.
Experiment with Flavors
Try adding garlic powder, smoked paprika, or a splash of heavy cream during the last few minutes of cooking. Or stir in shredded cheddar and chives right before serving.
Store Leftovers Properly
Cooled grits store well in an airtight container for up to 3 days. Reheat gently on the stovetop with a splash of milk or water to restore creaminess.
Common Mistakes to Avoid
Skipping the Rinse
Without rinsing, grits can become overly sticky and difficult to stir. Even a quick rinse makes a big difference.
Using the Wrong Setting
Don’t use “Quick Cook” or “Instant” settings. These don’t allow enough time for proper hydration and can result in undercooked grits.
Not Stirring Initially
While you won’t need to stir during cooking, a quick mix at the beginning helps distribute the grits evenly in the liquid.
Opening the Lid Too Often
Every time you lift the lid, steam escapes, and the temperature drops slightly. Keep the lid closed until the cycle is complete.
Adding Dairy Too Early
Milk or cream can curdle if added while the grits are still very hot. Add these ingredients after cooking and just before serving.
Can You Use Other Types of Grits?
Stone-Ground vs. Instant Grits
While 5-minute grits work best in a rice cooker, you can also try stone-ground grits. However, they take much longer—anywhere from 20 to 30 minutes—and may require more liquid. Some people prefer them for their richer flavor, but the texture is denser and less creamy.
Adjustments for Stone-Ground Grits
If using stone-ground grits, increase the cooking time to 45–60 minutes and consider soaking them overnight in water to reduce cooking time.
Instant Grits
These are pre-cooked and rehydrated, so they’re the fastest option. Just follow the package instructions, but still use the rice cooker’s porridge or white rice setting for even heating.
Creative Ways to Serve Your Rice Cooker Grits
Breakfast Bowls
Top with scrambled eggs, avocado slices, crispy bacon, and a sprinkle of cheese. A hearty, protein-packed breakfast.
Cheesy Grits Casserole
Mix cooked grits with shredded cheese, diced onions, and a beaten egg. Bake at 350°F (175°C) for 20–25 minutes for a cheesy side dish or brunch main.
Sweet Grits Porridge
Stir in cinnamon, nutmeg, maple syrup, and a handful of berries. Serve warm for a comforting dessert or breakfast alternative.
Southwestern Style
Add black beans, corn, diced tomatoes, and jalapeños. Top with sour cream and shredded Monterey Jack for a Tex-Mex twist.
As a Base for Sauces
Use grits instead of mashed potatoes as a base for gravies or sauces. Their high starch content makes them excellent thickeners.
Cleaning and Maintaining Your Rice Cooker
After Each Use
Unplug the rice cooker and let the inner pot cool completely before washing. Most pots are dishwasher-safe, but hand-washing preserves the non-stick coating longer.
Removing Sticky Residue
If grits stick to the bottom, soak the pot in warm, soapy water for 15–20 minutes. Then scrub gently with a soft sponge—never metal utensils.
Checking the Heating Element
Periodically inspect the heating plate and inner pot for buildup. A clean heating element ensures even cooking and prevents damage.
Storing the Unit
Store your rice cooker in a dry place with the cord wrapped neatly. Keep the lid on to protect against dust.
Frequently Asked Questions About Cooking Grits in a Rice Cooker
Do I need to rinse the grits before cooking?
Yes, rinsing removes excess starch and prevents clumping. A quick rinse under cold water is all it takes.
Can I use milk instead of water?
Absolutely. Using milk or a mix of milk and water gives richer, creamier grits. Add it with the liquid, or stir it in after cooking.
How long does it really take?
Total time is about 30–40 minutes, including heating and resting. The exact time depends on your rice cooker model.
Can I double the recipe?
Yes, but make sure your rice cooker has enough capacity. Double the liquid and grits, and increase cooking time by 10–15 minutes.
Will my rice cooker burn the grits?
Modern rice cookers with non-stick pots and automatic shut-off features rarely burn food. Still, avoid opening the lid too often and don’t skip rinsing.
Can I cook grits in a pressure cooker instead?
Yes! Use the same ratio and cook on high pressure for 3–5 minutes, then natural release. It’s another great hands-off method.
Conclusion
Cooking 5-minute grits in a rice cooker isn’t just possible—it’s one of the easiest, most reliable ways to make creamy, delicious grits with minimal effort. Whether you’re a beginner in the kitchen or tired of constant stirring, this method offers a stress-free solution that delivers consistent results every time.
From breakfast bowls to savory casseroles, grits are incredibly versatile. With the rice cooker handling the hard work, you can focus on creativity and flavor. So go ahead—grab your rice cooker, toss in some rinsed grits and water, and let it do its thing. Before you know it, you’ll be serving up restaurant-quality grits from your own kitchen.
And who knows? This might just become your new favorite morning ritual.
Frequently Asked Questions
Do I need to rinse the grits before cooking?
Yes, rinsing removes excess starch and prevents clumping. A quick rinse under cold water is all it takes.
Can I use milk instead of water?
Absolutely. Using milk or a mix of milk and water gives richer, creamier grits. Add it with the liquid, or stir it in after cooking.
How long does it really take?
Total time is about 30–40 minutes, including heating and resting. The exact time depends on your rice cooker model.
Can I double the recipe?
Yes, but make sure your rice cooker has enough capacity. Double the liquid and grits, and increase cooking time by 10–15 minutes.
Will my rice cooker burn the grits?
Modern rice cookers with non-stick pots and automatic shut-off features rarely burn food. Still, avoid opening the lid too often and don’t skip rinsing.
Can I cook grits in a pressure cooker instead?
Yes! Use the same ratio and cook on high pressure for 3–5 minutes, then natural release. It’s another great hands-off method.