
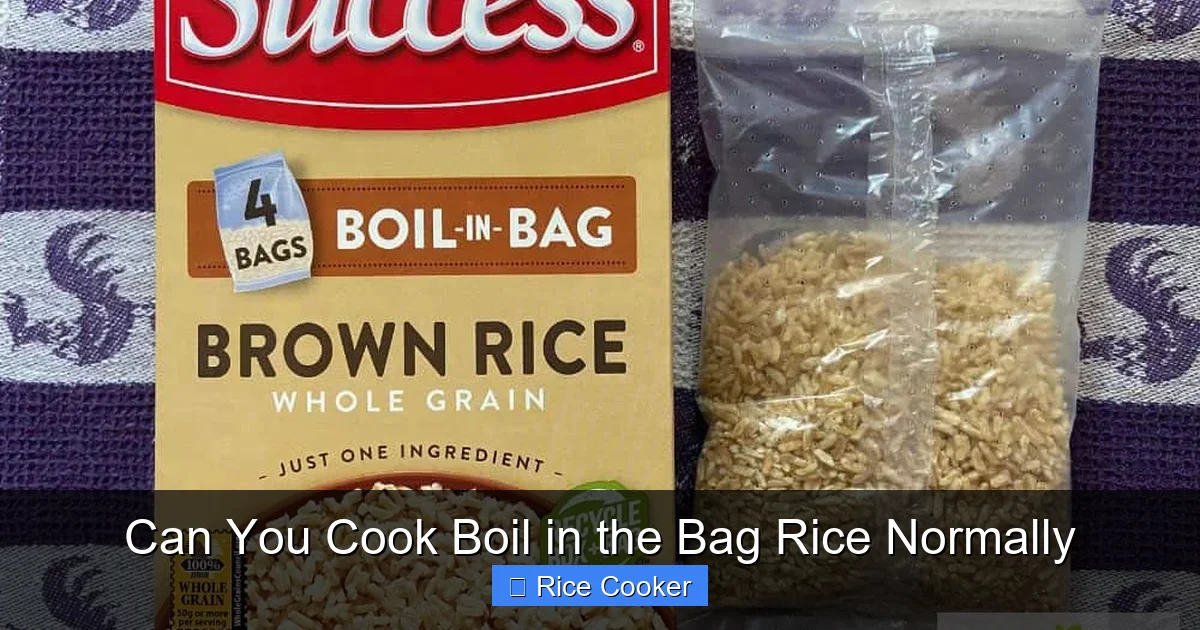
Yes, you can cook boil-in-the-bag rice normally in a rice cooker, but it requires some adjustments. Unlike traditional rice, boil-in-the-bag varieties come pre-cooked and rehydrated, so using them the standard way can lead to mushy or overcooked results. With the right technique, you can enjoy fluffy, flavorful rice just like fresh rice, without sacrificing convenience.
Key Takeaways
- Boil-in-the-bag rice is pre-cooked and sealed in plastic bags—it’s not raw rice. Using it like regular rice can ruin texture.
- You can use it in a rice cooker, but adjust water levels and cooking time to avoid sogginess.
- Rinsing isn’t necessary, but shaking off excess moisture helps achieve better results.
- Seasoning and flavoring work best when added after cooking, since the rice starts already cooked.
- Alternative methods like steaming or microwaving may yield better texture than boiling in a rice cooker.
- Always check package instructions—some brands have specific preparation guidelines.
- Storage matters: use within recommended timeframes to maintain quality and safety.
📑 Table of Contents
- Can You Cook Boil-in-the-Bag Rice Normally?
- Understanding What Boil-in-the-Bag Rice Is
- Can You Use a Rice Cooker for Boil-in-the-Bag Rice?
- Best Ways to Reheat Boil-in-the-Bag Rice
- Tips for Perfect Boil-in-the-Bag Rice Every Time
- Safety Considerations
- Creative Uses Beyond Plain Rice
- Comparing Rice Cooker vs. Other Methods
- Final Thoughts: Should You Even Bother?
Can You Cook Boil-in-the-Bag Rice Normally?
Let’s face it—convenience food has changed the way we eat. One of the most popular time-savers in kitchens across America (and beyond) is boil-in-the-bag rice. These little plastic pouches contain rice that’s been pre-cooked, flash-steamed, or even vacuum-sealed for shelf stability. All you do is open the bag, add water, and wait a few minutes for hot, ready-to-eat rice.
But what happens if you try to treat it like regular rice and toss it into your rice cooker? Can you cook boil-in-the-bag rice normally? The short answer is yes—but not in the same way you’d cook brown or white long-grain rice. Why? Because these products aren’t raw grains. They’re already cooked, then rehydrated. So using them the traditional way often leads to mushy, gluey, or overdone rice.
In this guide, we’ll explore how to handle boil-in-the-bag rice like a pro, whether you should even use a rice cooker at all, and how to make it taste as good as it looks on the packaging. We’ll also cover storage, safety, and even creative ways to turn leftover boiled-in-the-bag rice into something delicious—like fried rice or rice pudding!
Understanding What Boil-in-the-Bag Rice Is
The Science Behind the Convenience
Boil-in-the-bag rice is made using a process called retort processing. Raw rice is cooked under high temperature and pressure inside a sealed plastic bag—similar to canned foods. This kills bacteria, extends shelf life, and gives you a product that stays fresh for months.
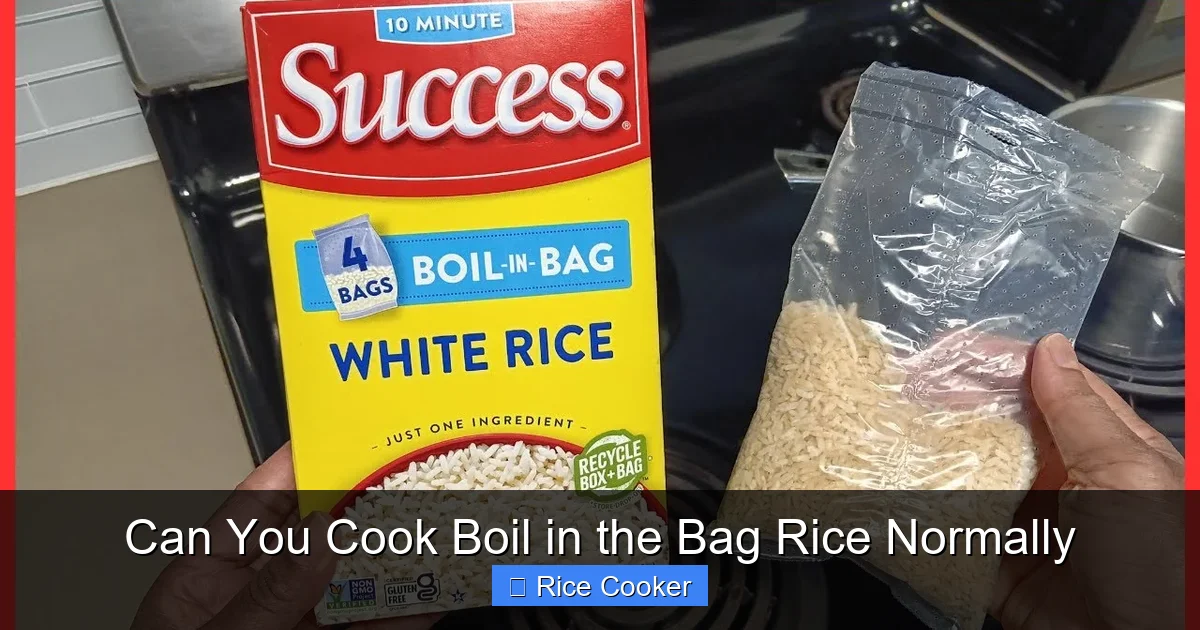
Visual guide about Can You Cook Boil in the Bag Rice Normally
Image source: i.ytimg.com
After cooking, the bag is cooled and sealed. When you’re ready to eat, you just add hot water or microwave-safe liquid, let it sit, and drain off any extra moisture. It’s fast, no stove needed, and great for camping, dorm rooms, or busy weeknights.
Common Types Available
Not all boil-in-the-bag rice is the same. Here are the most common types:
- White Long-Grain Rice: The most popular type—fluffy and light. Works well for side dishes.
- Brown Rice Varieties: Less common, but available. Tend to be chewier and nuttier.
- Sushi Rice & Sticky Rice: Made specifically for Japanese dishes; holds together when warm.
- Mixed Grain Blends: Often includes quinoa, barley, or wild rice for added nutrition.
Each type behaves slightly differently when reheated, so knowing your grain helps you plan the best prep method.
Can You Use a Rice Cooker for Boil-in-the-Bag Rice?
The Short Answer: Maybe—With Caveats
Technically, yes, you can put a boil-in-the-bag rice pouch into a rice cooker. But here’s the catch: rice cookers are designed to cook raw rice from dry to fully hydrated. Since your boil-in-the-bag rice is already halfway there, adding it directly risks turning into a soupy mess.
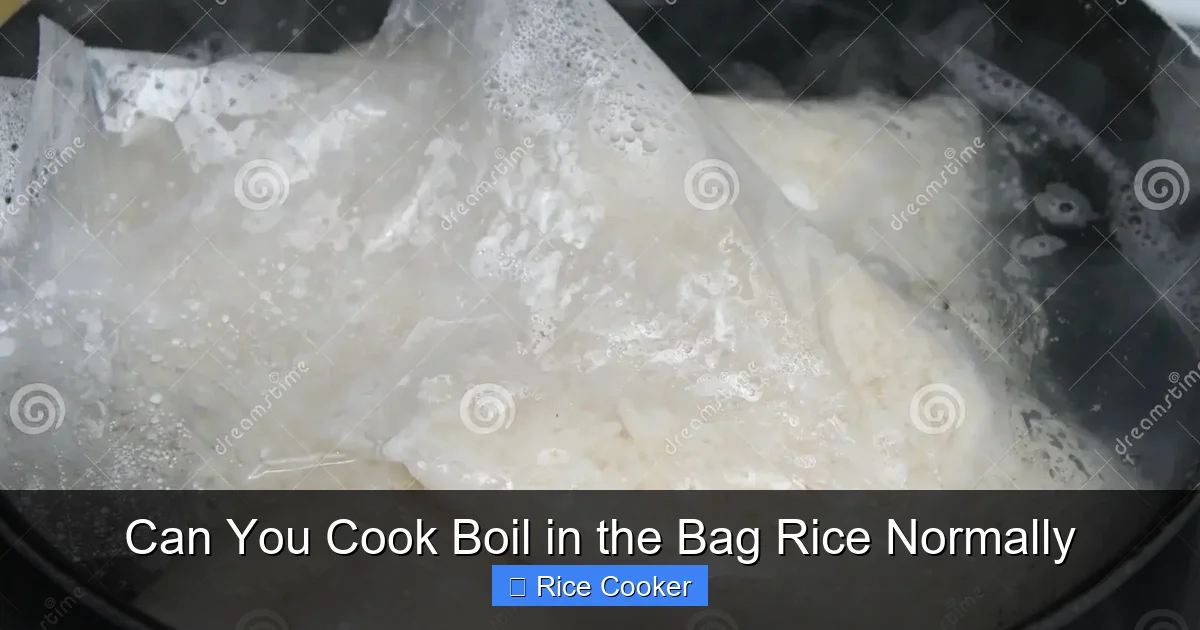
Visual guide about Can You Cook Boil in the Bag Rice Normally
Image source: thumbs.dreamstime.com
However, many people still do it because they don’t want to deal with draining or microwaving. If you choose this route, follow these steps carefully:
- Open the bag and pour out the rice (don’t squeeze it—you might break up clumps).
- Rinse lightly under cool water to remove starch residue (optional but helpful).
- Add the rice to the rice cooker along with half the amount of water listed on the package.
- Cook on “white rice” setting—but watch closely after 5–7 minutes. It should be done quickly.
- If too wet, transfer to a sieve and steam for 2–3 minutes to remove excess moisture.
This method works best with white long-grain rice. Brown or sushi varieties may still be unevenly heated or too soft.
Why Traditional Methods Fail
When you add a sealed pouch directly to a rice cooker, several things go wrong:
- Uneven Heating: The bag blocks heat distribution, leaving cold spots inside.
- Excess Moisture: The bag releases steam and water during cooking, making everything soggy.
- Bag Melting Risk: Some plastics can soften or melt under high heat, especially in older models.
For these reasons, experts usually recommend opening the bag first. That way, you control how much water goes in and ensure even reheating.
Best Ways to Reheat Boil-in-the-Bag Rice
Method 1: Microwave (Most Popular)
If you’re looking for speed and simplicity, the microwave wins. Here’s how:
- Open the bag and pour contents into a microwave-safe bowl.
- Add 1–2 tablespoons of water per cup of rice (adjust based on desired texture).
- Cover loosely with a damp paper towel or lid (vents prevent splatter).
- Microwave on high for 1–2 minutes, stir, then check. Repeat until heated through.
This method gives consistent results and preserves texture better than boiling. Plus, cleanup is minimal!
Method 2: Steaming Over Boiling Water
This old-school technique keeps rice light and separate:
- Bring 2 inches of water to a boil in a saucepan.
- Place a steamer basket above the water (or use a colander over a pot).
- Spread opened bag contents evenly in the basket.
- Cover and steam for 3–5 minutes, checking occasionally.
The vapor gently reheats the rice without drowning it. Ideal for sushi or sticky rice where clumping is undesirable.
Method 3: Oven or Toaster Oven
Perfect for small batches or when you want crispy edges:
- Preheat oven to 350°F (175°C).
- Spread rice on a baking sheet lined with parchment.
- Bake for 8–10 minutes, stirring halfway, until warmed through and slightly toasted.
This adds a nice crunch to plain rice—great for salads or grain bowls.
Tips for Perfect Boil-in-the-Bag Rice Every Time
Don’t Skip Drainage
Even though the bag absorbs some water, excess moisture remains. Always drain or pat dry before reheating. A kitchen towel works wonders—press gently between layers to soak up liquid.
Season After Cooking
Since the rice starts pre-seasoned (if at all), add salt, butter, herbs, or spices after reheating. Mix in diced vegetables, cheese, or soy sauce for instant upgrades.
Fluff With a Fork
After heating, fluff immediately with a fork. This prevents compaction and restores fluffiness lost during storage.
Use Fresh Pouches Only
Check expiration dates and packaging integrity. Damaged bags can leak contaminants. Store unopened pouches in a cool, dry place—no need for refrigeration until used.
Experiment With Ratios
If you’re adapting recipes that call for raw rice, substitute boil-in-the-bag rice at a 1:1 ratio but reduce liquid by ¼ cup per cup of rice. Test once first to dial in your preference.
Safety Considerations
Food Safety First
Boil-in-the-bag rice is shelf-stable due to pasteurization, but improper handling can introduce bacteria. Always:
- Wash hands before opening.
- Inspect the bag for punctures or bulging.
- Reheat to an internal temperature of at least 165°F (74°C).
- Refrigerate leftovers within 2 hours of cooking.
Avoid Cross-Contamination
Never reuse the original plastic bag for other foods—even if it looks clean. The seal may harbor microbes. Transfer rice to glass or stainless steel containers instead.
Child and Pet Safety
Keep pouches out of reach. Plastic can be dangerous if swallowed whole. Teach kids not to play with empty bags.
Creative Uses Beyond Plain Rice
Fried Rice Upgrade
Tired of bland takeout-style fried rice? Try this:
- Heat oil in a wok or skillet.
- Add beaten egg, scramble, then push aside.
- Stir-fry diced onion, carrot, peas, and garlic.
- Add warmed boil-in-the-bag rice and mix well.
- Season with soy sauce, sesame oil, and a splash of oyster sauce.
The result? Restaurant-quality fried rice in under 10 minutes!
Rice Pudding Hack
Make creamy rice pudding without boiling raw grains:
- Combine 1 cup rice, 2 cups milk, ¼ cup sugar, and cinnamon in a saucepan.
- Simmer for 15–20 minutes, stirring often, until thickened.
- Remove from heat and fold in raisins or nuts.
- Serve warm with a drizzle of honey.
Much faster than traditional method—and just as comforting!
Risotto-Like Creaminess
For a quick risotto base, toast Arborio-style boil-in-the-bag rice in butter, then slowly add warm broth while stirring. Finish with Parmesan and thyme.
Comparing Rice Cooker vs. Other Methods
| Method | Time | Texture | Convenience | Best For |
|---|---|---|---|---|
| Microwave | 2–3 min | Soft, moist | ⭐⭐⭐⭐⭐ | Quick meals, single servings |
| Steamer Basket | 5–7 min | Light, fluffy | ⭐⭐⭐ | Sushi, delicate grains |
| Rice Cooker* | 8–10 min | Variable (often soggy) | ⭐⭐ | Experienced users only |
| Oven | 8–12 min | Crunchy edges | ⭐⭐⭐ | Small batches, toasting |
*Only if opened and adjusted properly
Final Thoughts: Should You Even Bother?
Boil-in-the-bag rice isn’t meant to replace freshly cooked rice—it’s a backup plan. But when you’re short on time, power’s out, or you’re eating on the go, it’s a lifesaver. Just remember: treat it like a shortcut, not a main ingredient.
Using a rice cooker can work—but only if you adapt. Open the bag, adjust water, and monitor closely. Or skip the cooker entirely and opt for microwave or steaming. Your taste buds will thank you.
And hey—next time you’re craving fried rice or creamy pudding, grab that pouch and get creative. Convenience doesn’t have to mean compromise.
Frequently Asked Questions
Can I just throw the boil-in-the-bag rice into my rice cooker like normal rice?
It’s possible, but not ideal. Since the rice is already cooked, adding it directly can cause uneven heating, excess moisture, and a mushy texture. Opening the bag and adjusting water levels improves results significantly.
Do I need to rinse boil-in-the-bag rice before cooking?
Rinsing isn’t required, but it helps remove excess starch and prevents clumping. Lightly rinsing under cold water and draining well is recommended for better texture.
How much water should I add to boil-in-the-bag rice in a rice cooker?
Use about half the amount listed on the package. For example, if the label says ¾ cup water, add only ⅜ cup to your rice cooker. Monitor closely and drain any surplus afterward.
Is boil-in-the-bag rice safe to eat after its expiration date?
Check for signs of spoilage—off smells, mold, or swollen packaging mean discard it. Unopened pouches are generally safe within 1–2 years past the date, thanks to retort processing.
Can I freeze leftover boil-in-the-bag rice?
Yes! Let it cool completely, portion into airtight containers, and freeze for up to 3 months. Thaw overnight in the fridge or reheat directly from frozen using the microwave method.
Why does my boiled-in-the-bag rice always come out mushy?
Most likely, you’re adding too much water or not draining properly. Also, avoid squeezing the bag—it releases extra moisture. Try steaming or microwaving instead of boiling to retain fluffiness.