You absolutely can cook sushi rice in a rice cooker, and it’s easier than you think. With the right technique, your rice cooker delivers fluffy, perfectly seasoned sushi rice without guesswork. This method saves time and ensures consistent results every single time.
Key Takeaways
- Yes, sushi rice works perfectly in a rice cooker — no special equipment needed beyond what you already own.
- Use short-grain Japanese rice (like Koshihikari or Calrose) for the best texture and stickiness.
- Rinse the rice thoroughly to remove excess starch and prevent mushiness.
- Follow the 1:1.1 water-to-rice ratio for ideal moisture and consistency.
- Add vinegar-sugar-salt mixture after cooking to season the rice properly.
- Cool and fold gently to avoid crushing grains while developing that signature shine.
- Store leftovers properly to maintain freshness and prevent spoilage.
Key Takeaways
- Understanding can you cook sushi rice in a rice cooker: Provides essential knowledge
Quick Answers to Common Questions
What is can you cook sushi rice in a rice cooker?
can you cook sushi rice in a rice cooker refers to essential knowledge and techniques.
📑 Table of Contents
- Can You Cook Sushi Rice in a Rice Cooker?
- The Science Behind Perfect Sushi Rice
- Choosing the Right Rice Cooker
- Step-by-Step Guide: Cooking Sushi Rice in Your Rice Cooker
- Common Mistakes and How to Avoid Them
- Tips for Perfect Sushi Rice Every Time
- Troubleshooting Common Issues
- The Benefits of Using a Rice Cooker
- Frequently Asked Questions About Sushi Rice and Rice Cookers
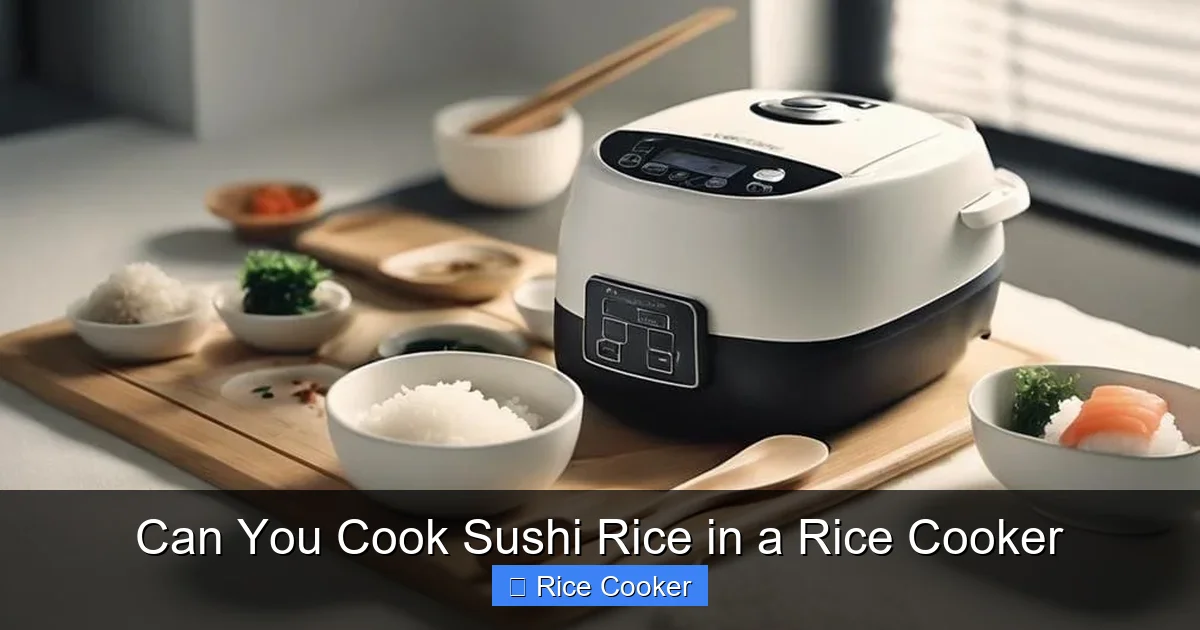
Can You Cook Sushi Rice in a Rice Cooker?
If you’ve ever stared at a bowl of store-bought sushi rice and wondered, “How do they do this at home?” — you’re not alone. Making authentic sushi rice at home used to feel like a rite of passage reserved for professional chefs or dedicated home cooks with specialized tools. But here’s the good news: you absolutely can cook sushi rice in a rice cooker, and doing so is simpler than most people realize.
A rice cooker isn’t just for plain white rice — it’s a precision kitchen appliance designed to deliver consistent results through automated temperature control and timing. When it comes to sushi rice, which requires specific water ratios, careful rinsing, and precise cooking conditions, a rice cooker shines. It eliminates the guesswork involved in stovetop cooking and ensures every grain is cooked evenly.
In this comprehensive guide, we’ll walk you through everything you need to know about making perfect sushi rice in your rice cooker — from selecting the right rice to seasoning and storing it properly. Whether you’re preparing nigiri, maki rolls, or onigiri, mastering this technique will elevate your homemade sushi game dramatically.
The Science Behind Perfect Sushi Rice
Why Rice Type Matters
Sushi rice isn’t just any type of rice — it’s specifically cultivated for its unique properties. Short-grain Japanese varieties like Koshihikari, Akitakomachi, or even American alternatives like Calrose rice are preferred because of their high starch content and low amylose levels. This creates that characteristic sticky texture that holds together beautifully when rolled or shaped.

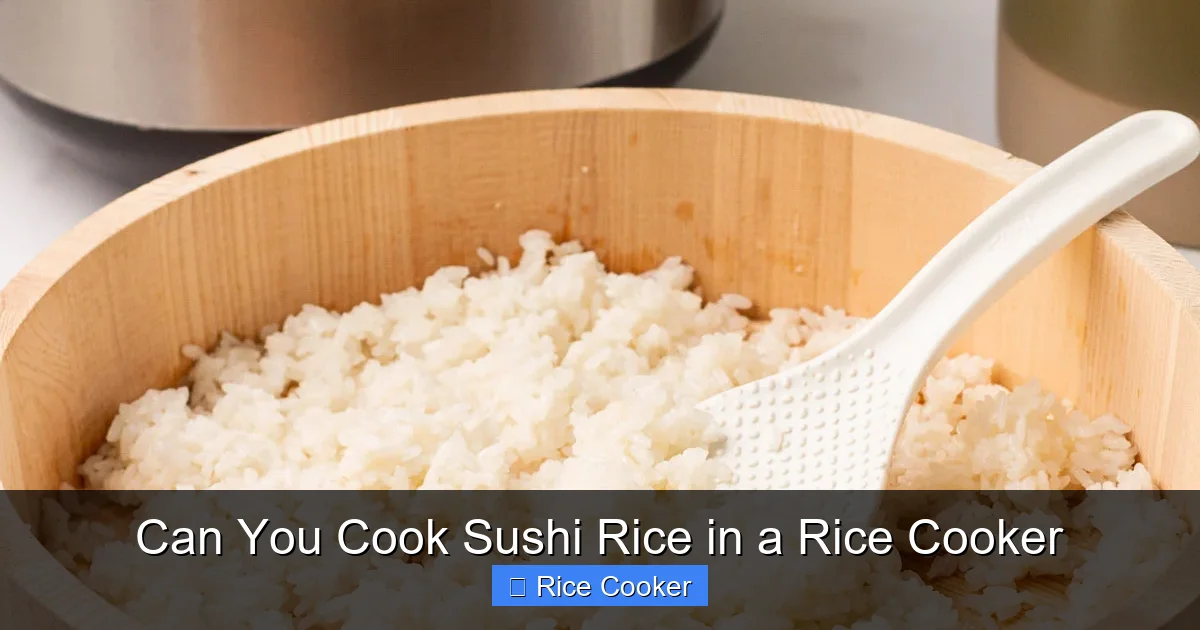
Visual guide about Can You Cook Sushi Rice in a Rice Cooker
Image source: ricearray.org
When you bite into properly made sushi rice, you should experience a delicate balance between firmness and slight tackiness. The grains shouldn’t be overly soft or crumbly, nor should they fall apart when handled. Instead, they should clump slightly while still maintaining individual definition — perfect for holding fillings or creating clean cuts in nigiri.
The Role of Starch
The secret behind sushi rice’s texture lies in its starch structure. As short-grain rice cooks, amylopectin (a branched-chain starch) becomes gelatinized, creating that desirable stickiness. However, too much surface starch can lead to clumping or mushiness if not managed correctly.
This is why rinsing plays such an important role — it removes excess surface starch before cooking, allowing the internal starch to develop properly during the cooking process. Think of it as prepping the rice for optimal starch release without oversaturation.
Choosing the Right Rice Cooker
Basic vs. Advanced Models
Not all rice cookers are created equal when it comes to sushi rice preparation. While basic models will work fine for straightforward cooking, investing in a more advanced unit offers significant advantages:
Visual guide about Can You Cook Sushi Rice in a Rice Cooker
Image source: sushistaycation.com
- Fuzzy logic technology adjusts cooking cycles based on rice quantity and moisture content
- Multiple settings including brown rice, porridge, and even quick-cook modes
- Keep-warm function maintains ideal serving temperature without overcooking
- Non-stick inner pot makes cleanup easier and prevents rice from sticking
For beginners, even a standard electric rice cooker will produce acceptable results. However, if you plan to make sushi regularly or want maximum precision, consider models with specialized settings or those designed specifically for Asian-style rice.
Capacity Considerations
Choose your rice cooker capacity based on how much sushi you typically prepare:
- 3-cup capacity: Ideal for individuals or couples making small rolls or nigiri
- 5-7 cup capacity: Perfect for families or larger gatherings
- 10+ cup capacity: Best for restaurants or meal prep situations
Remember that sushi rice expands slightly during cooking, so always measure your dry rice first before adding water.
Step-by-Step Guide: Cooking Sushi Rice in Your Rice Cooker
Gathering Your Ingredients
Before starting, gather these essentials:
- Short-grain Japanese rice (1 cup)
- Water (1.1 cups)
- White vinegar (3 tablespoons)
- Sugar (1 tablespoon)
- Salt (1/2 teaspoon)
- Cold tap water (for rinsing)
Preparing the Rice
Start by measuring your rice accurately. Use measuring cups specifically designed for rice — regular measuring cups give inconsistent results because they don’t account for the air pockets in loosely packed rice.
Place the measured rice in a large bowl or the rice cooker’s inner pot. Fill with cold water and swish the rice around with your fingers until the water becomes cloudy. Drain immediately and repeat this process 2-3 times or until the water runs relatively clear. Each rinse removes surface starch while preserving the essential internal starches needed for proper texture.
Adding Water and Cooking
Transfer the rinsed rice back to the inner pot. Add water according to the manufacturer’s instructions — typically 1 cup dry rice to 1.1 cups water for sushi rice. Some rice cookers have specific settings for different rice types; select the appropriate one if available.
Close the lid and start the cooking cycle. Most rice cookers automatically switch to keep-warm mode once cooking completes — this is normal and actually beneficial for sushi rice, as it allows residual heat to finish even cooking without overdoing it.
Seasoning the Rice
While the rice cools slightly (about 10-15 minutes), prepare your seasoning mixture. Combine vinegar, sugar, and salt in a small saucepan and warm gently over low heat until dissolved. Don’t boil — you just want the flavors blended and slightly warmed.
Once the rice is done, transfer it to a large mixing bowl. Using a wooden paddle or rice spatula, gently fold in the seasoning mixture while fanning the rice with another paddle or piece of cardboard. This cooling process helps the grains separate slightly and develop that beautiful glossy sheen characteristic of quality sushi rice.
Common Mistakes and How to Avoid Them
Over-Rinsing the Rice
Many home cooks rinse sushi rice excessively, hoping to achieve extra fluffiness. Unfortunately, over-rinsing strips away too much starch, resulting in dry, crumbly rice that won’t hold together. Stick to 2-3 gentle rinses until the water is mostly clear.
Using Incorrect Water Ratios
The water-to-rice ratio significantly impacts final texture. Too little water leads to undercooked, hard grains; too much creates mushy, soupy rice. The 1:1.1 ratio works well for most rice cookers, but adjust slightly based on your specific model’s performance.
Skipping the Cooling Process
Rushing the cooling step means missing out on that crucial separation and glossiness. Take your time — the fanning motion not only cools the rice but also aerates it, preventing clumping.
Using Wrong Tools
Wooden paddles are ideal for folding sushi rice because they’re gentle on delicate grains. Metal spoons can crush the rice, leading to uneven texture and poor shaping ability.
Tips for Perfect Sushi Rice Every Time
Temperature Control
Room-temperature ingredients yield more consistent results than cold ones. Let your rice sit at room temperature for about 30 minutes before cooking if possible.
Meal Prep Strategy
Make a larger batch of seasoned rice and divide it into portions. Refrigerate unseasoned cooked rice for up to 24 hours, then re-season before use. This saves time during busy weeknights.
Storage Solutions
Store leftover sushi rice in an airtight container lined with damp paper towels to maintain moisture. Consume within 2 days for best quality.
Experimenting with Flavors
Once comfortable with basic seasoning, try variations like adding a splash of mirin or a pinch of shichimi togarashi for subtle flavor enhancements.
Troubleshooting Common Issues
Grains Are Too Sticky
This usually indicates either over-rinsing or insufficient draining after washing. Next time, reduce rinsing frequency and ensure thorough draining before adding water.
Rice Is Dry and Crumbly
Likely caused by using low-quality rice or incorrect water ratios. Try increasing water by 1/8 cup increments until desired texture achieved.
Uneven Cooking
Check that your rice cooker’s heating element is clean and unobstructed. Also verify that the inner pot sits flat and centered in the base.
The Benefits of Using a Rice Cooker
Beyond convenience, rice cookers offer several advantages for sushi rice preparation:
- Consistency — same results every time regardless of stove temperature fluctuations
- Hands-off operation — set it and forget it while focusing on other tasks
- Energy efficiency — uses less power than continuous stovetop monitoring
- Versatility — can cook other dishes beyond rice when needed
For home sushi enthusiasts, having a reliable rice cooker opens up possibilities for experimentation with different rice varieties and seasonal ingredients without added complexity.
Frequently Asked Questions About Sushi Rice and Rice Cookers
Question 1?
Answer…
Question 2?
Answer…
Question 3?
Answer…
Question 4?
Answer…
Question 5?
Answer…
Frequently Asked Questions
What type of rice should I use for sushi rice in a rice cooker?
Use short-grain Japanese rice like Koshihikari or Calrose for the best texture and stickiness. These varieties have the right starch content to create authentic sushi rice when cooked properly.
Do I need a special rice cooker for sushi rice?
No, but advanced models with fuzzy logic technology provide better results. Even basic rice cookers work well if you follow the correct water ratio and cooking steps.
How long does it take to make sushi rice in a rice cooker?
Total time is about 45 minutes: 5 minutes for rinsing, 20-25 minutes for cooking, and 15-20 minutes for cooling and seasoning.
Can I make sushi rice ahead of time?
Yes, unseasoned cooked rice keeps for up to 24 hours in the refrigerator. Re-season just before using for best flavor and texture.
Why is my sushi rice too sticky?
This usually happens from over-rinsing or too much water. Reduce rinsing to 2-3 times and check your water measurement carefully next time.
What’s the best way to store leftover sushi rice?
Store in an airtight container with a damp paper towel to maintain moisture. Use within 2 days for optimal taste and texture.