
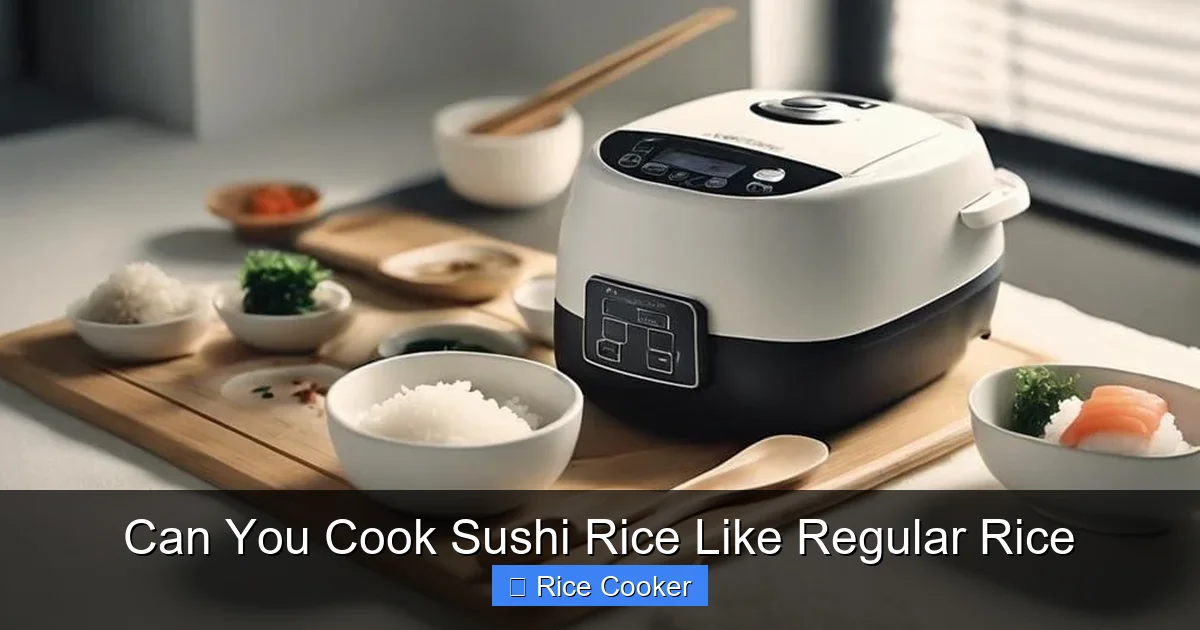
Can you cook sushi rice like regular rice? Yes, but with important differences. While both use similar grains, sushi rice requires specific preparation—like rinsing thoroughly and using a precise water-to-rice ratio—to achieve the right texture. Using a rice cooker simplifies the process, but skipping key steps will result in mushy or dry rice unsuitable for sushi.
Key Takeaways
- Understanding can you cook sushi rice like regular rice: Provides essential knowledge
📑 Table of Contents
- Can You Cook Sushi Rice Like Regular Rice?
- Understanding Sushi Rice vs. Regular Rice
- Can You Use a Rice Cooker for Sushi Rice?
- Step-by-Step Guide: Cooking Sushi Rice in a Rice Cooker
- Tips for Perfect Sushi Rice Every Time
- Alternative Methods: Stovetop vs. Steamer
- Troubleshooting Common Sushi Rice Problems
- Storing and Reheating Sushi Rice
- Conclusion: Mastering Sushi Rice Is Easier Than You Think
Can You Cook Sushi Rice Like Regular Rice?
Have you ever wondered if you can treat sushi rice just like the rice you cook for fried rice or jambalaya? The answer is both yes and no—depending on how serious you are about your sushi. While you can technically cook sushi rice using the same method as regular rice, doing so without adjustments will likely ruin the texture. Sushi rice has a unique balance of stickiness, moisture, and grain integrity that makes it perfect for rolling and shaping. If you’ve ever made homemade sushi only to find your rolls falling apart or your nigiri collapsing, it might be because your rice wasn’t prepared correctly.
Using a rice cooker is one of the easiest ways to cook sushi rice consistently, but even the best appliance won’t fix poor technique. Whether you’re a beginner dipping your toes into sushi-making or an experienced home chef looking to save time, understanding the subtle differences between sushi rice and everyday rice is essential. This guide walks you through everything you need to know—from choosing the right rice to seasoning it properly—so you can enjoy restaurant-quality sushi at home, all powered by your trusty rice cooker.
Understanding Sushi Rice vs. Regular Rice
What Makes Sushi Rice Different?
Sushi rice isn’t a different type of grain—it’s actually a variety of short-grain Japanese rice known as shinmai, often labeled as Calrose (a medium-grain rice common in California-style sushi). Unlike long-grain rice, which becomes fluffy and separate when cooked, short-grain rice contains more amylopectin, a type of starch that gives it that signature clinginess. This stickiness allows sushi rice to hold its shape when rolled or pressed into molds, unlike regular white rice, which tends to fall apart.
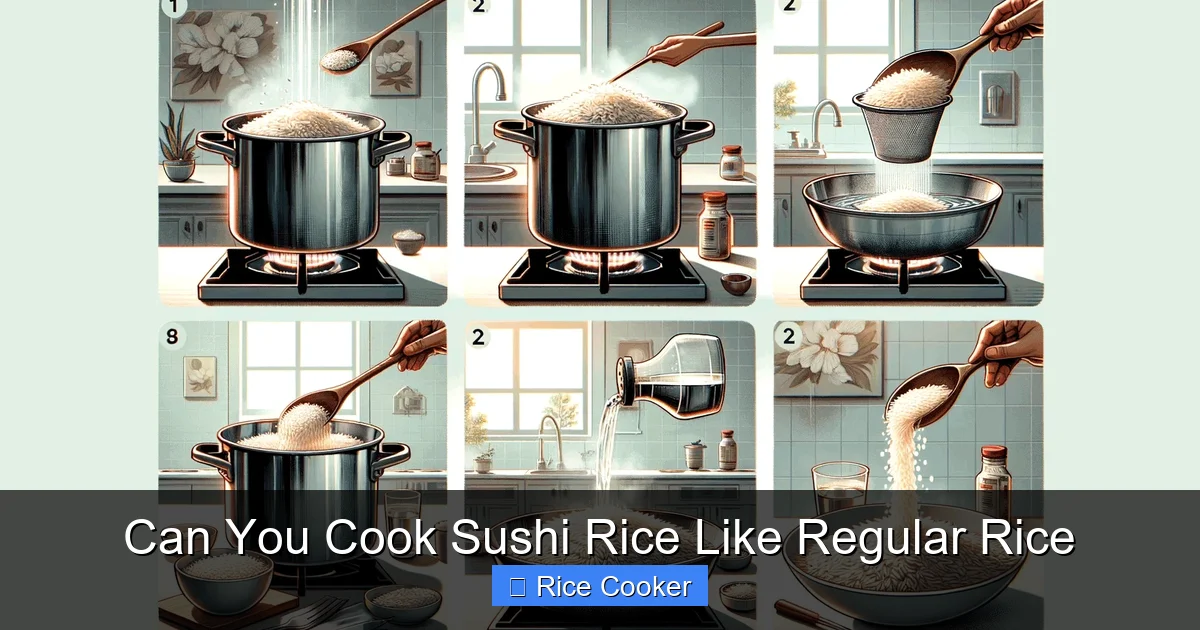
Visual guide about Can You Cook Sushi Rice Like Regular Rice
Image source: expertreviewsbestricecooker.com
Another key difference lies in processing. Sushi rice is typically polished longer than regular table rice, removing more of the outer bran layers. This results in a smoother, creamier texture and higher starch content, which contributes to its glossy appearance and ability to absorb seasonings evenly. Because of these qualities, sushi rice is specifically designed for raw fish pairings—its mild sweetness complements seafood beautifully without overpowering delicate flavors.
Why Regular Rice Doesn’t Work Well
While you might be tempted to substitute jasmine, basmati, or even leftover brown rice for sushi rice, doing so leads to disappointing results. Jasmine and basmati are long-grain varieties that become dry and separate when cooked, making them useless for nigiri or maki rolls. Brown rice, though healthier, has a nutty flavor and chewy texture that clashes with raw fish.
Even within the category of white rice, not all short-grain types are created equal. American short-grain rice often lacks the refined texture and starch profile needed for authentic sushi. That’s why many chefs recommend using rice explicitly labeled “sushi rice” or “sushi-grade.” These labels indicate the rice has been processed to meet culinary standards, ensuring consistency and performance.
Can You Use a Rice Cooker for Sushi Rice?
The Advantages of Using a Rice Cooker
If you’re asking, “Can you cook sushi rice like regular rice in a rice cooker?” the answer is a confident yes—with caveats. Rice cookers eliminate guesswork by automating water absorption and heat regulation. Once you input the correct settings, they maintain precise temperatures throughout the cooking cycle, reducing the risk of burning or undercooking.
Visual guide about Can You Cook Sushi Rice Like Regular Rice
Image source: m.media-amazon.com
Modern rice cookers also come with specialized modes, such as “sushi” or “glutinous” settings, which adjust time and temperature for optimal results. Even basic models work well if you follow the right steps: rinse carefully, measure accurately, and avoid opening the lid during cooking. The convenience factor alone makes rice cookers a favorite among busy home cooks who want perfect sushi rice without constant supervision.
Common Mistakes When Cooking Sushi Rice in a Rice Cooker
Despite their reliability, rice cookers aren’t magic wands. Many people assume that tossing in rice and water and pressing “start” is enough—but that’s where mistakes happen. One frequent error is failing to rinse the rice before cooking. Without rinsing, excess surface starch remains, resulting in overly sticky, clumpy rice that’s impossible to handle.
Another issue is using too much water. Regular rice recipes often call for a 1:1.5 or even 1:2 ratio, but sushi rice needs less liquid—usually around 1 cup water per 1 cup rice (or slightly more, depending on altitude and brand). Too much water leads to mushy rice that won’t hold together when rolled. Conversely, too little water yields hard, undercooked grains that lack tenderness.
Step-by-Step Guide: Cooking Sushi Rice in a Rice Cooker
Gathering Your Ingredients and Tools
Before you begin, make sure you have everything ready: high-quality sushi rice (about 2 cups), cold filtered water, a fine-mesh strainer, measuring cups, a wooden spoon, and your rice cooker. Optional but helpful: a bowl for soaking, a cutting board for chopping seasoning ingredients, and a fan (yes, really!) to cool the rice quickly.
Step 1: Rinse the Rice Thoroughly
This is arguably the most important step. Place the rice in a fine-mesh strainer and rinse under cold running water, gently stirring with your fingers. Continue until the water runs clear—usually 4–6 rinses. This removes surface starch, preventing the rice from becoming gluey. Be gentle; rough handling breaks the grains and creates dust-like fragments that affect texture.
Step 2: Soak the Rice (Optional but Recommended)
After rinsing, let the rice sit in a bowl filled with fresh cold water for 30 minutes to 1 hour. Soaking hydrates the grains evenly and improves digestibility. Some purists skip this step, but soaking ensures consistent cooking and reduces cooking time slightly.
Step 3: Measure Water Accurately
For every 1 cup of sushi rice, use approximately 1¼ cups of cold water. Adjust based on your rice cooker’s manual and local humidity. In very humid climates, you may need slightly less water; in dry areas, add a tablespoon more. Never eyeball it—precision is key.
Step 4: Load the Rice Cooker
Add the rinsed (and optionally soaked) rice to the inner pot of your rice cooker. Pour in the measured water. Gently level the top without pressing down—this helps ensure even heating.
Step 5: Start Cooking
Close the lid securely and select the “white rice” or “sushi” setting if available. If your model doesn’t have a dedicated sushi function, use the standard “white rice” mode. Avoid using “quick cook” or “brown rice” settings—they alter timing and temperature unfavorably.
Step 6: Let It Rest After Cooking
Once the cycle completes, wait 10–15 minutes with the lid closed. This allows residual steam to distribute evenly and firms up the texture. Do not lift the lid during this period—it disrupts the process and causes condensation that makes rice soggy.
Step 7: Fluff and Season
Use a wooden spatula to fluff the rice gently, folding from the bottom up. While still warm, mix in a seasoned vinegar solution: ½ cup rice vinegar, 2 tablespoons sugar, 1 teaspoon salt, heated until dissolved. Toss quickly but firmly—don’t mash the rice. For best results, use a fan blowing across the bowl to cool the rice rapidly, preventing overcooking.
Tips for Perfect Sushi Rice Every Time
Choose the Right Rice Brand
Not all short-grain rices are equal. Top choices include Koshihikari, Nishiki, Tamanishiki, and brands like Uncle Ben’s Converted Medium Grain or Lundberg Family Farms Organic Short Grain. Read reviews and experiment—some rices perform better in certain regions due to climate and milling methods.
Control Starch Content
If your rice feels too sticky after cooking, try increasing rinses or reducing water slightly next time. If it’s too dry, add a splash of water during the resting phase and cover with a damp cloth while cooling.
Keep Everything Cold
Cold water and a chilled bowl help keep the rice from overheating during seasoning. Warm rice absorbs vinegar unevenly and becomes soggy faster. Chilled utensils also prevent premature softening.
Practice Makes Perfect
Your first batch might not be flawless, and that’s okay! Keep notes on water ratios, soak times, and seasoning amounts. Over time, you’ll develop a personal recipe that works perfectly for your taste and equipment.
Alternative Methods: Stovetop vs. Steamer
Stovetop Cooking
Traditionalists swear by stovetop methods, especially those involving boiling, draining, and steaming. Here’s how it works: Boil rice and water (1:1.2 ratio) for 6 minutes, then reduce heat, cover, and simmer for 12 minutes. Turn off heat and rest covered for 10 minutes. Drain any excess water, fluff, and proceed to seasoning. While effective, this method demands attention and risks scorching if left unattended.
Steaming Method
For ultra-glossy, tender rice, try steaming. After rinsing and soaking, place rice in a heatproof bowl inside a steamer basket set over boiling water. Steam for 25–30 minutes until tender. This mimics professional kitchen techniques and produces exceptionally smooth results, though it takes longer and requires extra equipment.
Comparing Rice Cooker vs. Other Methods
Rice cookers win for consistency, speed, and ease. Stovetop offers more control for experienced cooks, while steaming delivers premium texture but isn’t practical for daily use. For most home chefs, the rice cooker strikes the ideal balance between simplicity and quality.
Troubleshooting Common Sushi Rice Problems
Too Sticky or Gluey
Caused by insufficient rinsing or too much water. Fix by rinsing more thoroughly next time and reducing water by 1 tablespoon. Also, avoid mixing vigorously after seasoning—gentle folds preserve structure.
Too Dry or Crumbly
Usually due to over-rinsing (which removes good starch) or too little water. Compromise by adding a few drops of water during resting and covering with a damp towel.
Uneven Texture
Occurs when some grains are undercooked while others burst open. Ensure even water distribution and don’t overload the rice cooker—stick to recommended capacity limits.
Lack of Gloss
Gloss comes from proper starch balance and rapid cooling. Use a fan during seasoning and serve immediately for shine. Storing seasoned rice overnight dulls the sheen.
Storing and Reheating Sushi Rice
Freshly cooked sushi rice tastes best within 30–60 minutes of preparation. If you must store it, cool completely, cover tightly, and refrigerate for up to 2 days. Never leave warm rice uncovered—it dries out and develops bacteria.
To reheat, sprinkle rice with cold water, cover with a damp cloth, and microwave for 30-second intervals until warmed through. Alternatively, steam briefly over boiling water. Avoid microwaving without moisture—it turns rice rubbery.
Conclusion: Mastering Sushi Rice Is Easier Than You Think
So, can you cook sushi rice like regular rice? Technically, yes—but only if you understand the nuances. The secret isn’t complicated technology or exotic tools; it’s attention to detail: rinsing, measuring, timing, and seasoning. With a rice cooker as your ally, you remove much of the guesswork while maintaining full control over quality.
Whether you’re assembling a simple hand roll or crafting elaborate futomaki, perfect sushi rice is the foundation. By following these guidelines, you’ll transform ordinary ingredients into something extraordinary—right in your own kitchen. And who knows? Once you master the basics, you might start experimenting with sushi bowls, poke, or even dessert sushi using seasonal fruits.
Remember: great sushi starts with great rice. Treat it well, respect its nature, and it will reward you with delicious, satisfying results every single time.
Frequently Asked Questions
Can I use any type of rice to make sushi?
No, only short-grain Japanese rice labeled “sushi rice” or “Calrose” works best. Long-grain varieties like jasmine or basmati become too dry and crumbly, ruining the texture needed for nigiri and rolls.
Do I really need to rinse sushi rice?
Absolutely. Rinsing removes excess surface starch that causes rice to become overly sticky and clumpy. Aim for water that runs clear after 4–6 rinses under cold running water.
How much water do I use per cup of sushi rice?
Use about 1¼ cups of cold water per 1 cup of sushi rice. Adjust by 1 tablespoon depending on your climate—reduce in humid areas, increase in dry ones.
Can I cook sushi rice without a rice cooker?
Yes, you can use the stovetop or steaming method. However, a rice cooker provides consistent results with minimal effort, making it ideal for beginners and busy cooks.
Why does my sushi rice fall apart when I roll it?
This usually happens when the rice is too wet, under-seasoned, or handled roughly. Ensure proper rinsing, accurate water ratio, and gentle mixing during seasoning. Cooling the rice quickly also helps maintain firmness.
How long should I soak sushi rice before cooking?
Soaking for 30 minutes to 1 hour improves texture and digestibility. While optional, it’s highly recommended for consistent results, especially with older rice stocks.