
Yes, you absolutely can cook white rice in the oven, and it’s a surprisingly reliable method when done right. Using the right ratio of water to rice, a tight-fitting lid, and low-and-slow heat, your oven can produce tender, evenly cooked grains—no rice cooker needed. This technique is perfect for meal prep or when you want to free up your stovetop for other dishes.
Have you ever been in the middle of cooking dinner and realized your rice cooker is still cleaning itself? Or maybe you just don’t own one and want a reliable backup method? You might be wondering: Can you cook white rice in the oven? The short answer is yes—absolutely. While most people default to their stovetop or rice cooker, baking rice in the oven is not only possible but can actually yield beautifully tender, evenly cooked grains when done correctly. It’s especially useful for meal preppers, those with limited kitchen tools, or anyone who loves the hands-off ease of oven-based cooking.
Cooking rice in the oven might sound unconventional at first, but it’s rooted in traditional methods used for centuries in many cultures. Think of it as a slow-cooked, no-fuss version of boiling rice. Instead of constant stirring and monitoring on the stove, you simply mix, cover, and let the oven do the work. With the right technique, you can achieve fluffy, separate grains that are just as good—if not better—than those made in a dedicated appliance. Plus, using the oven frees up your cooktop for other dishes, making it ideal for busy weeknights or when hosting guests.
In this article, we’ll walk through everything you need to know about cooking white rice in the oven—from choosing the right pot and measuring ingredients accurately to troubleshooting common issues like mushy or undercooked rice. Whether you’re a beginner or a seasoned home cook looking to expand your repertoire, you’ll find practical tips and clear instructions to help you master this versatile method. Let’s get started!
Key Takeaways
- Oven-baked rice works best with a 1:1.5 to 1:2 rice-to-water ratio: For every cup of uncooked white rice, use 1.5 to 2 cups of water to achieve fluffy, non-sticky results.
- Use an oven-safe pot or Dutch oven with a tight lid: This traps steam and ensures even cooking—avoid glass lids unless they’re oven-proof and sealed properly.
- Bake at 375°F (190°C) for 40–50 minutes: Low and slow is key; high heat can cause uneven cooking or burnt bottoms.
- Let the rice rest before fluffing: Resting allows steam to distribute evenly and makes fluffing easier without breaking grains.
- Add flavor with broth instead of water: Swap water for chicken or vegetable broth to infuse subtle taste into your rice.
- Cooling prevents mushiness: Allow rice to sit covered for 10–15 minutes after baking to avoid sogginess.
- Perfect for batch cooking and meal prep: Bake a large tray and store portions for quick, healthy meals all week.
📑 Table of Contents
- Why Cook Rice in the Oven?
- What You’ll Need to Cook White Rice in the Oven
- The Step-by-Step Process: How to Cook White Rice in the Oven
- Tips for Perfect Oven-Baked White Rice
- Common Mistakes and How to Fix Them
- Variations and Creative Uses
- How Oven Cooking Compares to Other Methods
- Final Thoughts: Is Oven Rice Worth It?
Why Cook Rice in the Oven?
While rice cookers are fantastic tools, they’re not always available. Maybe yours broke, is on the fritz, or simply isn’t working right now. Or perhaps you’re cooking for a crowd and need to make a large batch without tying up your stovetop. That’s where the oven comes in.
Baking rice in the oven offers several advantages. First, it’s energy-efficient—once the oven preheats, it uses minimal power compared to keeping a pot on the burner. Second, it’s hands-off. Once you’ve added the rice and water and placed the lid on tightly, you can focus on preparing other parts of your meal. Third, ovens provide consistent, even heat, which helps prevent hot spots and ensures every grain cooks uniformly.
Another benefit is flavor infusion. By using broth instead of water and adding aromatics like garlic, bay leaves, or onions, you can elevate plain white rice into a savory side dish. And since the oven doesn’t require constant attention, you can marinate proteins, roast vegetables, or bake desserts while the rice does its thing.
Of course, there are also some potential downsides to consider. Ovens take longer to preheat than stovetops, and the cooking time is generally longer than boiling rice on the stove. Also, if you’re making small batches, it might not be the most efficient method. But for larger quantities or when you need flexibility, oven-baked rice is a game-changer.
What You’ll Need to Cook White Rice in the Oven

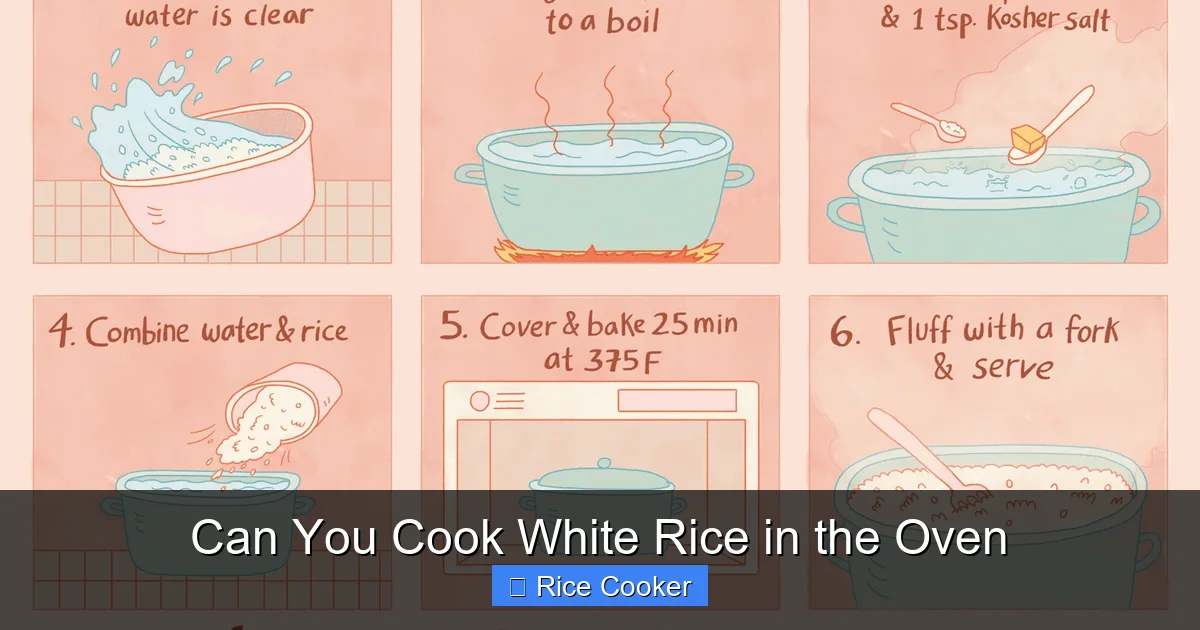
Visual guide about Can You Cook White Rice in the Oven
Image source: cookingtipsblog.com
Before you start, gather these essentials. Having the right tools and ingredients will make the process smoother and more successful.
A Heavy-Bottomed Oven-Safe Pot
You need a pot that can go from stovetop to oven (though you won’t use the stovetop for cooking). A heavy-bottomed Dutch oven or saucepan with a tight-fitting lid is ideal. Cast iron, stainless steel, or enameled cast iron work great. Avoid thin aluminum pots—they can warp or create hot spots.
White Rice
Long-grain white rice (like basmati or jasmine) works best because it stays fluffy and separate. Short-grain varieties tend to become sticky and clump together when baked, though you can try them if you prefer creamier texture.
Water or Broth
Use filtered or bottled water for neutral flavor, or swap it with chicken, vegetable, or beef broth for extra depth. Just remember: broth adds salt, so adjust seasoning later if needed.
A Tight-Fitting Lid
The lid must seal well to trap steam. If your pot has a glass lid, make sure it’s oven-safe and fits snugly. You can also use foil or parchment paper inside a lid if needed—just press it down firmly over the top.
Measuring Cups and Spoon
Accuracy matters. Use a standard 180ml cup (US) or 200ml cup (UK) for rice measurement. A flat spoon or knife helps level off excess rice before cooking.
Optional Add-Ins
Garlic cloves, bay leaves, diced onions, or butter can enhance flavor. Add them before covering the pot.
With these basics ready, you’re set to begin. The next section explains the exact steps for success.
The Step-by-Step Process: How to Cook White Rice in the Oven
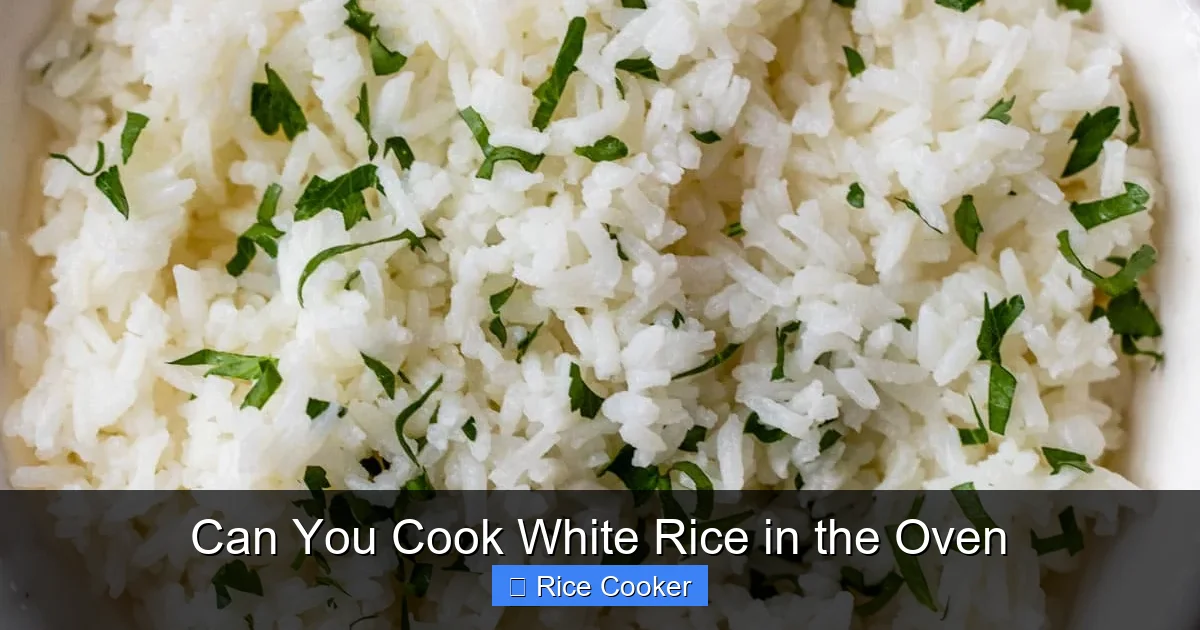
Visual guide about Can You Cook White Rice in the Oven
Image source: wellplated.com
Follow these simple steps for foolproof oven-baked rice every time.
Step 1: Preheat Your Oven
Set your oven to 375°F (190°C). Allow it to fully preheat—this ensures even cooking from the start. Unlike boiling rice on the stove, which heats up quickly, the oven needs time to stabilize.
Step 2: Rinse the Rice
Place 1 cup of uncooked white rice in a fine-mesh strainer and rinse under cold running water for 1–2 minutes. This removes excess starch and prevents clumping. Drain thoroughly.
Step 3: Combine Rice and Liquid
In your oven-safe pot, combine the rinsed rice with 1.5 to 2 cups of water or broth. For example:
– 1 cup rice + 1.5 cups liquid = slightly firmer rice
– 1 cup rice + 2 cups liquid = softer, more absorbent rice
Add any optional flavorings now—like 1 crushed garlic clove, 1 bay leaf, or a tablespoon of butter.
Step 4: Bring to a Boil on the Stovetop (Optional)
For faster results, bring the mixture to a boil over medium-high heat on the stove. Once bubbling, immediately transfer the pot to the preheated oven. Skipping this step is fine too, but bringing it to a boil first helps kickstart the cooking process.
Step 5: Cover and Bake
Place a tight lid on the pot and transfer it to the oven. Bake uncovered? No—covering is essential to keep moisture in. Bake for 40–50 minutes. Long-grain rice usually takes closer to 50 minutes.
Step 6: Let It Rest
After baking, turn off the oven but leave the pot inside with the lid on. Let it rest for 10–15 minutes. This allows residual heat to finish cooking the rice and lets steam redistribute.
Step 7: Fluff and Serve
Remove the pot from the oven (careful—it’s hot!). Open the lid, gently fluff the rice with a fork, and discard any bay leaves or garlic pieces. Season with salt or pepper if desired.
And that’s it! You’ve just made perfect oven-baked white rice without a rice cooker.
Tips for Perfect Oven-Baked White Rice
Even experienced cooks run into hiccups. Here’s how to avoid them.
Use the Right Water-to-Rice Ratio
Too much water = mushy rice. Too little = dry, hard grains. Stick to 1:1.5 or 1:2. Test by tasting halfway through cooking—if it’s still crunchy, add 1 tablespoon of water and return to the oven for 5 more minutes.
Don’t Lift the Lid During Baking
Every time you open the lid, you release steam and drop the temperature. Keep it closed until the rice is done and resting.
Adjust Cooking Time by Type
Different rice varieties have slightly different textures:
– Basmati: 45–50 minutes
– Jasmine: 40–45 minutes
– American long-grain: 50–55 minutes
Check doneness by poking with a fork—it should be tender with no hard bits.
Store Leftovers Properly
Cool rice completely, then store in an airtight container in the fridge for up to 5 days. Reheat with a splash of water in the microwave or on the stovetop.
Try Different Flavors
Experiment with coconut milk instead of water for a tropical twist, or add herbs like thyme or rosemary for a savory boost.
Use a Meat Thermometer (Optional)
For extra precision, insert a thermometer into the rice—it should read around 200°F (93°C) when done.
By following these tips, you’ll minimize mistakes and maximize success.
Common Mistakes and How to Fix Them
Even with the best intentions, things can go wrong. Here’s what to watch out for—and how to fix it.
Mushy Rice
This usually happens from too much water or not letting it rest. Next time, reduce liquid by ¼ cup and ensure proper resting time. Also, avoid lifting the lid.
Undercooked Rice
If the center is still hard, return the pot to the oven for 5–10 more minutes. Don’t overcook afterward or it’ll dry out.
Burnt Bottom
This occurs if the pot overheats or lacks fat. Add 1 teaspoon of oil or butter to the pot before adding rice. Also, avoid overcrowding the pot.
Rice Sticking to the Lid
Steam condenses and drips back down. To prevent this, place a piece of parchment paper between the rice and lid before covering. Or, use a pot with a dome-shaped lid that keeps condensation away from the rice.
Inconsistent Texture
Old rice absorbs less liquid. If using older stock, increase water slightly. Also, always measure fresh rice for accuracy.
Lid Doesn’t Fit
If your lid slips, weigh it down with a small plate or use foil wrapped tightly around the rim. Just make sure it’s sealed well.
Learning from these mistakes will help you fine-tune your technique over time.
Variations and Creative Uses
Once you’ve mastered basic oven rice, try these fun twists.
Flavored Rice with Herbs and Spices
Add turmeric for golden saffron rice, or cumin and coriander for Indian-style pilaf. Toast the spices lightly in a dry pan first for deeper flavor.
Coconut Rice
Replace half the water with coconut milk. Add a pinch of salt and a strip of kaffir lime leaf for authentic Thai flavor.
Cheese and Herb Rice
Stir in ½ cup grated Parmesan and chopped parsley during the last 5 minutes of baking. Cover tightly to melt the cheese.
Sushi Rice
Use short-grain rice with 1:1 rice-to-water ratio and a splash of rice vinegar after cooking. Press into a mold and chill for rolls.
Rice Pilaf
Sauté onions and mushrooms in butter before adding rice. Cook with broth for a hearty side dish.
These variations show how versatile oven rice can be—great for elevating simple meals.
How Oven Cooking Compares to Other Methods
Let’s break down how oven-baked rice stacks up against stovetop boiling and rice cookers.
Oven vs. Stovetop
Pros of oven: hands-off, even heat, frees up cooktop. Cons: slower, requires preheating. Stovetop is faster and more responsive but needs constant attention.
Oven vs. Rice Cooker
Pros of oven: no special equipment needed, scalable for large batches. Cons: less automated, longer total time. Rice cookers win on convenience and consistency.
Best Use Cases
– Oven: Meal prep, large servings, when you want to multitask.
– Stovetop: Quick weeknight dinners, when you need control.
– Rice Cooker: Daily use, beginners, consistent results every time.
Each method has its place—but knowing all three gives you flexibility.
Final Thoughts: Is Oven Rice Worth It?
So, can you cook white rice in the oven? Yes—and it’s a skill worth having in your back pocket. While it may not replace your rice cooker for everyday use, it’s a reliable emergency plan and a great option when you want variety. The results are just as good, and the process is surprisingly simple once you get the hang of it.
The key is patience and attention to detail—especially with water ratios and resting time. But the payoff is fluffy, aromatic rice that pairs beautifully with grilled meats, stir-fries, soups, or curries.
Whether you’re cooking for one or feeding a family, mastering oven-baked rice expands your culinary toolkit. Try it tonight, and see how easy it is to enjoy restaurant-quality rice at home—without any fancy gadgets.
Frequently Asked Questions
Can you really cook rice in the oven without a rice cooker?
Absolutely! You can cook white rice in the oven using a heavy pot, water, and a tight lid. It takes slightly longer than boiling on the stovetop but produces equally delicious results when done correctly.
Do I need to soak white rice before baking it in the oven?
No soaking is required for white rice before oven cooking. Simply rinse it to remove excess starch, then proceed with combining it with water or broth and baking as usual.
What type of pot should I use for oven-baked rice?
Use a thick-bottomed, oven-safe pot or Dutch oven with a secure-fitting lid. Avoid glass lids unless they’re specifically labeled as oven-safe and fit tightly.
How long does it take to cook white rice in the oven?
At 375°F (190°C), white rice typically takes 40–50 minutes to cook in the oven. Always check for doneness and allow a 10–15 minute rest period before fluffing.
Can I add flavors like broth or spices when baking rice in the oven?
Yes! Substitute water with broth for extra flavor, and add aromatics like garlic, bay leaves, or onions before covering and baking.
Will oven-baked rice stay warm if I delay serving it?
Yes—rice can stay warm for up to 30–45 minutes after removing it from the oven if kept covered in a warm oven or insulated container. Avoid leaving it out for more than 1 hour.