
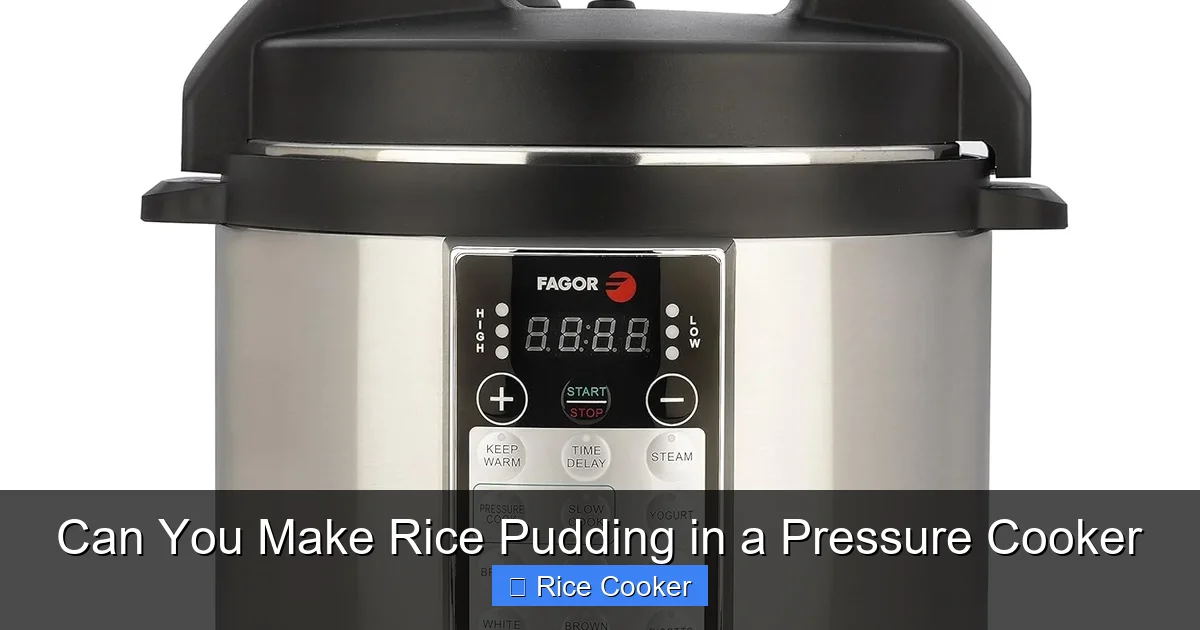
Making rice pudding in a pressure cooker is not only possible—it’s easier than you think! With just a few ingredients and less than an hour of active time, you’ll have a rich, creamy dessert ready to enjoy. The pressure cooker does most of the work by cooking the rice evenly and thickening the mixture perfectly.
Key Takeaways
- Yes, you can make rice pudding in a pressure cooker: It’s faster and yields a consistently creamy texture with less stirring required.
- Short-grain rice works best: Varieties like Arborio, sushi rice, or even leftover cooked white rice give the ideal starch content for creaminess.
- Time-saving advantage: Pressure cooking reduces traditional stovetop simmering time from 45–60 minutes down to 15–20 minutes under pressure.
- Flavor customization is easy: Add cinnamon, vanilla, raisins, nuts, or fruit during or after cooking to suit your taste.
- Safety first: Always use the correct liquid-to-rice ratio and avoid overfilling the inner pot to prevent overflow or damage.
- Versatile appliance use: Beyond dessert, this method works well for other grain-based dishes like porridge or risotto-style meals.
- Cleanup is simple: Non-stick pressure cooker pots make removing sticky rice pudding much easier when cooled slightly.
📑 Table of Contents
- Introduction: The Comfort of Rice Pudding—Made Faster
- Why Use a Pressure Cooker for Rice Pudding?
- Choosing the Right Rice for Pressure-Cooked Pudding
- Essential Ingredients & Proportions
- Step-by-Step Instructions: Making Rice Pudding in Your Pressure Cooker
- Customizing Your Rice Pudding: Sweet & Savory Variations
- Troubleshooting & Tips for Perfect Results
- Beyond Dessert: Other Grain Dishes You Can Make in a Pressure Cooker
- Conclusion: Why Every Home Cook Needs This Trick
Introduction: The Comfort of Rice Pudding—Made Faster
There’s something deeply soothing about rice pudding. Whether it’s served warm on a chilly evening or chilled as a light breakfast treat, its creamy texture and subtle sweetness evoke comfort and nostalgia. Traditionally made by slowly simmering rice in milk or cream with sugar and spices until thickened, this classic dessert often requires constant attention and a long cooking time. But what if there was a way to enjoy all that cozy goodness without standing over the stove for nearly an hour?
Enter the pressure cooker—a kitchen powerhouse that has transformed how we prepare everything from soups to stews. And yes, it turns out you can absolutely make rice pudding in a pressure cooker. In fact, using this appliance might just be the easiest, most reliable method yet. Not only does it cut down on hands-on effort, but it also ensures even cooking and a velvety consistency that’s hard to replicate on the stovetop.
In this article, we’ll walk you through everything you need to know about making perfect rice pudding using your electric pressure cooker or Instant Pot. From choosing the right rice to timing tips and flavor variations, we’ve got you covered. Whether you’re new to pressure cooking or a seasoned pro looking to expand your repertoire, this guide will show you why pressure-cooking rice pudding is a game-changer.
Why Use a Pressure Cooker for Rice Pudding?
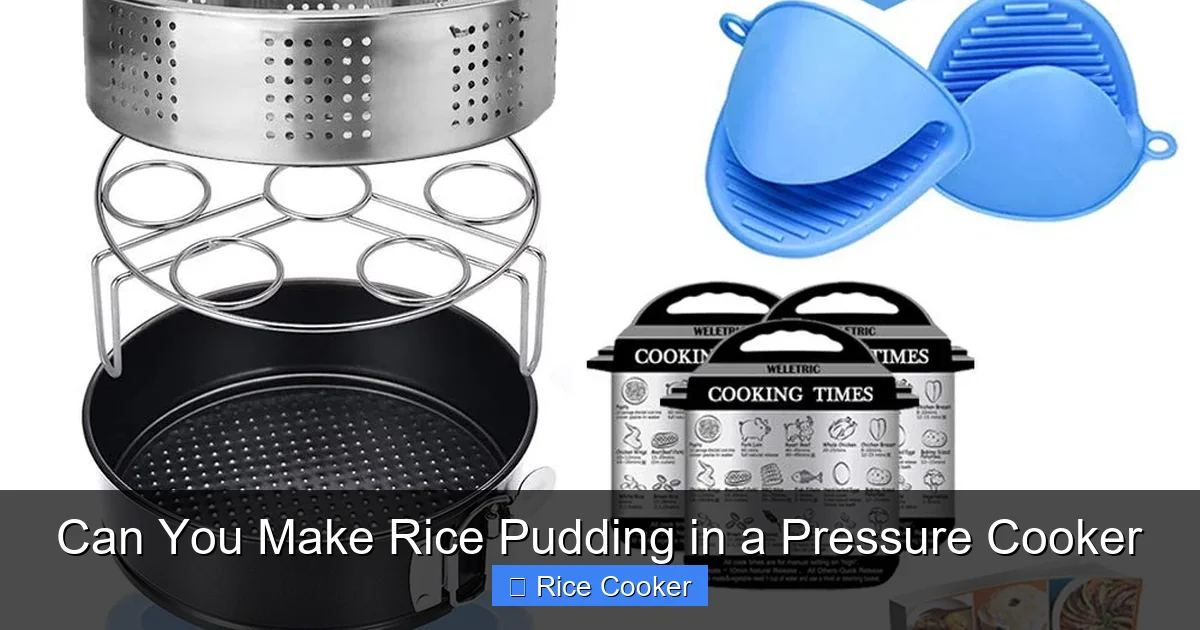
Visual guide about Can You Make Rice Pudding in a Pressure Cooker
Image source: images-na.ssl-images-amazon.com
You might wonder: why bother changing a time-tested recipe? After all, stovetop rice pudding has been around for centuries. But modern appliances offer real advantages—especially when it comes to efficiency and convenience.
First, **the pressure cooker dramatically reduces cooking time**. On the stovetop, rice pudding typically needs 45 to 60 minutes of gentle simmering, requiring frequent stirring to prevent scorching and ensure even thickening. With a pressure cooker, total active time drops to under 30 minutes—often just 15 minutes under pressure plus natural release. That means you can whip up a batch while doing other kitchen tasks.
Second, **consistency is key**, and pressure cooking delivers it. The sealed environment traps steam and heat, cooking the rice uniformly and activating starches more effectively. This leads to a smoother, silkier texture compared to uneven batches on the burner. Plus, because the mixture isn’t exposed to open air, evaporation is controlled, helping maintain the right thickness without drying out.
Third, **hands-off cooking** frees up your schedule. Once you add everything to the pot, set the timer, and let physics do its work, you’re free to prep toppings, clean up, or even take a break. This makes rice pudding—a traditionally finicky dish—accessible to home cooks of all skill levels.
Finally, **clean-up is simpler**. Most pressure cooker inner pots are non-stick and dishwasher-safe, so even if some pudding sticks during cooking (which happens!), it usually comes off with minimal scrubbing. No more scraping dried residue from heavy-bottomed pans!
Choosing the Right Rice for Pressure-Cooked Pudding
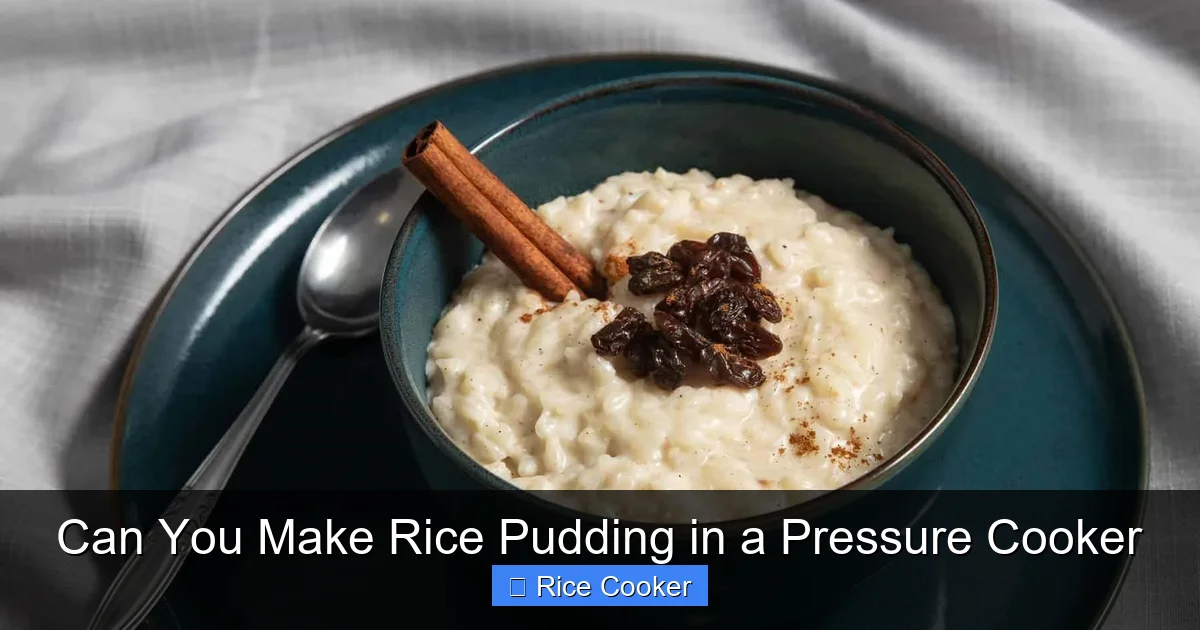
Visual guide about Can You Make Rice Pudding in a Pressure Cooker
Image source: homepressurecooking.com
Not all rice is created equal when it comes to making pudding. The type you choose directly impacts texture, creaminess, and overall success.
Best Types of Rice
– Arborio rice: A short-grain Italian variety prized in risotto for its high starch content and ability to absorb liquid without turning mushy. Excellent for pudding.
– Sushi rice: Also short-grain and slightly stickier than long-grain varieties. Its balanced amylopectin levels create ideal chewiness and creaminess.
– Carnaroli rice: Often called the “king of risotto rice,” it holds shape better than Arborio and releases consistent starches for rich texture.
– White short-grain rice: Commonly found in grocery stores; works well if you want a milder flavor and quicker cook time.
– Cooked leftover rice: Yes, you can actually make pudding from already-cooked rice! Just adjust liquids accordingly.
Avoid long-grain basmati or jasmine rice—they lack sufficient starch and tend to stay separate rather than melding into a cohesive pudding.
Grain Size Matters
For traditional pudding, use regular-sized grains, not instant or pre-cooked varieties. These are too soft and won’t contribute enough body to the final dish.
Rinsing vs. Not Rinsing
Most recipes recommend rinsing rice before cooking to remove excess surface starch. However, for pudding, **rinsing may reduce creaminess**. Since we rely on internal starch release during pressure cooking, keeping the rice unrinsed helps maximize thickening power. If you do rinse, pat dry thoroughly or increase cooking liquid slightly.
Essential Ingredients & Proportions
Getting the ingredient balance right is crucial. Too little liquid, and your pudding is gluey. Too much, and it stays thin and watery.
Basic Ratio Guide
A standard starting point is **1 cup uncooked rice to 3 cups liquid** (milk + water). For richer results, use 2 cups whole milk and 1 cup water per 1 cup rice. Whole milk adds fat for creaminess; skim milk results in lighter texture.
If using **already-cooked rice**, start with **1 cup cooked rice + 2 cups milk + 1/2 cup water**. Adjust as needed after cooking.
Sweeteners & Flavorings
– Sugar: Granulated white or brown sugar (1/4 to 1/2 cup per serving)
– Vanilla extract: 1–2 teaspoons for aromatic depth
– Cinnamon: 1/2 teaspoon ground (optional but classic)
– Salt: Pinch to enhance sweetness
Optional additions:
– Raisins (soak in warm water for 10 mins before adding)
– Chopped almonds or walnuts
– Lemon zest or orange blossom water for floral notes
Liquids: Milk Options
– **Whole cow’s milk**: Creamiest result
– **Half-and-half or light cream**: Even richer mouthfeel
– **Plant-based milks** (almond, oat, soy): Workable, but may require extra sugar or cornstarch to thicken properly
– **Water**: Can substitute part of the liquid, though flavor suffers
Note: Evaporated milk adds richness and helps prevent scorching—great for beginners!
Step-by-Step Instructions: Making Rice Pudding in Your Pressure Cooker
Ready to try it? Follow these clear steps for foolproof results every time.
What You’ll Need
- Electric pressure cooker (Instant Pot, Ninja Foodi, etc.)
- Non-stick inner pot
- Measuring cups and spoons
- Whisk
- Cutting board and knife (for toppings)
Preparation
- Add ingredients to the inner pot: Combine rice, sweetener, salt, and flavorings. Pour in milk and water. Stir gently.
- No need to soak: Unlike some grain dishes, rice pudding doesn’t require pre-soaking—just give it a quick stir.
Cooking Method
Using Manual/High Pressure Setting
- Seal the lid tightly. Set valve to “Sealing.”
- Cook on Manual or Pressure Cook setting at High pressure for 12–15 minutes. (Use 12 mins for sushi/rice blends; 15 for Arborio or firmer grains.)
- Once done, allow natural release for 10–15 minutes, then quick-release remaining pressure.
- Open lid carefully—watch for steam!
Adjustments for Different Models
– Older models without timers: Cook for 8–10 minutes high pressure, then let sit 5 minutes before releasing.
– Using “Porridge” mode: Select this setting if available—it mimics stovetop simmering but in pressurized form. Cook time: 20–25 minutes.
Finishing Touches
- Stir gently: The pudding should be thick and creamy. If too firm, stir in 1–2 tbsp extra milk or water.
- Add mix-ins now: Fold in raisins, nuts, or fresh fruit while still warm.
- Cool slightly: Serve warm, or refrigerate for 2+ hours for chilled pudding.
Common Mistakes to Avoid
- Overfilling the pot: Never exceed 2/3 full. Rice expands during cooking!
- Skipping the lid seal check: A loose lid won’t build pressure.
- Using low-pressure settings: Insufficient pressure prevents proper gelatinization of starches.
- Not allowing natural release: Quick-release too soon causes mushy texture.
Customizing Your Rice Pudding: Sweet & Savory Variations
While classic rice pudding is sweet, the pressure cooker opens doors to many creative twists.
Classic Sweet Versions
– **Spiced Apple Pudding**: Add diced apples with cinnamon and nutmeg during cooking.
– **Berry Compote Topping**: Simmer frozen berries with honey post-cooking; spoon over warm pudding.
– **Coconut Milk Pudding**: Replace half the milk with coconut milk for tropical flair—add 1 tsp vanilla and a pinch of cardamom.
– **Chocolate Rice Pudding**: Stir in 1/4 cup cocoa powder and 1 tbsp maple syrup during prep.
Unique Flavors
– **Lemon Verbena or Lavender**: Infuse milk with dried herbs for 30 minutes before cooking.
– **Brown Butter & Sage**: For a savory-sweet hybrid (try with pear slices).
– **Tahini Swirl**: Mix 1 tbsp tahini into cooled pudding for nutty depth.
Serving Suggestions
– Drizzle with caramel or chocolate sauce
– Sprinkle with cinnamon, chopped pistachios, or toasted coconut
– Top with whipped cream or vanilla ice cream
– Garnish with fresh mint or edible flowers
Troubleshooting & Tips for Perfect Results
Even experienced cooks hit snags sometimes. Here’s how to fix common issues.
Too Thin?
Add 1–2 tbsp cornstarch mixed with cold water. Stir into hot pudding and cook 2 minutes longer (uncovered) to thicken.
Too Thick?
Stir in 1–2 tbsp warm milk or cream until desired consistency.
Gummy or Mushy Texture?
Caused by overcooking or wrong rice type. Next time, reduce pressure time by 2 minutes and use shorter-grain rice.
Burnt Bottom?
Always ensure enough liquid (minimum 3:1 ratio). Scorching indicates dryness—never skip the milk/water combo.
Sticking to Pot?
Use parchment paper circle on bottom before adding ingredients. Or spray lightly with cooking oil.
Storage & Reheating
– Refrigerate: Keeps 4–5 days in airtight container.
– FreezeReheat safely: Do not re-pressure cook frozen leftovers—use stovetop or microwave instead.
Beyond Dessert: Other Grain Dishes You Can Make in a Pressure Cooker
Rice pudding is just the beginning! Once you master this technique, consider trying:
- Ash Reshteh: Persian noodle soup with fava beans and mint
- Congee: Chinese rice porridge—perfect for sick days
- Mujadara: Lentil and rice dish with caramelized onions
- Jambalaya: One-pot Creole stew with sausage and rice
- Biryani: Spiced layered rice dish with meat or vegetables
The same principles apply: liquid ratios, pressure times, and natural release matter across all grain-based recipes.
Conclusion: Why Every Home Cook Needs This Trick
Making rice pudding on the stovetop feels almost ceremonial—slow, attentive, and demanding. But with a pressure cooker, that ritual becomes routine. You get the same comforting result, minus the guesswork and hassle. Whether you’re feeding a family or treating yourself, this method delivers reliability and speed without sacrificing flavor or texture.
And honestly? There’s nothing quite like scooping out a warm bowl of creamy, spiced rice pudding topped with toasted almonds and a dusting of cinnamon. Now, thanks to your trusty pressure cooker, you can enjoy it any day of the week—no special occasion required.
So go ahead: grab your favorite short-grain rice, pour in some milk, and press “Start.” In under half an hour, you’ll wonder why you ever doubted it.
Frequently Asked Questions
Can I make rice pudding in any type of pressure cooker?
Yes! Whether you have an electric Instant Pot, a stovetop pressure cooker (like a stovetop version of the Presto), or a multi-functional model like a Ninja Foodi, the method remains similar. Just adjust timing based on your model’s capabilities—most follow the same 12–15 minute high-pressure rule.
Do I need to soak the rice before pressure cooking?
No soaking required. Unlike some ancient grains or legumes, white rice cooks efficiently without pre-hydration. Adding it directly to the liquid streamlines prep and doesn’t affect texture negatively.
How do I prevent my rice pudding from being too runny?
Ensure you’re using the correct liquid ratio (at least 3 cups per 1 cup uncooked rice) and allow full natural release time. If still thin, stir in a slurry of cornstarch and cold water and cook uncovered for 2–3 minutes.
Can I use brown rice for pressure-cooked pudding?
Technically yes, but expect a chewier, nuttier result with longer cook times (around 20–25 minutes under pressure). Brown rice lacks the same starch release as white varieties, so it’s less ideal for ultra-creamy pudding.
Is it safe to leave the pressure cooker unattended while making pudding?
Absolutely. Pressure cookers are designed for unattended cooking once sealed. Just verify the vent is clear and don’t override safety mechanisms. Natural release adds extra peace of mind by preventing sudden spurts of steam.
Can I make rice pudding ahead of time?
Yes! Cool completely, cover, and store in the refrigerator for up to 5 days. Reheat gently on the stovetop or in the microwave, stirring occasionally to restore creaminess. It thickens further as it cools, so adjust consistency when reheating.