
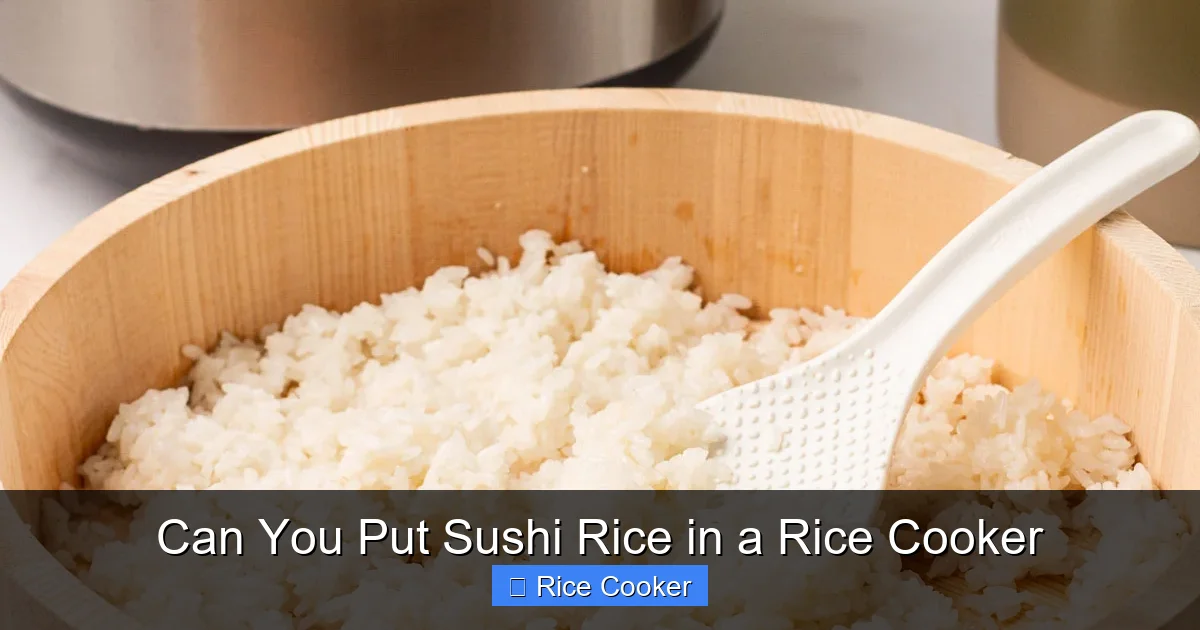
Can you put sushi rice in a rice cooker? Absolutely! With the right technique, your rice cooker can produce fluffy, sticky sushi rice that’s ready for rolls, nigiri, or bowls. The key lies in using the correct water-to-rice ratio, rinsing thoroughly, and letting the rice rest after cooking. While traditionalists may prefer stovetop methods, modern rice cookers—especially those with fuzzy logic—deliver consistent results that rival hand-cooked perfection.
Have you ever stood in front of your kitchen counter, chopsticks poised over a bowl of sushi rice, wondering whether your trusty rice cooker could handle the job? Maybe you’re new to making sushi at home and heard that traditional methods involve long, precise simmering on the stove—but honestly, who has time for that every single night? Enter: the humble rice cooker, a kitchen appliance many of us rely on for everything from breakfast porridge to dinner sides. So why not let it tackle one of the most delicate staples of Japanese cuisine—sushi rice?
Cooking sushi rice isn’t just about boiling water and adding grain. It’s an art form rooted in patience, precision, and understanding how rice behaves when exposed to heat and moisture. But here’s the good news: with a little know-how, your rice cooker can become your secret weapon for consistently delicious sushi rice. Whether you’re rolling California rolls, crafting hand-pressed nigiri, or simply enjoying a bowl of warm, vinegary rice with miso soup, mastering sushi rice opens up a whole world of culinary possibilities.
In this guide, we’ll walk through everything you need to know—from choosing the right type of rice to seasoning it like a pro. We’ll also explore common pitfalls (like overcooking or under-rinsing), compare different rice cooker types, and share real-world tips from home chefs who’ve turned their countertop appliances into sushi-making machines. By the end, you’ll feel confident asking: Can you put sushi rice in a rice cooker? And the answer? Absolutely—and you might never go back to the stovetop again.
Key Takeaways
- Sushi rice works perfectly in most rice cookers. Modern models with fuzzy logic sensors adjust heat automatically, mimicking the gentle simmer needed for sushi rice.
- Rinsing is non-negotiable. Skipping this step leaves starch on the surface, making rice gummy instead of tender.
- The ideal water ratio is 1:1 by volume. Use equal parts sushi rice and water for balanced texture and moisture.
- Let the rice rest after cooking. Covering it for 10–15 minutes allows steam to distribute evenly and improves stickiness.
- Season with rice vinegar afterward. This final step adds authentic flavor and helps bind the grains together.
- Not all rice cookers are created equal. Japanese-style units often outperform basic models due to superior temperature control.
- Practice makes perfect. Adjust timing and water slightly based on your specific cooker and rice brand.
📑 Table of Contents
Understanding Sushi Rice Basics
Before diving into the mechanics of cooking, let’s talk about what makes sushi rice special. Unlike regular short-grain white rice used for everyday meals, sushi rice—known as shari in Japanese—is specifically cultivated and processed to achieve a unique balance of softness, stickiness, and slight firmness. It holds its shape beautifully when rolled but still melts gently on the tongue.
The star of the show is Japonica rice, particularly varieties like Koshihikari, Akitakomachi, or Nishiki. These are grown in Japan and prized for their high amylopectin content, which gives them that signature cling without being gluey. When cooked properly, each grain remains distinct yet cohesive—perfect for forming neat mounds of nigiri or snappy inside-out rolls.
But here’s where things get tricky: unlike plain boiled rice, sushi rice requires careful handling before and after cooking. That’s because excess surface starch must be removed during rinsing, and the timing of cooling and seasoning dramatically affects final texture. If you rush these steps, even the best rice cooker won’t save you from disappointing results.
So while your machine may do the heavy lifting once you press “start,” preparation is still half the battle. Think of your rice cooker as a partner in crime—it handles the cooking phase efficiently, but you bring the finesse.
Choosing the Right Rice Cooker for Sushi Rice
Not all rice cookers are built the same—and when it comes to sushi rice, your appliance choice can make or break the outcome. Basic models with simple timer functions may struggle to maintain the low, steady heat required for proper gelatinization of starches. On the other hand, advanced units designed specifically for Japanese cuisine offer features that elevate your results.
Types of Rice Cookers to Consider
- Fuzzy Logic Models: These smart cookers use microprocessors to monitor internal temperature and adjust power dynamically. They’re ideal for sushi rice because they prevent overheating and ensure even cooking—exactly what traditional stovetop methods aim for.
- Japanese-Style Cookers (e.g., Zojirushi, Tiger): Brands like Zojirushi are legendary among home cooks for their precision. Many come with dedicated “sushi” settings that optimize water absorption and steaming phases.
- MICOM (Microcomputer) Cookers: Similar to fuzzy logic, these analyze rice quantity and grain type to customize cycles. Look for ones that support multiple textures, including “glutinous” or “sticky” modes.
- Basic White-Rice Cookers: You can still make decent sushi rice here—just don’t expect restaurant-level consistency. Stick to short-grain rice and fine-tune ratios manually.
If you’re serious about sushi-making, investing in a mid-range Japanese model pays off quickly. Even if you only use it for rice occasionally, its reliability ensures every batch turns out reliably tender and flavorful.
What to Look For
When shopping, prioritize these features:
– Non-stick inner pot (makes cleanup easy and prevents scorching)
– Keep-warm function (useful for resting rice post-cook)
– Measuring cup included (accuracy matters!)
– Clear instructions for specialty grains
Don’t overlook user reviews—many sushi enthusiasts report that certain brands handle short-grain varieties better than others. For example, Zojirushi’s Neuro Fuzzy technology is often cited as a game-changer for sticky rice lovers.
Step-by-Step Guide: Cooking Sushi Rice in a Rice Cooker
Ready to try it yourself? Follow this foolproof method for foolproof results every time.
Step 1: Measure and Rinse the Rice
Start by measuring your sushi rice using the cup provided with your cooker. Most recipes call for 1 cup of uncooked rice per serving, but always double-check packaging guidelines—some brands absorb differently.
Now comes the crucial rinse: place the rice in a fine-mesh strainer or large bowl and run cold water over it while gently rubbing between fingers. Keep rinsing until the water runs clear—this removes excess starch that would otherwise make your rice slimy. Aim for about 3–4 rinses; don’t scrub too hard, though, or you’ll damage the grains.
Drain well and let sit for 15–30 minutes. This allows residual moisture to penetrate evenly, promoting uniform expansion during cooking.
Step 2: Add Water and Transfer to Cooker
For sushi rice, the standard water-to-rice ratio is 1:1 by volume. That means 1 cup rice + 1 cup water (adjust ±¼ cup if your rice seems especially dry or moist). Some purists recommend slightly less water (~¾ cup) to enhance stickiness, but beginners should stick close to 1:1 for safety.
Pour the rinsed rice into the inner pot of your rice cooker. Gently shake the pot to level the surface—this helps ensure even heating.
Step 3: Select the Right Setting
If your cooker has a “Sushi” or “Sticky Rice” setting, select it. Otherwise, choose the standard “White Rice” mode. Avoid “Quick Cook” or “Risotto” settings—they alter the texture unfavorably.
Press start and resist the urge to open the lid! Let the cycle complete fully. Interrupting mid-process can cause uneven cooking or premature drying.
Step 4: Rest and Season
Once done, turn off the cooker and cover the rice with a clean towel or lid immediately. Let it rest for 10–15 minutes. This steeping period lets steam redistribute, softening any slightly harder grains and boosting overall tenderness.
After resting, fluff gently with a rice paddle or wooden spatula—never stir vigorously, as you want to preserve individual grains.
Finally, transfer to a wide mixing bowl and add seasoning: mix in rice vinegar, sugar, and salt (typically 2 tbsp vinegar, 1 tsp sugar, ½ tsp salt per 1 cup rice). Fold lightly until glossy and evenly coated. Chill briefly if making ahead.
Common Mistakes and How to Fix Them
Even experienced cooks stumble sometimes. Here’s how to avoid—and recover from—the most frequent errors:
Mistake #1: Not Rinsing Enough
Result: Gummy, cloudy rice that clumps together.

Visual guide about Can You Put Sushi Rice in a Rice Cooker
Image source: helios-i.mashable.com

Visual guide about Can You Put Sushi Rice in a Rice Cooker
Image source: recipewise.net
Fix: Always rinse until water clears. Pro tip: use a squeeze bottle filled with cold water for controlled rinsing.
Mistake #2: Using Wrong Water Ratio
Result: Either mushy (too much water) or chewy (too little).
Fix: Start with 1:1, then tweak next batch. Keep notes!
Mistake #3: Skipping the Rest Period
Result: Uneven texture—some grains too soft, others undercooked.
Fix: Never skip resting. It’s essential for true sushi rice quality.
Mistake #4: Overmixing After Seasoning
Result: Broken grains and loss of stickiness.
Fix: Use folding motions only. Think of it like working pastry dough.
Mistake #5: Using Long-Grain or Brown Rice
Result: Completely wrong mouthfeel and flavor profile.
Fix: Stick strictly to short-grain Japonica varieties labeled “sushi rice.”
Advanced Tips for Flawless Sushi Rice
Want to take your game to the next level? Try these pro techniques:
Use Warm Water
Adding slightly warmed (not hot!) water helps activate enzymes that soften the outer bran layer, yielding more uniform texture.
Try the “Steam Method”
Place a trivet in your cooker with boiling water underneath. Put the rinsed rice in a heatproof bowl sitting on top. Steam for 12–15 minutes, then switch to full cooking if needed. This mimics traditional bamboo steamer setups.
Experiment with Broth Instead of Water
Substitute half the water with dashi broth for deeper umami flavor—great for sushi bowls or fried rice variations.
Store Properly
Refrigerated sushi rice stays usable for 2–3 days. Reheat gently with a splash of water and cover to retain moisture.
Alternatives and Variations
While rice cookers excel at base rice, consider these creative twists:
Colorful Sushi Rice
Add natural food coloring (beet juice for pink, spinach puree for green) to the water before cooking for fun presentation.
Herbed or Spiced Varieties
Infuse water with dried shiso leaves, sesame seeds, or a pinch of wasabi powder during cooking.
Crispy Rice Topping (Aburi Sushi)
Cook rice normally, then broil briefly with a torch or oven broiler until charred on top—ideal for topping salmon or tuna.
Conclusion: Embrace the Convenience Without Sacrificing Quality
So, can you put sushi rice in a rice cooker? The answer is a resounding yes—and now you know exactly how to do it right. With the proper tools, technique, and attention to detail, your rice cooker becomes more than just a kitchen gadget; it transforms into a reliable companion for crafting authentic, restaurant-quality sushi at home.
You don’t need decades of experience or a Michelin-starred chef’s guidance to enjoy beautiful sushi rice. Just remember: cleanliness (rinse!), consistency (ratio!), and care (resting!) are your golden rules. Whether you’re feeding a family dinner or impressing guests with homemade nigiri, mastering this process empowers you to cook with confidence.
And if you’ve been hesitant to try because you thought sushi rice required special equipment or endless practice? Let this guide reassure you: modern appliances have made the art accessible to everyone. So go ahead—fill your bowl, press start, and savor the satisfaction of perfectly cooked, vinegared-perfect rice. Your taste buds (and your sushi rolls) will thank you.
Frequently Asked Questions
Can any type of rice cooker make sushi rice?
Most rice cookers can handle sushi rice, but models with fuzzy logic or Japanese-specific settings yield better results due to precise temperature control. Basic cookers work too, but you may need to adjust water ratios manually.
Do I really need to rinse sushi rice?
Yes! Rinsing removes excess surface starch that causes gummy, clumpy rice. Clear water after rinsing indicates you’ve done it correctly—this step is essential for light, tender grains.
How much water should I use for 1 cup of sushi rice?
The standard ratio is 1:1 by volume—so 1 cup rice to 1 cup water. Adjust by ±¼ cup depending on your rice brand and desired consistency, but start here for best results.
Why does my sushi rice come out mushy?
Mushiness usually stems from either insufficient rinsing, too much water, or skipping the resting phase. Ensure you rinse thoroughly, measure water accurately, and let the cooked rice sit covered for 10–15 minutes.
Can I make sushi rice ahead of time?
Absolutely! Cooked sushi rice keeps well in the fridge for 2–3 days. Reheat gently with a splash of water and cover to retain moisture before seasoning.
Is brown rice suitable for sushi?
No—brown rice has a different structure and flavor profile that doesn’t mimic traditional sushi rice. Stick to short-grain Japonica varieties labeled “sushi rice” for authentic texture and taste.