Yes, you can absolutely use an Instant Pot as a rice cooker, and it’s one of the most convenient ways to make fluffy, consistent rice without extra appliances. With the right settings and a few simple adjustments, your Instant Pot delivers restaurant-quality rice with minimal effort and maximum flavor. Whether you’re cooking white, brown, or specialty grains, this all-in-one method saves time, counter space, and cleanup—making it a smart choice for busy home cooks.
Key Takeaways
- Instant Pot and rice cooker functions overlap: Both devices use steam pressure and precise temperature control to cook rice evenly.
- You don’t need separate equipment: Using your Instant Pot eliminates the need for a traditional rice cooker, saving money and storage.
- Rice types matter: Different grains (white, brown, jasmine, basmati) require adjusted water ratios and cook times in the Instant Pot.
- Proper prep is key: Rinsing, soaking, and using the right cooker liner ensure better texture and prevent sticking.
- Cleanup is easier than expected: The inner pot is nonstick and dishwasher-safe, making post-meal cleanup a breeze.
- Versatility beyond rice: Once you master rice, try pilafs, stews, and even desserts like rice pudding in the same pot.
- Safety first: Always follow manufacturer guidelines and avoid overfilling to prevent overflow or pressure issues.
📑 Table of Contents
- Can You Use an Instant Pot as a Rice Cooker?
- How the Instant Pot Works Like a Rice Cooker
- Types of Rice and How to Cook Them in an Instant Pot
- Step-by-Step Guide: Cooking Perfect Rice in Your Instant Pot
- Troubleshooting Common Rice Problems
- Beyond Plain Rice: Creative Uses for Your Instant Pot
- Maintenance Tips to Keep Your Instant Pot Cooking Well
- Final Thoughts: Is the Instant Pot Worth It for Rice?
Can You Use an Instant Pot as a Rice Cooker?
If you’ve ever stood over a traditional rice cooker, waiting impatiently for the “done” beep while wondering if that tiny appliance could do more, you’re not alone. Enter the Instant Pot—a multi-cooker that has taken kitchens by storm with its ability to pressure cook, slow cook, sauté, steam, and yes, cook rice. But here’s the real question: Can you actually use an Instant Pot as a rice cooker?
The short answer? Absolutely. In fact, many home chefs now prefer their Instant Pot over a dedicated rice cooker—not because one is inherently better than the other, but because the Instant Pot offers superior versatility, consistency, and speed. Whether you’re making a simple bowl of white rice for dinner or experimenting with fragrant basmati for a curry, your Instant Pot can deliver restaurant-quality results with just a few clicks.
In this guide, we’ll walk you through everything you need to know about using your Instant Pot as a rice cooker. From understanding the science behind how it works to mastering different rice varieties, timing, and troubleshooting common issues—you’ll learn why so many people are ditching their old rice cookers in favor of this all-in-one powerhouse. Plus, we’ll share pro tips to help you get the fluffiest, most delicious rice every single time.
How the Instant Pot Works Like a Rice Cooker
At first glance, an Instant Pot looks nothing like a traditional rice cooker. Instead of a simple heating plate and a lid with a steam vent, it features a heavy-duty stainless steel inner pot, a pressure release valve, and a digital control panel. So how does it mimic the function of a rice cooker?
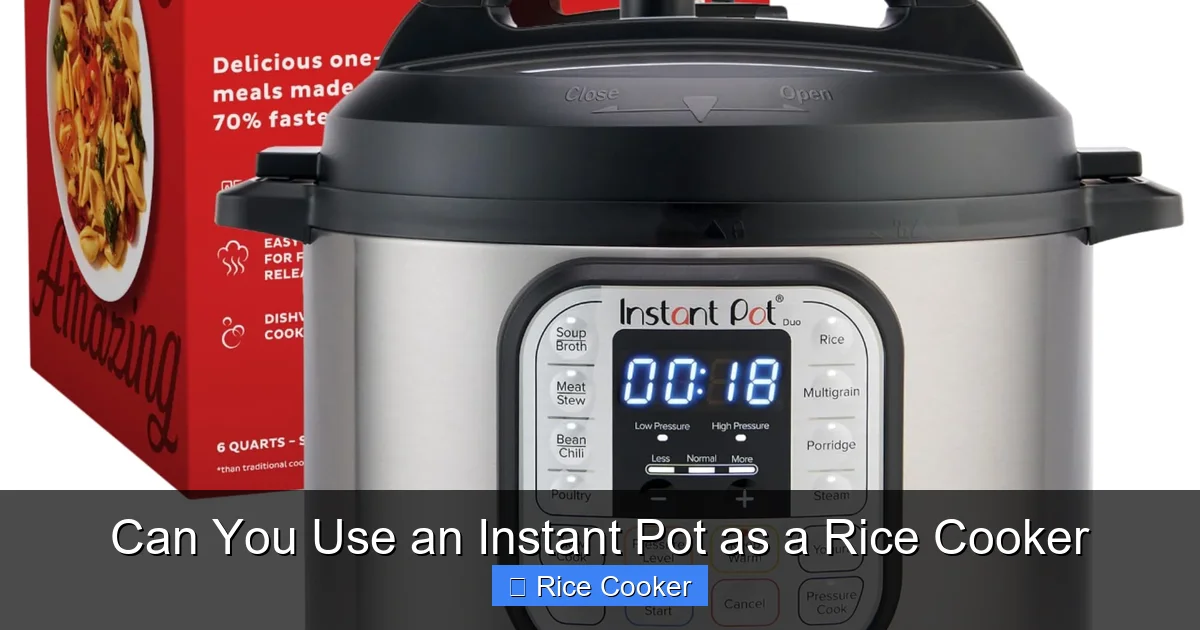
Visual guide about Can You Use an Instant Pot as a Rice Cooker
Image source: m.media-amazon.com
The Science Behind the Magic
Traditional rice cookers work by submerging rice in water and heating it until the liquid evaporates, leaving behind perfectly cooked grains. They rely on convection heat and a thermostat to detect when the water has boiled away—then they switch to “warm” mode to keep the rice ready. While effective, this method can sometimes lead to uneven cooking or mushy rice if not monitored carefully.
The Instant Pot, on the other hand, uses pressure cooking to accelerate the cooking process. It seals tightly to trap steam, raising the internal temperature above the boiling point of water (up to 250°F or 121°C). This high-heat environment softens the starches in the rice quickly and evenly, resulting in tender, fluffy grains—even for harder-to-cook varieties like brown rice.
But here’s the clever part: once the rice is fully cooked, the Instant Pot automatically switches to “Keep Warm” mode, just like a traditional rice cooker. This prevents overcooking and keeps your rice at the perfect serving temperature until you’re ready to eat.
Why People Love Using the Instant Pot for Rice
- Speed: White rice cooks in just 6–8 minutes under pressure, compared to 15–20 minutes on the stove or 30+ in a traditional cooker.
- Consistency: The sealed environment ensures every grain is cooked uniformly, reducing the risk of burnt or undercooked spots.
- Hands-off cooking: Set it and forget it—no constant stirring or watching required.
- Less mess: No boiling over or splatter compared to stovetop methods.
- Multi-functionality: After mastering rice, you can make soups, beans, yogurt, and more—all in the same pot.
Types of Rice and How to Cook Them in an Instant Pot
Not all rice is created equal—and neither are their cooking requirements. The good news? Your Instant Pot handles them all, but each type needs slightly different water ratios and settings. Let’s break it down.
White Rice
White rice is the easiest to cook and most popular for everyday meals. Because the bran layer has been removed, it absorbs water quickly and cooks faster than whole grains.
Recommended Settings:
- Water ratio: 1:1 (1 cup rice to 1 cup water)
- Cooking method: Manual “Rice” setting or Pressure Cook for 4 minutes
- Natural release: 10 minutes
Tip: For extra-fluffy results, rinse the rice before cooking to remove excess starch. Then let it soak for 10–15 minutes before adding water and cooking.
Brown Rice
Brown rice takes longer to cook due to its intact bran layer, which slows down starch breakdown. If not cooked properly, it can turn gummy or undercooked.
Recommended Settings:
- Water ratio: 1.5:1 (1 cup rice to 1.5 cups water)
- Cooking method: Manual “Rice” setting or Pressure Cook for 6 minutes
- Natural release: 10–15 minutes
Pro Tip: Browning brown rice slightly in the sauté function before adding water can enhance flavor and improve texture.
Basmati & Jasmine Rice
These long-grain aromatic rices require careful handling to preserve their delicate fragrance and elongation during cooking.
Recommended Settings:
- Water ratio: 1.25:1 (1 cup rice to 1.25 cups water)
- Cooking method: Manual “Rice” setting or Pressure Cook for 4 minutes (white), 6 minutes (brown)
- Natural release: 5–10 minutes
Note: Rinse these varieties thoroughly before cooking to reduce stickiness and improve aroma.
Specialty Grains
- Quinoa: Use 1:2 ratio (1 cup quinoa to 2 cups water), cook for 5 minutes under pressure, then natural release 10 minutes.
- Couscous: Not recommended for pressure cooking—use the “Steam” function instead.
- Wild Rice: Requires 2:1 water ratio and 20–25 minutes of cooking time. Best suited for the “Manual” setting with extended pressure time.
Step-by-Step Guide: Cooking Perfect Rice in Your Instant Pot
Ready to make your first batch of Instant Pot rice? Follow these simple steps for foolproof results every time.
What You’ll Need
- Instant Pot (any model)
- Inner cooking pot
- Measuring cups
- Fine-mesh strainer (optional, for rinsing)
- Timer or phone stopwatch
Step 1: Prep Your Rice
Start by measuring your rice using a dry measuring cup. Rinse it under cold running water in a fine-mesh strainer until the water runs clear. This removes excess starch and prevents clumping. If you’re in a hurry, skip rinsing—but expect slightly stickier rice.
Step 2: Add Water
Transfer rinsed rice to the inner pot. Add water according to the chart above. Use a liquid measuring cup for accuracy. Too much water = soggy rice; too little = dry, chalky grains.
Step 3: Close and Seal
Place the lid on the Instant Pot and turn the pressure release valve to “Sealing.” Avoid “Venting” unless instructed for certain recipes.
Step 4: Choose the Right Setting
Press “Manual” or select the “Rice” preset. Adjust time if needed (e.g., 6 minutes for brown rice). Press “Start.”
Step 5: Natural Release
Once cooking completes, let the pressure release naturally for at least 10 minutes. Then manually vent any remaining pressure by flipping the valve to “Venting.”
Step 6: Fluff and Serve
Open the lid away from your face. Use a fork to gently fluff the rice. Serve immediately for best texture.
Troubleshooting Common Rice Problems
Even with the best techniques, mistakes happen. Here’s how to fix the most common rice disasters.
Mushy or Sticky Rice
Cause: Too much water or insufficient rinsing.
Fix: Reduce water by 1/4 cup next time and always rinse long-grain rice.
Dry or Undercooked Rice
Cause: Insufficient water or quick release instead of natural release.
Fix: Increase water slightly and always do a natural release for 10+ minutes.
Burnt Bottom Layer
Cause: Overfilling or using the wrong cooker liner.
Fix: Never fill past the max line. Use the included nonstick inner pot—don’t substitute with metal utensils.
Grains Sticking to the Bottom
Cause: Lack of oil or improper preheating.
Fix: Lightly coat the bottom with oil or butter before adding rice and water.
Beyond Plain Rice: Creative Uses for Your Instant Pot
Once you’ve mastered basic rice, your Instant Pot opens up a world of possibilities.
Rice Pilaf with Herbs and Vegetables
Sauté onions and garlic in the pot, add rice and broth, then pressure cook for 6 minutes. Stir in carrots, peas, and fresh herbs before serving.
Risotto
Use the “Sauté” function to toast Arborio rice, then gradually add warm broth while stirring. Finish under pressure for creamier texture.
Rice Pudding
Cook rice with milk, sugar, cinnamon, and raisins under low pressure for 10 minutes. Let it sit 15 minutes for custardy perfection.
Fried Rice
Cook day-old rice using the “Sauté” function with soy sauce, eggs, and vegetables. High heat gives it that authentic stir-fry texture.
Maintenance Tips to Keep Your Instant Pot Cooking Well
To ensure your Instant Pot continues to cook rice flawlessly, follow these care instructions.
- Clean the inner pot regularly: Hand wash with warm, soapy water. Avoid abrasive scrubbers.
- Check the sealing ring: Replace it every 6–12 months if it becomes stiff or discolored.
- Descale monthly: Use vinegar and water to remove mineral buildup from hard water areas.
- Avoid overfilling: Never exceed the max fill line—rice expands during cooking.
- Store properly: Keep the lid off and store in a dry place to prevent mold in the sealing ring.
Final Thoughts: Is the Instant Pot Worth It for Rice?
If you love rice as much as we do—whether it’s a side dish, a base for bowls, or a comfort food staple—your Instant Pot is more than capable of handling it. While dedicated rice cookers have their fans (especially for Japanese-style rice or programmable timers), the Instant Pot wins out when you factor in convenience, speed, and multi-functionality.
That said, if you only cook rice a few times a year and prefer ultra-simple operation, a basic rice cooker might suffice. But for most home cooks, especially those who value efficiency and variety, the Instant Pot is a worthy upgrade—or replacement—for your current setup.
So go ahead: ditch the clutter, simplify your routine, and embrace the magic of pressure-perfect rice. With practice, you’ll be serving up fluffy, flavorful grains that rival anything from a high-end restaurant—all from the comfort of your kitchen.
Frequently Asked Questions
Can you really cook rice in an Instant Pot?
Yes, absolutely. The Instant Pot is designed to cook rice efficiently using pressure and steam. It produces consistently fluffy and tender grains when used correctly.
Do I need a special setting to cook rice in an Instant Pot?
Most Instant Pots come with a built-in “Rice” preset, but you can also use the “Manual” or “Pressure Cook” function for full control over time and water ratio.
Is Instant Pot rice as good as traditional rice cooker rice?
Many users find it comparable or even superior due to faster cooking times, better heat distribution, and automatic keep-warm functionality.
How do I prevent rice from sticking in my Instant Pot?
Rinse the rice before cooking, use the correct water amount, and never overfill the pot. A light coating of oil on the bottom also helps.
Can I cook different types of rice in the same Instant Pot?
Yes, but adjust water ratios and cooking times accordingly. Brown rice needs more water and longer cooking than white rice.
Should I use the “Quick Release” or “Natural Release” for rice?
Always use “Natural Release” after cooking to prevent overcooking and allow steam to dissipate slowly, ensuring even texture.