Wondering how much rice an Instant Pot can handle? Whether you’re cooking for one or feeding a crowd, this guide breaks down capacity limits, ideal ratios, and pro tips for perfect rice every time. From white to brown rice, we’ve got you covered with simple steps and smart shortcuts.
Key Takeaways
- Capacity Limits: Most Instant Pots handle 6–10 cups of uncooked rice, depending on the model. Always check your manual for exact specs.
- Rice-to-Water Ratio: Use 1:1.25 to 1:1.5 (rice to water) for fluffy results—adjust based on rice type and texture preference.
- Cooking Time Varies: White rice cooks in 4–6 minutes; brown rice takes 20–30 minutes. Pressure release method affects timing.
- Batch Cooking: For larger servings, cook in batches if your pot exceeds 8 cups uncooked. Avoid overfilling to prevent overflow.
- Fluff & Serve: Let rice rest 5–10 minutes after cooking. Fluff gently with a fork—no need for extra tools!
- Model Differences: Compare 6-quart vs. 8-quart models. Smaller pots save energy but limit portions.
- Storage Tips: Store leftover cooked rice in airtight containers for up to 5 days. Reheat with a splash of water.
Quick Answers to Common Questions
How many cups of rice can a 6-quart Instant Pot cook?
A 6-quart Instant Pot typically holds up to 6 cups of uncooked rice. Always leave room for expansion to avoid overflow.
What’s the water-to-rice ratio for fluffy white rice?
Use 1 cup rice to 1.25–1.5 cups water. Adjust slightly based on desired texture and rice brand.
Can I cook more than 8 cups of rice at once?
Only in a 10-quart model. Even then, avoid filling beyond 70% capacity to prevent clogging and uneven cooking.
Why does my rice come out mushy?
Mushiness usually means too much water or overcooking. Reduce water by 0.25 cups and shorten cook time by 1 minute next time.
How long does brown rice take to cook in an Instant Pot?
Brown rice takes 20–30 minutes under high pressure. Allow a natural release of 10 minutes for best results.
📑 Table of Contents
- How Much Rice Can You Cook in an Instant Pot?
- Understanding Your Instant Pot’s Rice Capacity
- Perfect Rice Ratios for Every Type
- Step-by-Step Guide: Cooking Rice in Your Instant Pot
- Troubleshooting Common Rice Problems
- Tips for Cooking Large Batches
- Beyond Basic White Rice: Creative Recipes
- Energy Efficiency and Cost Savings
- Final Thoughts: Master Your Rice Game
How Much Rice Can You Cook in an Instant Pot?
If you’ve ever stood in your kitchen wondering whether your Instant Pot can handle that big pot of jasmine rice for dinner tonight—or if it’s just enough for two—you’re not alone. The Instant Pot has become a kitchen workhorse, beloved for its speed, versatility, and ability to do everything from sautéing to steaming. But when it comes to rice, one of the most common questions is: How much rice can you actually cook in an Instant Pot?
This question isn’t just about size—it’s about precision. Too little rice, and you waste precious cooking time. Too much, and you risk overflow, uneven cooking, or a mushy mess. The good news? With the right ratios and a few smart tips, you can make perfectly fluffy rice in any quantity—whether you’re making a single serving or a family feast.
In this complete guide, we’ll walk through everything you need to know about cooking rice in your Instant Pot. From understanding your pot’s capacity to choosing the right rice type and mastering the perfect texture, we’ll cover it all. So grab your measuring cup, pour some water, and let’s get cooking!
Understanding Your Instant Pot’s Rice Capacity
The first step to mastering rice in your Instant Pot is knowing how much it can handle. Most standard Instant Pot models come in two main sizes: 6-quart and 8-quart. These numbers refer to the internal volume of the inner pot, not the entire appliance. While both are excellent for cooking rice, their capacities differ slightly—and that affects how much rice you can prepare at once.
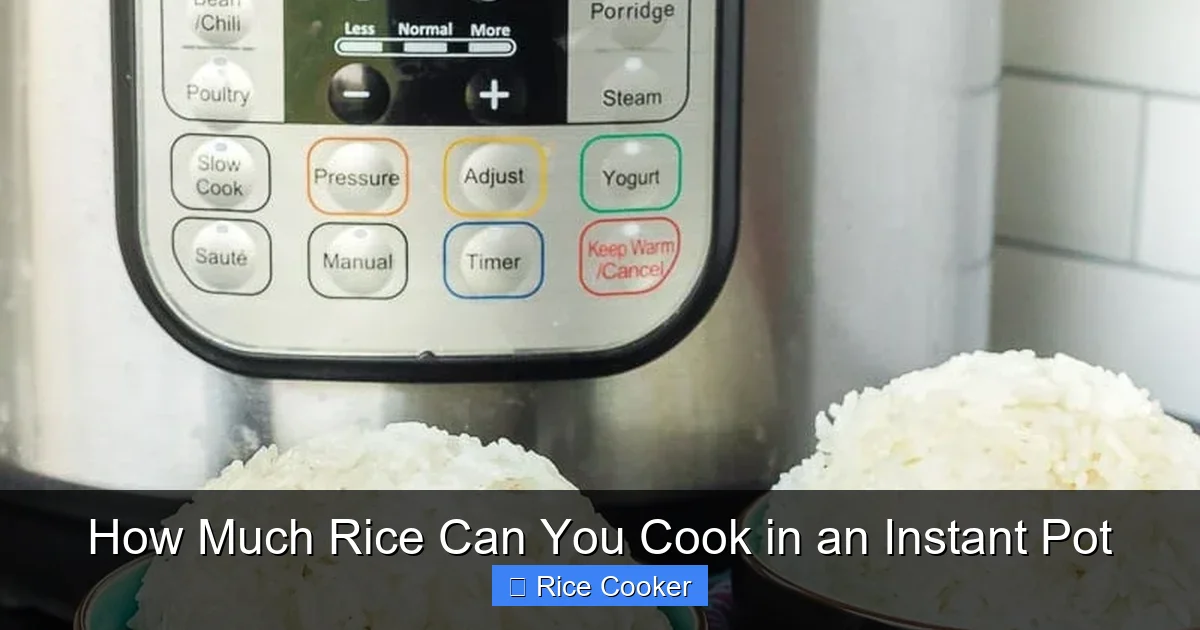
Visual guide about How Much Rice Can You Cook in an Instant Pot
Image source: favfamilyrecipes.com
6-Quart vs. 8-Quart Models
A 6-quart Instant Pot typically holds about 6 cups of uncooked rice, though some models may stretch slightly beyond that. An 8-quart model can usually manage up to 8 cups of uncooked rice. However, it’s important to remember that rice expands during cooking—about 2–3 times its original volume. That means 2 cups of uncooked rice can yield 5–6 cups of cooked rice.
For example:
- 2 cups uncooked white rice = ~5 cups cooked
- 4 cups uncooked brown rice = ~10 cups cooked
So while your pot might fit 8 cups uncooked, you don’t want to fill it to the brim. Overfilling increases the risk of rice spilling into the steam release valve, which can lead to clogging and messy cleanup.
What About Smaller or Larger Models?
Instant Pot also offers smaller 3-quart models (great for solo meals or small families) and larger 10-quart versions (ideal for meal prep or feeding crowds). Always check your user manual for the exact rice capacity. Some newer models even have markings inside the pot indicating recommended rice levels.
Pro Tip: If you frequently cook large quantities, consider upgrading to a 10-quart model. It uses similar energy per cup of rice and reduces the need for multiple batches.
Perfect Rice Ratios for Every Type
No matter how much rice you’re cooking, getting the water-to-rice ratio right is key to fluffy, non-sticky results. The general rule is 1 cup of uncooked rice to 1.25–1.5 cups of water, but this varies by rice type.
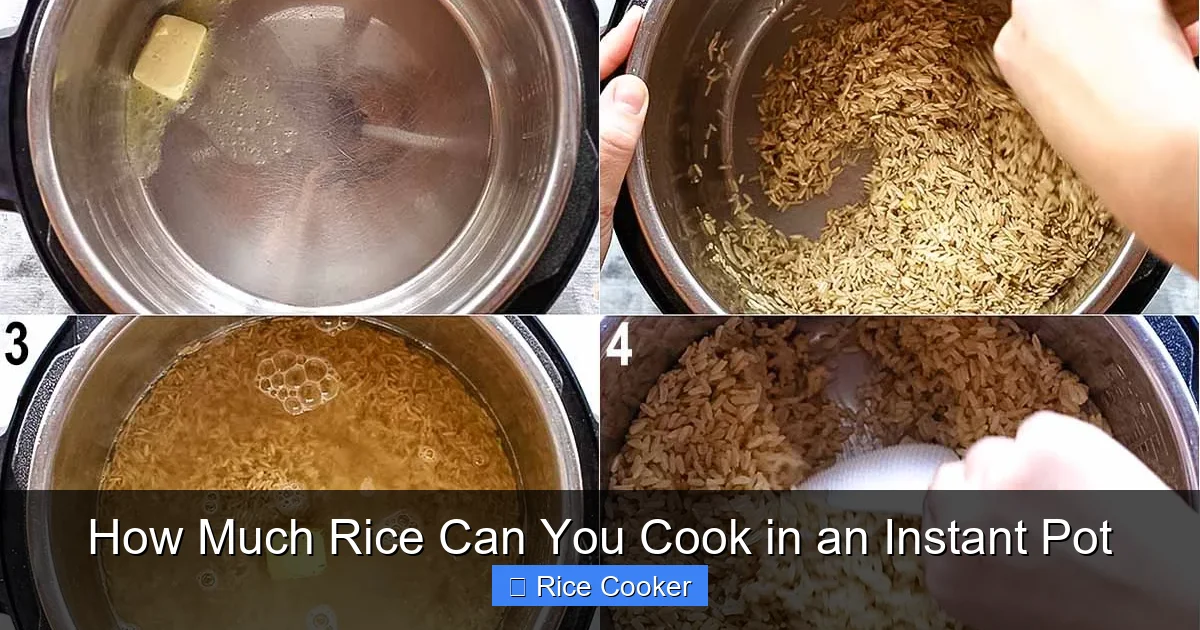
Visual guide about How Much Rice Can You Cook in an Instant Pot
Image source: leelalicious.com
White Rice
White rice absorbs less water than brown rice and cooks quickly under pressure. For most white varieties (like jasmine, basmati, or long-grain), use:
- 1 cup rice : 1.25 cups water
- Cook time: 4–6 minutes at high pressure
- Natural release: 5–10 minutes
This ratio ensures tender grains without being soggy. Jasmine rice, in particular, benefits from a slightly shorter cook time—around 4 minutes—to preserve its fragrant aroma.
Brown Rice
Brown rice has a tougher outer bran layer, so it needs more water and longer cooking time. Aim for:
- 1 cup rice : 1.5 cups water
- Cook time: 20–30 minutes at high pressure
- Quick release or natural release
Because brown rice takes longer to soften, many home cooks prefer a quick pressure release after cooking to stop the process immediately and prevent overcooking.
Sushi Rice
Sushi rice requires precise moisture control for sticky, moldable grains. Use:
- 1 cup rice : 1 cup water
- Cook time: 3–4 minutes
- Natural release: 10 minutes
The lower water ratio keeps the grains firm yet cohesive—perfect for rolls and bowls.
Wild Rice
Wild rice is technically a grass seed, not a true grain. It expands dramatically and needs extra water:
- 1 cup rice : 4–5 cups water
- Cook time: 30–40 minutes
- Natural release: 10 minutes
Due to its long cook time, wild rice is best added later in multi-step recipes to avoid drying out.
Step-by-Step Guide: Cooking Rice in Your Instant Pot
Ready to make perfect rice? Follow these simple steps for foolproof results every time.
Step 1: Measure and Rinse Your Rice
Start by measuring your uncooked rice using a dry measuring cup. Then rinse the rice under cold water in a fine-mesh strainer until the water runs clear. Rinsing removes excess starch, which prevents clumping.
Note: Some rice types (like sushi rice) are meant to be sticky, so skip rinsing if you want that texture.
Step 2: Add Water and Rice to the Pot
Transfer the rinsed rice and measured water into the Instant Pot inner pot. Stir gently to distribute evenly. Make sure the rice is level and doesn’t exceed the max fill line (usually marked on the pot).
Step 3: Close and Seal the Lid
Lock the lid in place and ensure the steam release valve is set to Sealing. Do not leave it in Venting mode unless instructed.
Step 4: Select the Right Setting
Press the Rice button (if available) or select Manual/Pressure Cook and set the timer based on your rice type. For custom settings, use:
- White rice: 4–6 min
- Brown rice: 20–30 min
- Sushi rice: 3–4 min
Set the pressure to High.
Step 5: Release Steam Safely
Once cooking is complete, allow a natural release of 5–10 minutes before doing a quick release. This helps prevent overcooking. Then carefully turn the valve to Venting and open the lid away from your face.
Step 6: Fluff and Serve
Use a fork to gently fluff the rice—don’t mash it! Let it rest for another 2–3 minutes before serving. This allows the moisture to redistribute evenly.
Troubleshooting Common Rice Problems
Even with the right ratio, things can go wrong. Here’s how to fix common issues.
Too Wet or Mushy Rice
This usually happens when there’s too much water or the cook time is too long. Next time, reduce water by 0.25 cups and shorten the timer by 1 minute. Also, avoid opening the lid during cooking.
Rice Stuck to the Bottom
“Burn” or scorching occurs when rice touches the heating element. To prevent this:
- Always use the minimum required water
- Stir the rice halfway through cooking (for very large batches)
- Clean the sealing ring regularly
Unevenly Cooked Grains
This often results from overcrowding. If you’re cooking more than 4 cups uncooked, consider splitting into two batches. Or, add a splash of oil (1 tsp) to help grains separate.
Overflow During Cooking
If rice bubbles over, it’s likely due to too much liquid or starch buildup. Next time, reduce water slightly and rinse rice thoroughly. Also, avoid using old or damp rice.
Tips for Cooking Large Batches
Need to feed a crowd? Here’s how to scale up safely.
Plan Ahead
Calculate total rice needed based on servings. One cup of cooked rice feeds about 2 people. For 10 guests, plan for 5 cups cooked (~2 cups uncooked).
Use Multiple Batches Wisely
If your pot can’t handle the full amount, cook in two batches. Keep the first batch warm in a covered dish while you cook the second.
Store Leftovers Properly
Cooked rice keeps well in the fridge for up to 5 days. Portion into shallow containers for faster cooling. Reheat with a microwave-safe lid and a tablespoon of water to restore moisture.
Freeze for Future Meals
Portion cooled rice into freezer bags. Label with date and contents. Frozen rice reheats beautifully in the Instant Pot—just add a splash of water and heat on “Steam” for 5 minutes.
Beyond Basic White Rice: Creative Recipes
The Instant Pot isn’t just for plain rice. Try these flavorful twists.
Herbed Rice Pilaf
Add 1 tbsp olive oil, 1 diced onion, and 1 minced garlic clove with your rice. Sauté first using the “Sauté” function. Then add water and spices like thyme or rosemary.
Red Rice (with tomatoes and peppers)
Combine rice with diced tomatoes, bell peppers, and chicken broth. Cook as usual. Top with feta and olives before serving.
Coconut Rice
Replace half the water with coconut milk. Add a pinch of salt and a lime wedge after cooking. Perfect with curries.
Fried Rice (from leftover rice)
Skip the Instant Pot for this one—use a wok instead. But you can prep the rice ahead in the pot and store it cold for stir-fry night.
Energy Efficiency and Cost Savings
One surprising benefit of cooking rice in an Instant Pot? It’s cheaper and greener than using the stove.
- Energy use: Instant Pot uses about 1000–1200 watts vs. 1500+ for stovetop
- Cook time: Reduces cooking time by 70% compared to traditional methods
- Water savings: Less evaporation means you use less water overall
For families eating rice daily, this adds up to significant cost and environmental savings over time.
Final Thoughts: Master Your Rice Game
Cooking rice in your Instant Pot doesn’t have to be guesswork. Once you understand your pot’s limits, master the right ratios, and follow a consistent method, you’ll never serve sticky or dry rice again. Whether you’re making a single cup for lunch or a full pot for a dinner party, the Instant Pot delivers reliable, hands-off results.
And the best part? You can experiment with flavors, textures, and cuisines—all within the same trusted appliance. So next time someone asks, “Can you cook that much in your Instant Pot?” you’ll confidently say yes—and show them how it’s done.
Frequently Asked Questions
===
Can I cook rice without rinsing it?
Yes, but rinsing removes excess starch, which reduces stickiness and clumping. Skip rinsing only if you prefer sticky rice like sushi.
Do I need to soak rice before cooking?
Not for Instant Pot cooking. Soaking is optional and mainly used in traditional stovetop methods to reduce cook time.
What if my Instant Pot rice is undercooked?
Close the lid, seal the valve, and cook for an additional 2–3 minutes on high pressure, then do a quick release.
Can I cook different types of rice together?
Not recommended. White and brown rice have different cook times and water needs. Cook separately for best results.
Is it safe to leave rice in the Instant Pot overnight?
No. Cooked rice should be refrigerated within 2 hours of cooking. Leaving it at room temperature risks bacterial growth.
How do I clean rice residue from the Instant Pot?
Let the pot cool completely. Soak the inner pot in warm, soapy water. Use a soft sponge—avoid metal scrubbers that can damage the nonstick coating.