
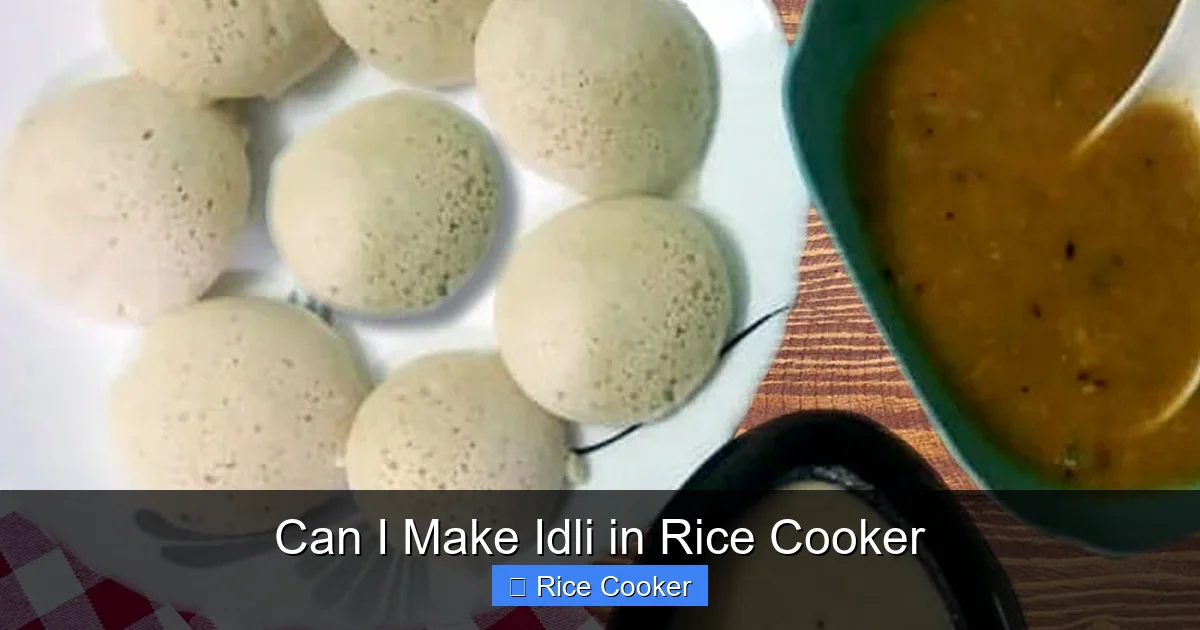
Making idli in a rice cooker is not only possible but surprisingly simple. With the right ratio of rice to urad dal and a few key steps, you can enjoy homemade, fluffy idlis without needing a traditional idli steamer. This method saves time, uses minimal equipment, and delivers consistent results every time.
Key Takeaways
- Rice cookers work great for making idli: They provide even heat distribution and maintain the right temperature, which is essential for proper fermentation and steaming.
- Use the right ingredient ratio: A typical mix is 3 parts soaked rice to 1 part soaked urad dal. Soaking overnight helps achieve the right texture.
- Fermentation is key: Let the batter sit for 6–8 hours (or overnight) at room temperature to develop bubbles and a light, airy structure.
- Grease molds before pouring: Use coconut oil or ghee to prevent sticking and help idlis rise evenly during steaming.
- Steaming time matters: Cook on the “Steam” or “Cook” setting for 15–20 minutes, depending on your rice cooker model.
- Cool before removing: Let idlis rest for 5 minutes after cooking to set properly—then gently pop them out.
- Clean your rice cooker thoroughly: Idli batter can leave residues; wash with warm soapy water and rinse well to avoid odors.
📑 Table of Contents
Can I Make Idli in Rice Cooker? Yes, Absolutely!
If you’ve ever craved the soft, pillowy texture of homemade idlis but don’t own a traditional idli steamer, you’re in luck. The answer to the question, “Can I make idli in a rice cooker?” is a resounding yes. In fact, many home cooks swear by this method because it’s convenient, reliable, and produces excellent results with minimal effort.
Idli, a staple South Indian breakfast dish made from fermented rice and urad dal batter, has long been associated with specific equipment—like bamboo trays and steamers. But thanks to the versatility of modern kitchen appliances, including rice cookers, you no longer need dedicated tools to enjoy this delicious treat. Whether you’re a busy parent, a college student, or someone who simply loves experimenting in the kitchen, learning how to make idli in a rice cooker opens up a world of culinary possibilities.
Why Choose a Rice Cooker for Making Idli?
Rice cookers are more than just machines that boil water and cook grains. Many models come with multiple functions—steam, slow cook, delay start, and keep-warm—making them ideal for preparing a variety of dishes beyond plain rice. When it comes to making idli, the rice cooker offers several advantages over traditional methods.
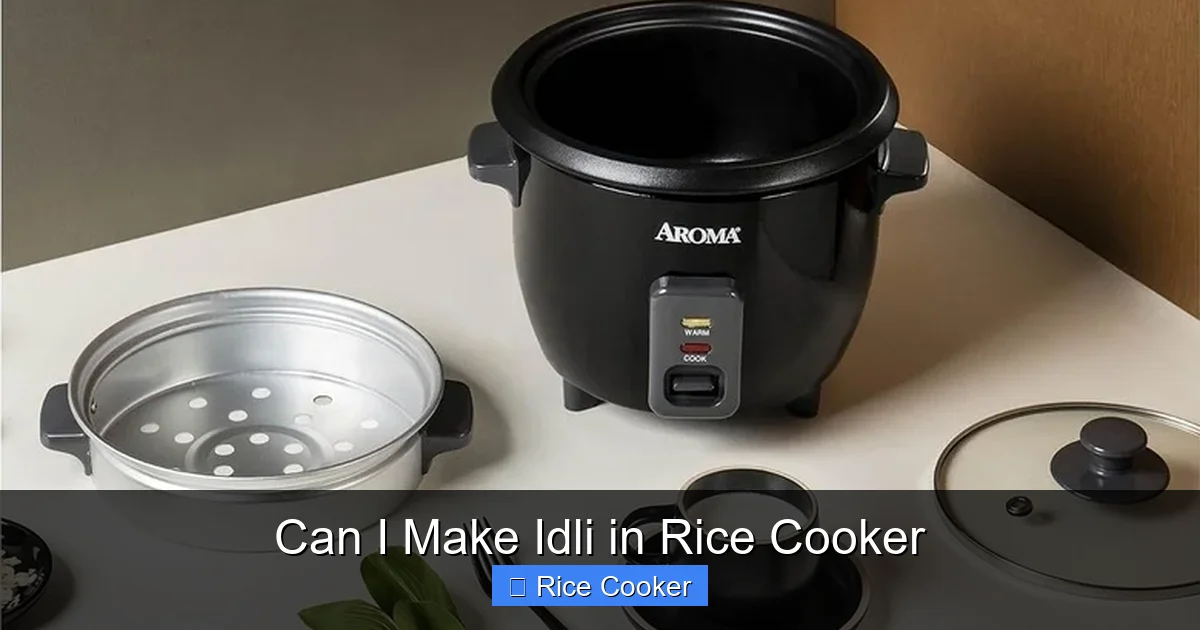
Visual guide about Can I Make Idli in Rice Cooker
Image source: mashed.com
Consistent Heat Distribution
One of the biggest challenges in making idli is maintaining steady, gentle heat during the steaming phase. Too much heat can cause the idlis to collapse or become dense, while too little may result in undercooked centers. Rice cookers are designed to regulate temperature precisely, ensuring even cooking throughout. Most have a built-in thermostat that keeps the internal temperature stable, which is crucial for achieving that perfect fluffy texture.
No Need for Complex Equipment
If you don’t already own an idli maker or steamer basket, buying one just for this dish might feel unnecessary. A rice cooker eliminates that extra expense and clutter. You can use the same appliance for everyday meals and still whip up idlis whenever cravings strike.
Saves Time and Effort
Traditional idli preparation involves layering batter in greased molds and placing them in a steamer, which can be time-consuming—especially if you’re making large batches. With a rice cooker, you simply pour the batter into greased ramekins or silicone molds, close the lid, and press a button. It’s hands-off cooking that frees you up to do other things while your idlis cook perfectly.
Great for Batch Cooking
Need breakfast ready for the whole week? Rice cookers allow you to make big batches of idli batter and store it properly. Once cooked, idlis can be cooled, stored in the fridge, and reheated quickly in a pan or steamer. Some rice cookers even have a reheating function, making leftovers as good as fresh ones.
What You’ll Need to Make Idli in a Rice Cooker
Before diving into the recipe, gather all your ingredients and tools. Having everything ready makes the process smooth and stress-free.
Ingredients
- ½ cup idli rice (or parboiled/medium-grain rice) – This type of rice gives idlis their characteristic softness. Avoid jasmine or basmati, which are too sticky.
- ¼ cup urad dal (split black gram) – Adds protein and helps the idlis rise. Soak separately from the rice.
- Water (for soaking and grinding) – About ¾ cup for rice, ½ cup for urad dal.
- Salt (to taste) – Add after grinding to preserve fermentation.
Equipment
- A rice cooker with a steaming function – Ensure it has a non-stick inner pot and fits small ramekins or molds.
- Mixing bowls (large and medium) – For soaking, mixing, and storing.
- Blender or wet grinder – To grind the soaked rice and dal into a smooth paste.
- Greased idli molds or ramekins – Silicone molds work best as they’re flexible and easy to remove from.
- Lid lifter or tongs – To handle hot molds safely.
Step-by-Step Guide: How to Make Idli in a Rice Cooker
Follow these detailed steps to make restaurant-quality idlis at home using your rice cooker.
Step 1: Soak the Ingredients
Start by rinsing the rice and urad dal separately under cold water until the water runs clear. This removes excess starch and prevents sliminess. Place the rice in a bowl and cover it with water. Do the same with the urad dal. Cover both bowls and let them soak for at least 4–6 hours or overnight. Proper soaking softens the grains and aids in easier grinding.
Step 2: Drain and Grind
After soaking, drain all the water. Transfer the rice to the blender first and grind with a little water (start with ¼ cup and add more if needed) until you get a smooth, thick paste. Repeat with the urad dal—grind until very fine. The urad dal paste should be slightly thinner than the rice paste but still creamy.
Step 3: Combine and Ferment
Gently fold the dal paste into the rice paste using a spatula. Don’t beat it—just mix lightly. At this point, add salt (about ¾ teaspoon per batch) and stir well. Pour the mixture into a clean, wide-mouth container or the original mixing bowl. Cover tightly with a lid or cling wrap and leave it at room temperature for 6–8 hours or overnight. Ideal fermentation happens between 70°F–90°F (21°C–32°C). The batter will double in volume, become bubbly, and smell tangy—a sign it’s ready!
Step 4: Prepare the Rice Cooker
While the batter ferments, prep your rice cooker. If your model has a steaming rack, place it inside. Otherwise, ensure there’s enough space at the bottom to hold water for steaming. Add about 1–2 cups of water (depending on size), just enough to create steam without touching the bottom of the inner pot where the molds will sit.
Step 5: Grease and Fill Molds
Lightly grease each idli mold or ramekin with coconut oil, ghee, or neutral oil. This prevents sticking and helps the idlis rise uniformly. Fill each cavity about ¾ full—the batter will expand slightly during steaming. Wipe off any excess from the edges to ensure even rising.
Step 6: Steam the Idli
Place the filled molds on top of the steaming rack or directly on the inner pot (if your cooker allows). Close the lid securely. Turn on the rice cooker and select the “Steam” or “Cook” function. Avoid opening the lid during cooking—steam loss affects texture. Cook for 15–20 minutes. To test doneness, insert a toothpick; if it comes out clean, your idlis are done.
Step 7: Cool and Serve
Once cooked, turn off the rice cooker and let the idlis rest for 5 minutes. This allows them to set fully. Then, carefully remove the molds and slide out the idlis with a knife or spoon. Serve immediately with coconut chutney, sambar, or your favorite dipping sauce.
Tips for Perfect Idli Every Time
Even with a foolproof recipe, small adjustments can elevate your idlis from good to great. Here are some pro tips to keep in mind.
Use Fresh, High-Quality Ingredients
Old or stale urad dal won’t ferment properly, leading to flat idlis. Always buy fresh dal and store it in an airtight container. Similarly, use high-quality idli rice—it makes a noticeable difference in texture.
Don’t Rush the Fermentation Process
If your kitchen is cold (below 70°F), place the batter near a warm spot like a heater or inside an oven with the light on. Conversely, in hot climates, refrigerate the batter to slow fermentation and prevent over-proofing. The goal is a balanced rise with tiny air pockets—not a collapsed mess.
Experiment with Flavors
Want something different? Try adding grated carrots, spinach, or even mashed sweet potato to half the batter for colorful, nutrient-packed idlis. You can also infuse flavors like ginger or green chilies during grinding.
Store Batter Properly
Unused batter can be stored in the fridge for up to 2 days or frozen for up to a month. Thaw frozen batter at room temperature before using. Always label containers with dates to track freshness.
Clean Your Rice Cooker Thoroughly
Idli batter tends to stick and leave residue. After each use, wash the inner pot with warm soapy water and rinse well. Avoid abrasive scrubbers that could damage the non-stick coating. A quick vinegar rinse once a week helps eliminate lingering odors.
Troubleshooting Common Issues
Even experienced cooks face hiccups sometimes. Here’s how to fix common problems when making idli in a rice cooker.
Idlis Are Dense or Flat
This usually means poor fermentation or insufficient rising. Check if your urad dal was fresh and if the batter developed bubbles. Also, ensure the molds were greased well—oil helps trap steam and creates lift.
Batter Doesn’t Rise Enough
In cooler weather, fermentation slows. Try using lukewarm water to soak ingredients or place the batter in a slightly warmed oven (turned off) to encourage activity.
Idlis Stick to Molds
Overfilling molds causes overflow and sticking. Fill only ¾ full and wipe excess batter clean. Using silicone molds instead of metal reduces sticking significantly.
Rice Cooker Doesn’t Have a Steam Setting
No problem! Boil water first, then switch to warm mode. Place molds on a trivet above the water level. Cover tightly and steam for 20–25 minutes.
Too Much Water in the Cooker
Excess water can seep into molds and make idlis soggy. Always measure carefully and avoid touching the bottom of the pot with water.
Frequently Asked Questions
Can I use regular white rice instead of idli rice?
You can substitute with parboiled or medium-grain rice, but avoid long-grain varieties like basmati, which produce drier, less tender idlis. For best results, use rice specifically labeled for idli or dosas.
How long does idli batter last?
Freshly fermented batter lasts 2–3 days in the refrigerator. For longer storage, freeze portions in ice cube trays and thaw as needed. Never refreeze thawed batter.
Do I need to add yeast or baking powder?
No. Traditional idlis rely solely on natural fermentation from wild yeast and bacteria in the environment. Adding commercial leaveners changes the flavor and texture.
Can I make idli batter ahead of time?
Yes! Mix and grind the batter, then ferment it overnight. Store unused portions covered in the fridge. Bring to room temperature before filling molds.
What if my rice cooker doesn’t have a steam function?
It still works! Boil water in the inner pot, reduce to low heat, and place molds on a trivet above the water. Cover and steam for 20–25 minutes.
Are store-bought idli batter safe to use in a rice cooker?
Some brands work well, but read labels carefully. Look for natural fermentation and no preservatives. Test a small batch first to check consistency.
Final Thoughts
Making idli in a rice cooker isn’t just possible—it’s one of the most practical ways to enjoy this beloved South Indian delicacy at home. With just a few simple ingredients and your trusty rice cooker, you can create soft, fluffy idlis that rival those from local restaurants. The key lies in patience during fermentation and attention to detail in preparation, but the payoff is well worth it.
Whether you’re cooking for family, meal prepping for the week, or exploring new recipes, mastering idli in a rice cooker adds both convenience and creativity to your kitchen routine. Plus, once you get the hang of it, you’ll find yourself experimenting with flavors, textures, and even pairing ideas—turning breakfast into an adventure.
So go ahead—grab your rice cooker, mix up that batter, and let the magic begin. Before you know it, you’ll be flipping out of greased molds like a pro, serving up golden-brown idlis that are as delicious as they are satisfying.
Frequently Asked Questions
Can I use regular white rice instead of idli rice?
You can substitute with parboiled or medium-grain rice, but avoid long-grain varieties like basmati, which produce drier, less tender idlis. For best results, use rice specifically labeled for idli or dosas.
How long does idli batter last?
Freshly fermented batter lasts 2–3 days in the refrigerator. For longer storage, freeze portions in ice cube trays and thaw as needed. Never refreeze thawed batter.
Do I need to add yeast or baking powder?
No. Traditional idlis rely solely on natural fermentation from wild yeast and bacteria in the environment. Adding commercial leaveners changes the flavor and texture.
Can I make idli batter ahead of time?
Yes! Mix and grind the batter, then ferment it overnight. Store unused portions covered in the fridge. Bring to room temperature before filling molds.
What if my rice cooker doesn’t have a steam function?
It still works! Boil water in the inner pot, reduce to low heat, and place molds on a trivet above the water. Cover and steam for 20–25 minutes.
Are store-bought idli batter safe to use in a rice cooker?
Some brands work well, but read labels carefully. Look for natural fermentation and no preservatives. Test a small batch first to check consistency.