
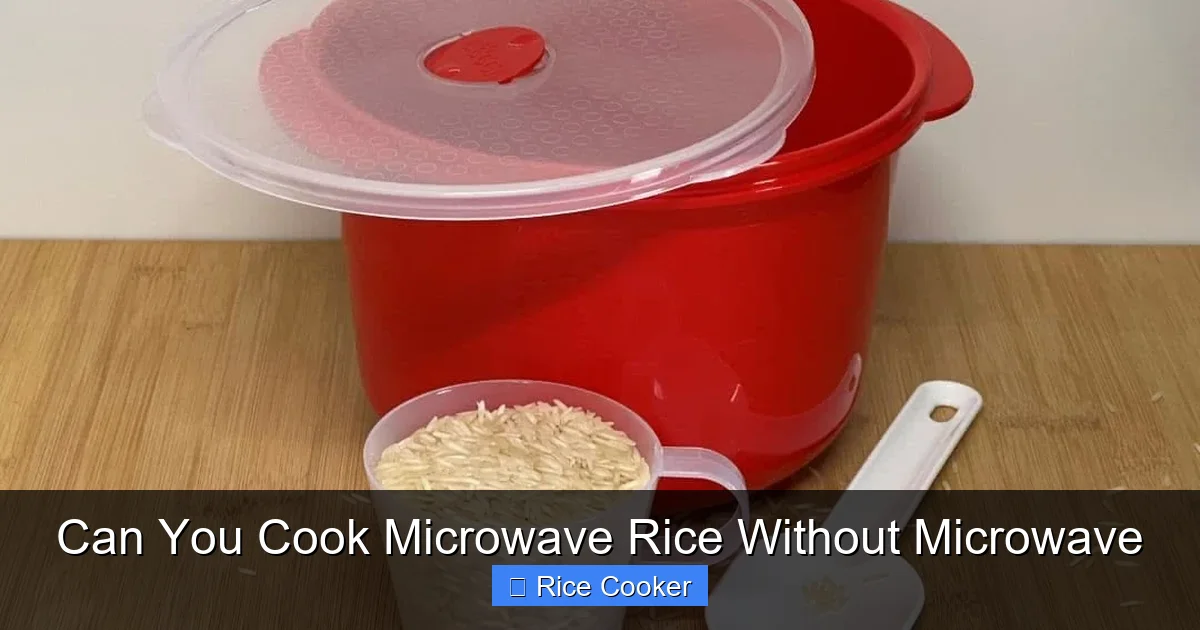
Yes, you can absolutely cook microwave rice without a microwave! Whether you’re out camping, power is out, or you simply prefer traditional cooking methods, there are several effective ways to prepare microwave rice using common kitchen tools like a stovetop, oven, or even a rice cooker. These alternative methods yield equally delicious, fluffy results when done correctly. With just a little extra time and attention, you can enjoy your favorite rice dish no matter the situation.
Key Takeaways
- Microwave rice can be cooked on the stovetop: Simmering the contents in boiling water works well and gives you more control over texture.
- Oven baking is a reliable alternative: Baking the sealed pouch in a preheated oven mimics microwave steam-cooking conditions.
- Rice cookers produce excellent results: Adding rice mix and water directly into a rice cooker simplifies the process with minimal effort.
- Campfire or portable stove options exist: For outdoor adventures, foil packets with added water can be cooked over open flames.
- Adjustments may be needed for timing and liquid: Always check instructions and taste as you go to ensure perfect consistency.
- Safety first when handling sealed pouches: Always puncture the bag before heating to prevent pressure buildup.
- Storage and reheating tips included: Leftovers can be safely stored and reheated using any standard method.
📑 Table of Contents
- Introduction: The Surprising Flexibility of Microwave Rice
- Understanding Microwave Rice Pouches
- Cooking Microwave Rice on the Stovetop
- Baking Microwave Rice in the Oven
- Using a Rice Cooker for Perfect Results
- Outdoor Cooking: Campfire & Portable Stove Options
- Storing and Reheating Leftover Microwave Rice
- Troubleshooting Common Issues
- Frequently Asked Questions
- Conclusion: Embrace Flexibility in Your Kitchen
Introduction: The Surprising Flexibility of Microwave Rice
Have you ever opened your pantry only to find a few leftover microwaveable rice pouches—perhaps from a recent trip or an unexpected delay—and wondered what to do with them? Maybe you’re packing for a hiking trip and forgot your microwave, or perhaps the power went out during dinner prep. Instead of tossing them aside (which would be wasteful), wouldn’t it be great to know you can still turn those pouches into something delicious?
The truth is, microwave rice isn’t locked behind its original packaging. These single-serving meals are designed to be convenient, but they’re also incredibly adaptable. Whether you’re using a stovetop, oven, rice cooker, or even a camping stove, you can recreate that same fluffy, flavorful rice without ever needing a microwave.
In this guide, we’ll walk through everything you need to know about cooking microwave rice without a microwave—step by step, method by method. From beginner-friendly stovetop hacks to foolproof oven techniques and even outdoor cooking solutions, you’ll learn how to make the most of these handy pouches no matter where you are or what tools you have at hand.
So grab your favorite microwave rice brand (or just any plain white or brown rice variety), and let’s dive into the world of off-microwave cooking!
Understanding Microwave Rice Pouches
Before jumping into cooking methods, it’s helpful to understand what’s inside those little pouches. Most microwave rice products come in pre-measured portions with seasonings already mixed in. They typically contain:
– Dried rice (white or brown)
– Water (in some cases, pre-added)
– Salt and flavorings (like soy sauce, garlic powder, onion powder, or teriyaki)
– Sometimes vegetables or proteins
When heated in a microwave, steam builds up inside the sealed pouch due to moisture released from the rice as it absorbs heat. This creates a self-contained cooking environment similar to a pressure cooker, resulting in tender, evenly cooked grains.
But here’s the key insight: the magic happens because of heat and moisture, not necessarily the appliance itself. That means if you can replicate those two elements elsewhere—boiling water on the stove, hot air from the oven, or even a rice cooker’s internal cycle—you can achieve nearly identical results.
Most brands list specific instructions for microwaving, but many don’t provide alternatives. Don’t worry—we’ve got you covered with tried-and-tested substitutes below.
Cooking Microwave Rice on the Stovetop
If you’ve got a pot and a stove burner, this is one of the most straightforward methods. Here’s how to do it safely and effectively:
Step-by-Step Stovetop Method
1. **Puncture the pouch**: Use a fork or sharp knife to poke 5–10 small holes in the top of the pouch. This prevents explosive pressure buildup.
2. **Submerge in boiling water**: Fill a saucepan with enough water to fully cover the pouch. Bring to a rolling boil.
3. **Simmer gently**: Reduce heat so the water remains at a gentle simmer. Cook for 8–12 minutes, depending on the brand and rice type (brown rice usually needs more time).
4. **Check doneness**: Open the pouch carefully (it will be hot!) and fluff the rice with a fork. If it’s still firm, return to simmer for another minute.
5. **Drain excess water**: Tilt the pouch to remove any remaining liquid. Pat dry with a paper towel before serving.
Pro Tips for Stovetop Success
– **Use a deep pot**: You want at least 2 inches of water to ensure even heating.
– **Avoid high heat**: Boiling too vigorously can cause the pouch to burst or stick to the pot.
– **Add extra water if needed**: Some pouches absorb less moisture than others. If the rice seems dry after cooking, stir in 1 tablespoon of water and cover for 1 minute.
This method works especially well for plain white rice varieties. For seasoned mixes (like teriyaki or curry), you might notice slight differences in flavor intensity compared to microwaving—but honestly, many people prefer the richer taste from longer stovetop exposure.
Baking Microwave Rice in the Oven
Need a hands-off approach? The oven is your best friend. This method uses dry heat to gently cook the rice while trapping steam inside the pouch—just like a microwave.
How to Bake Microwave Rice
1. **Preheat your oven** to 350°F (175°C).
2. **Puncture the pouch** thoroughly—make sure there are several holes to allow steam to escape slowly.
3. **Place on a baking sheet**: Line a rimmed baking sheet with parchment paper for easy cleanup.
4. **Bake uncovered**: Insert the pouch directly onto the sheet and bake for 20–25 minutes.
5. **Test for doneness**: Remove carefully (use tongs!) and check that the rice is soft and fluffy.
6. **Let rest 2–3 minutes** before opening to avoid splattering.
Why Oven Works Well
Unlike microwaves, which heat food quickly and unevenly in some cases, ovens distribute heat more evenly. This reduces the risk of undercooked spots or overly mushy rice. Plus, you can multitask—bake multiple pouches at once or cook other dishes simultaneously.
Note: Always keep the oven door closed during cooking to maintain consistent temperature. Opening it too often can extend total cooking time.
Using a Rice Cooker for Perfect Results
Ah, the rice cooker—a kitchen staple for a reason. It turns out, it’s also perfect for repurposing microwave rice pouches.
Simple Rice Cooker Conversion
1. **Open the pouch** and pour the contents into the rice cooker bowl.
2. **Add ½ cup water** per pouch (adjust based on desired consistency).
3. **Close the lid** and press “Cook” or “White Rice” setting.
4. **Wait patiently**: Most rice cookers take about 15–20 minutes to complete the cycle.
5. **Fluff and serve**: Once done, open the lid and stir gently before eating.
Benefits of Using a Rice Cooker
– **Consistent results**: No guesswork involved—just add ingredients and wait.
– **Less mess**: No need to handle hot, wet pouches.
– **Reusable**: Great for meal prep or storing leftovers in the cooker’s keep-warm mode.
If your rice cooker has a “Steam” function, you can even skip opening the pouch and place it directly inside (with holes punched) to let the steam do the work. Just remember to monitor closely to avoid overflow.
Outdoor Cooking: Campfire & Portable Stove Options
Heading to the great outdoors? No problem. Microwave rice pouches are surprisingly durable and safe for indirect heat sources.
Cooking Over a Campfire
1. **Double-wrap the pouch** in heavy-duty aluminum foil to protect it from direct flame.
2. **Add ¼ cup water** inside the foil packet (optional, but helps with moisture).
3. **Place on hot coals or grill grate**, away from open fire.
4. **Rotate occasionally** for even heating.
5. **Cook for 15–20 minutes**, checking periodically until rice is tender.
Portable Stove Method
For compact setups, use a small camping stove:
– Place the pouch (punctured and wrapped in foil) on the burner.
– Add water to a nearby pot or use the foil wrap to trap steam.
– Simmer gently for 10–15 minutes.
Always follow safety guidelines for outdoor cooking, especially around flammable materials.
Storing and Reheating Leftover Microwave Rice
Even if you cook microwave rice ahead of time, you might have leftovers. Here’s how to store and reheat them properly:
Refrigeration Tips
– Let cooled rice sit uncovered for 10 minutes to reduce condensation.
– Store in an airtight container for up to 3 days.
– Label with date to track freshness.
Reheating Methods
– **Microwave (again!)**: Add a splash of water, cover loosely, and heat in 30-second intervals.
– **Stovetop**: Stir in 1 tsp water per cup of rice over low heat until warmed through.
– **Oven**: Place in a baking dish with a lid or foil; warm at 300°F for 10–15 minutes.
Avoid reheating more than once to preserve texture and food safety.
Troubleshooting Common Issues
Even with the best methods, things can go wrong. Here’s how to fix common problems:
Too Dry or Mushy?
– **Dry**: Add 1–2 tbsp water per cup and reheat covered.
– **Mushy**: Mix in fresh steamed vegetables or protein to balance texture.
Pouch Burst or Leaked?
– Never microwave a punctured pouch—wait until ready to eat.
– If leaking occurred during stovetop/oven cooking, drain excess water before serving.
Rice Still Hard After Cooking?
– Increase liquid next time or cook longer. Brown rice often needs extra time.
Remember: different brands vary slightly in recipe formulation. Keep notes on what works best for your favorite pouch!
Frequently Asked Questions
Can I freeze microwave rice for later?
Yes! Cool completely, portion into containers, and freeze for up to 2 months. Thaw overnight in the fridge before reheating.
Visual guide about Can You Cook Microwave Rice Without Microwave
Image source: recipes.net
Visual guide about Can You Cook Microwave Rice Without Microwave
Image source: canyoumicrowavewiki.com
Is it safe to eat cold microwave rice?
Absolutely. Many Asian cuisines serve rice cold—perfect for salads or bento boxes. Just store properly and consume within 3 days.
Do all microwave rice brands work the same way off-microwave?
Most do, but some include extra oils or sauces that may affect texture. Test small batches first if trying a new brand.
Can I use this method with instant rice?
Yes—many instant rice products come in similar pouches and respond well to these alternative cooking techniques.
What if I don’t have any water or foil?
You can still try placing the pouch in a covered pot with a bit of broth or stock, but results may vary. Foil or additional liquid improves success rates.
Will the flavor change when cooking without a microwave?
Possibly. Longer cooking times can deepen flavors slightly, but core seasonings should remain intact. Taste and adjust salt if needed.
Conclusion: Embrace Flexibility in Your Kitchen
At the end of the day, microwave rice pouches are more versatile than they appear. Whether you’re facing a power outage, traveling light, or just curious about alternative cooking methods, you now have multiple reliable ways to enjoy your favorite quick meals—without ever touching a microwave.
From the simplicity of the stovetop to the precision of the rice cooker and the adventure-ready campfire technique, each method offers unique benefits depending on your situation. Experiment, adapt, and don’t be afraid to tweak timings or liquids based on your preferences.
And remember: food waste is avoidable. Next time you see those pouches in your pantry or backpack, think twice before tossing them. With a little creativity and these practical tips, you can transform them into satisfying, homemade-style meals anytime.
So go ahead—grab that last microwave rice pouch, choose your preferred cooking method, and get ready to enjoy perfectly fluffy rice, no microwave required.
Frequently Asked Questions
Can I freeze microwave rice for later?
Yes! Cool completely, portion into containers, and freeze for up to 2 months. Thaw overnight in the fridge before reheating.
Is it safe to eat cold microwave rice?
Absolutely. Many Asian cuisines serve rice cold—perfect for salads or bento boxes. Just store properly and consume within 3 days.
Do all microwave rice brands work the same way off-microwave?
Most do, but some include extra oils or sauces that may affect texture. Test small batches first if trying a new brand.
Can I use this method with instant rice?
Yes—many instant rice products come in similar pouches and respond well to these alternative cooking techniques.
What if I don’t have any water or foil?
You can still try placing the pouch in a covered pot with a bit of broth or stock, but results may vary. Foil or additional liquid improves success rates.
Will the flavor change when cooking without a microwave?
Possibly. Longer cooking times can deepen flavors slightly, but core seasonings should remain intact. Taste and adjust salt if needed.