
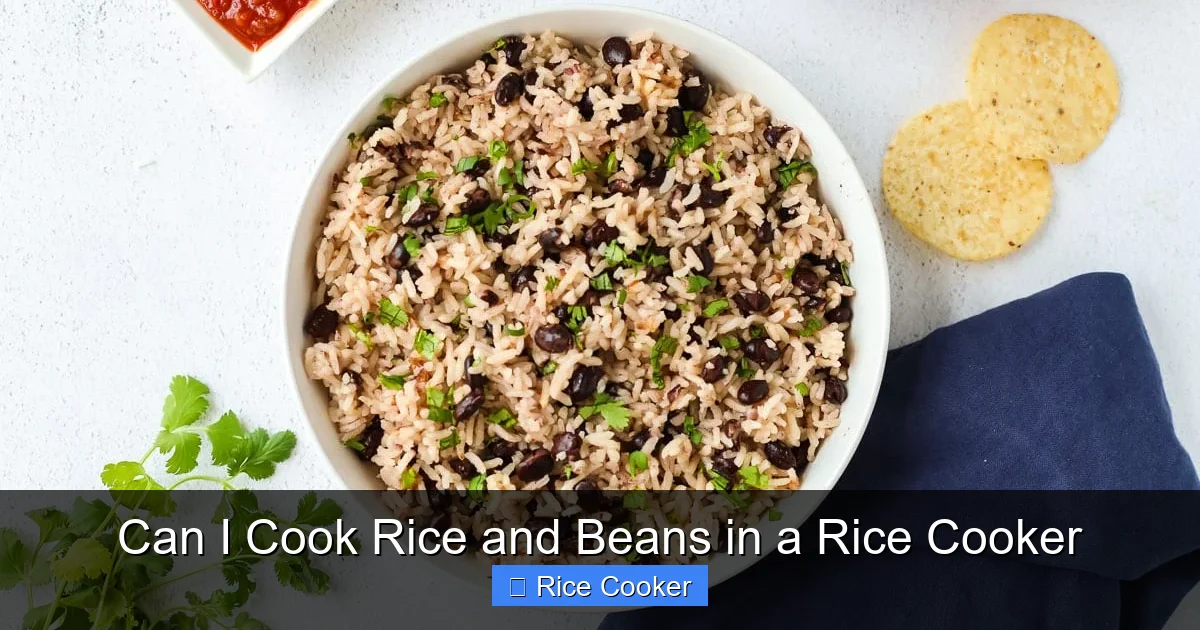
Yes, you can absolutely cook rice and beans in a rice cooker—it’s one of the most convenient ways to prepare hearty, nutritious meals. With the right ratio and technique, your rice cooker handles both grains seamlessly, saving time and effort. Whether you’re making a simple side dish or a complete meal like arroz con frijoles, this method delivers consistent results every time.
Key Takeaways
- Yes, it works: Most rice cookers can cook rice and beans together without issues, as long as the bean-to-water ratio is correct.
- Pre-soaking is key: Soaking dried beans overnight reduces cooking time and ensures they soften evenly alongside rice.
- Water ratios matter: Use 1 cup of dry beans with 3 cups of water (plus salt), and 1:2 rice-to-water ratio to avoid mushy or undercooked results.
- Choose the right cooker: A full-gauge or multi-function rice cooker with a “beans” setting gives better control than basic models.
- Season while cooking: Add garlic, cumin, or bay leaves during cooking for deeper flavor without extra steps.
- Troubleshooting tips: Stir gently after the cycle ends, and avoid opening the lid during cooking to maintain heat.
- Meal prep friendly: This method is perfect for batch-cooking grains that store well and reheat beautifully.
📑 Table of Contents
- Can I Cook Rice and Beans in a Rice Cooker? Absolutely—Here’s How!
- Why Cooking Rice and Beans Together Makes Sense
- Choosing the Right Ingredients
- Step-by-Step Guide: Cooking Rice and Beans in Your Rice Cooker
- Common Mistakes & How to Fix Them
- Tips for Flavorful, Restaurant-Quality Results
- Can All Rice Cookers Handle Beans?
- Beyond Basic: Creative Recipes You Can Make
- Storage & Reheating Tips
- Final Thoughts: Why You Should Start Today
Can I Cook Rice and Beans in a Rice Cooker? Absolutely—Here’s How!
If you’ve ever stood over the stove, stirring a pot of rice and beans, wondering why dinner always takes so long, you’re not alone. But what if I told you that your trusty rice cooker could handle both grains—and maybe even make them better?
Yes, you read that right: you can cook rice and beans in a rice cooker. In fact, it’s one of the most efficient and foolproof methods for preparing this classic combination. Whether you’re making Cuban black beans with white rice, Tex-Mex pinto beans and cilantro-lime rice, or just a simple side of seasoned lentils with brown rice, your rice cooker can do it all—no constant attention required.
In this comprehensive guide, we’ll walk through everything you need to know: from selecting the right beans and rice varieties to adjusting water levels, choosing the best cooker settings, and even troubleshooting common problems. By the end, you’ll be ready to whip up restaurant-quality meals at home with minimal effort.
Why Cooking Rice and Beans Together Makes Sense
Rice and beans are more than just a staple combo—they’re a powerhouse of protein, fiber, and nutrients. And when cooked together in a rice cooker, they become an even more harmonious duo. Here’s why this method stands out:
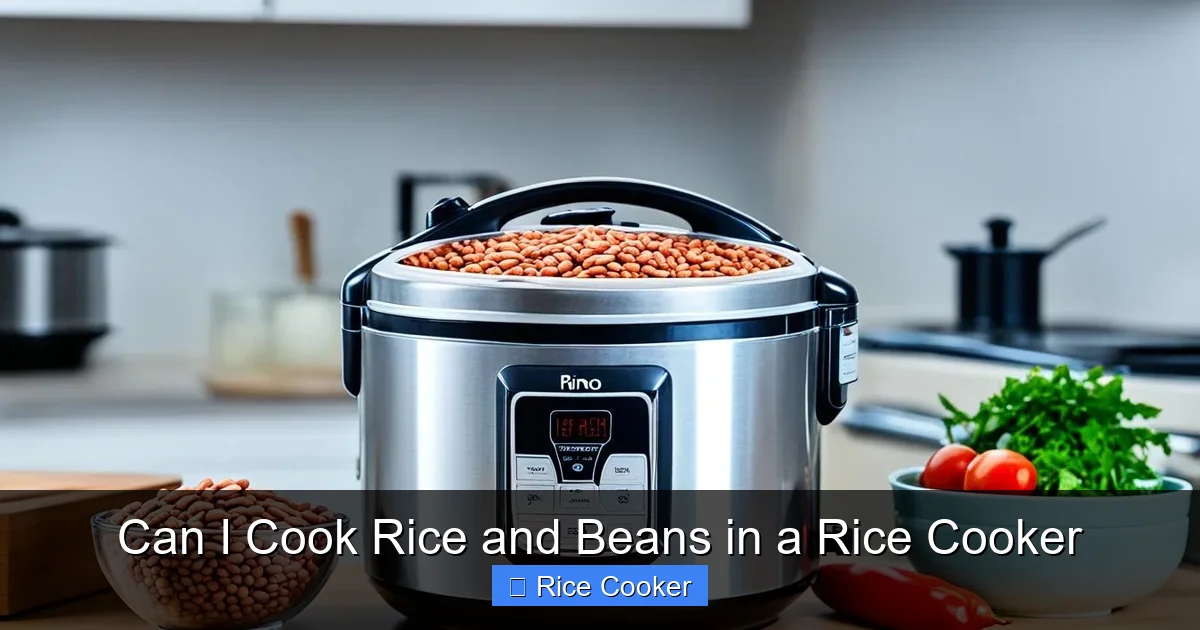
Visual guide about Can I Cook Rice and Beans in a Rice Cooker
Image source: ricecookerjunkie.com
The Science Behind Simultaneous Cooking
Both rice and beans require similar moisture-based cooking techniques. Rice absorbs water and swells; beans rehydrate and expand as they cook. Since neither needs direct stirring or frequent checking, a sealed environment like a rice cooker keeps everything tender and evenly prepared.
Modern rice cookers maintain precise temperatures and use sensors to detect when the cooking cycle is complete. That means once you press start, you can go about your day—or prep other ingredients—while your meal cooks itself.
Benefits of Using a Rice Cooker
- Consistency: No more burnt bottoms or unevenly cooked batches.
- Energy efficiency: Uses less electricity than stovetop cooking.
- Hands-off convenience: Perfect for busy weeknights or meal prep.
- Flavor infusion: Sealed environment allows spices and aromatics to meld deeply.
Choosing the Right Ingredients
Not all beans and rice are created equal—and some work better together than others. Let’s break down which combinations shine in the rice cooker.
Best Bean Varieties for Rice Cookers
Dried beans (like black, pinto, kidney, or navy) are ideal because they absorb water slowly and cook thoroughly. Canned beans? Skip them—they’re already soft and will turn into mush when heated again.
For faster cooking, consider lentils or split peas—they’re nearly done in 20–30 minutes, making them great partners for quick rice dishes.
Optimal Rice Types
Long-grain white rice (like basmati or jasmine) stays fluffy and doesn’t clump. Brown rice takes longer but pairs beautifully with earthy beans like black or adzuki. Avoid instant or pre-cooked rice—it lacks structure when mixed with beans.
Recommended Combinations
- Cuban Style: Black beans + white rice + cumin, garlic, and orange juice.
- Mexican Fiesta: Pinto beans + jasmine rice + lime, cilantro, and diced tomatoes.
- Hearty Stew: Kidney beans + brown rice + onions, carrots, and smoked paprika.
Step-by-Step Guide: Cooking Rice and Beans in Your Rice Cooker
Ready to try it yourself? Follow these simple steps for foolproof success:
1. Prep Your Beans (The Secret Step)
Unless you’re using pre-cooked beans (which defeats the purpose), soak dried beans overnight. If you’re short on time, do a quick soak: boil beans for 2 minutes, then let them sit covered for an hour.
This step prevents gas-causing oligosaccharides from lingering in your stomach and ensures even softening.
2. Measure Accurately
Use standard measuring cups. For every 1 cup of dried beans, use 3 cups of water. For rice, follow the 1:2 ratio (1 cup rice to 2 cups liquid). If you’re mixing both, add total liquid accordingly—but keep in mind beans release more starch, so slightly more water may be needed.
3. Layer Ingredients Correctly
Place rice at the bottom layer. Add soaked beans on top, then pour in water so it covers both by about 1 inch. Don’t stir! Just gently nudge the beans down with a spoon if needed.
4. Season Smartly
Add flavor during cooking—not after. Toss in diced onion, crushed garlic, bay leaf, or a pinch of cumin before closing the lid. Salt too early? It can toughen beans, so add it halfway through if your cooker allows it (some have timed programs).
5. Select the Right Setting
Look for a “Beans” or “Multi-Grain” mode if your cooker has one. Otherwise, use the regular “White Rice” setting. Avoid “Quick Cook”—it won’t give beans enough time to soften.
6. Let It Rest
Once the cycle finishes, let the cooker sit undisturbed for 10–15 minutes. This lets steam redistribute, making the texture even better. Then fluff gently with a fork—don’t mash!
Common Mistakes & How to Fix Them
Even experienced cooks run into hiccups. Here’s how to avoid—or fix—the most common issues.
Problem: Beans Are Hard After Cooking
Cause: Under-soaked beans or insufficient cooking time.
Fix: Always soak properly. If beans remain firm, return to cooker for another 10–15 minutes on “Keep Warm” (don’t open the lid).
Problem: Rice Is Mushy or Sticky
Cause: Too much water or over-stirring after cooking.
Fix: Stick to the 1:2 ratio. After resting, use a fork to separate grains—never a spoon or spatula.
Problem: Beans Float to the Top
Cause: Uneven distribution or rapid boiling.
Fix: Place heavier items (like onions) at the bottom. Gently press beans down before closing the lid.
Problem: Flavor Is Bland
Cause: Skipping seasonings or cooking too fast.
Fix: Add aromatic ingredients early. Try sautéing onions and garlic briefly before adding liquids for richer taste.
Tips for Flavorful, Restaurant-Quality Results
Want your rice and beans to taste like they came from a Latin kitchen? These pro tips will elevate your dish instantly.
Add Acid for Brightness
A splash of lime juice or vinegar after cooking cuts through richness and balances flavors. Don’t add it during cooking—it can toughen beans.
Toast Spices First
Lightly toast cumin seeds or oregano in oil before adding water. This unlocks their essential oils, deepening aroma and taste.
Use Broth Instead of Water
Replace half your water with vegetable or chicken broth for extra depth. Great for vegetarian meals too!
Garnish Generously
Top with fresh cilantro, avocado slices, shredded cheese, or sour cream. Presentation matters—and makes leftovers feel special.
Braise with Veggies
Toss in diced bell peppers, corn kernels, or spinach during the last 5 minutes for a complete one-pot meal.
Can All Rice Cookers Handle Beans?
Most modern rice cookers can handle beans—but not all equally. Here’s what to look for:
Full-Gauge vs. Basic Models
Full-gauge rice cookers measure temperature and adjust heat automatically. They’re gentler on delicate foods like beans. Basic models may scorch the bottom if left unattended.
Multi-Function Cookers Win
Models with “Soup,” “Bean,” or “Slow Cook” settings offer better control. Look for ones labeled “multi-grain” or “pressure-assisted” for faster results.
Capacity Matters
For families, choose at least a 6-cup (uncooked) model. Smaller units struggle with large batches of beans and rice.
Beyond Basic: Creative Recipes You Can Make
Once you master the basics, the possibilities explode. Try these inspired combos:
Arroz con Pollo (Chicken & Rice with Beans)
Sauté chicken thighs, onions, and garlic. Add soaked black beans, rice, broth, and saffron. Cook until tender and fluff. Serve with olives and peas.
Moroccan Lentil & Chickpea Pilaf
Combine red lentils, chickpeas, basmati rice, cinnamon, and apricots. Simmer with vegetable broth. Finish with toasted almonds and mint.
Tex-Mex Red Beans & Jasmine Rice
Simmer pinto beans with cumin, chili powder, and diced tomatoes. Mix with cooked jasmine rice, top with cilantro, and serve with tortillas.
Storage & Reheating Tips
Leftovers? Even better. Store cooled rice and beans in airtight containers for up to 5 days. They freeze beautifully—just thaw overnight in the fridge.
Reheat on the stovetop with a splash of water or broth to restore moisture. Microwave-safe? Yes—cover loosely to prevent splatter.
Final Thoughts: Why You Should Start Today
Cooking rice and beans in a rice cooker isn’t just practical—it’s transformative. It turns a tedious stove-top chore into a hands-off, energy-efficient process that frees up your time for what matters. Plus, you get perfectly cooked grains every single time, no guesswork involved.
Whether you’re feeding a family, meal-prepping for the week, or simply craving comfort food, this method delivers consistency, flavor, and peace of mind. And honestly? Once you try it, you’ll wonder how you ever lived without it.
So go ahead—grab those dried beans, measure out your rice, and fire up that rice cooker. Your future self (and your taste buds) will thank you.
Frequently Asked Questions
Can I cook canned beans and rice in a rice cooker?
It’s not recommended. Canned beans are already cooked and will become mushy when reheated with rice. Stick to dried beans for the best texture and flavor.
How long does it take to cook rice and beans in a rice cooker?
Typically 45–60 minutes for dried beans, depending on the variety and cooker model. White beans cook faster than black or kidney beans. Always check doneness before serving.
Do I need to soak beans before cooking them in a rice cooker?
Yes, soaking is essential. Overnight soaking softens beans and reduces cooking time. If you skip it, expect longer cook times and potential uneven results.
What happens if I use too much water?
Too much water leads to mushy beans and soggy rice. Follow the 1:3 bean-to-water ratio and 1:2 rice-to-water ratio closely for ideal results.
Can I add vegetables while cooking rice and beans?
Yes! Add chopped carrots, celery, or bell peppers at the beginning. For delicate veggies like spin or corn, add them in the last 5 minutes to preserve texture.
Will my rice cooker burn the beans?
Only if it’s a low-end model without temperature control. Full-gauge or multi-function cookers prevent burning by regulating heat. Stirring once gently after the cycle helps too.