
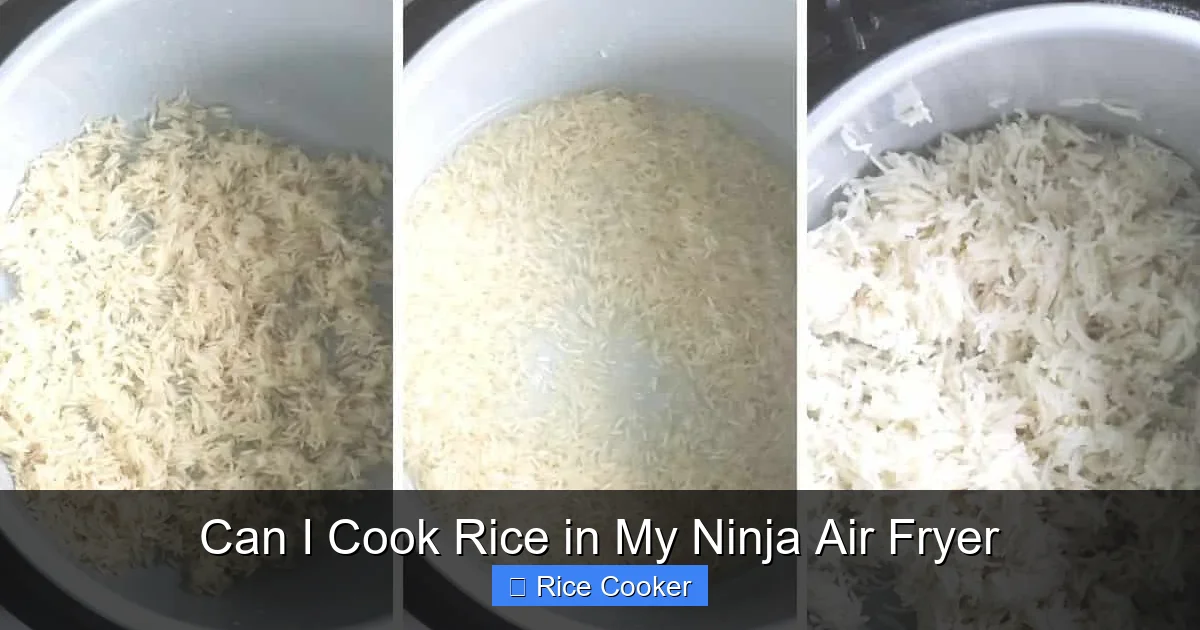
Can I cook rice in my Ninja Air Fryer? Absolutely! While it’s not the traditional method, your Ninja Air Fryer can produce delicious, fluffy rice with the right technique. With minimal effort and the right ingredients, you can enjoy perfectly cooked grains every time—no rice cooker required.
If you’re also curious about using a rice cooker for specialty grains, check out our guide on making Arborio rice in a rice cooker.
Key Takeaways
- Ninja Air Fryers Can Cook Rice: Yes, models like the Ninja Foodi AF150 and AF300 support steaming or air frying rice when used correctly.
- Use the Steamer Basket: Most Ninja models come with a multi-qwik rack and steam basket—these are essential for steaming rice properly.
- Proper Water Ratio Is Key: Use 1 part rice to 1.5 parts water (or slightly less) to avoid mushy or undercooked grains.
- Cook Time Varies by Model: Cooking times range from 18–30 minutes depending on whether you’re steaming or using air crisp settings.
- Seasonings and Add-Ins Work: Add garlic, herbs, or broth for flavor—just adjust water levels accordingly.
- Clean-Up Is Simple: Most Ninja components are dishwasher-safe, making post-meal cleanup a breeze.
- Not Ideal for Large Batches: Due to size limits, cooking more than 2 cups of rice at once may result in uneven texture.
📑 Table of Contents
- Can I Cook Rice in My Ninja Air Fryer? A Complete Guide
- Understanding How Air Fryers Work
- What Types of Rice Work Best?
- Step-by-Step: How to Cook Rice in Your Ninja Air Fryer
- Tips for Perfect Ninja Air Fryer Rice Every Time
- Common Mistakes to Avoid
- Beyond Basic White Rice: Creative Recipes
- How Does This Compare to a Traditional Rice Cooker?
- Final Thoughts: Should You Buy a Rice Cooker Too?
Can I Cook Rice in My Ninja Air Fryer? A Complete Guide
Have you ever found yourself staring into your kitchen cupboards, wondering how to prepare a quick, healthy meal without breaking the bank or using yet another appliance? You’re not alone. Many home cooks today are looking for ways to simplify their routines while still enjoying flavorful, nutritious meals. One popular question that keeps popping up is: Can I cook rice in my Ninja Air Fryer?
The answer? Absolutely. If you own a Ninja Foodi or similar model, you’ve got a versatile kitchen tool that can do far more than just air fry chicken wings or reheat leftovers. With a little know-how, your Ninja Air Fryer can become your new go-to for making perfectly fluffy rice—without needing a dedicated rice cooker. Whether you’re meal prepping for the week, cooking for guests, or just craving something warm and comforting, this guide will walk you through everything you need to know.
In this article, we’ll explore the science behind cooking rice in an air fryer, share step-by-step instructions tailored to different Ninja models, offer pro tips for best results, and even discuss what types of rice work best. By the end, you’ll feel confident saying yes—yes, you absolutely can cook rice in your Ninja Air Fryer!
Understanding How Air Fryers Work
The Basics of Air Frying
Before diving into rice recipes, it helps to understand how air fryers operate. Unlike traditional ovens that rely on radiant heat from coils, air fryers use powerful fans to circulate superheated air around food. This rapid airflow creates a crispy exterior while locking in moisture inside—perfect for fries, chicken tenders, and even desserts.
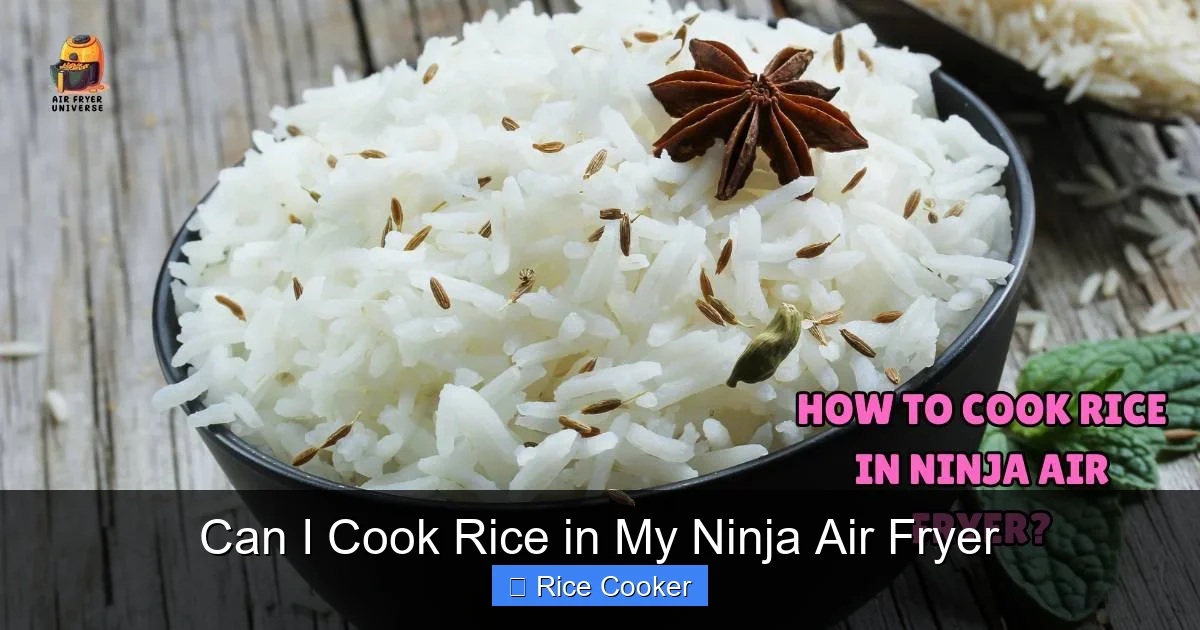
Visual guide about Can I Cook Rice in My Ninja Air Fryer
Image source: airfryeruniverse.com
But here’s the thing: not all cooking methods are created equal. Some foods simply don’t thrive under high-heat circulation. Rice, for example, needs steady, moist heat to absorb water and expand into soft, separate grains. So, can this same process work in reverse? Can an air fryer create the gentle steam environment rice requires? For those who prefer a set-it-and-forget-it approach, learning whether you can leave the rice cooker on warm overnight might be useful.
Why Steaming Works Best
The secret lies in using the steamer function—if your model has one—or simulating it with the included steam basket. When you place water in the base and rice above it, the rising steam does the heavy lifting. The hot air then helps regulate temperature and ensures even cooking. Think of it like a mini rice cooker inside your Ninja.
Most modern Ninja models—like the AF150, AF300, and DT201 series—come equipped with a multi-qwik rack and steam basket designed specifically for this purpose. These accessories allow you to elevate the rice above direct contact with boiling water, preventing sogginess while letting steam penetrate evenly.
What Types of Rice Work Best?
Short-Grain vs. Long-Grain Rice
Not all rices behave the same way when cooked. Short-grain varieties (like sushi or arborio rice) have higher starch content, which makes them stickier and creamier. They’re great for risotto or sushi but can be tricky in an air fryer if overdone.
Long-grain white rice (such as jasmine, basmati, or American long grain) is your best bet. It holds its shape well and absorbs liquid evenly. Brown rice also works, though it requires more water and longer cooking times due to its bran layer.
Instant vs. Regular Rice
Instant rice is pre-cooked and dried—it usually only needs 1–2 minutes in boiling water. While you could technically skip soaking it, there’s no real advantage to using instant rice in an air fryer since it’s already partially cooked. Stick with regular uncooked rice for full control over texture.
Step-by-Step: How to Cook Rice in Your Ninja Air Fryer
Gather Your Supplies
Before you begin, make sure you have:
- A Ninja Air Fryer with a steam basket (most models include this)
- Fresh, uncooked rice (white or brown)
- Measuring cups and spoons
- A fine-mesh strainer (optional, for rinsing)
- Water (filtered or tap—your choice)
Measure and Rinse the Rice
Start by measuring out your desired amount of rice. For reference, one cup of uncooked long-grain rice yields about three cups cooked. Rinse the rice under cold running water until the water runs clear. This removes excess starch and prevents clumping.
Add Water to the Base Pan
Place the steam basket inside your Ninja Air Fryer. Then, add 1.5 cups of water per cup of rice into the bottom of the unit. For example, if you’re cooking 1 cup of rice, use 1.5 cups of water. If you’re adding seasonings like broth or garlic, reduce the added water slightly to account for the extra liquid.
Place Rice in the Steam Basket
Transfer the rinsed rice to the steam basket. Don’t overcrowd it—leave some space between grains so steam can circulate freely. If your basket isn’t perforated enough, you might notice uneven cooking, so check your model’s specs beforehand.
Set the Timer and Temperature
Close the lid and set your Ninja to either the “Steam” setting (if available) or the “Air Crisp” mode at 350°F (175°C). Cooking times vary:
- White rice: 18–22 minutes
- Brown rice: 28–32 minutes
For best results, start checking around the 15-minute mark by gently fluffing the top layer. Avoid opening the door too often—each opening lowers internal temperature and extends cooking time.
Let It Rest Before Fluffing
Once done, turn off the machine and let the rice rest for 5 minutes with the lid closed. This allows residual heat to finish cooking any stubborn grains and firms up the texture. Then, remove the steam basket, fluff with a fork, and serve immediately.
Tips for Perfect Ninja Air Fryer Rice Every Time
Adjust Water Levels Based on Altitude
If you live at high elevations, water boils at lower temperatures, which can affect rice cooking. Increase water by 1–2 tablespoons per cup and extend cooking time by 2–3 minutes. Test and adjust as needed.
Flavor Your Rice Like Never Before
Instead of plain water, try these swaps:
- Chicken or vegetable broth
- Coconut milk for creamy Thai-style rice
- Beef stock with diced onions and bay leaves
- Soy sauce or tamari for savory sushi rice
If you’re exploring other multifunctional appliances, you might wonder about baking desserts in a rice cooker.
Don’t Overfill the Steam Basket
Your Ninja Air Fryer has limited capacity. For optimal results, limit yourself to 2 cups of uncooked rice max. Beyond that, steam won’t distribute evenly, leading to mushy spots or raw centers.
Keep an Eye on Texture
If your rice turns out gummy, you probably used too much water or didn’t rinse it well. If it’s dry and hard, increase water next time or reduce cooking time slightly.
Clean Up Is Quick and Easy
After use, let the unit cool completely before washing. Most Ninja components—including the steam basket and drip tray—are dishwasher safe. Just avoid submerging the main body or electronics.
Common Mistakes to Avoid
Opening the Lid Too Often
Each time you open the lid, you lose precious heat and moisture. Wait until the timer goes off before checking. If you must peek, keep it brief.
Using the Wrong Accessories
Never attempt to cook rice directly in the crisper basket without a steam basket underneath. Without proper elevation and water separation, your rice will either burn or remain raw.
Skipping the Resting Period
Rushing the resting phase leads to uneven textures. Always let the rice sit for 5 minutes after cooking—it makes a world of difference.
Ignoring Model Differences
Not all Ninja models are identical. Always consult your user manual for specific instructions. Some older versions lack precise temperature controls, requiring slight adjustments.
Beyond Basic White Rice: Creative Recipes
Garlic Herb Rice
After rinsing 1 cup of rice, add ½ teaspoon minced garlic and 1 tablespoon chopped fresh parsley to the steam basket. Use 1.5 cups of broth instead of water. Cook as usual and enjoy aromatic, restaurant-quality rice.
Spicy Coconut Rice
Combine 1 cup jasmine rice with 1.75 cups coconut milk and ½ cup water. Add a pinch of turmeric for color and a star anise pod for depth. Steam for 20 minutes, then discard the spice pod before serving.
Fried Rice Hack (Reheating Leftovers)
To revive stale fried rice, spread it in a single layer on the crisper basket. Air fry at 375°F for 8–10 minutes, flipping halfway. It regains crispness beautifully!
How Does This Compare to a Traditional Rice Cooker?
Rice cookers are engineered specifically for this task—they maintain consistent temperatures, automatically switch to warming mode, and often include fuzzy logic for perfect results. But here’s the truth: many people already own a Ninja Air Fryer, and adding a rice cooker doubles kitchen clutter and cost.
While your Ninja won’t replace a rice cooker for daily use (especially in large households), it’s a fantastic backup option during power outages, travel, or when you simply want variety. Plus, it lets you multitask—why not steam rice while air frying veggies?
Final Thoughts: Should You Buy a Rice Cooker Too?
There’s no denying that dedicated rice cookers excel at their job. If you eat rice multiple times a day or prefer foolproof consistency, investing in one might be worth it. But if you’re short on counter space, already own a Ninja, or enjoy experimenting in the kitchen, stick with what you have.
Remember: cooking rice in your Ninja Air Fryer isn’t about perfection—it’s about flexibility, creativity, and making the most of tools you already love. With practice, you’ll develop your own rhythm and discover new favorites along the way.
So go ahead—grab that steam basket, measure your grains, and press play. You’ve got this.
Frequently Asked Questions
Can all Ninja Air Fryer models cook rice?
Most modern Ninja models with a steam basket (like the AF150, AF300, and DT201) can cook rice. Older or basic models without steaming capabilities may not work as well.
Do I need a special accessory to cook rice?
Yes, the steam basket or multi-qwik rack is essential. It elevates the rice above boiling water, allowing steam to cook it evenly.
Is brown rice harder to cook in an air fryer?
Yes, brown rice takes longer and needs more water than white rice—usually 28–32 minutes at 350°F with 2 parts water per 1 part rice.
Can I cook rice and vegetables together?
Absolutely! Place chopped veggies in a small bowl inside the steam basket with the rice. Just ensure they fit and don’t block airflow.
What if my rice is sticky or mushy?
This usually means too much water or poor rinsing. Try reducing water by 1–2 tbsp per cup and always rinse thoroughly before cooking.
Can I use this method for quinoa or barley?
Yes! Adjust ratios and times: quinoa uses 1:1.5 water and cooks in ~20 minutes; barley needs 1:3 water and 30+ minutes.