
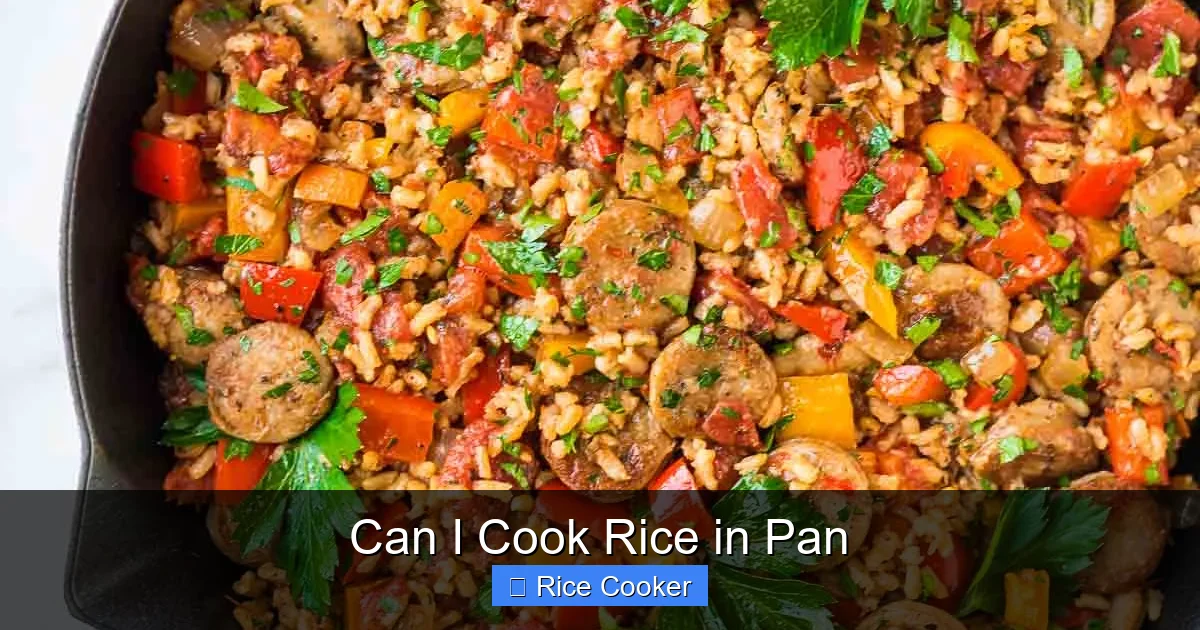
Can I cook rice in a pan? Absolutely! While rice cookers offer convenience, cooking rice on the stovetop with the right technique delivers delicious results. With proper water-to-ratio, heat control, and timing, your pan can become your go-to kitchen tool for perfectly cooked grains every time.
Key Takeaways
- Yes, you can cook rice in a pan: You don’t need a rice cooker—your regular skillet or saucepan works just fine.
- Use the right ratio: A general rule is 1 cup of rice to 2 cups of water, but adjust based on rice type and desired texture.
- Control heat carefully: Start high to boil, then reduce to low to simmer gently and avoid sticking or burning.
- Let it rest after cooking: Cover and stand for 5–10 minutes after the timer goes off to finish steaming and fluff up.
- Fluff with a fork: Gently stir with a fork to separate grains and release excess moisture for light, fluffy rice.
- Experiment with flavors: Add broth, herbs, or butter for extra taste—pans work great for seasoned rice too.
- Clean-up is easy: Most pans are dishwasher-safe, but hand-washing preserves non-stick coatings.
📑 Table of Contents
- Can I Cook Rice in a Pan? The Simple Answer (And Why You Should Try It)
- The Science (And Simplicity) Behind Stovetop Rice
- Choosing the Right Pan for Rice
- Water Ratios: The Secret to Perfect Texture
- Step-by-Step Guide: How to Cook Rice in a Pan
- Flavor Boosting: Make Your Rice Irresistible
- Troubleshooting Common Rice Problems
- Advanced Tips for Confident Rice Cooking
- Cleaning and Maintaining Your Rice Pan
- Conclusion: Your Pan Is Now a Rice Master
Can I Cook Rice in a Pan? The Simple Answer (And Why You Should Try It)
Have you ever stood in front of your kitchen counter, staring at a bag of rice wondering, “Can I actually cook this without my rice cooker?” If so, you’re not alone. Millions of home cooks rely on rice cookers every day, but what happens when yours breaks, or you’re just craving the flexibility of using your stovetop?
The good news? Yes, you absolutely can cook rice in a pan. In fact, many traditional cuisines have been doing it for centuries—think Chinese congee, Spanish paella, or Indian biryani, all made on the stove. Cooking rice on the stovetop gives you full control over heat, timing, and flavor, and it doesn’t require any special equipment beyond a good pot or pan.
In this guide, we’ll walk you through everything you need to know: from choosing the right pan to mastering the water ratio, controlling heat, and even adding flavor. By the end, you’ll be confident that your trusty frying pan or saucepan isn’t just for eggs and pasta—it’s a powerful tool for perfect rice every time.
The Science (And Simplicity) Behind Stovetop Rice
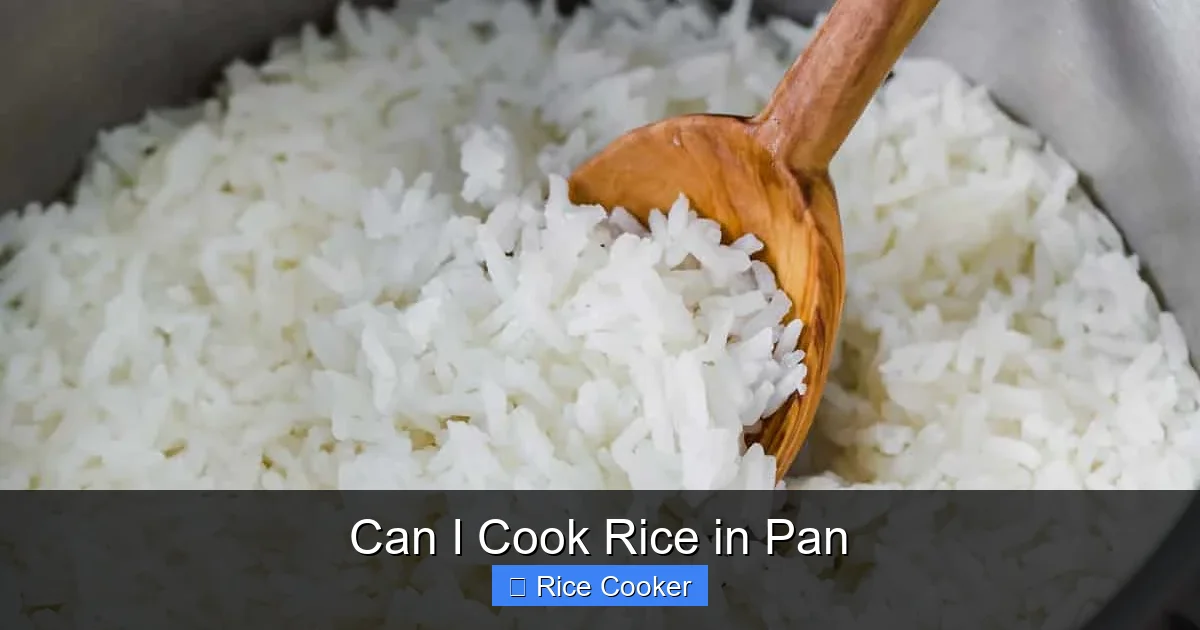
Visual guide about Can I Cook Rice in Pan
Image source: natashaskitchen.com
Rice is mostly starch and water. When heated properly, the water evaporates slowly, allowing the grains to absorb moisture and expand. The key is balancing heat so the rice cooks evenly without boiling over or burning.
Unlike a rice cooker, which automatically switches to “warm” mode once the rice is done, a pan relies on your attention. But with a few tricks, you can mimic that precision. Think of it like cooking a steak—you sear, then you rest. For rice, it’s about bringing to a boil, then letting it simmer gently.
Why People Love Cooking Rice in a Pan
- No special equipment needed: Use what you already have.
- Full control over texture: Want sticky sushi rice? Creamy risotto-style? Done.
- Faster cleanup: No bulky appliance to store or clean.
- Great for small batches: Perfect for one or two servings without wasting energy.
Choosing the Right Pan for Rice
Not all pans are created equal when it comes to cooking rice. Here’s what to look for:
Best Types of Pans for Rice
- Heavy-bottomed stainless steel or enameled cast iron: These distribute heat evenly, preventing hot spots that cause burnt rice.
- Non-stick pans: Great for delicate rice like basmati, but avoid metal utensils to preserve the coating.
- Lid with a tight seal: Essential for trapping steam during the resting phase.
Pan Size Matters
Use a pot with a diameter slightly wider than your rice amount. For example:
– 1 cup rice → 2-quart pot
– 2 cups rice → 3-quart pot
Too much rice in a small pot leads to overcrowding and uneven cooking. Too little rice wastes space and energy.
Avoid These Common Mistakes
- Pans with warped bottoms (they create hot spots).
- Skillet lids that don’t fit tightly.
- Thin aluminum pans (they heat too quickly and unevenly).
Water Ratios: The Secret to Perfect Texture
This is where many beginners fail. Water too much? Rice becomes mushy. Too little? Rice is dry and hard.
Standard Water Ratios by Rice Type
| Rice Type | Water Ratio (per 1 cup rice) | Notes |
|——————-|——————————-|——-|
| White short grain | 1.5 cups | Fluffy, slightly sticky |
| White long grain | 2 cups | Light and separate |
| Basmati | 1.75 cups | Fragrant, slightly chewy |
| Jasmine | 1.5–1.75 cups | Soft and aromatic |
| Brown rice | 2.25–2.5 cups | Nutty, firmer texture |
| Wild rice | 3 cups | Long cooking time |
Adjusting for Altitude and Humidity
At higher altitudes, water boils faster and evaporates quicker. Increase water slightly (½ cup extra per 1,000 feet above sea level). In humid climates, reduce water by ¼ cup if rice feels too wet.
Pro Tip: The Finger Test
After boiling, cover the pan and let it sit for 5 minutes. Then lift the lid and press gently between your finger and thumb. The rice should feel tender but not mushy. If it’s still firm, cook 1–2 more minutes.
Step-by-Step Guide: How to Cook Rice in a Pan
Follow these steps for foolproof rice every time.
Step 1: Rinse the Rice (Optional but Recommended)
Rinsing removes excess starch, especially for sticky rice types like sushi or jasmine. Place rice in a fine-mesh strainer and rinse under cold water until the water runs clear. This prevents clumping.
Step 2: Combine Rice and Water
Add rinsed (or unrinsed) rice and the correct amount of water to your pan. Stir once to ensure even distribution.
Step 3: Bring to a Boil
Turn the heat to high and bring the mixture to a rolling boil. Stir once to prevent sticking.
Step 4: Reduce Heat and Cover
Once boiling, immediately reduce heat to low. Put the lid on and let it simmer gently. Do not lift the lid during this phase—steam builds pressure and helps cook the rice.
Step 5: Let It Rest
When the rice is tender and the water is absorbed (usually 15–20 minutes depending on type), turn off the heat. Let it sit, covered, for 5–10 minutes. This allows steam to finish cooking the rice and makes it fluffier.
Step 6: Fluff and Serve
Remove the lid, gently stir with a fork to separate grains, and serve immediately.
Flavor Boosting: Make Your Rice Irresistible
Plain rice is great, but why stop there?
Add Broth Instead of Water
Replace half the water with vegetable, chicken, or beef broth for deeper flavor. This is especially good for risottos or pilafs.
Sauté Aromatics First
In the same pan, sauté onions, garlic, or ginger before adding rice and water. This builds layers of flavor.
Season with Butter or Oil
A pat of butter or splash of olive oil adds richness and prevents stickiness.
Tried-and-True Recipe: Garlic Herb Rice
- 1 cup jasmine rice
- 1.75 cups chicken broth
- 1 tbsp olive oil
- 2 cloves garlic, minced
- ½ tsp dried thyme
- Salt and pepper to taste
Sauté garlic in oil until fragrant (1 minute). Add rice and stir for 30 seconds. Pour in broth and season. Follow the standard cooking method above.
Troubleshooting Common Rice Problems
Even with the best technique, things can go wrong. Here’s how to fix them.
Rice Sticks to the Bottom
This usually means too much heat or insufficient water. Next time, reduce heat after boiling and add a splash of water if needed.
Rice Is Too Dry
Add 1–2 tablespoons of water, cover, and steam for 3–5 minutes. Don’t stir—just let it absorb.
Rice Is Mushy
You used too much water or cooked it too long. For future batches, reduce water by ¼ cup and check doneness earlier.
Rice Is Undercooked
Cover and steam for 5 more minutes. If still firm, add another tablespoon of water and continue cooking.
Boiling Over
If rice bubbles over, quickly reduce heat and wipe the rim with a damp cloth. Never remove the lid—it releases steam too fast.
Advanced Tips for Confident Rice Cooking
Once you master the basics, try these pro-level techniques.
Cook Rice in a Skillet for Crispy Bottom (Fond)
Use a wide, shallow pan. After sautéing aromatics, add rice and broth. Once boiling, reduce heat and let it steam. At the end, you can brown the bottom slightly for a savory crust—great for fried rice.
Make Congee (Rice Porridge)
Use 1 cup rice to 8 cups water. Cook on medium-low for 45–60 minutes, stirring occasionally, until creamy. Add salt, ginger, or green onions at the end.
Steam Eggs Over Rice
Place a heat-safe bowl with eggs on top of the rice pan while it steams. Eggs will cook gently from the steam—perfect for breakfast.
Double Boiler Method for Delicate Rice
For very sensitive rice (like risotto), place your rice pan inside a larger pot with simmering water. This gentle heat prevents scorching.
Cleaning and Maintaining Your Rice Pan
Proper care keeps your pan in top shape.
Hand-Wash Non-Stick Pans
Avoid the dishwasher. Use warm, soapy water and a soft sponge. Never use abrasive scrubbers.
Stainless Steel and Cast Iron
These can go in the dishwasher, but hand-washing extends their life. For burnt-on rice, soak in warm water with baking soda.
Season Cast Iron (If Applicable)
If your pan is cast iron, rub with a thin layer of oil after cleaning and heat it briefly to maintain the seasoning.
Store Properly
Keep pans dry to prevent rust. Stack with paper towels or use felt pads between pans to avoid scratches.
Conclusion: Your Pan Is Now a Rice Master
So, can you cook rice in a pan? Without a doubt—yes. Whether you’re out of power, want more control, or simply enjoy the ritual of cooking on the stovetop, mastering rice in a pan is a skill that pays off every time.
From understanding water ratios to troubleshooting burnt bottoms, you now have all the tools to make fluffy, flavorful rice with confidence. And the best part? You don’t need any special gadget—just your favorite pan and a little patience.
Next time you open a bag of rice, skip the rice cooker. Fire up the stove, grab your pan, and remember: with the right technique, you’re not just cooking rice—you’re creating something warm, comforting, and delicious.
Frequently Asked Questions
Can I cook rice in a frying pan?
Yes, but only if it’s a large, deep frying pan with a tight-fitting lid. Avoid thin or non-heat-resistant pans. The key is maintaining consistent heat and allowing steam to build for proper cooking.
How much water do I use for 1 cup of rice in a pan?
Generally, use 2 cups of water for white long-grain rice. Adjust based on rice type: 1.5 cups for short grain, 2.25 cups for brown rice. Always start with more water and drain excess if needed.
Do I need to rinse rice before cooking it in a pan?
It depends. Rinse white rice like jasmine or basmati to remove excess starch and prevent stickiness. Skip rinsing for wild or brown rice to keep their natural oils and texture.
How long does it take to cook rice in a pan?
Most white rice takes 15–20 minutes of simmering after boiling. Brown rice needs 30–40 minutes. Check doneness by tasting—grains should be tender but not mushy.
Can I reuse leftover rice to make fried rice?
Absolutely. Let cooled rice sit uncovered overnight to dry out slightly. Then fry in a hot pan with oil, soy sauce, and veggies for crispy, flavorful results.
What’s the best way to store cooked rice?
Refrigerate within 2 hours of cooking. Store in an airtight container for up to 4 days. Reheat with a splash of water to restore moisture.