
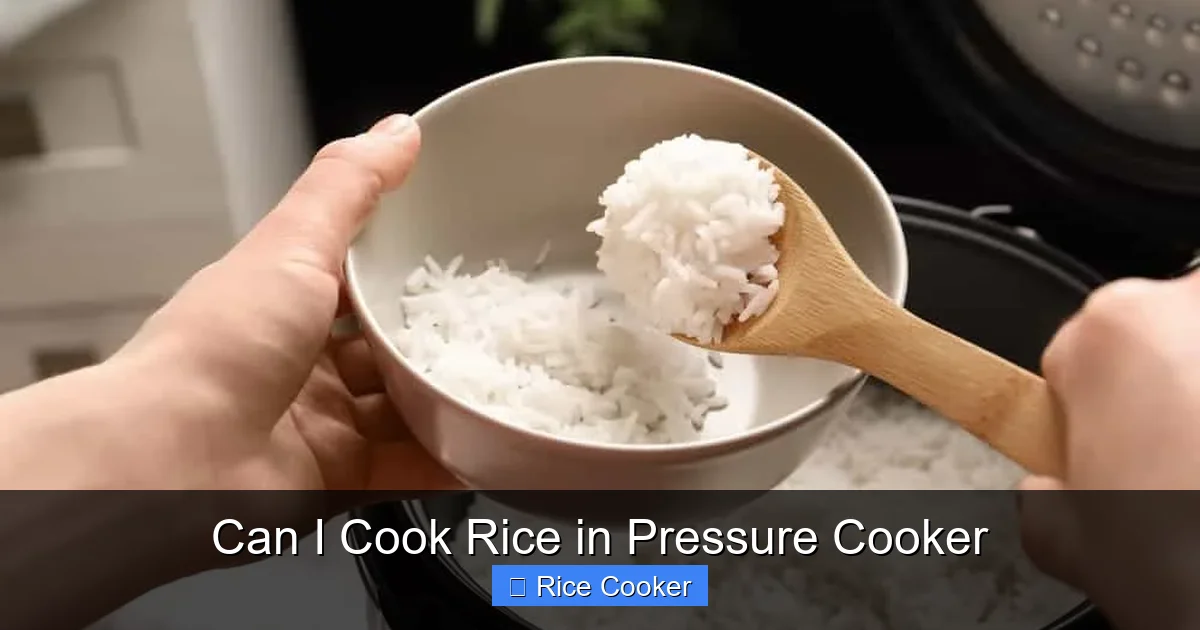
Yes, you can cook rice in a pressure cooker, and it’s faster, tastier, and more hands-off than traditional methods. With the right water-to-rice ratio and timing, your pressure cooker delivers perfectly fluffy or tender grains every time—whether it’s white, brown, jasmine, or basmati. In this guide, we’ll walk you through everything from basics to advanced tricks so you never second-guess your next rice dish again.
Key Takeaways
- You can cook most types of rice in a pressure cooker—white, brown, jasmine, basmati, even wild and arborio—with slight adjustments for each.
- The secret is the right water ratio. For white rice, use 1:1.25 (rice to water); for brown rice, go 1:1.5 or 1:1.75 depending on grain type.
- Pressure cookers save time and energy—cooking white rice takes just 3–5 minutes under pressure compared to 20–30 minutes on the stove.
- Natural release works best for fluffy rice, while quick release suits softer textures like risotto or porridge.
- Soaking and rinsing improve texture and reduce stickiness, especially for long-grain varieties.
- Always add salt and oil after pressure cooking—not before—to avoid mushy or overly salty results.
- Experiment with flavors by adding bay leaves, garlic, or coconut milk during cooking for aromatic, restaurant-style dishes.
📑 Table of Contents
- Can I Cook Rice in Pressure Cooker? Absolutely—Here’s How!
- Why Use a Pressure Cooker for Rice?
- Types of Rice You Can Cook in a Pressure Cooker
- Essential Tips Before You Start Cooking
- Step-by-Step Guide: How to Cook Perfect Rice in a Pressure Cooker
- Common Mistakes and How to Fix Them
- Elevate Your Rice with Flavor Infusions
- Cleaning and Maintaining Your Pressure Cooker After Rice
- Frequently Asked Questions About Cooking Rice in a Pressure Cooker
Can I Cook Rice in Pressure Cooker? Absolutely—Here’s How!
Have you ever stood over a simmering pot of rice, stirring constantly, only to end up with either a burnt bottom or mushy grains? Or maybe you’re short on time and want something foolproof? Well, here’s a game-changer: yes, you can cook rice in a pressure cooker, and it’s one of the easiest, most consistent methods out there. Whether you’re making a side dish, a base for curries, or even rice pudding, your pressure cooker can handle it—no babysitting required. If you’re also curious about safety, check out our guide on whether you can leave the rice cooker on warm overnight.
In this comprehensive guide, we’ll cover everything from choosing the right rice type to mastering release techniques, troubleshooting common issues, and even elevating your rice with bold flavors. By the end, you’ll be confident cooking rice like a pro—whether you’re using an electric pressure cooker (like Instant Pot) or a stovetop model. Let’s get started!
Why Use a Pressure Cooker for Rice?
If you’ve never cooked rice in a pressure cooker before, you might wonder why bother when you already have a rice cooker or a regular pot. But pressure cookers offer unique advantages that make them stand out—especially for busy home cooks or those who love variety.
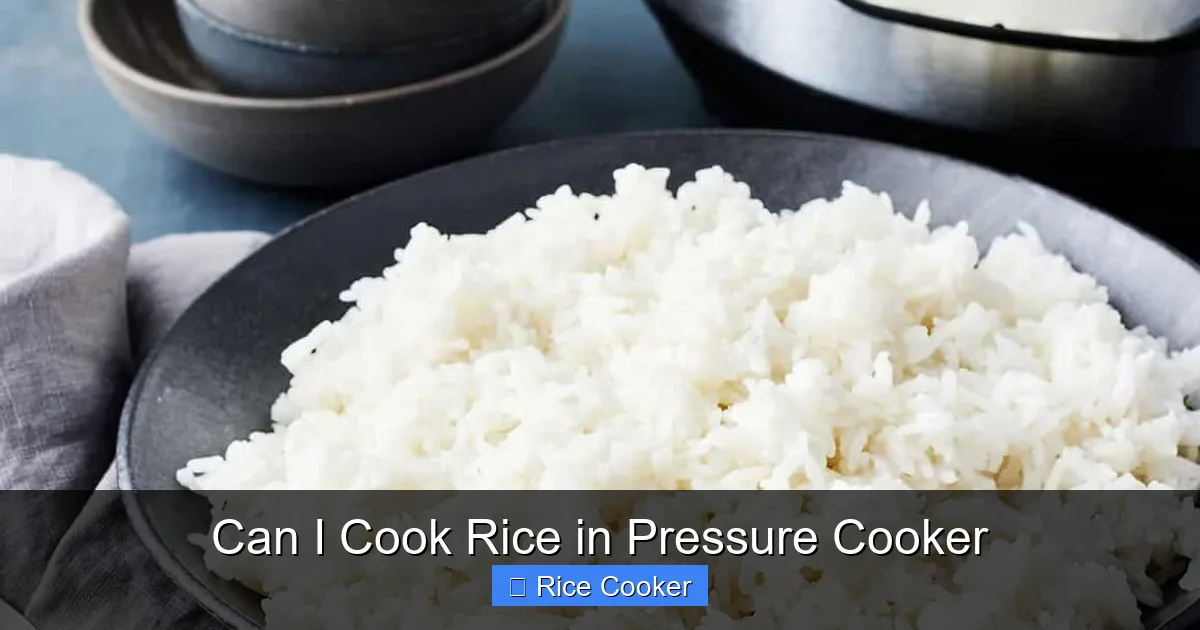
Visual guide about Can I Cook Rice in Pressure Cooker
Image source: cdn.loveandlemons.com
Speed and Convenience
One of the biggest benefits is speed. Most white rice varieties cook in just 3 to 5 minutes under pressure, compared to 18 to 25 minutes on the stove. That’s because high pressure forces steam into the rice quickly, breaking down starches evenly and cooking grains uniformly. No more waiting around!
Consistent Results Every Time
Rice can be finicky—too much water leads to sogginess; too little leaves it crunchy. A pressure cooker locks in moisture and heat precisely, giving you reliable, repeatable results. Once you nail the ratio and timing, you won’t have to guess anymore.
Energy Efficiency
Pressure cookers use less energy than ovens or stovetops. They heat up fast and seal tightly, trapping steam so nothing escapes. This means your kitchen stays cooler during summer months—and your electricity bill doesn’t spike.
Versatility Beyond Plain White Rice
While rice cookers are great for simple grains, pressure cookers shine when you want to infuse flavor. Try cooking jasmine rice with lemongrass, basmati with saffron, or even red rice with tomatoes and herbs. The sealed environment absorbs aromatics beautifully.
Types of Rice You Can Cook in a Pressure Cooker
Not all rice is created equal—and neither are their cooking needs. Here’s what you can safely prepare in your pressure cooker:
White Rice (Jasmine, Basmati, American)
These long-grain varieties work wonderfully in pressure cookers. Jasmine rice becomes fragrant and slightly sticky; basmati turns light and fluffy with separated grains. Both need careful rinsing to remove excess starch and prevent clumping.
Brown Rice
Brown rice takes longer due to its bran layer, but it’s still totally doable. Expect 8–12 minutes of pressurized cooking plus a natural release. Some newer models allow for “brown rice mode” with preset programs—but even without one, you can adjust timing manually.
Wild Rice & Black Rice
These heirloom grains absorb more liquid and take extra time—usually 15–20 minutes under pressure. They’re nuttier and chewier, perfect for salads or pilafs. Always check package directions first.
Cooking Rice Pudding or Creamy Dishes
Yes! Pressure cookers excel at creamy textures. Add milk, sugar, cinnamon, and raisins to your rice mixture, then cook on high pressure for 6–8 minutes with a quick release. The result? Silky, rich, and comforting—no constant stirring needed.
Essential Tips Before You Start Cooking
Before tossing rice into your pot, keep these pro tips in mind to avoid disaster: For instance, always remember not to leave the rice cooker unattended while it’s under pressure.
Use Fresh, High-Quality Rice
Old or damp rice can affect texture and taste. Store rice in an airtight container away from humidity. Brown rice should be refrigerated if not used within a few weeks.
Rinse Long-Grain Varieties Thoroughly
Rinsing removes surface starch that causes stickiness. Place rice in a fine-mesh strainer and rinse under cold water until the runoff runs clear. Skip this step for short-grain rice like arborio (used in risotto), which needs all its starch.
Measure Accurately—Especially Water
This is arguably the most important rule. Too much water = soupy rice. Too little = dry clumps. Use measuring cups or a kitchen scale for precision. Most recipes call for 1 cup dry rice to 1.25–1.5 cups water, depending on grain.
Don’t Add Salt or Oil Before Pressure Cooking
Adding salt or fat early can interfere with the gelatinization process, leading to uneven cooking or a gummy texture. Wait until after the rice is done—then season and fluff gently.
Let It Rest After Release
Even after releasing pressure, let rice sit covered for 5–10 minutes. This allows residual steam to finish cooking the grains evenly and prevents sudden temperature shock that cracks kernels.
Step-by-Step Guide: How to Cook Perfect Rice in a Pressure Cooker
Ready to try it yourself? Follow this simple process for foolproof results:
Ingredients You’ll Need
- 1 cup dry rice (adjust as needed)
- Water (amount varies by rice type)
- Optional: bay leaf, garlic clove, or pinch of turmeric for flavor
Equipment Checklist
- Pressure cooker (electric or stovetop)
- Fine-mesh strainer (for rinsing)
- Measuring cups
- Tongs or fork (for fluffing)
Detailed Instructions
- Prepare the Rice: Rinse long-grain rice under cold water until water runs clear. Drain well.
- Add Ingredients to Cooker: Place rinsed rice in the inner pot. Add water according to your rice type (see chart below). If flavoring, toss in a bay leaf or crushed garlic.
- Seal and Set Pressure: Close lid securely. Turn valve to sealing position. Select “Manual” or “Pressure Cook” setting. Adjust time based on rice (e.g., 3 min for white, 8–10 min for brown).
- Release Pressure Safely: For fluffy rice, choose natural release (let pressure drop on its own). For quicker meals, use quick release (carefully turn valve to vent).
- Fluff and Serve: Open lid away from face. Gently stir with a fork or tongs to separate grains. Taste and adjust salt/oil if desired.
Water Ratios by Rice Type
| Rice Type | Water Ratio (per 1 cup rice) | Pressure Cook Time |
|---|---|---|
| White Jasmine/Basmati | 1.25 cups | 3–4 minutes |
| American Short Grain | 1.25 cups | 3 minutes |
| Brown Rice | 1.5–1.75 cups | 8–10 minutes |
| Black/Wild Rice | 1.75–2 cups | 12–15 minutes |
Common Mistakes and How to Fix Them
Even experienced cooks run into hiccups now and then. Here’s how to troubleshoot the most frequent rice disasters:
Mushy or Sticky Rice
Cause: Too much water or overcooked.
Solution: Reduce water by ¼ cup next time. Stick to recommended ratios. Also, avoid overfilling—rice expands during cooking.
Dry or Undercooked Grains
Cause: Insufficient liquid or premature release.
Solution: Add ½ cup extra water and extend cooking time by 1–2 minutes. Always let pressure build fully before timing starts.
Rice Sticks to the Bottom
Cause: Not enough water or scorching.
Solution: Ensure adequate liquid. Stir once halfway through (only if using stovetop model). Electric pots usually don’t require stirring.
Uneven Texture (Some Grains Done, Others Raw)
Cause: Inconsistent soaking or poor distribution.
Solution: Soak rice for 20–30 minutes before cooking—this ensures uniform absorption. Also, spread rice evenly in the pot.
Elevate Your Rice with Flavor Infusions
Plain rice is fine—but what if you could turn it into something extraordinary? Pressure cookers are fantastic for infusing subtle yet delicious notes without extra effort.
Herbed Rice Pilaf
Add chopped parsley, thyme, and onion to the rice-water mix. Cook on medium-high pressure for 3 minutes. Natural release for 10 minutes. Flavor sinks deep into every grain.
Coconut-Cilantro Rice
Use coconut milk instead of water. Toss in fresh cilantro stems and a squeeze of lime juice after cooking. Perfect with Indian or Southeast Asian dishes.
Saffron Basmati
Crush a few saffron threads in warm water, let steep 10 minutes, then add to rice along with a pinch of cardamom. The aroma alone makes it worth the splurge.
Tomato-Basil Rice
Sauté diced tomatoes and garlic briefly before adding rice and water. Cook under pressure for 4 minutes. Great with Mediterranean meals.
Cleaning and Maintaining Your Pressure Cooker After Rice
After cooking rice, clean your appliance properly to maintain performance and longevity:
- Unplug and cool completely before cleaning.
- Remove inner pot immediately to prevent dried-on residue.
- Scrub with mild soap and non-abrasive sponge—avoid steel wool.
- Wipe valve and lid seals carefully with a damp cloth. Never submerge the lid in water unless manufacturer allows it.
- Store in a dry place to prevent mold or corrosion.
Pro tip: Add 1 tbsp vinegar and 1 quart water to the pot once a month to descale mineral buildup—especially important if you live in hard-water areas.
Frequently Asked Questions About Cooking Rice in a Pressure Cooker
Can I cook frozen rice in a pressure cooker?
No—never add frozen rice directly. Thaw it completely first, or increase cooking time by 2–3 minutes and add ¼ cup extra water to compensate for absorbed moisture. Similarly, if you’re wondering about storing cooked rice, see our tips on leaving cooked rice out of the fridge.
Do I need to soak rice before pressure cooking?
Soaking isn’t mandatory but helps achieve fluffier grains and reduces cook time slightly. Soak long-grain rice for 20–30 minutes for best results.
Can I make fried rice in a pressure cooker?
Not ideal. Fried rice requires high-heat searing and tossing—best done in a wok or skillet. However, you can cook plain rice in advance, cool it, then reheat with oil and veggies separately.
What if my pressure cooker doesn’t have a “rice” setting?
No problem! Manually set it to “Manual” or “Pressure Cook” mode and follow standard timings. Many models allow custom time/temp adjustments.
How do I prevent rice from sticking to the bottom?
Ensure enough liquid (follow ratios), avoid overfilling (max ⅔ full), and consider adding ½ tsp oil after cooking to coat grains lightly.
Can I cook rice in a slow cooker instead?
Yes, but differently. Slow cookers use low, indirect heat—so brown rice may take 6–8 hours on low. White rice usually needs 2–3 hours. Less efficient than pressure cooking.
Frequently Asked Questions
Can I cook frozen rice in a pressure cooker?
No—never add frozen rice directly. Thaw it completely first, or increase cooking time by 2–3 minutes and add ¼ cup extra water to compensate for absorbed moisture.
Do I need to soak rice before pressure cooking?
Soaking isn’t mandatory but helps achieve fluffier grains and reduces cook time slightly. Soak long-grain rice for 20–30 minutes for best results.
Can I make fried rice in a pressure cooker?
Not ideal. Fried rice requires high-heat searing and tossing—best done in a wok or skillet. However, you can cook plain rice in advance, cool it, then reheat with oil and veggies separately.
What if my pressure cooker doesn’t have a “rice” setting?
No problem! Manually set it to “Manual” or “Pressure Cook” mode and follow standard timings. Many models allow custom time/temp adjustments.
How do I prevent rice from sticking to the bottom?
Ensure enough liquid (follow ratios), avoid overfilling (max ⅔ full), and consider adding ½ tsp oil after cooking to coat grains lightly.
Can I cook rice in a slow cooker instead?
Yes, but differently. Slow cookers use low, indirect heat—so brown rice may take 6–8 hours on low. White rice usually needs 2–3 hours. Less efficient than pressure cooking.