
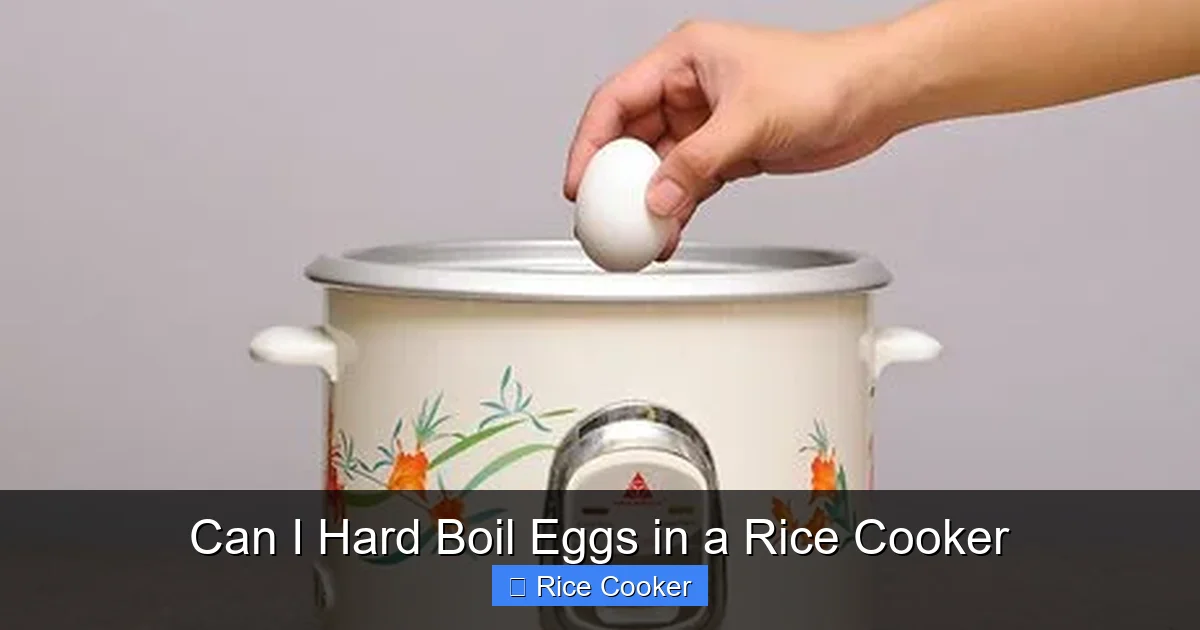
Hard boiling eggs in a rice cooker is not only possible—it’s one of the easiest methods out there. With minimal effort and no constant monitoring, you can produce perfectly cooked eggs every time. Whether you’re meal prepping, making deviled eggs, or just craving a quick snack, this method saves time and reduces mess compared to stovetop boiling.
Key Takeaways
- Yes, it works: A rice cooker can reliably hard boil eggs without any special modifications.
- No stirring needed: Unlike boiling on the stove, the rice cooker keeps eggs gently submerged in hot water.
- Consistent results: The steady heat helps prevent overcooking and ensures uniform doneness.
- Saves energy: Rice cookers use less electricity than stovetop boiling for the same outcome.
- Easy cleanup: Fewer pots and pans mean less scrubbing after cooking.
- Great for batch cooking: Cook up to 12 eggs at once—perfect for meal prep or family breakfasts.
- Customizable timing: Adjust cook times based on how runny or firm you like your yolks.
📑 Table of Contents
- Introduction: The Rice Cooker Egg Hack Everyone Should Know
- Why Use a Rice Cooker for Hard-Boiling Eggs?
- How to Hard-Boil Eggs in a Rice Cooker: Step-by-Step Guide
- Common Mistakes and How to Avoid Them
- Tips for Perfect Rice-Cooker Hard-Boiled Eggs
- Can You Do Other Types of Eggs in a Rice Cooker?
- Cleaning Your Rice Cooker After Cooking Eggs
- Environmental and Economic Advantages
- Fun Ideas for Using Hard-Boiled Eggs
- Conclusion: Why Every Kitchen Needs This Hack
Introduction: The Rice Cooker Egg Hack Everyone Should Know
Have you ever stood over a pot of boiling water, watching the clock, hoping your eggs turn out just right? Or maybe you’ve had the dreaded moment when an egg cracks in the pan and ruins your morning? If so, you’re not alone. Hard-boiled eggs are a pantry staple—great for salads, snacks, or quick breakfasts—but traditional boiling can be messy, unpredictable, and energy-intensive.
Enter the humble rice cooker. You might think it’s only for grains like rice and oats, but this versatile kitchen gadget has quietly become a secret weapon for all kinds of cooking hacks—including hard-boiling eggs. That’s right: with just a few minutes of prep, you can transform your rice cooker into an egg-cooking powerhouse. No bubbling water, no splatters, no guesswork. Just soft shells, tender whites, and creamy yolks that come out perfectly every time.
In this article, we’ll walk you through everything you need to know about hard-boiling eggs in a rice cooker—from the science behind how it works to step-by-step instructions, tips for success, and even troubleshooting common mistakes. By the end, you’ll wonder why you didn’t try this sooner!
Why Use a Rice Cooker for Hard-Boiling Eggs?
A Kitchen Tool with Hidden Potential
Rice cookers were originally designed to automate the process of steaming rice—keeping it warm until ready to serve. But their sealed environment, consistent temperature control, and ability to maintain a gentle simmer make them surprisingly effective for other tasks. Hard-boiling eggs is just one example of how these appliances go beyond their intended use.
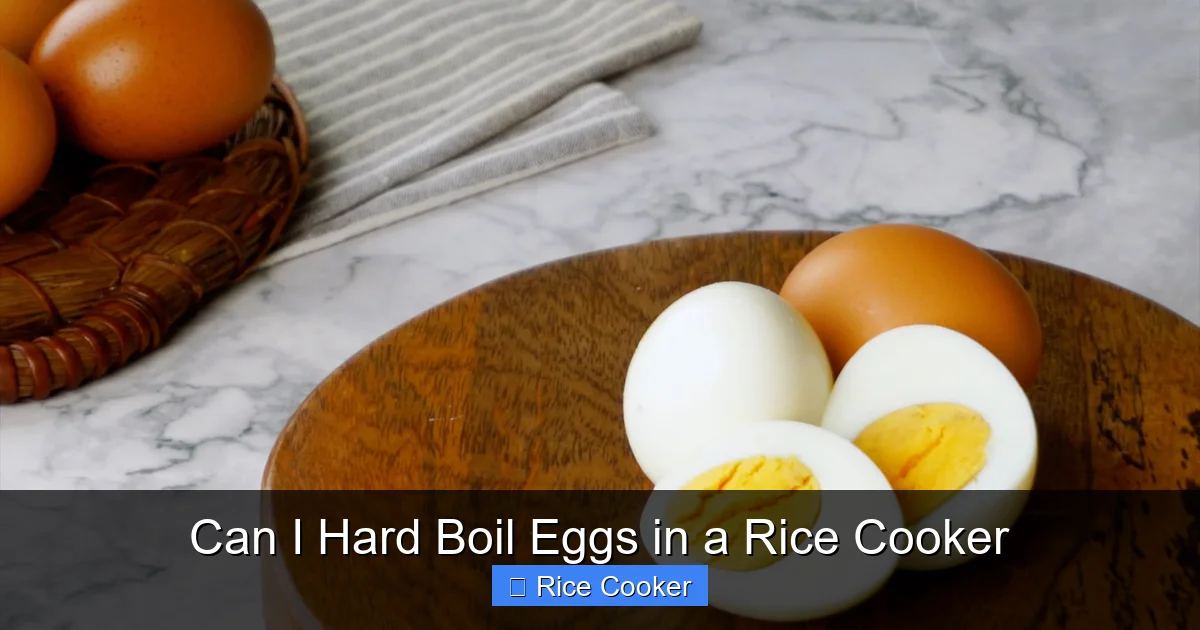
Visual guide about Can I Hard Boil Eggs in a Rice Cooker
Image source: wikihow.com
Unlike stovetop boiling, where water boils rapidly and eggs may bounce around, cracking or sticking, a rice cooker provides a calm, controlled atmosphere. The eggs sit gently in warm water, slowly heating up without sudden shocks. This gentle cooking process preserves texture and prevents the dreaded green sulfur ring that forms when eggs cook too fast or for too long.
Benefits Over Traditional Methods
- Less mess: No overflowing pots or splattered counters.
- Energy efficient: Most rice cookers consume less power than keeping a pot of water on the stove.
- Hands-off cooking: Hands-off cooking: Set it and forget it—no babysitting required.
- Perfect for large batches: Many models can handle 6–12 eggs comfortably.
- Versatile: Once mastered, you can use the same method for soft-boiled, poached, or even scrambled eggs (with slight adjustments).
How to Hard-Boil Eggs in a Rice Cooker: Step-by-Step Guide
What You’ll Need
- Fresh eggs (ideally within 7–10 days of purchase)
- A rice cooker with a removable inner pot
- Water (about 1–1.5 inches deep)
- Tongs or a slotted spoon
- Ice bath (for cooling)
Step 1: Prepare Your Eggs
Start by gently placing your eggs into the rice cooker’s inner pot. Avoid stacking them too tightly—leave space between each egg so they don’t touch during cooking. If you’re cooking more than four eggs, consider using two layers with a small divider or paper towel to keep them separated.
Step 2: Add Water
Fill the pot with cold water until it reaches about 1 to 1.5 inches above the top of the eggs. Too little water risks uneven cooking; too much makes the process longer and may cause water to spill during heating.
Step 3: Start the Cooking Cycle
Close the lid and press the “Cook” or “Boil” button. Most rice cookers will automatically switch to “Keep Warm” once the water reaches its boiling point. This is normal—the eggs continue cooking gently in the retained heat.
Step 4: Time It Right
The magic number here is 10–12 minutes for medium-sized eggs. Here’s a quick reference guide:
- 9 minutes: Soft-boiled (runny yolk, ideal for dipping toast)
- 10 minutes: Medium-boiled (slightly firmer yolk)
- 11–12 minutes: Hard-boiled (fully set yolk and white)
Note: Larger eggs may require an extra minute or two. Smaller ones need less time.
Step 5: Transfer to Ice Bath
Once the cycle ends, immediately remove the eggs with tongs and plunge them into an ice-water bath for at least 5–10 minutes. This stops the cooking process and makes peeling easier by shrinking the egg slightly from the shell.
Step 6: Peel and Enjoy
Gently tap the egg on a hard surface, roll it to crack the shell, then peel under running water if desired. Store peeled eggs in an airtight container with a bit of water for up to one week in the fridge.
Common Mistakes and How to Avoid Them
Eggs That Won’t Peel
If your eggs are stubborn to peel, it’s usually due to old eggs or improper cooling. Fresh eggs have stronger membranes that stick to the meat inside, making peeling harder. Try using older eggs (within 1–2 weeks) or adding a splash of vinegar or baking soda to the water—it helps loosen the membrane.
Overcooked Yolks
Leaving eggs in the rice cooker past 12 minutes can result in rubbery whites and chalky yolks. Remember: the “keep warm” function still cooks the eggs slowly. If you accidentally leave them in too long, shock them in ice water immediately to stop further cooking.
Cracked Shells During Cooking
This happens if eggs are dropped into boiling water or jostled too much. Always lower them gently into the pot. Also, avoid using eggs straight from the fridge—room-temperature eggs are less likely to crack under thermal stress.
Uneven Cooking
Not all rice cookers heat evenly. To fix this, rotate the eggs halfway through cooking or use a trivet to elevate them slightly so water circulates better underneath.
Tips for Perfect Rice-Cooker Hard-Boiled Eggs
Use Room-Temperature Eggs
Take eggs out of the fridge 15–30 minutes before cooking. Cold eggs are more prone to cracking when exposed to sudden heat changes.
Add Baking Soda (Optional)
Mixing ½ teaspoon of baking soda into the water raises the pH, which softens the eggshell membrane and makes peeling dramatically easier. Some people skip this step, but it’s a game-changer for frequent egg eaters.
Label and Date Your Eggs
If you cook in bulk, label containers with the date. Hard-boiled eggs stay fresh for about one week when stored properly.
Try Different Sizes
Jumbo eggs take 13–14 minutes; large eggs need 11–12; medium eggs 10–11. Size matters!
Repurpose Leftover Water
Don’t throw away the water after cooking! It’s full of nutrients and can be used for watering plants or diluting cleaning solutions.
Can You Do Other Types of Eggs in a Rice Cooker?
Soft-Boiled Eggs
Yes! Reduce cook time to 8–9 minutes for a runny yolk perfect with toast or ramen. Just monitor closely—rice cookers vary in speed.
Pasteurized Eggs for Raw Dishes
Want to use raw eggs safely in Caesar dressing or cookie dough? Pasteurized eggs cooked briefly in the rice cooker (5–6 minutes) can work—but note: this isn’t FDA-approved food safety advice. Always consult guidelines before consuming raw or undercooked eggs.
Scrambled Eggs (Experimental)
Some adventurous users swear by adding beaten eggs directly to the rice cooker with a splash of milk and a pinch of salt. However, results vary widely. For best scrambled eggs, stick to dedicated methods like microwave or stovetop.
Poached Eggs (Not Recommended)
While possible using a muffin tin as a mold, poaching requires precise water movement and swirling—something rice cookers aren’t built for. Save poaching for your skillet or specialized egg poacher.
Cleaning Your Rice Cooker After Cooking Eggs
Immediate Rinse
Let the inner pot cool slightly, then rinse with warm water. Egg residue tends to loosen up quickly when wet.
Soak if Necessary
For dried-on bits, fill the pot with warm water and a drop of dish soap. Let it sit for 10–15 minutes before scrubbing gently with a sponge.
Avoid Metal Scrubbers
Non-stick coatings can wear off with abrasive tools. Use silicone or nylon brushes instead.
Wipe the Lid and Exterior
Egg proteins can seep into seams. Wipe down the lid, handle, and exterior with a damp cloth after each use.
Environmental and Economic Advantages
Beyond convenience, using a rice cooker to hard-boil eggs is kinder to the planet and your wallet. According to energy reports, rice cookers use roughly half the electricity of a stovetop burner per hour. And since they’re compact and don’t require constant supervision, they reduce household energy waste.
Plus, buying eggs in bulk—and storing them properly post-cook—can cut grocery costs significantly. One dozen eggs yields about six hard-boiled servings, making them a cost-effective protein source.
Fun Ideas for Using Hard-Boiled Eggs
- Mediterranean egg salad: Mix with feta, olives, cucumber, and olive oil.
- Veggie-packed deviled eggs: Top with paprika, chives, or avocado mash.
- Keto-friendly snack: Sprinkle with Everything Bagel seasoning and serve with cream cheese.
- School lunches: Pre-peel and pack in bento boxes for grab-and-go meals.
- Protein boost for smoothies: Blend one into your morning shake for extra satiety.
Conclusion: Why Every Kitchen Needs This Hack
Hard-boiling eggs in a rice cooker isn’t just a novelty—it’s a practical, efficient, and foolproof technique that belongs in every modern kitchen. Whether you’re feeding a busy family, preparing for a picnic, or just want a healthy snack ready in minutes, this method delivers consistent results with minimal fuss.
From energy savings and reduced cleanup to superior texture and ease of peeling, the benefits stack up fast. And once you master the basics, you’ll find yourself reaching for your rice cooker more often—not just for rice, but for everything from soups to steamed veggies and yes, perfectly boiled eggs.
So next time you open your fridge and see a carton of eggs staring back at you, remember: there’s no need to wrestle with a hot pot or risk cracked shells. Just pop them into your rice cooker, press a button, and let science do the rest. Your future self will thank you.
Frequently Asked Questions
How long does it take to hard-boil eggs in a rice cooker?
It typically takes 10–12 minutes for large eggs. Smaller eggs may need only 9–10 minutes, while jumbo eggs could require 13 minutes. Always start timing once the water reaches a boil.
Do I need to add anything to the water besides eggs?
You can add a pinch of salt or ½ teaspoon of baking soda to help with peeling. Otherwise, plain water works fine. Avoid acidic ingredients like vinegar, as they can affect texture.
Can I hard-boil eggs in a non-stick rice cooker?
Absolutely! Non-stick surfaces make cleanup easier and prevent eggs from sticking. Just avoid metal utensils when handling the inner pot.
Will my rice cooker break if I boil eggs in it?
No—rice cookers are designed to handle boiling water and steam. As long as you follow standard usage guidelines, your appliance should last years with no issues.
Are hard-boiled eggs safe to eat after one week?
Peeled hard-boiled eggs are safest eaten within 5–7 days. Unpeeled eggs can last slightly longer (up to 10 days), but always check for off smells or sliminess before eating.
Can I reheat hard-boiled eggs in the rice cooker?
Not recommended. Reheating can dry out the egg and increase bacterial risk. Instead, store leftovers in the fridge and enjoy cold or lightly warmed in a bowl of hot water.