
Can I cook rice in a pot? Absolutely—many people do it daily without any fancy equipment. With the right water-to-rice ratio, proper heat control, and a few simple tricks, you can achieve restaurant-quality rice using just a regular pot on the stove. Whether you’re cooking white rice, brown rice, or even specialty grains, mastering this method saves time and money while delivering consistent results.
Key Takeaways
- Rice can be cooked in a standard pot: You don’t need a rice cooker—your everyday kitchen pot works perfectly with the right technique.
- Water-to-rice ratio is critical: The exact amount depends on the type of rice (e.g., 2:1 for white rice, 2.5:1 for brown).
- Heat management prevents burnt or undercooked rice: Start high to boil, then reduce to low to simmer gently.
- Covering the pot properly retains steam: A tight-fitting lid or foil helps trap moisture for even cooking.
- Letting rice rest after cooking improves texture: Resting allows steam to redistribute, yielding fluffier grains.
- Experiment with seasonings and additions: Try broth instead of water, add herbs, or stir in butter for richer flavor.
- Cleanup is easier with the right tools: Non-stick pots or lined pans help prevent sticking and simplify washing.
📑 Table of Contents
- Can I Cook Rice in a Pot? The Simple Truth
- Why People Choose to Cook Rice in a Pot
- Choosing the Right Pot for Cooking Rice
- Understanding Different Types of Rice and Their Needs
- The Step-by-Step Guide to Cooking Rice in a Pot
- Common Mistakes and How to Avoid Them
- Tips to Elevate Your Stovetop Rice Game
- When a Rice Cooker Might Be Worth It
- Conclusion: Master the Art of Stovetop Rice
Can I Cook Rice in a Pot? The Simple Truth
Have you ever stood at your stove, staring at a pot of boiling water, wondering if you’re doing it right? Or maybe you’ve heard that only a rice cooker can produce fluffy, perfect rice—and now you’re worried your old pot will ruin everything? Let’s clear things up once and for all: yes, you absolutely can cook rice in a pot, and most home cooks do it every single day. In fact, many professional chefs prefer stovetop methods for their control and consistency.
Cooking rice on the stove isn’t just possible—it’s reliable, cost-effective, and surprisingly easy once you know the basics. Whether you’re making a quick side dish for dinner or prepping meals for the week, mastering this method gives you full control over texture, flavor, and timing. No fancy gadgets required.
In this guide, we’ll walk through everything you need to know about cooking rice in a pot—from choosing the right pot to understanding how different types of rice behave on the stovetop. By the end, you’ll feel confident tossing your dry rice into a pot and turning it into something deliciously tender and light.
Why People Choose to Cook Rice in a Pot
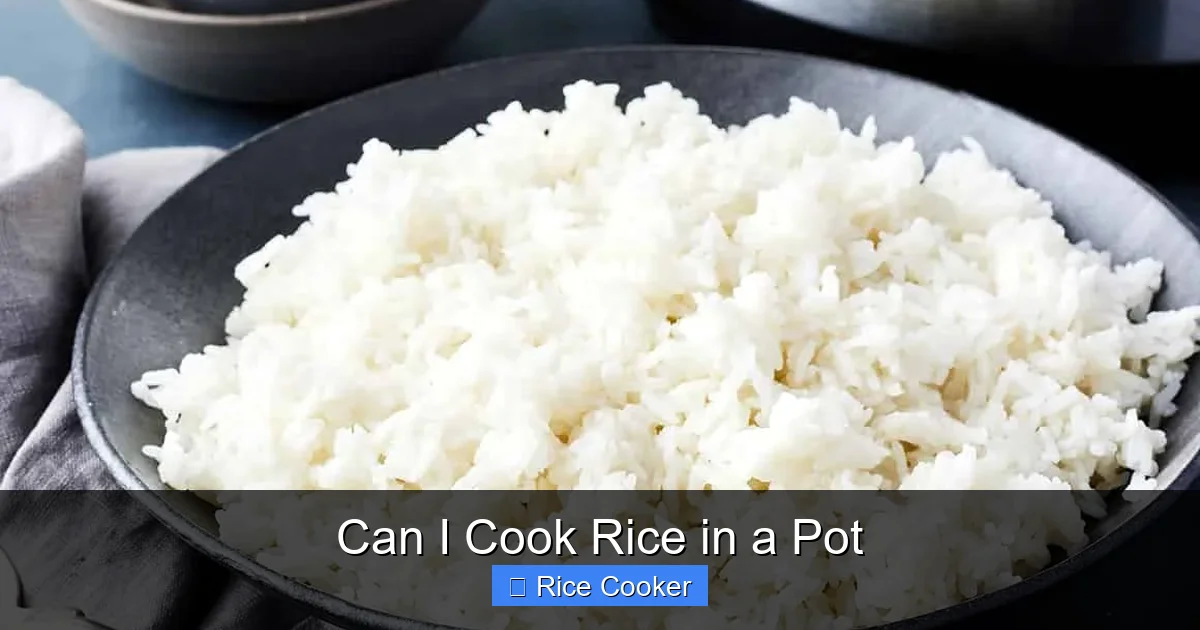
Visual guide about Can I Cook Rice in a Pot
Image source: cdn.loveandlemons.com
Many folks reach for a rice cooker because they believe it’s the only way to get perfect rice. While rice cookers are excellent tools—especially for busy households—they aren’t essential. Cooking rice on the stove offers several advantages:
– Full control over heat and timing: Unlike automated machines, a pot lets you adjust flame levels instantly.
– No electricity needed: Ideal during power outages or camping trips.
– Versatility with other dishes: Use the same pot for soups, stews, or pasta later without switching appliances.
– Familiar process: If you’ve boiled pasta or steamed vegetables before, you already have half the skill set!
That said, rice cookers excel at maintaining consistent temperatures and automatically switching to “warm” mode after cooking. But again—that doesn’t mean your pot is inferior. With patience and attention, you can replicate those results right on your stovetop.
Choosing the Right Pot for Cooking Rice
Not all pots were created equal when it comes to cooking rice. Here’s what to look for:
Material Matters
Stainless steel pots distribute heat evenly and are durable, but they may require more monitoring to avoid scorching. Non-stick pots are forgiving for beginners since rice tends not to stick as much, though some chefs argue stainless steel gives better browning if you’re adding ingredients like onions or garlic first.
Size and Depth
Use a pot large enough to hold the rice and water comfortably—but not so deep that the mixture boils over. A 2-quart pot works well for 1 cup of uncooked rice; go bigger if you’re feeding a crowd. Avoid overly shallow pans—they dry out too quickly.
Lid Quality
A tight-sealing lid is crucial. If yours doesn’t fit snugly, cover the pot with aluminum foil or another lid before putting the original on top. Steam needs to stay inside to cook the rice evenly.
Bottom Thickness
Thicker bottoms prevent hot spots that can burn your rice. Avoid flimsy, thin-walled cookware unless you’re experienced and watchful.
Understanding Different Types of Rice and Their Needs
Rice behaves differently depending on its grain size, starch content, and processing. Knowing these differences helps you pick the right method.
White Rice (Long-Grain vs. Short-Grain)
White long-grain rice (like jasmine or basmati) expands significantly during cooking and becomes fluffy when done correctly. It typically uses a 2:1 water-to-rice ratio. White short-grain rice (common in sushi or risotto) absorbs less liquid and stays slightly sticky—use about 1.5 cups water per cup of rice.
Brown Rice
Brown rice has a tough outer bran layer, so it takes longer to soften. You’ll need more water—usually around 2.25 to 2.5 cups per cup of rice—and longer cooking times (about 40–45 minutes). Because it’s chewier, some prefer soaking it overnight to speed up cooking.
Pregrelled or Instant Rice
These are pre-cooked, dehydrated grains that only need reheating. They absorb very little water and cook quickly—just follow package instructions carefully to avoid mushiness.
Sushi Rice & Specialty Grains
Sushi rice requires precise rinsing and a specific soaking step. Other specialty grains like arborio (for risotto) or black rice (high in antioxidants) each have unique requirements best found on their packaging.
The Step-by-Step Guide to Cooking Rice in a Pot
Follow this tried-and-true method for foolproof results every time.
Step 1: Measure and Rinse Your Rice
For every 1 cup of uncooked rice, measure out either 2 cups (white), 2.25 cups (brown), or as directed for specialty varieties. Rinse the rice under cold running water until the water runs clear—this removes excess starch and prevents gummy textures.
Step 2: Combine Rice and Liquid
Add rinsed rice and measured water (or broth!) to your pot. For extra flavor, swap half the water with vegetable or chicken broth. Optional: Add a pinch of salt, a bay leaf, or a teaspoon of oil to enhance taste and prevent sticking.
Step 3: Bring to a Boil
Place the pot over medium-high heat and bring the mixture to a rolling boil. Stir once or twice to ensure even heating.
Step 4: Reduce Heat and Cover
Once boiling, immediately reduce the heat to low. Cover the pot tightly with a lid (or foil + lid combo). Let it simmer undisturbed for the recommended time:
– White rice: 18–20 minutes
– Brown rice: 40–45 minutes
Step 5: Turn Off Heat and Rest
After the timer ends, turn off the heat but leave the covered pot alone for 5–10 minutes. This resting period lets residual steam finish cooking the rice and redistributes moisture evenly.
Step 6: Fluff and Serve
Use a fork to gently fluff the rice, separating any clumps. Discard any unused herbs or spices (like bay leaves). Serve immediately or keep warm under a clean towel.
Common Mistakes and How to Avoid Them
Even experienced cooks run into issues sometimes. Here’s how to sidestep the biggest pitfalls:
Mistake #1: Using Too Much or Too Little Water
Too little = dry, hard clumps. Too much = mushy, soupy rice. Always measure accurately and rinse first.
Mistake #2: Not Rinsing the Rice
Skipping this step leads to cloudy water and gummy results—especially with short-grain or instant rice.
Mistake #3: Stirring Constantly
Once covered, never open the lid or stir during cooking. Doing so releases steam and disrupts the gentle simmer needed for proper gelatinization of starch.
Mistake #4: Opening the Lid Early
Resist the urge to peek! Every time you lift the lid, you lose precious steam. Wait until the full cooking time is complete.
Mistake #5: Skipping the Resting Period
Rushing this step yields unevenly cooked rice—some parts may still be hard while others are overdone.
Tips to Elevate Your Stovetop Rice Game
Want your rice to be truly exceptional? Try these pro-level tricks:
– Toast the rice lightly: Sauté dry rice in a bit of oil over medium heat for 1–2 minutes before adding liquid. This adds nuttiness and prevents stickiness.
– Use filtered water: Impurities in tap water can affect flavor and texture.
– Try a paper towel trick: Place a clean, damp paper towel between the lid and pot edge to seal gaps and retain steam better.
– Double-check altitude adjustments: At higher elevations, rice cooks faster due to lower boiling points—reduce water slightly and shorten cooking time by 1–2 minutes.
– Store leftovers properly: Cool cooked rice within two hours and refrigerate in an airtight container. Reheat with a splash of water to revive moisture.
When a Rice Cooker Might Be Worth It
While pots work great, rice cookers offer undeniable benefits:
– Automatic shutoff prevents burning
– Consistent temperature maintenance
– Hands-off convenience (set it and forget it)
– Built-in timers for meal planning
You might also wonder if you can leave the rice cooker on warm overnight for extended keeping.
If you cook rice multiple times a day or want zero cleanup (rice cookers often have non-stick inner pots), investing in one makes sense. But don’t feel guilty using your pot—many world-class kitchens rely solely on stovetop methods!
Conclusion: Master the Art of Stovetop Rice
So, can you cook rice in a pot? Absolutely—and you should! With the right technique, patience, and attention to detail, your everyday pot can deliver fluffy, flavorful rice just as reliably as any appliance. The key lies in understanding your ingredients, respecting the cooking process, and avoiding common errors.
Whether you’re preparing a simple family dinner or experimenting with exotic grains, stovetop rice cooking empowers you with flexibility and control. Plus, it’s economical, eco-friendly, and deeply satisfying once you get the hang of it.
Next time you reach for your rice cooker, try skipping it—you might discover that your trusty pot has been making perfect rice all along. Happy cooking!
Frequently Asked Questions
Do I really need to rinse my rice before cooking?
Yes! Rinsing removes excess surface starch that causes clumping and cloudy water. It also improves texture, especially for long-grain and short-grain white rice. Skip this step only if the package says “no need to rinse” (rare).
Can I substitute broth for water when cooking rice?
Definitely! Using broth adds rich flavor without altering the cooking process. Just keep total liquid volume the same as you would with water. Vegetable, chicken, or even miso broth all work beautifully.
How do I prevent my rice from sticking to the bottom of the pot?
Use a non-stick pot, add a teaspoon of oil or butter to the water, and never stir or scrape the bottom once boiling begins. Also, ensure even heat distribution by using a pot with a thick base.
What’s the difference between simmering and boiling rice?
Boiling creates vigorous bubbles that can break apart delicate grains. Simmering—gentle, steady bubbling—is ideal for rice. After bringing to a boil, reduce heat until bubbles subside slightly before covering the pot.
Can I cook rice ahead of time and reheat it?
Yes! Cooked rice can be stored in the fridge for up to 5 days or frozen for months. Reheat in a microwave with a splash of water or steam over a pot of boiling water to restore moisture.
Can I leave cooked rice out of the fridge?
Yes! Cooked rice can be stored in the fridge for up to 5 days or frozen for months. Reheat in a microwave with a splash of water or steam over a pot of boiling water to restore moisture.
Why does my brown rice always come out chewy?
Brown rice needs more water and longer cooking than white rice. Make sure you’re using the correct ratio (about 2.25–2.5 cups water per cup rice) and allow full resting time. Soaking it overnight can also help soften the bran layer.